How to Setup Octoprint on the Ender 3

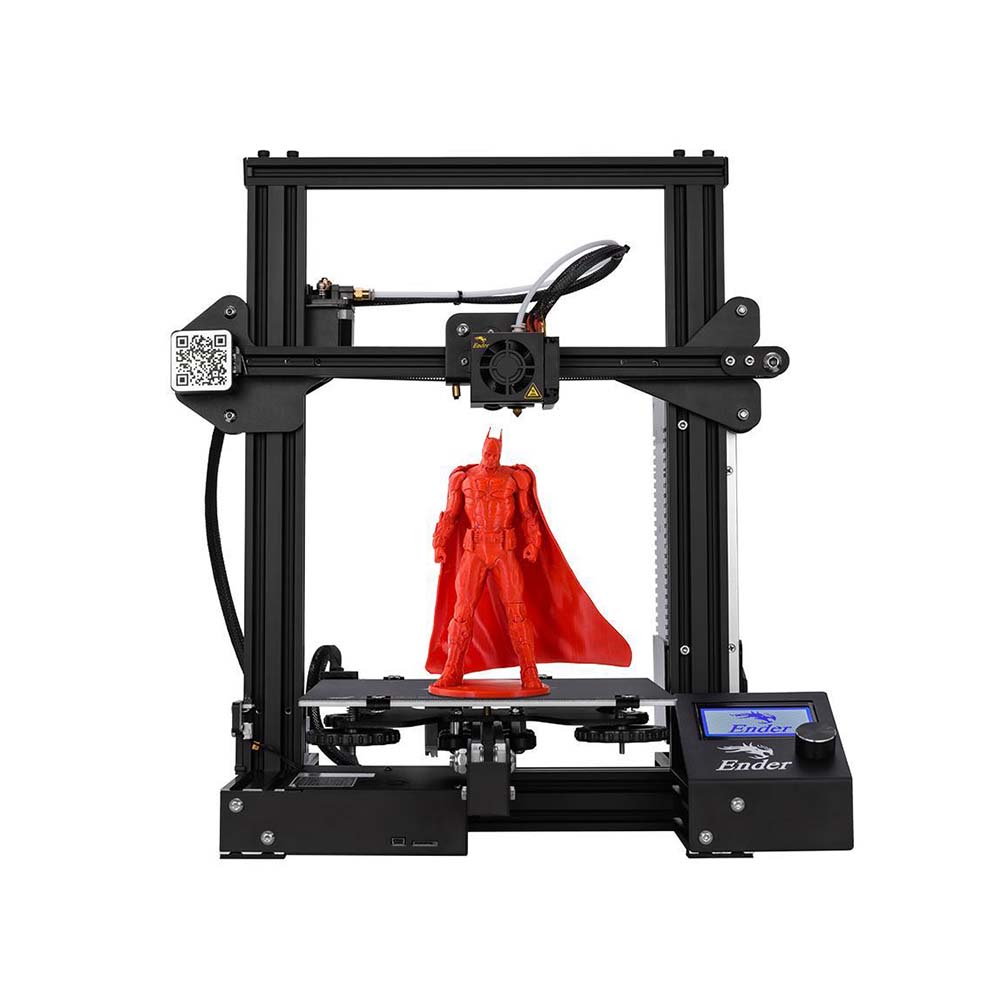 Creality Ender 3 desktop FDM 3D printer/Courtesy: Creality
The Creality Ender 3 is a fantastic 3D printer. It is the ideal balance of quality and affordability. The Ender 3 has many features, but there is one that can make it even more feature-rich. The addition of OctoPrint (OctoPi) has the potential to take it to the next level.
OctoPrint empowers you by allowing you to control your 3D printer from a remote location. If your Ender 3 is linked to OctoPrint, you will be able to extract even more value from this already great machine.
If you're not sure how to set up OctoPrint on the Ender 3, follow this step-by-step guide to get started.
Prefer to watch a video to guide you through the process? Check out our video on setting up OctoPrint and getting started with OctoPrint plugins!
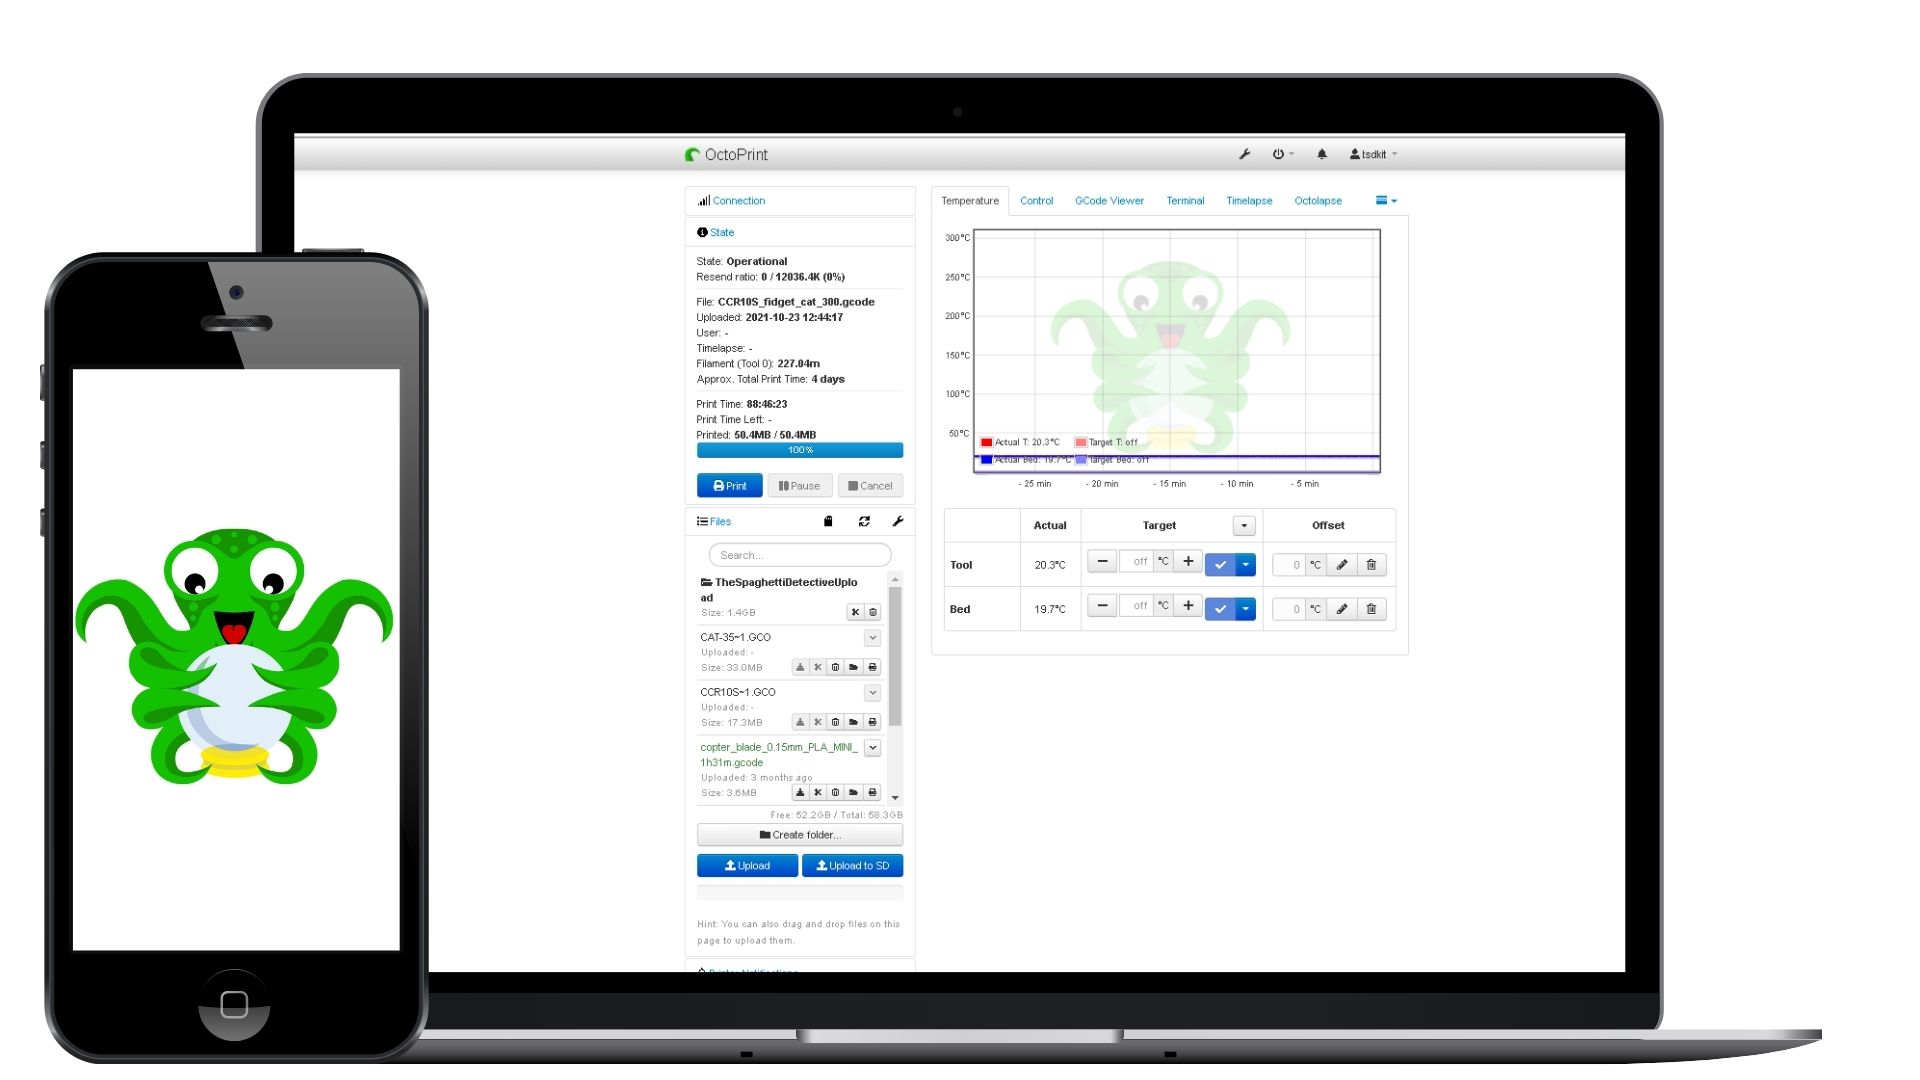
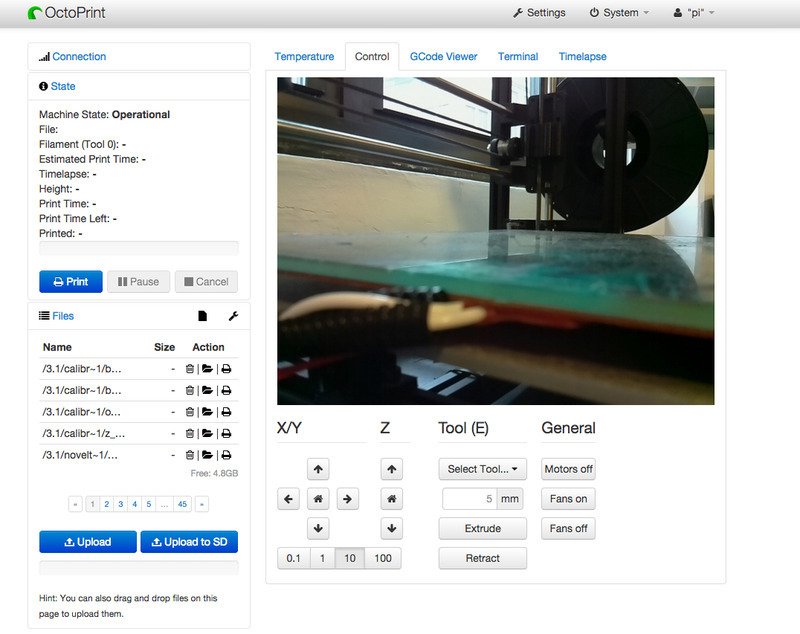 OctoPrint interface/Courtesy: Adafruit Learning System
The first and most obvious step is to gather all of the hardware required to install OctoPrint on your Ender 3. The required hardware is widely available everywhere and should not be difficult to obtain. All of the components can be purchased online as individual components or as a kit, or they can be purchased locally.
What Hardware is Needed to Install OctoPrint on the Ender 3?
Creality Ender 3
Raspberry Pi
SD Card (16gb or larger recommended)
Webcam or Raspberry Pi Camera
Raspberry Pi camera extension cable, 610mm (if using the pi camera)
Short mini-USB to USB cable
XT60 Y-splitter cable (optional)
Small metric bolt and nut set (optional)
1. Install OctoPrint on Ender 3
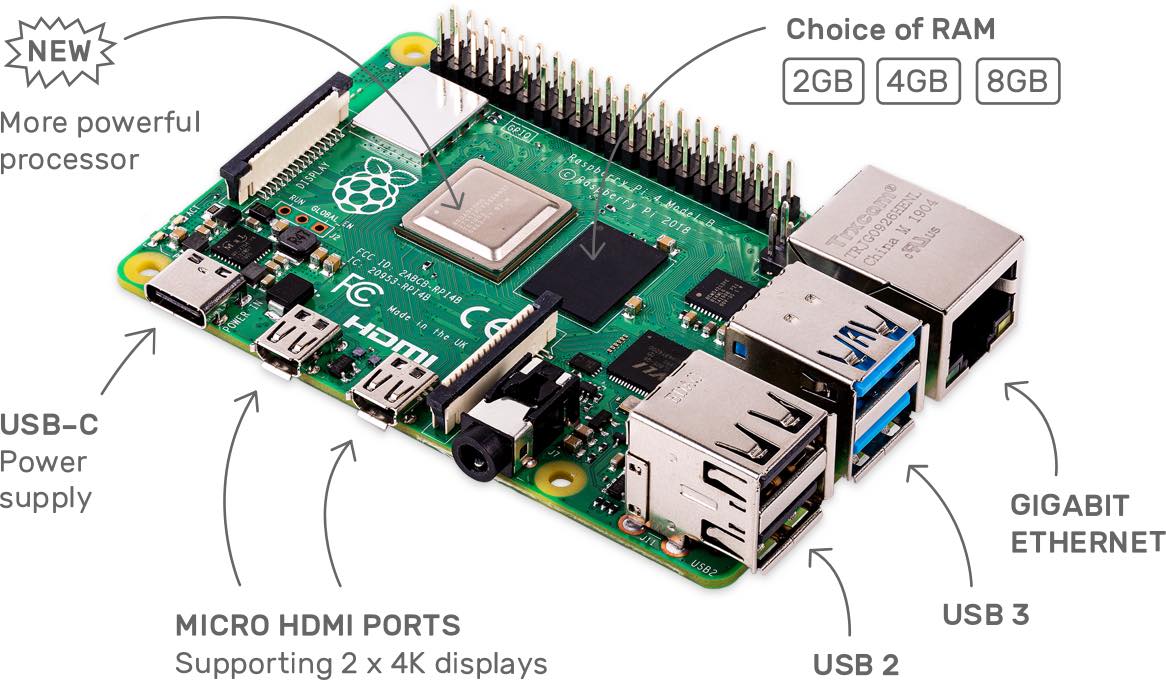
Raspberry Pi 4 dual-display computer/Courtesy: Raspberry Pi
The installation of OctoPrint on Ender 3 is the first step in the setup process. We'll give you the short version of how to install OctoPrint without going into too much detail.
To begin, go to raspberrypi.org/software and download the Raspberry Pi Imager (available for both Windows and Mac). Launch this imager and install it according to your operating system. Once installed, protect your Raspberry Pi with a strong password to keep hackers out.
After you've completed the basic steps, it's time to connect OctoPrint to your 3D printer. To begin, connect your Raspberry Pi to the internet via ethernet or WIFI. Both methods produce good streaming results.
The next step is to connect the hardware, such as the heat sink, place the Raspberry Pi in its case, and plug in the printer cable and power cable. You have now successfully connected your Raspberry Pi to your 3D printer.
For a more detailed set of OctoPrint installation instructions, see our How to Setup OctoPrint the Easy Way article for a comprehensive step-by-step guide.
However, this is only the first step in OctoPrint calibration, which will be followed by a series of steps such as connecting the webcam, mounting it, firmware upgrade, plugin installation, and so on.
2. Ender 3 Octoprint Settings
In this step, we'll begin by configuring the OctoPrint settings for your Ender 3 printer. The Ender 3 OctoPrint settings that need to be changed are listed below.
Printer Settings
Form factor: Rectangular
Origin: Lower Left
Heated Bed: Yes (checked)
Heated Chamber: No (unchecked)
Dimensions: 220 x 220 x 250 mm
Custom Bounding Box: No (unchecked)
Nozzle Diameter: 0.4mm
Number of Extruders: 1
Serial Port: /dev/ttyUSB0
Baudrate: AUTO
3. Ender 3 Camera Setup
We're going to set up a webcam now. Installing a webcam has two advantages: it aids in remote monitoring and control of your 3D printer and also helps in creating mesmerizing time-lapse videos (an awesome feature of OctoPrint).
Camera Selection
Camera selection can be difficult, but we've got you covered. With so many camera options available, it's easy to become confused or overwhelmed. All you need to know is that the most common cameras used with OctoPrint are USB Webcams and Raspberry Pi cameras.
USB Webcams
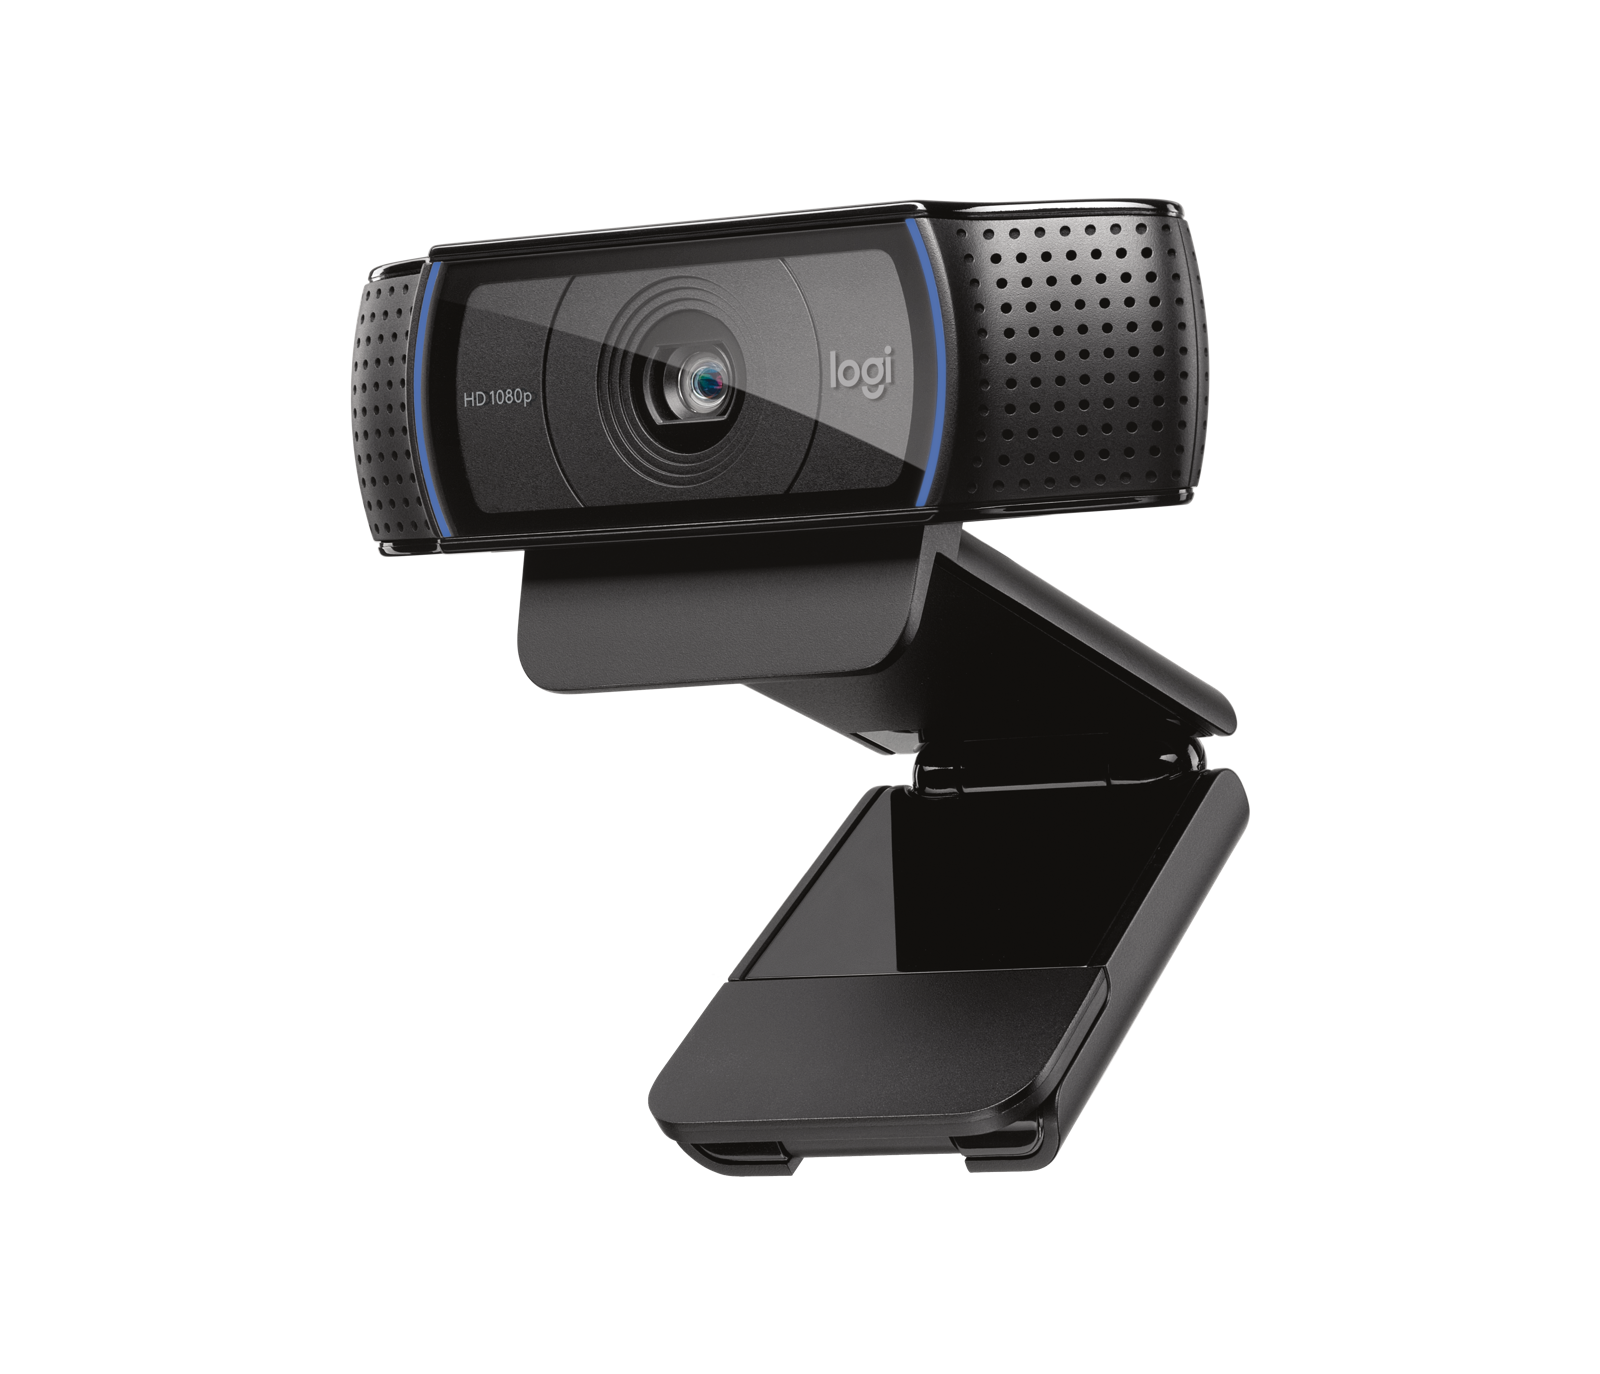
Logitech C920 Pro camera/Courtesy: Logitech
The installation of a USB webcam is as simple as plugging the camera into a USB port and placing it on its mount. They do, however, have a drawback in terms of picture quality, which can be poor at times.
Logitech C920 Pro and Logitech C270 are two options to consider. Both are by far the best webcams, but they are quite expensive. You can also choose from other low-cost options. You can read our detailed article on OctoPrint webcams to learn more about a few more options and additional information on the options provided above.
Raspberry Pi Cameras
The most tangible benefit of using a Raspberry Pi camera is the cost savings. They also outperform USB cameras in terms of performance. Furthermore, because the Raspberry Pi has such a large community, almost all issues with configuring a camera are resolved and documented on their community pages. A Raspberry Pi camera may be easier to set up.
You have multiple options here as well, but we won't go into the specifics, and you can decide on the camera by reading our OctoPrint webcams article.
Connections
It's as simple as connecting cables to connect a webcam to your Raspberry Pi. Connect the USB cable to the Raspberry Pi device if you choose a USB webcam. If you're using a Raspberry Pi camera, insert a ribbon cable into both the camera and the Pi, with the blue side in the Raspberry Pi device and the other side in the Raspberry Pi camera.
Mounting a Camera
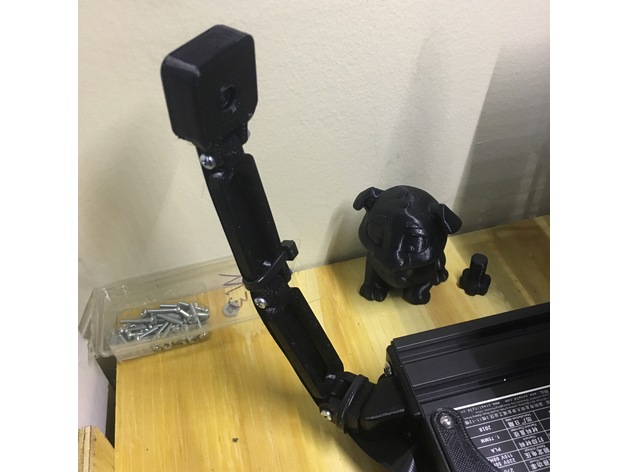
Ender 3 Raspberry Pi Camera Mount/Courtesy: Thingiverse
After you've established your connection, the next step is to mount the camera. There are numerous ways to mount your camera depending on the type of camera you want to use, its size, and its pixels (picture quality). It is possible to do so with 3D printed mounts, tripods, and webcam arm mounts.
You can look for solutions such as printing your mount depending on how much money you want to spend and whether you prefer to be frugal or prefer standardized options available on the market. Users frequently create mounts for specific camera modules, which are freely shared on Thingiverse.
Position & Lighting
You will also need to experiment with the camera position so that the print is visible, and plugins such as The Spaghetti Detective (a powerful tool for identifying printing issues such as spaghetti creation, potential fire hazards, and so on) can detect printing problems. This is affected not only by the position, but also by the light. If their workspace is dark, some users use an additional light source. Consider purchasing an LED light that can be clipped to the table the printer is resting on. Just make sure the light source is behind the camera. For more information on getting the right camera setup, check out this guide.
3. Install Plugins
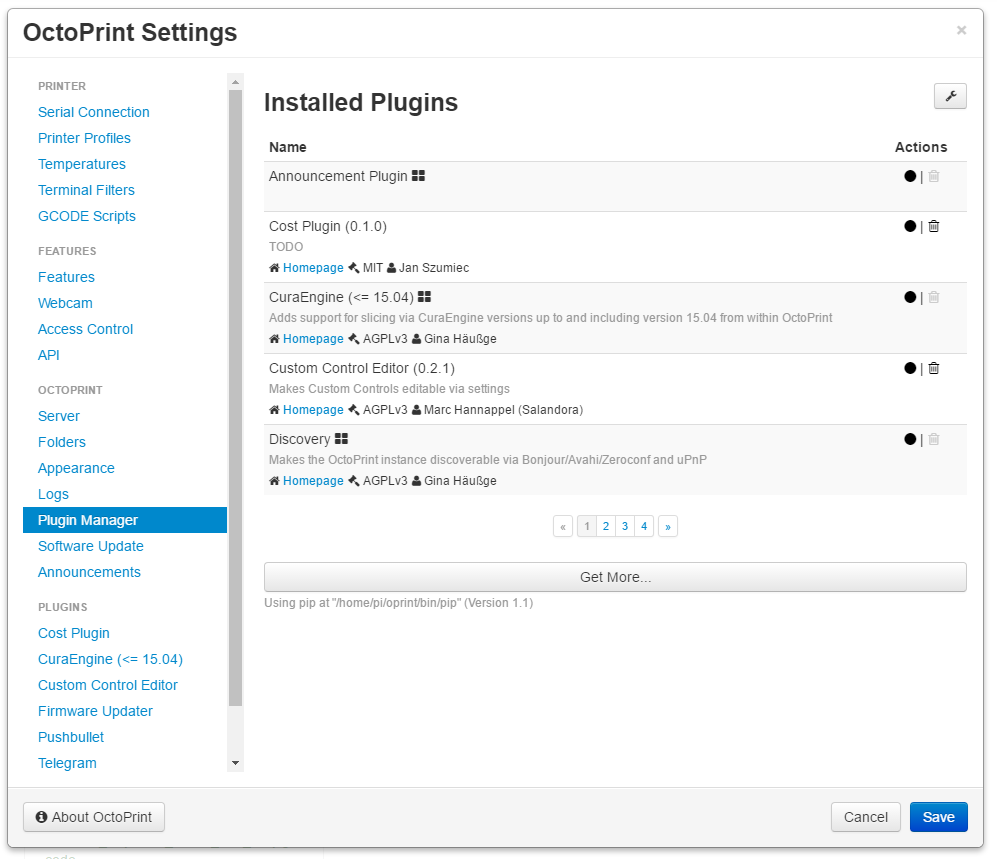
OctoPrint Plugin Manager/Courtesy: OctoPrint
Now that you've installed OctoPrint and even upgraded the firmware, there's only one thing left to do. The final step is to install a few OctoPrint plugins. This is necessary because not all plugins are properly transferred to the new firmware when the firmware is upgraded. Some plugins may also cease to function or perform abnormally. This has a significant impact on OctoPrint's temperature indicators, which may display incorrect data. As a result, the workflow and printing processes will be hampered. A fix is critical, and to address this widely prevalent issue, you will need to install two plugins: Creality Temperature Fix and the Creality 2x temperature reporting fix, both developed by OctoPrint supporters.
Installing the temperature plugins
Launch the OctoPrint online interface.
Navigate to the Settings tab > Plugin Manager and click the Get More button.
Search for "Creality" in the search bar and then download the "Creality Temperature" plugin.
Restart your OctoPrint server once the pop-up dialogue box says "Done!"
Steps 1 and 2 must be repeated, as well as a search for "Creality" and the download of the "Creality-2x-temperature-reporting-fix" plugin.
Restart your OctoPrint server and check the "Temperature" section of your OctoPrint interface to ensure that the temperatures displayed are correct now.
4. Access OctoPrint Anywhere
OctoPrint Anywhere plugin for OctoPrint/Courtesy: OctoPrint Anywhere
You must have realized by now that operating a 3D printer necessitates constant manual intervention to ensure that your print is successful. Failure can be caused by a variety of factors, including the design, the slicer and its parameters, the printer itself, or, in some cases, an unidentified problem that disrupts the print even when everything else is working properly. This isn't just your problem. Thousands of 3D printer users are affected by this issue.
To get your print right, desktop 3D printing frequently necessitates attention and manual intervention. And none of us can be everywhere at the same time to solve printer problems. OctoPrint allows you to easily monitor and control your 3D printer remotely, but it only works on the same local network that your printer is connected to. This means you cannot access OctoPrint when you are away from home. If you have a networking background, you probably already knew this, but if you don’t then you might be just learning this now. Luckily, there is a solution that allows you to access the full OctoPrint interface from anywhere.
The Spaghetti Detective is by far the most convenient way to gain access to OctoPrint from Anywhere. It is an improved version of the popular OctoPrint Anywhere plugin.
The Spaghetti Detective

The Spaghetti Detective webpage/Courtesy: The Spaghetti Detective
The Spaghetti Detective improves OctoPrint by removing one of its critical limitations and enabling you to access your 3D printer remotely no matter where in the world you are or what you are doing.
Not only does The Spaghetti Detective offer the best remote monitoring and webcam streaming plugin, but it can also start, pause, and cancel your prints at any time and from any location! From your phone, desktop, or tablet, you can upload files, start prints and check the high quality live stream of your 3D print.
It is one of the few plugins that uses an AI engine to monitor prints. In the event of failures, spaghettis, or even fire hazards, the AI engine can intervene and take corrective action, such as stopping the print. These ground-breaking features are a must-have for all of you who want to safely access your printers from anywhere.
Options for OctoPrint Remote Access With The Spaghetti Detective
The Spaghetti Detective Website
The Spaghetti Detective website allows you to easily access your OctoPrint connected printer from a desktop computer from anywhere. You can access basic printer controls in their simplified user interface or you can open up the full OctoPrint user interface to access more advanced printer controls with the click of a button.
Mobile App:
The Spaghetti Detective’s mobile app gives you full 3D printer monitoring and control capabilities at your fingertips. This app makes it easier than ever to watch the high quality live stream of your 3D prints, start, stop and cancel prints, and you can do it all from your phone. The mobile app is available for both iOS and Android.
5. Firmware Upgrade
Upgrading the Ender 3 firmware is an important, although not critical, step that may appear to be difficult for some. We will guide you through the process and make it as simple as possible for you. You may be aware that the Ender 3 printer is powered by an 8-bit controller board. This means that the printer's functionality is limited, and its features are kept to a bare minimum. This can be a problem for users looking for a feature-rich printer. Don't worry if you already have an Ender 3, because a firmware upgrade can add a slew of new features and enhance your Ender 3.
Let's see how it’s done.
1. Flashing a Bootloader
The first step is to put a bootloader on the device. This will allow you to flash the firmware using a standard USB device. This process may take some time, so be patient. You can also install the bootloader by watching YouTube videos.
2. Install Marlin
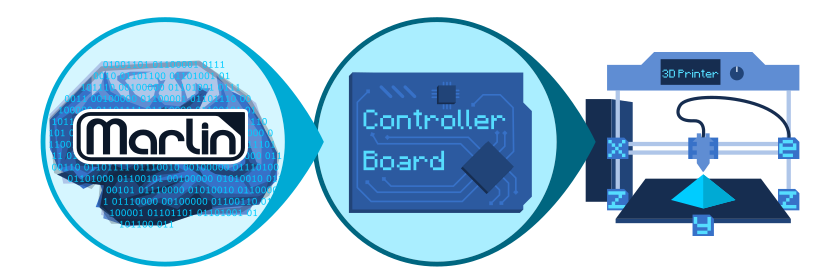
Marlin is an open-source firmware for the RepRap family of replicating rapid prototypers/Courtesy: Marlin
To begin installing Marlin, you must first obtain the most recent version of Marlin firmware from its official website. Unzip the file and look for the folder containing the example configurations (in the Marlin folder). Copy everything in the Ender 3 folder back into the Marlin folder. Select "yes" when asked if you want to overwrite what's already there.
The procedure is as follows:
Download the most recent Marlin firmware version.
Unzip the package and navigate to the folder containing the example configurations (in the Marlin folder). All of the files in the Ender 3 folder should be copied back into the Marlin folder. Accept the overwriting of the files.
Now, locate the marlin.ino file and open it in the Arduino IDE or PlatformIO with a Visual Studio Code extension. Use the latter option if you're using a 32-bit ARM board.
Check that your printer is connected via USB, that the port is correct, and that you are using a Sanguino board. Then select the upload option. When the copying is finished, the installation is also finished.
You have successfully upgraded your firmware, and you can now disconnect the printer from the computer. The first time you boot up your 3D printer after the upgrade, it may take longer than usual, but don't worry. The printer is in good working order.
Frequently Asked Questions
Can you use OctoPrint without a Raspberry Pi?
The most efficient way to use OctoPrint is to run it on a Raspberry Pi. However, if you're wondering if it'll work without a Raspberry Pi, then the short answer is yes!
OctoPrint can definitely be installed on a Windows computer because it was written in the cross-platform Python programming language. While this is technically possible, it should not be used on Windows. There are many reasons why you might want to use it on Windows, but there are even more reasons why you should not.
Why not use Windows?
Unlike installing OctoPrint on a Raspberry Pi, installing OctoPrint on Windows is a much more laborious and time-consuming process.
You must be familiar with the Windows command line as well as the Python terminal.
Running OctoPrint on Windows compromises the security of your desktop or server.
You must disable automatic restarting with Windows updates and turn off power management (sleeping or hibernating) (which can restart your PC during the middle of a print.)
A desktop computer can consume a lot of energy and will cost you more in terms of electricity than a simple and less power-hungry device like a Raspberry Pi.
Finally, The Spaghetti Detective's premium streaming (up to 25 frames per second) is only available if OctoPrint is installed on a Raspberry Pi.
Another, newer, option is using Octo4A to run OctoPrint using an Android phone instad of a raspberry Pi. While some of the same limitations mentioned above may be true with this option, if you can’t get your hands on a Raspberry Pi, it might be worth checking out Tom Sanladerer’s video on Octo4A.
How much RAM does OctoPrint need?
OctoPrint requires 2GB of RAM to function properly. It has been extensively tested, and multiple results indicate that the required RAM power to run OctoPrint with an onboard slicer, webcam, and printer is around 2GB.
Does OctoPrint need a screen?
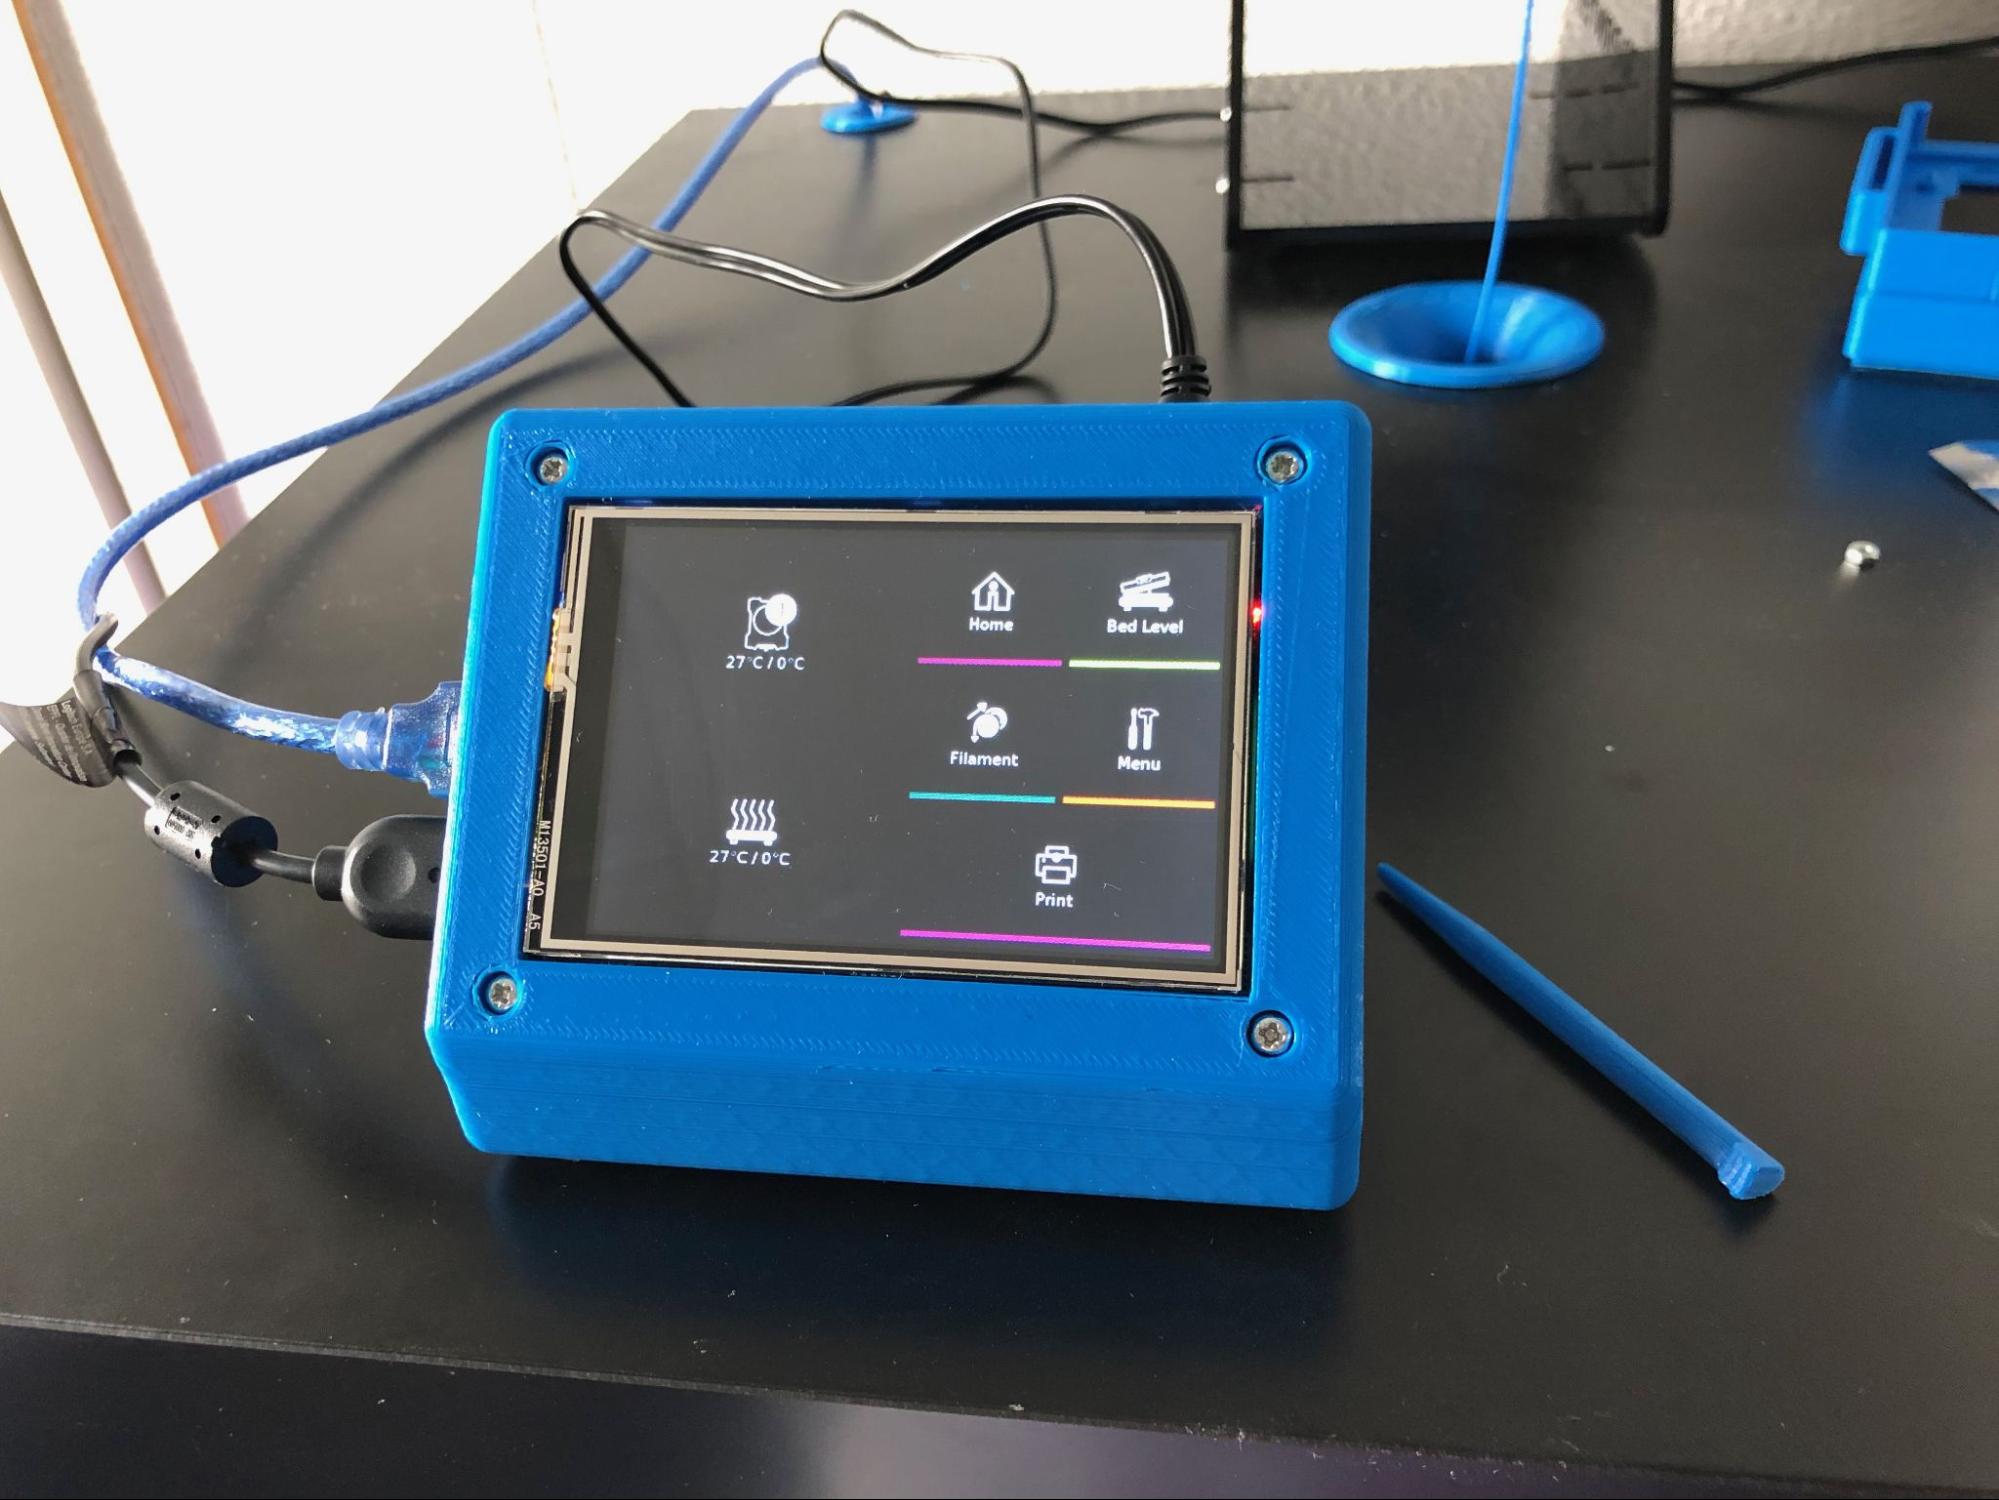
OctoPrint touchscreen/Courtesy: OctoPrint
To be honest, a screen is required, and an interface is extremely useful for running OctoPrint effectively. However, contrary to popular belief, a large screen is not required. A smaller screen is adequate.
If you want to connect an OctoPrint touchscreen to your Ender 3, you must first install the OctoPrint TouchUI plugin. Please keep in mind that this is specifically designed for very small screens. This screen will be used primarily to start and pause prints, control extruder temperatures, display print status, and so on. A screen will improve your printing experience for all of these actions, but a larger screen may not add value to the overall experience. So, the answer is yes, use a screen, but a smaller screen is sufficient to run OctoPrint.