How to Choose the Best Camera for Octolapse

We know you all enjoy timelapse videos in which everything appears to run fast. With reference to OctoPrint, a timelapse video would refer to the videos where the product appears to grow out of thin air. It is almost surreal, which is what makes it all the more appealing. You may know how to create a timelapse, also called Octolapse, but do you know the best camera for an Octolapse? Well, choosing a camera itself is complicated, let alone the best one.
Well, we have decided to list down a few good ones to help you choose the best camera for Octolapse.
What is Octolapse?
Double Spiral Vase Timelapse - Octolapse/Courtesy: FormerLurkerFirst and foremost, a timelapse video created with OctoPrint software is referred to as an Octolapse. However, as you know, it is not as simple as taking pictures at regular intervals. You can't be present at all times and take pictures of all layers. How about the printhead? How do you get that out of the way?
It is obvious that such a feat cannot be accomplished manually, necessitating the use of an ingenious plugin – Octolapse, created by FormerLurker. This plugin is fantastic at taking pictures from your connected camera for each layer after moving the printhead outside the picture frame. The Octolapse video is then created by combining these images into a video. More information on Octolapse can be found here.
To take the pictures, you'll need a high-quality camera that can take pictures. However, as you will not connect multiple cameras to your printer, you also want to make sure that the same camera has the capability to monitor and stream your printer's activities, if needed in the future. Therefore you should also consider purchasing a high-quality camera that can meet all of your needs. The higher the quality, the clearer your 3D printer's view and the better the Octolapse.
But choosing the best camera for Octolapse is not as easy as picking apples. There are three major categories of cameras - Webcams, Raspberry Pi cameras, and DSLR cameras. We will review them one by one below.
Best Camera for Octolapse
Webcams
Webcams are the preferred cameras for Octolapse for a variety of reasons. They are easy to use, setup, are affordable, and they are excellent for shooting Octolapse videos. We will discuss the Logitech C270 HD Webcam in detail, but you can also consider other webcams such as the Microsoft Lifecam HD-3000, the Logitech C920 Pro, or even a GoPro Hero8.
Logitech C270 HD Webcam
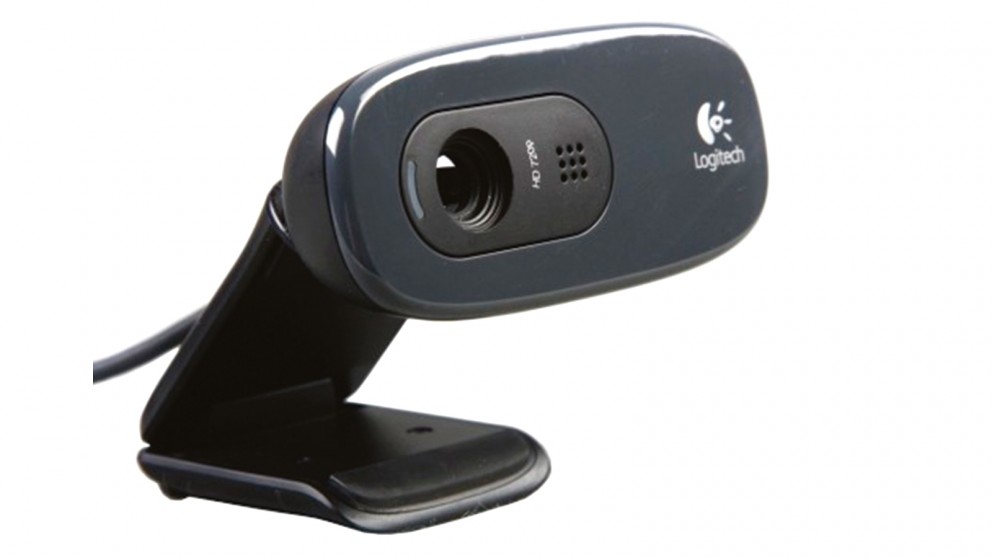 Logitech C270 HD Webcam/Courtesy: Logitech
The Logitech C270 HD Webcam is a low-cost, dependable camera from Logitech. The C270 delivers a clear and smooth video feed in widescreen (720p/30fps). This is one of the best and most widely used cameras available in the market due to its balance of pricing and features.
Considerations
Quality
In comparison to other available options, the Logitech C270 camera is perfectly balanced in its results. It is a value for money proposition and thus delivers great results. It provides a clear and smooth video feed in widescreen (720p/30fps). Its automatic light correction feature produces colors that appear realistic and natural. It is compatible with OctoPrint and is popular for capturing pictures for Octolapse.
- Ease of setup
The Logitech C270 camera is simple to install. There is nothing extraordinary that you must do. The only connection required here is the camera's USB cord to the Raspberry Pi. That's all. It should be noted that mounting the camera, the necessary equipment, and placement are all covered below.
- Mounting
A webcam was not designed with 3D printing or professional videography in mind. As a result, it does not come with a mount. To mount a webcam, you'll need to buy a mount or simply 3D print it. Thingiverse, the most popular online repository, has free to download models that are compatible with most popular 3D printers. If you don't find a compatible mount, then either try to modify the available ones or just design one as per your needs.
Once you have the mount, you also need to consider a few other things and this applies to any and all cameras you use, be it a webcam, RPi cameras or even a DSLR. The placement of the camera is critical, and in order to get the most out of your webcam, consider factors such as viewing angle, lighting, and focal distance to ensure you capture quality videos. To learn more, check out our article on Optimal camera and lighting setup for the best results.
- Cost
The Logitech C270 camera is a low-cost webcam that costs only $35. (approx). Mounts for specific camera modules are frequently created by users and freely shared on online repositories. So, you may get a mount for free.
Raspberry Pi Cameras
Raspberry Pi cameras are made for working with Raspberry Pi boards and are perfect for connecting with 3D printers. These are inexpensive but quite effective. The only major issue with the RPi cameras is the ribbon length, which is quite short and may make it difficult to mount as desired.
Standard Pi Camera
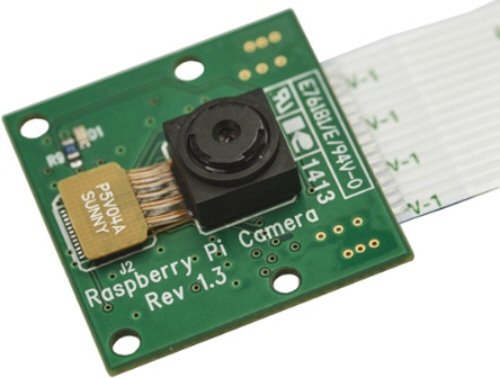
Standard Raspberry Pi camera/Courtesy: Raspberry Pi
For many users, the standard Pi camera is an entry-level option. It is the cheapest RPi camera that you can use. This is still the best camera for Octolapse at its price point. It has a 5MP Omnivision 5647 Camera Module that can provide crystal clear resolution. It has a still image resolution of 2592 x 1944 as well as video resolutions of 1080p at 30fps and 720p at 60fps.
However, it is no longer manufactured or sold by the company and has been completely replaced by a newer version. But note that the camera is effective. Many users still use the standard Pi camera. You can buy it from e-commerce stores that sell RPi modules.
If you are an US resident, you can purchase it from PiShop.
Considerations
- Quality
It is a good value for money camera in terms of quality. If you want a low-cost camera with good image quality, this is the camera for you. Its 5Mp resolution produces high-quality images and video that is more than enough for Octolapse.
- Ease of setup
The Raspberry Pi card and ribbon are included with the camera. Simply connect the ribbon to your Raspberry Pi module and the jobs done. Once connected, open Raspberry Pi configuration and enable Cameras, which is listed under 'Interface'. Once you reboot your system, the connection will be established.
- Mounting
For mounting this camera, you'll need to design a mount or download one from online repositories like Thingiverse.
- Cost
It is the most affordable camera option available. It costs only $12.95 in the United States.
Raspberry Pi Camera Module V2
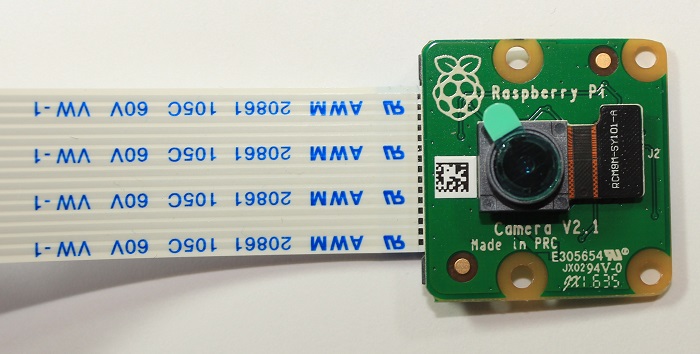
Raspberry Pi Camera Module V2/Courtesy: Raspberry Pi
The Raspberry Pi Camera Module V2 replaced the earlier standard Pi camera (in 2016) as the Raspberry Pi's entry-level camera. It includes a Sony IMX219 8-megapixel sensor as opposed to the 5-megapixel camera on the earlier model. It can capture both high-definition video and still images. The camera is compatible with all Raspberry Pi models 1, 2, 3, and 4. Other applications for the camera module include home security and wildlife camera traps.
The Raspberry Pi Camera Module V2 will be in production until at least January 2024.
Considerations
- Quality
The camera produces good images and videos at 30 frames per second and a resolution of 1080p. You will be able to capture excellent Octolapse videos and be pleased with the overall performance.
- Ease of setup
The Raspberry Pi card and ribbon are included with the camera. It is not a long ribbon, but it will suffice if you want to connect your camera close to the printer. Simply connect the ribbon to your Raspberry Pi, and the hardware connection is just done.
After this you need to open Raspberry Pi configuration and enable 'Cameras', listed under 'Interface'. The config will ask for a system reboot and the connection will be established once done.
- Mounting
You will find multiple models of a mount for the Raspberry Pi Camera Module V2 on online repositories. Download and get any of those 3D printed. Alternatively, you can also just attach it to the printer frame or to the enclosure. It depends on how important the lighting and angle is to you for your Octolapse videos.
- Cost
The Raspberry Pi Camera Module V2 is slightly more expensive than the standard Raspberry Pi camera, and rightly so. In the United States, it will cost you around $30.
Raspberry Pi HQ Camera
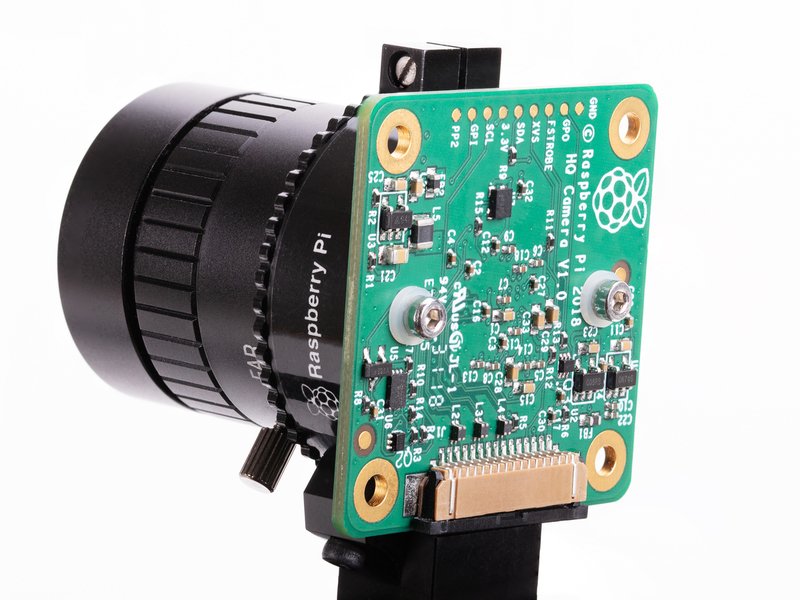 Raspberry Pi High-quality camera/Courtesy: Raspberry Pi
The Raspberry Pi High-quality camera is an expensive and quite a professional quality camera. It comes with a 12.3 megapixel Sony IMX477 sensor, 7.9mm diagonal image size, and back-illuminated sensor architecture, with adjustable back focus and support for C- and CS-mount lenses. This gives you more control over the quality of feed you want to see and record.
This Pi camera is quite nerdy to look at, but it also takes excellent photos and videos. For obvious reasons, it is the heaviest of all the Pi cameras, and with the addition of other lenses, such as the telephoto lens, it becomes even heavier.
Considerations
- Quality
You can't complain about the camera's quality. The RPi HQ camera is the best RPi camera available. The ability to add lenses can assist you in creating the best Octolapse ever. Although it may appear to be overkill if you only intend to shoot Octolapses with this camera, you can also check out Obico if you are also interested in remote monitoring and AI Failure detection.
- Ease of setup
Firstly, the ribbon with the camera is short and a larger one might be helpful. If you want to use the 16mm telephoto lens, you must ensure that the large lens does not disrupt your setup every time you change lenses. As a result, it is recommended that you consider the distance when mounting the camera for the first time.
To enable high-quality Octolapse, modify the '/boot/octoprint.txt file'. First, ensure that the camera is set to 'raspi' mode. If the auto option does not work, you can manually change the resolution in the file to "-x 1920 -y 1080 -fps 10". Don't forget to comment out the USB camera to disable it.
- Mounting
As the camera is heavier than other RPis, it will require a more robust mount. A make-shift mount may affect the results. Furthermore, if you intend to use other lenses, the weight will increase. Consider this scenario when selecting a strong mount.
As previously stated, a larger ribbon may be required to position the camera at a distance and at an angle that allows you to see the model perfectly. The ideal position would be 15-20 cm away from the center of the x-axis, elevated, and pointing slightly downwards. This angle provides a good view of the print's inner structure. The Octolapse videos from this angle look mesmerizing.
- Cost
Owing to the high camera resolution and the ability to add other lenses, this is the most expensive Raspberry Pi camera. In the United States, the camera will cost you around $50. If you want to add more lenses, a tripod, an adjustable mount, and so on, the price can easily exceed $150.
DSLR Cameras
DSLR cameras for Octolapse/Courtesy: Remain Indoors
DSLR cameras are obviously not designed to capture Octolapse, but the image and video quality they deliver is breathtaking. These are by-far the best cameras for Octolapse. It's possible you won't buy one specifically for this purpose, but if you have one at home, you can use it.
Almost all DSLR cameras have comparable image quality (surely better than all other webcams and RPi cameras). However, you might find the setup and mounting a bigger hassle than other options we have shared till now. There is no specific camera you can use, but Nikon DSLR cameras are commonly used. We check out the Nikon D700 for you below.
Nikon D700
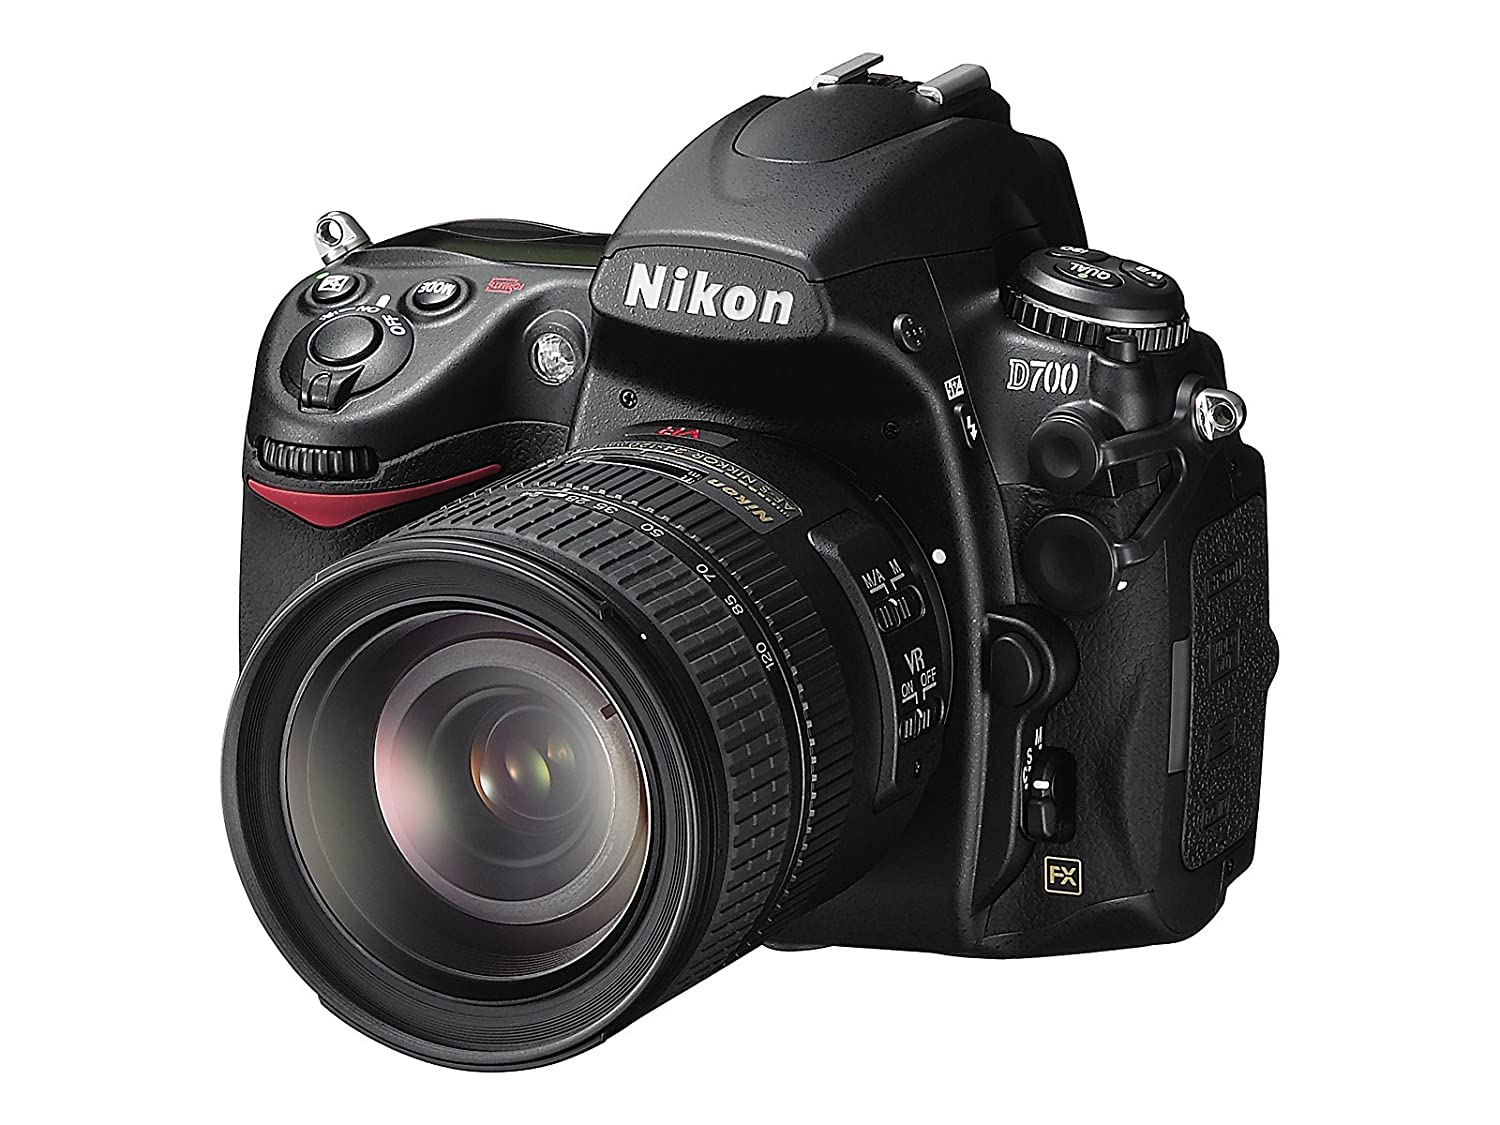
Nikon D700 DSLR Camera/Courtesy: Nikon
Nikon is a well-known camera brand, best known for its DSLR cameras. Its Nikon D700, now not in production, is one of its popular products which many people have at their homes. It has a 12.1-megapixel FX-format (23.9 x 36mm) CMOS sensor, continuous shooting at up to 5 frames per second, high resolution with 170-degree wide-angle viewing, fast, accurate 51-point AF with 3D Focus Tracking, and many other features.
All these features make it perfect for capturing Octolapse and even for remote monitoring, if you wish to do so.
Considerations
- Quality
The 12.1-megapixel camera, ability to shoot at 5 frames per second, and other features make it a high-quality camera. Its image and video quality surpasses that of any webcam or RPi camera. If you have a Nikon D700 at your home, then you got to try and set it up for Octolapse.
- Ease of setup
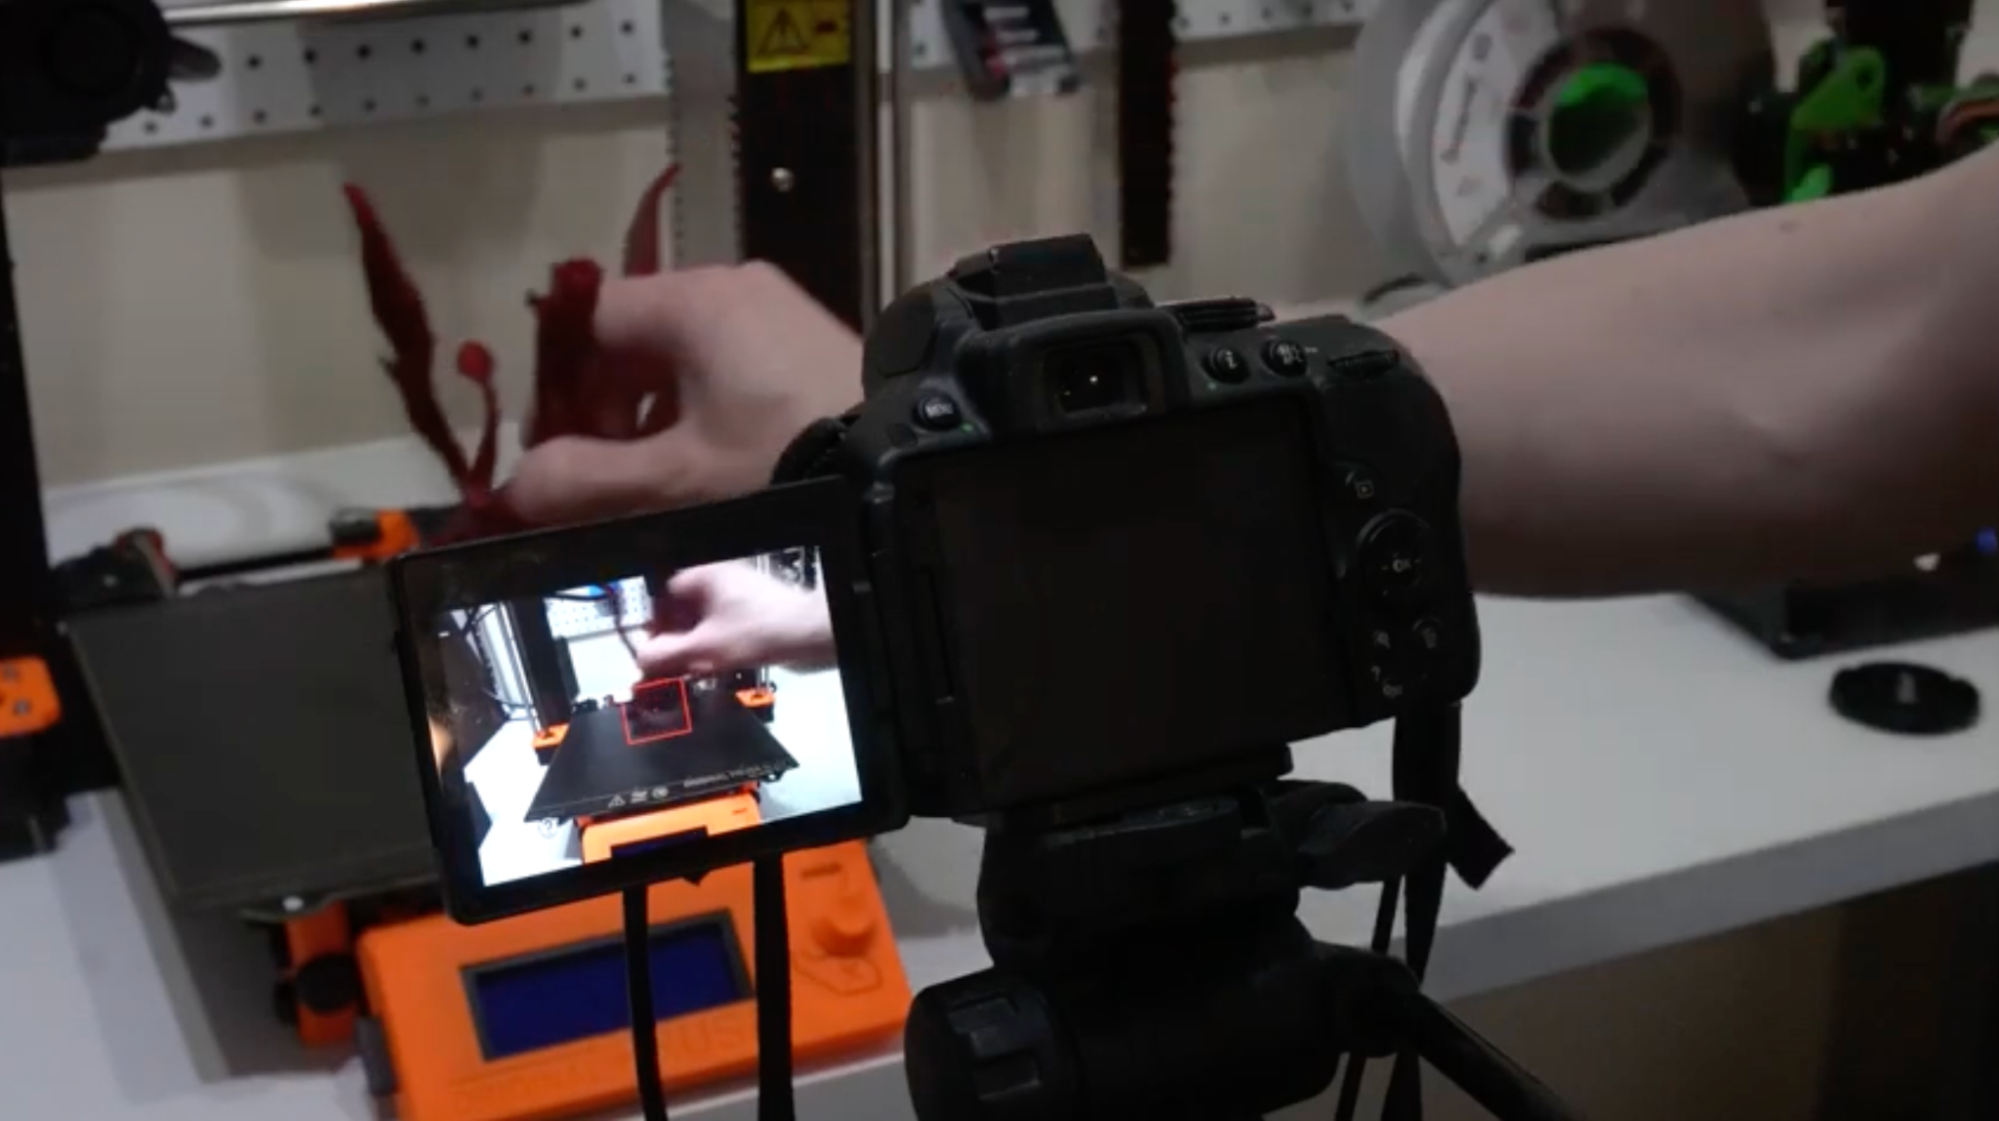
The setup is a little complicated, especially if you are new to OctoPrint and Octolapse. To begin the setup, connect your DSLR to the Pi and turn it on. Following that, you must install GPhoto 2, a free digital camera software for Unix-like systems. Many users encounter bugs during the configuration process and the configuration is also a little tricky. To ensure you don't make mistakes or waste time in debugging the issue, check out this video uploaded by FormerLurker, the developer of Octolapse. The video will walk you through the entire process of setting up your DSLR camera.
- Mounting
Most DSLR users have a tripod, but these aren't always ideal for use with a 3D printer. If you have better mounting equipment then use them, otherwise, just search for a compatible 3D model of a mount on online repositories and 3D print it. Use this 3D printed mount to position the camera at an optimal angle to capture the entire model.
- Cost
Buying a DSLR camera for Octolapse would not be recommended, but if you already have one, you can definitely use it. The Nikon D700 has been archived by the brand and is no longer in production, but you can still buy on eBay from people willing to sell it.
Conclusion
We knew you were wondering how to choose the best camera for Octolapse, so we wrote this comprehensive guide to assist you. With all of the options presented above, we hope you have already decided which one you want to try and maybe you have already set it up. And now that you've got the camera setup for Octolapse, you can also use it for remote monitoring and AI failure detection with Obico for OctoPrint.
Remember that Octolapse is only one function of a camera; why not enhance your 3D printing experience with remote monitoring, live streaming, and AI failure detection? This will help you keep a track of your prints and also ease your life. This is life-changing if you have multiple printers often running simultaneously. So, with a good camera, you can do your work while also having fun with Octolapse.