Bed Leveling – As Demonstrated on an Ender 3
A hands-on guide to show how to use the paper-method to level the bed for your Ender 3 printer, as well as the tips for the possible problems you may run into.
For any 3D printer that doesn't have auto bed leveling, such as Ender 3, CR-10, CR-10s, Anet A8, precise bed leveling is something that every successful print needs to nail in order to get it right. Bed leveling is literally the foundation (or making sure that the foundation is set up correctly, at least) of a good print. Without a level bed (or software compensation to account for the unlevel bed) your print is often destined for the trash bin, wasting time and money. How much time and money is up to you, because The Spaghetti Detective has got your back!
Why your print didn't stick to print bed
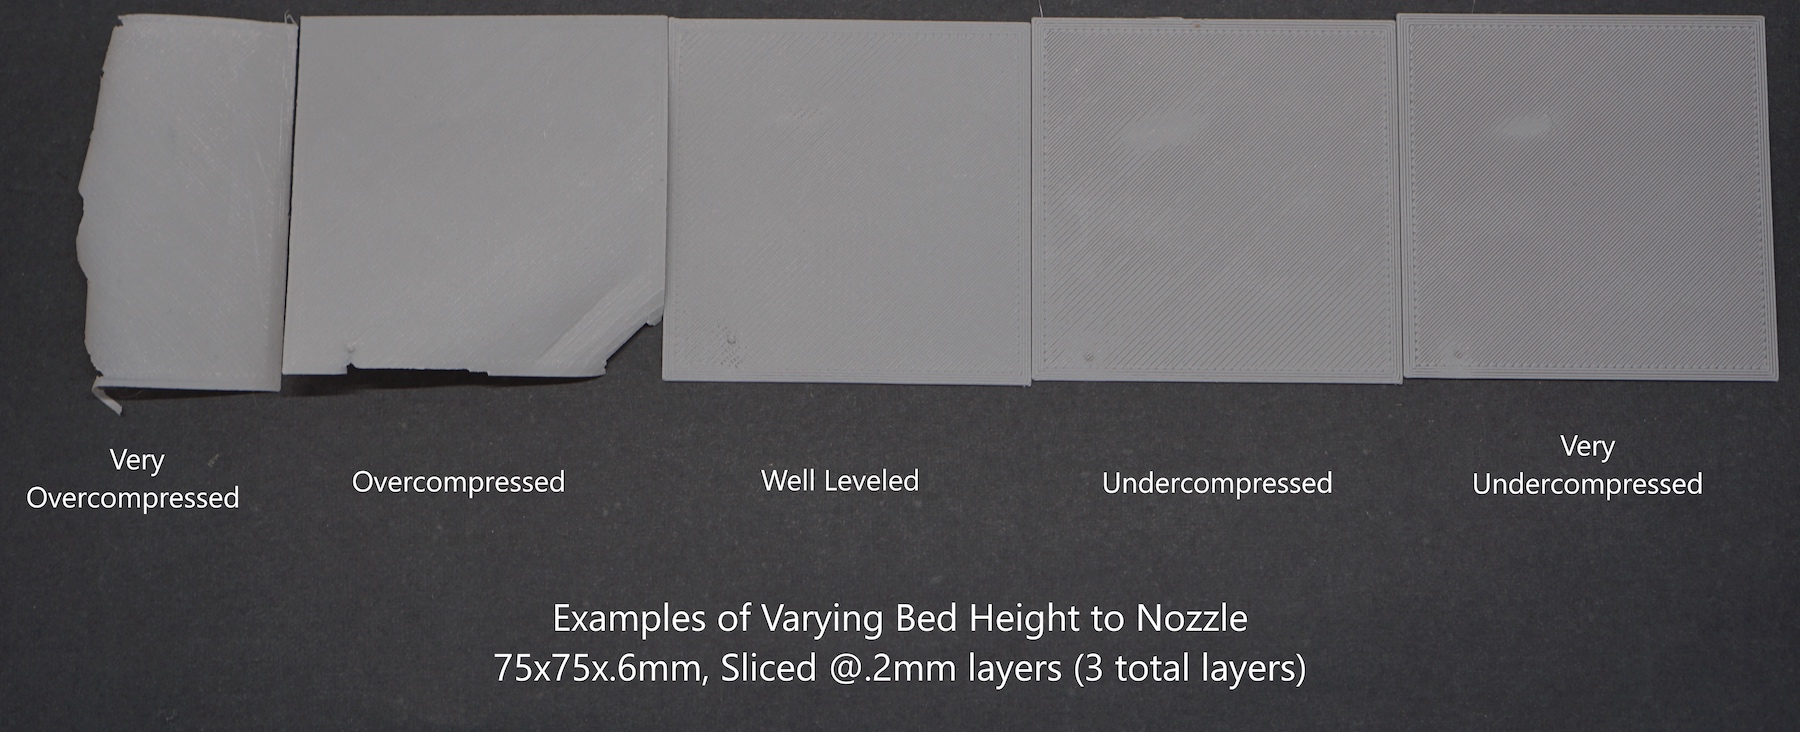
Overcompression
Your bed is too close to the nozzle as it goes along its path. This can be displayed by a few symptoms:
- Ridges from an overcompressed first layer squishing out over the edges of the previously extruded layers – this can either make an ugly first layer and show on the sides of the print, or in the worst case, catch on the nozzle and cause the entire print to not adhere correctly.
- Significantly reduced/spotty extrusion – your extruder will leave streaks as it builds up enough pressure to extrude some filament, lets it out, and then goes back to building it up.
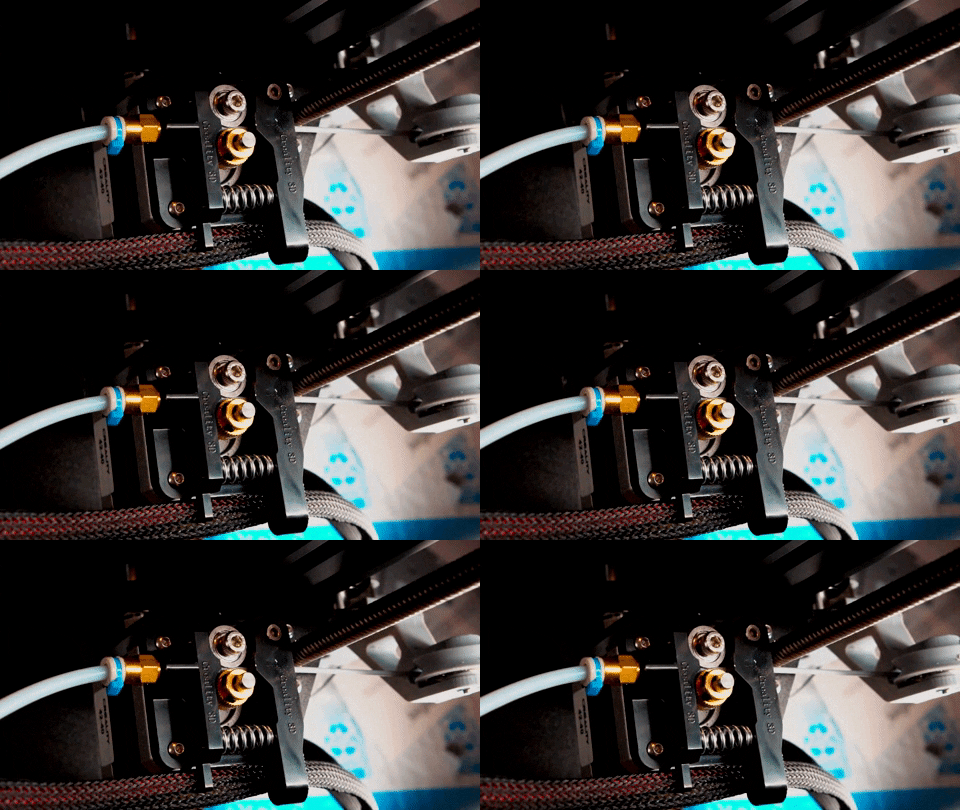
- Grinding filament – The "bite" that the gear has in the filament overwhelms the mechanical strength of the filament, taking a crescent bite out of it, and leaving a mess on the extruder gears – Make sure to clean out the gears if you experience this symptom.
- Clicking at the extruder – this is when the mechanical strength of the filament overpowers the torque the stepper motor is putting out, causing "skipped steps". The extruder motor puts energy into the "spring" of filament, and then when the spring force overpowers the torque output by the motor, it quickly springs back, going against the other steps on the inside, creating the clicking noise.
Undercompression
Your filament is not compressed against the bed and doesn't adhere at all. Symptoms include:
- Spaghetti – That's why we're here! Spaghetti is where your printer extrudes filament which isn't adhered to a layer (or the bed!) below it winds up as a ball and can spiral out to the table on which the printer is sitting, potentially even gumming up the other axes to make even more potent spaghetti
- Hotend Blobs – There's a potential for the spaghetti to coalesce on to your hotend making a nice meatball (HA!) on your hotend for you to return to. Sometimes to remove it it's a simple matter of heating the hotend and carefully maneuvering it off, but sometimes it catches on the wires leading to your hotend, and never lets go.
A combination of overcompression and undercompression
You start off with loosely adhered filament on one corner of the bed, but as the hotend moves to the other corner, your extruder motor starts skipping steps and strips out the filament.
Here's a simple graphic that shows a range between over compression and under compression:
How to actually level bed on your Ender 3 with a piece of paper
Ideally, you want a squished, but not too squished layer. A tried-and-true technique is to have around a .1mm gap between the nozzle and the bed to get the ever-so-perfect first layer. This is typically achieved by using a piece of regular 8x11 printer paper or a .1mm feeler gage in between a heated nozzle and the bed. This is the technique we'll focus on now.
All you need to start is something that's available in every home, workplace, shed is the venerable 8x11" sheet of paper. This is the recommended tool for leveling your average, everyday 3d printer that does not have automated mesh leveling.
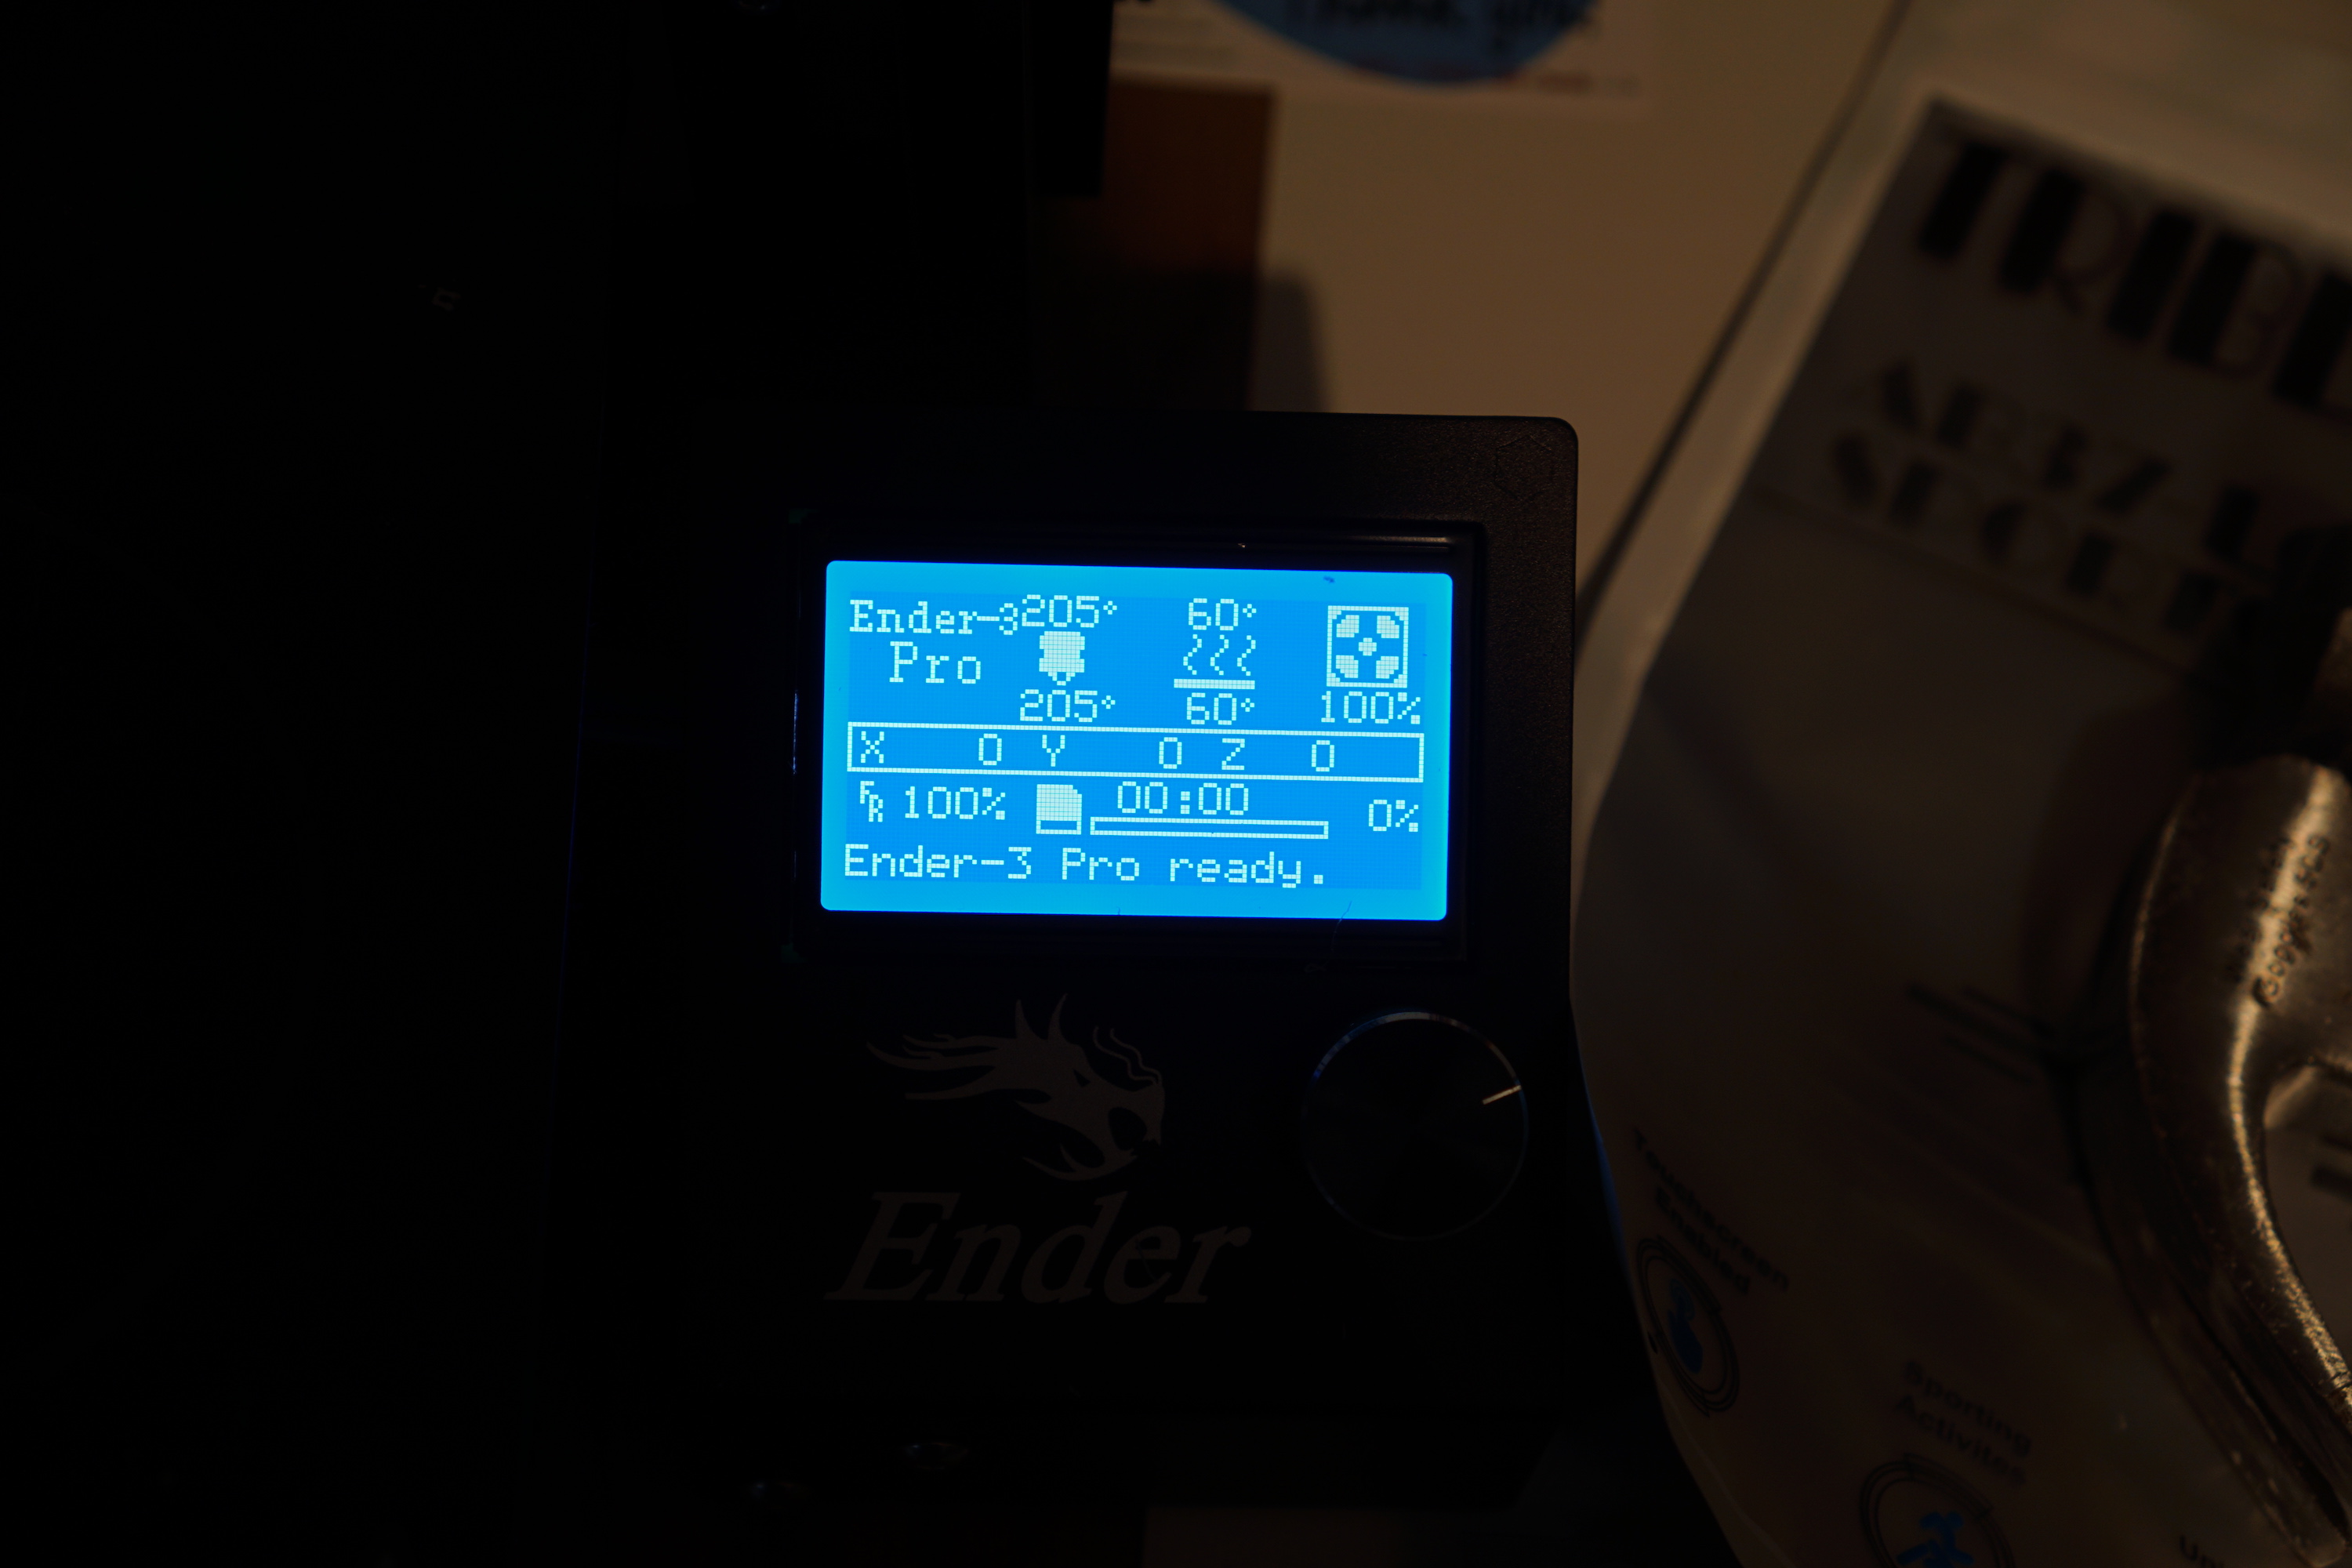
- Preheat your Printer to the print temperatures. This includes both the bed AND the nozzle. When the bed and nozzle get hot, they expand and will get closer together.
-
Home your Z axis.
NOTE: For those who only have "home all" (as on my ender 3), either issue Gcode G28 Z via a terminal like Octoprint or through Cura, or Issue a "Home all" command through the LCD, disable motors from the same menu, and raise and lower the z-axis to get only the z-axis powered and stable. It's important that the Z-axis stay powered while the other two Axes are unpowered to prevent any inadvertent raising/lowering of the z-axis) especially on units that have the print bed on the Z-axis.
-
Move your nozzle to one of the corners, if it's not already there.
-
Fit a piece of paper in between the nozzle and bed. If it doesn't fit, lower that corner of the bed using available tools to level. For an overwhelming majority of printers this will be in the form of a leveling screw on the bed. That's how it is on my ender 3.
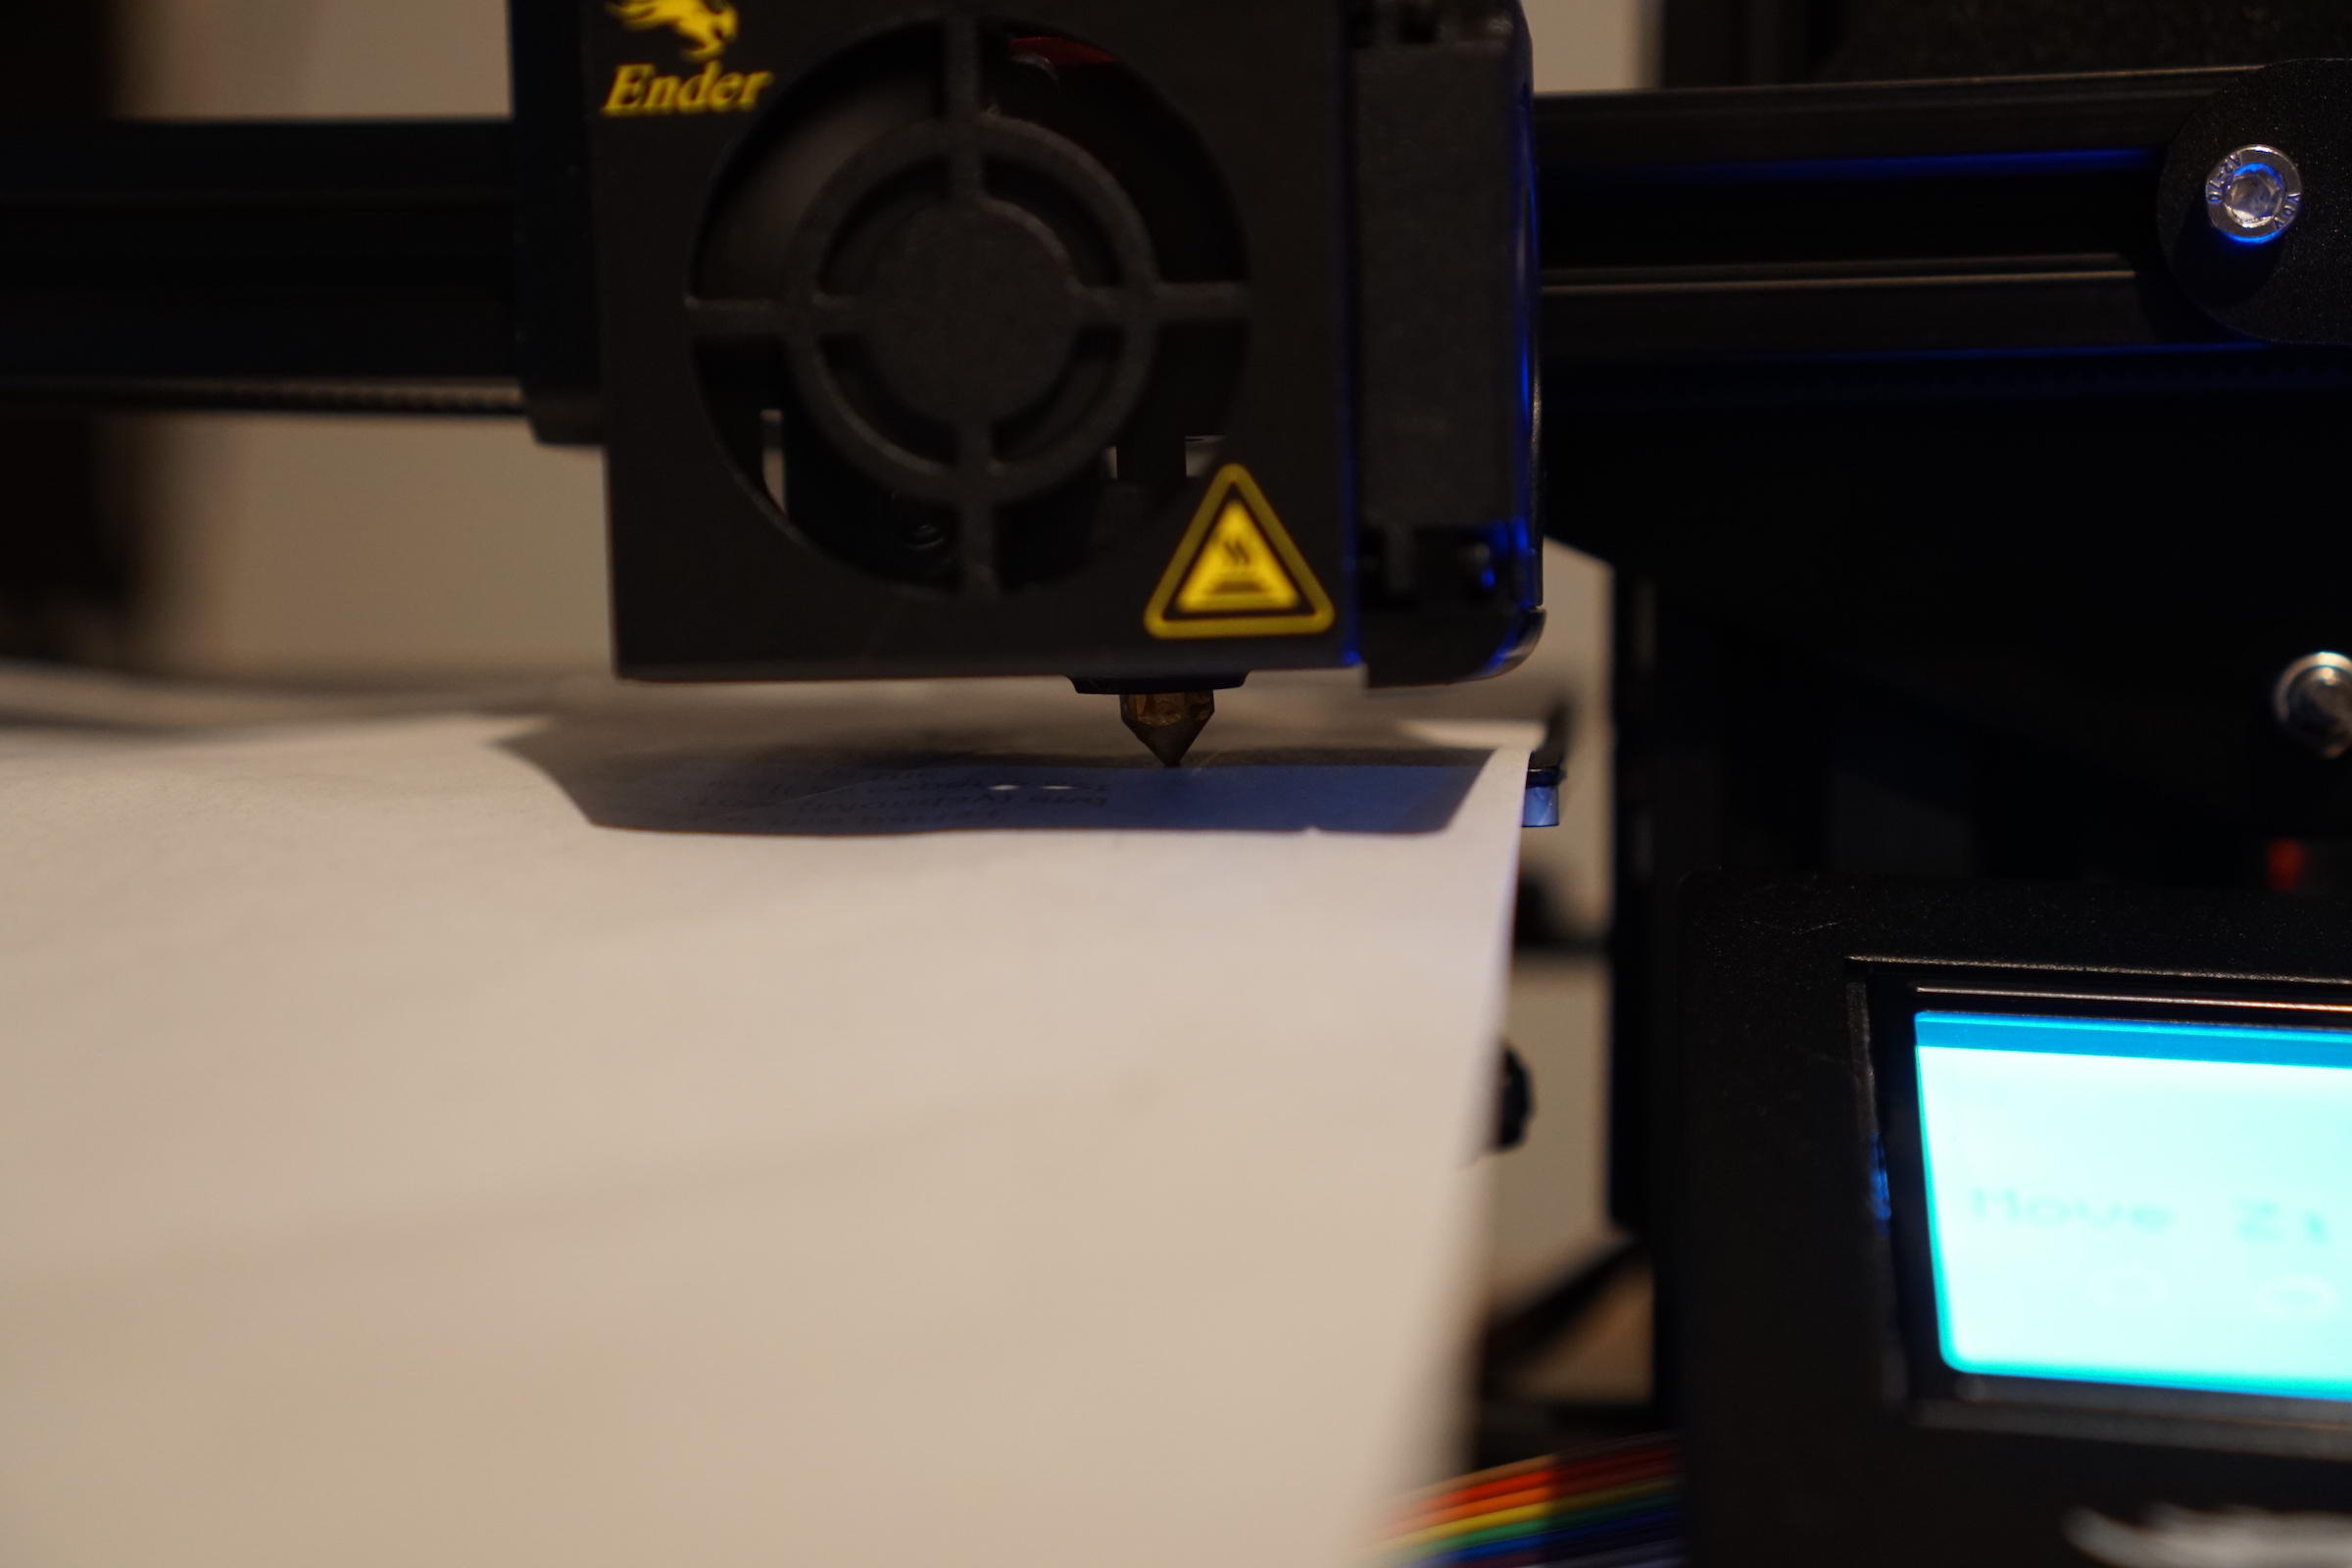
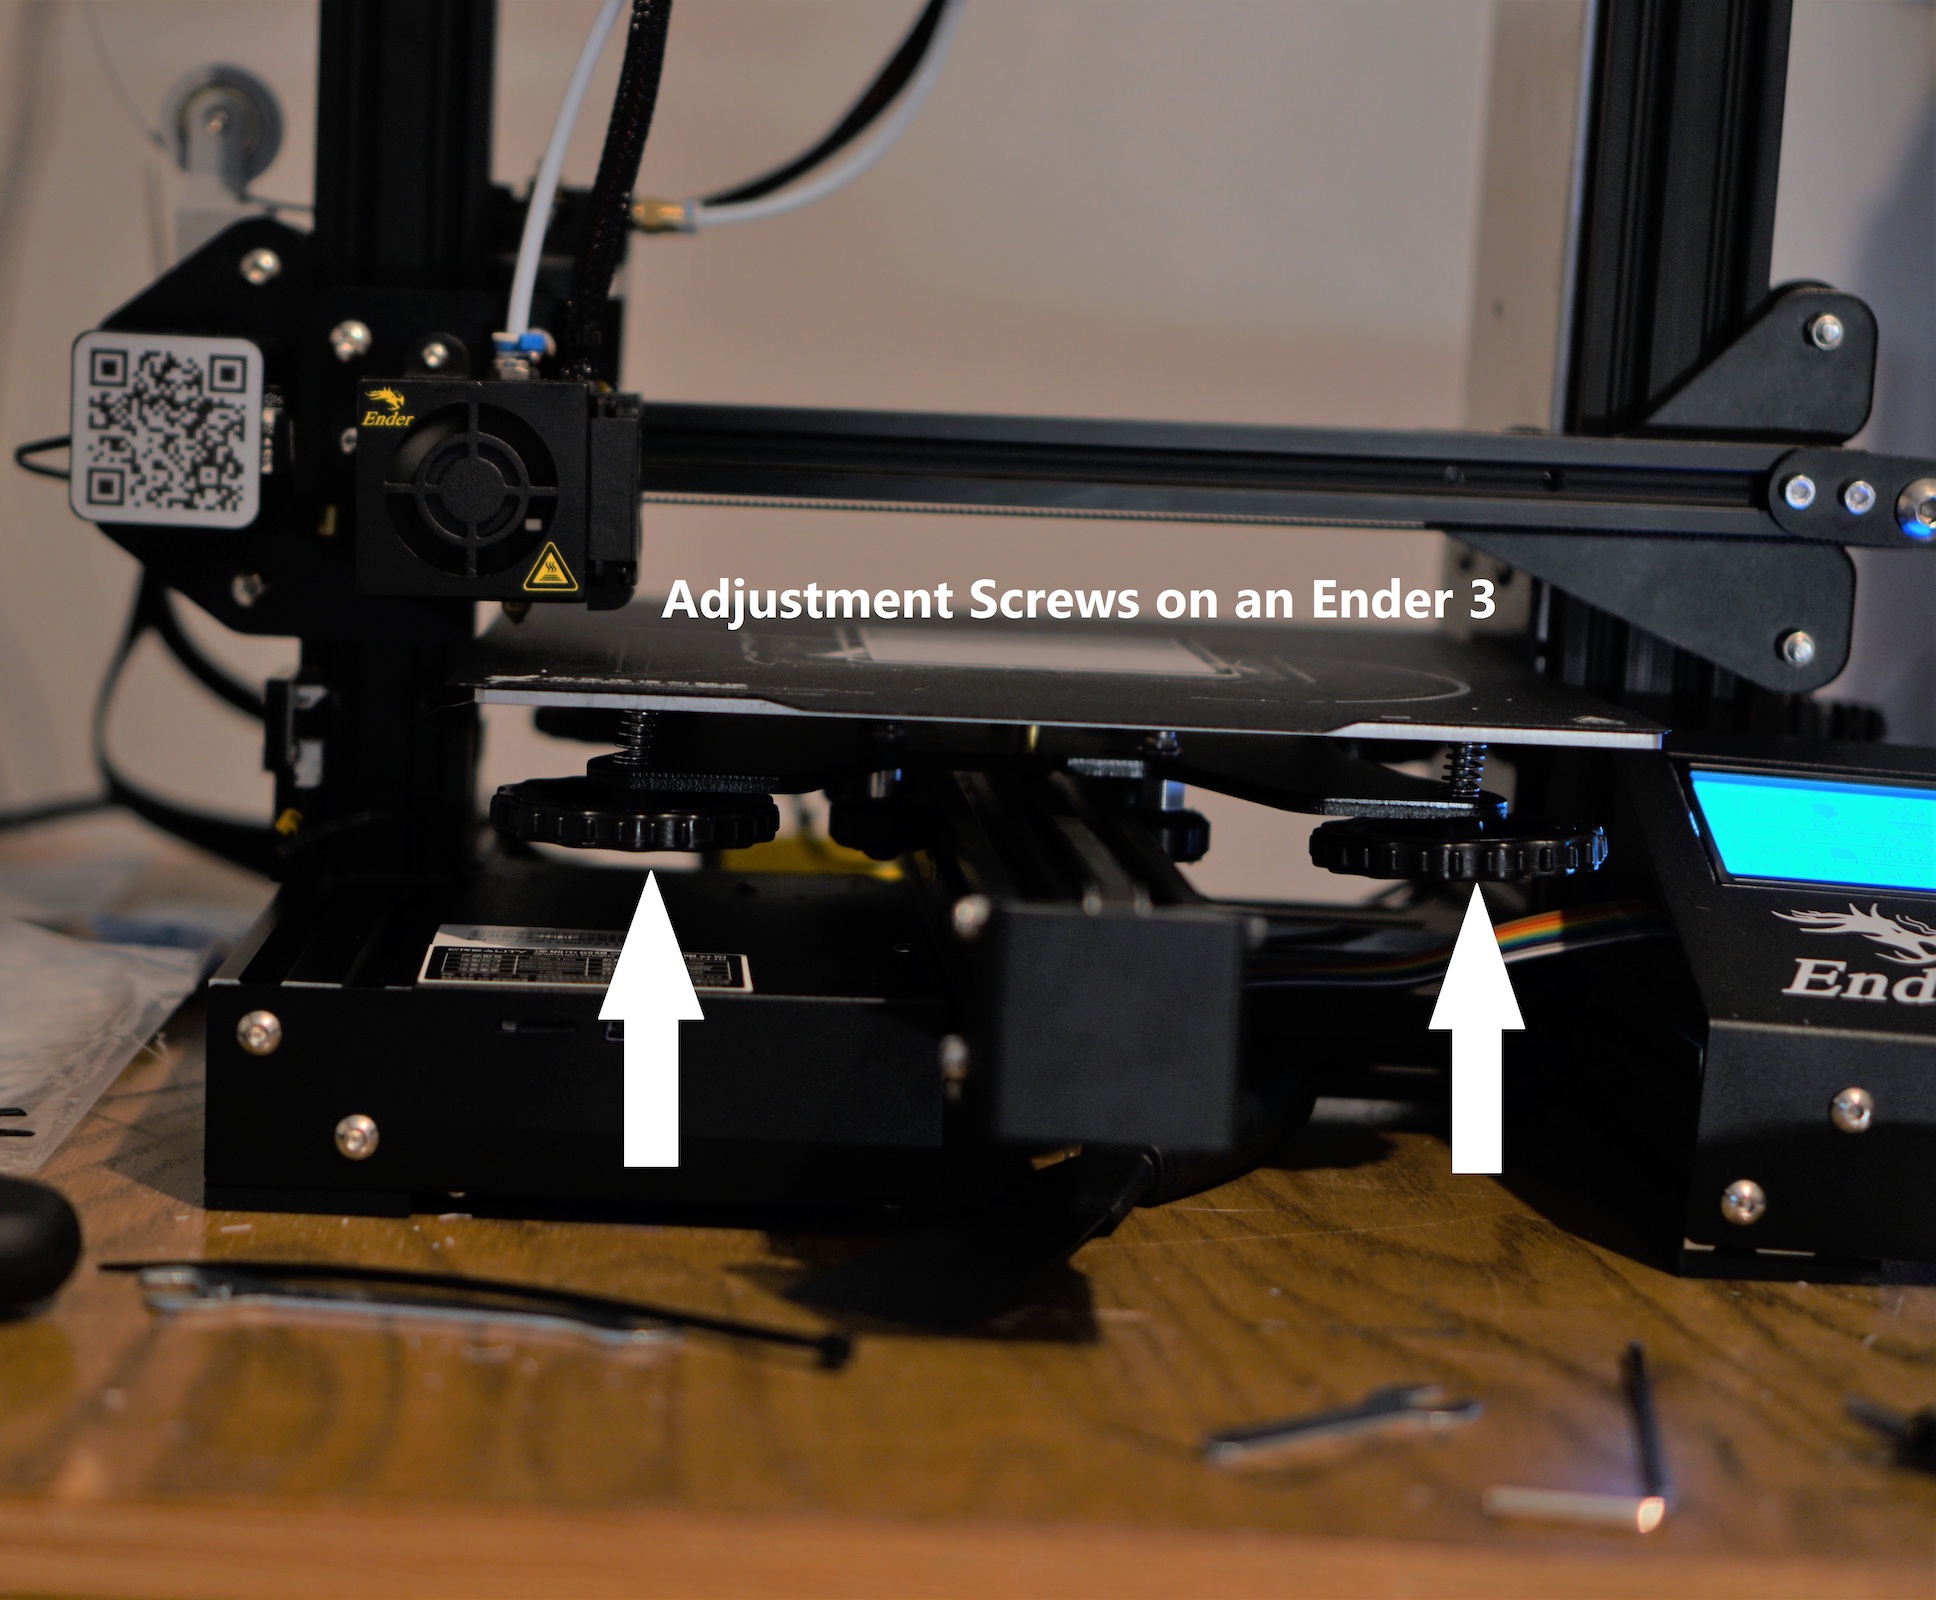
- Carefully adjust the height of the bed to when you move the paper back and forth, the nozzle drags against the paper while sandwiched against the bed, but this friction is not enough to crumple the paper. Experiment with how much friction is added/removed by raising/lowering the bed.
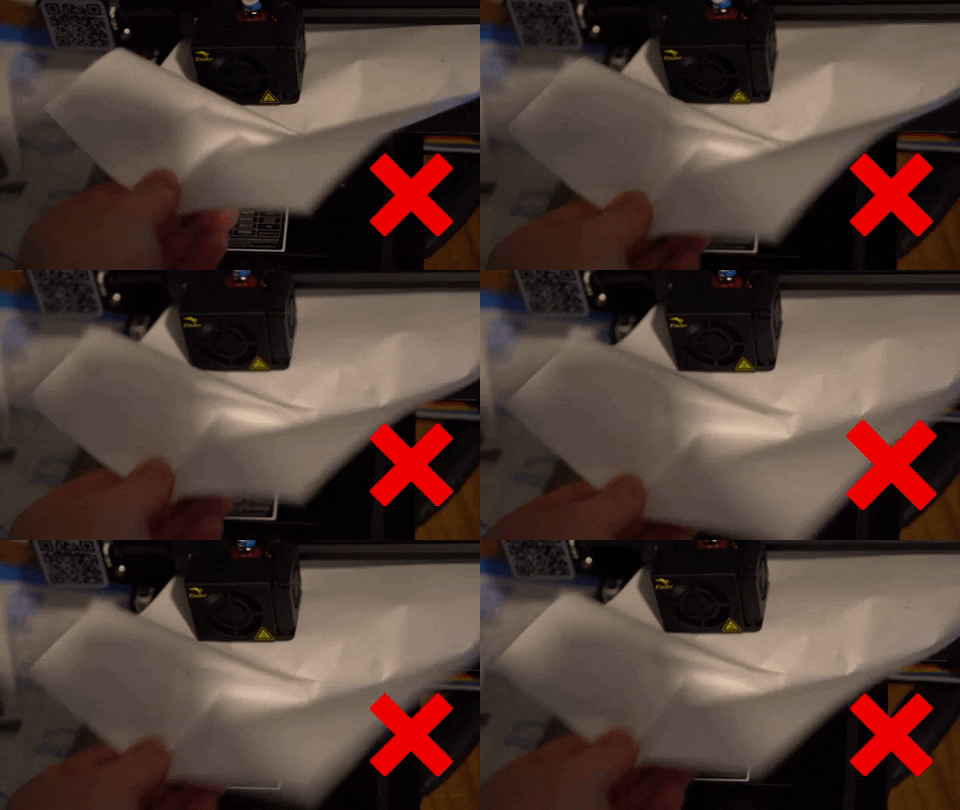
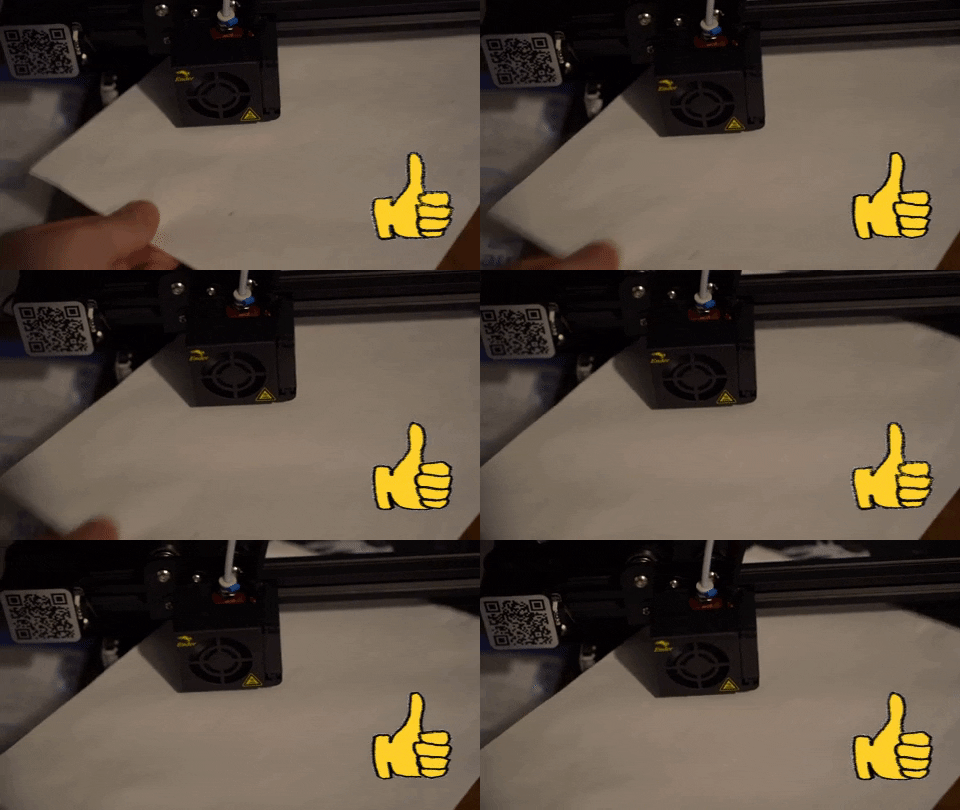
-
Move the nozzle and the paper to a different corner. Repeat Step 5, adjusting only that corner.
-
Continue leveling the bed in this manner for all 4 corners. Then repeat. Seriously. Do it again. You'll find that your old points have been changed by altering the 3 other points on the bed.
-
Once you've been "around the block" sufficiently, there shouldn't be much difference between the feel of all four corners (if you have a level bed!) and your bed should be level.
-
For a bonus step, move the nozzle to the center of the bed and check if that has a similar feel as the rest of your corners. If your bed is actually flat, it should be pretty close to each corner. If not, you may have warped bed, and more advanced steps may be needed such as mesh compensation or bed replacement.
Tips and tricks
-
If you have a typical 4 point leveling system (4 screws to adjust the bed) try loosening up one of the screws completely and leveling using three of the screws. Not guaranteed to work, but if your bed is truly flat, a 4point leveling system may be in fact hurting your ability to properly level by over-constraining your bed
-
Calibrating your hand-feel may take some time, and may be unique to every printer/bed surface. This may be something that will require some experimentation. My PEI bed on my Rigidbot is significantly smoother than my Ender 3's stock surface, and thus I expect a much heavier dragging on my ender 3 for the same height difference between bed and nozzle.
-
Try switching up the direction you level corners after the first or second rotation around if you can't get all 4 corners to level
-
If you add/remove/replace bed coatings such as washable glue stick, or blue tape, remember to re-level with the new coating on.
-
Different filaments prefer different heights to the bed – PLA/ABS may be fine being smashed down into the bed, but PEI typically prefers being merely laid onto the surface, and may require a z-offset on the printer or in the gcode in order to properly adhere.
Finishing up
Leveling your printer for the first time may seem like a daunting, mysterious task, but after some experimentation and good old experience, it becomes a simple routine that is something that's in every maker's toolbox to get prints started off right.
For very large beds (such as my Reliabuild XL's spacious 16"x12" bed) or badly warped beds (my Creality CR-10) special considerations may be needed in order to get you a perfect first layer. For most, this involves some form of mesh leveling, either done automatically with an inductive or servo-deployed probe (BLTOUCH) or simply by activating manual mesh leveling and performing the paper leveling technique described above in a grid and allowing the controller to compensate for the unique curvature of your bed. I'll have another article on what this is, how it works, and a general guide to get you started with mesh leveling on your printer.
Now go out there and get printing!
Luke
If you're looking into getting a new printer, two low-cost printers that come highly recommended are the Creality CR-10 and the Ender 3. Check them out on amazon with the links below:
Creality Ender 3: https://amzn.to/3gl2G7l
Creality Ender 3 Pro: https://amzn.to/3gv5DT7
Creality CR-10: https://amzn.to/2EEJtzB