How to Get Started 3D Printing

Many people who know very little about 3D printing think the barriers to entry are extremely high, but the truth is that these days it’s extremely cheap and easy to get started. In this article we’ll walk through some of the myths and misconceptions then talk about how you can get started with 3D printing as a beginner.
Myth #1: Technical Expertise Required
Many people think you need to be a programmer or engineer to learn to 3D print, but in reality you only need a few tools and almost no expertise to get started! The biggest skill that is required to 3D print is being able to Google things and follow instructions. With so many people entering this hobby, there is almost always a YouTube step by step guide for anything you want to do. This means you don’t need to be an expert, when you encounter an issue you can just Google it and follow instructions to problem solve.
3D printers are still not completely reliable and they will fail frequently, so it does require patience and problem solving. The problem solving is generally things like adjusting a dial to tune your bed height, or replacing a nozzle that has gotten clogged. If you can build ikea furniture you can likely follow the instructions to fix an issue with a printer. It’s a great opportunity for anyone to tinker and learn.

Myth #2: You need professional CAD software

Professional computer-aided design (CAD) software can be expensive and hard to learn. While a lot of the fun from 3D printing comes from being able to design customized gadgets and trinkets, you really don’t need to be able to modify CAD files at all. There are amazing resources, such as Thingiverse, that have a large library of incredibly fun, useful, and exciting files ready to print. You just need to download the files, “slice” them for your printer, and you’re good to go!
Take a look for yourself and find something you like. If you’re not sure what to look for, browse the “popular” or “new” tabs to get an idea of some cool things you could print.
I do believe that a lot of the fun of 3D printing comes out when you can customize items to your liking, so once you’ve printed a few pre-fab items, I would encourage you to challenge yourself and try out TinkerCad. It is a totally free website that enables you to design your own custom CAD files or modify existing ones you download from places like Thingiverse! It is much more limited than more advanced CAD software, but that’s actually a kind of amazing feature when you’re first learning. You don’t get overloaded with buttons and options and hotkeys. Instead you get a clean, intuitive, fast loading user experience where you can get started quickly! Watch a YouTube video tutorial on how to use TinkerCad and try to make yourself a custom keychain. You’ll be amazed how quickly you can pick it up.
Myth #3: All you can do is make useless trinkets

While you can make some amazing custom trinkets and these are frequently the first items people start with, there are tons of highly functional items you can print. Frequently 3D printing these items yourself will save you money versus ordering them online. I personally didn’t know anything about CAD when I started 3D printing and since then I’ve learned to make incredibly intricate custom items that are very functional around my home.
Here’s a few functional examples I love from Thingiverse.
- Door Hooks: https://www.thingiverse.com/thing:1367661
- Adjustable Phone Stand: https://www.thingiverse.com/thing:3146835
- Custom Phone Cases: https://www.thingiverse.com/tag:phonecase
- Knife Block Extension: https://www.thingiverse.com/thing:715221
The list goes on!
Alright, I’m convinced. Where do I start?
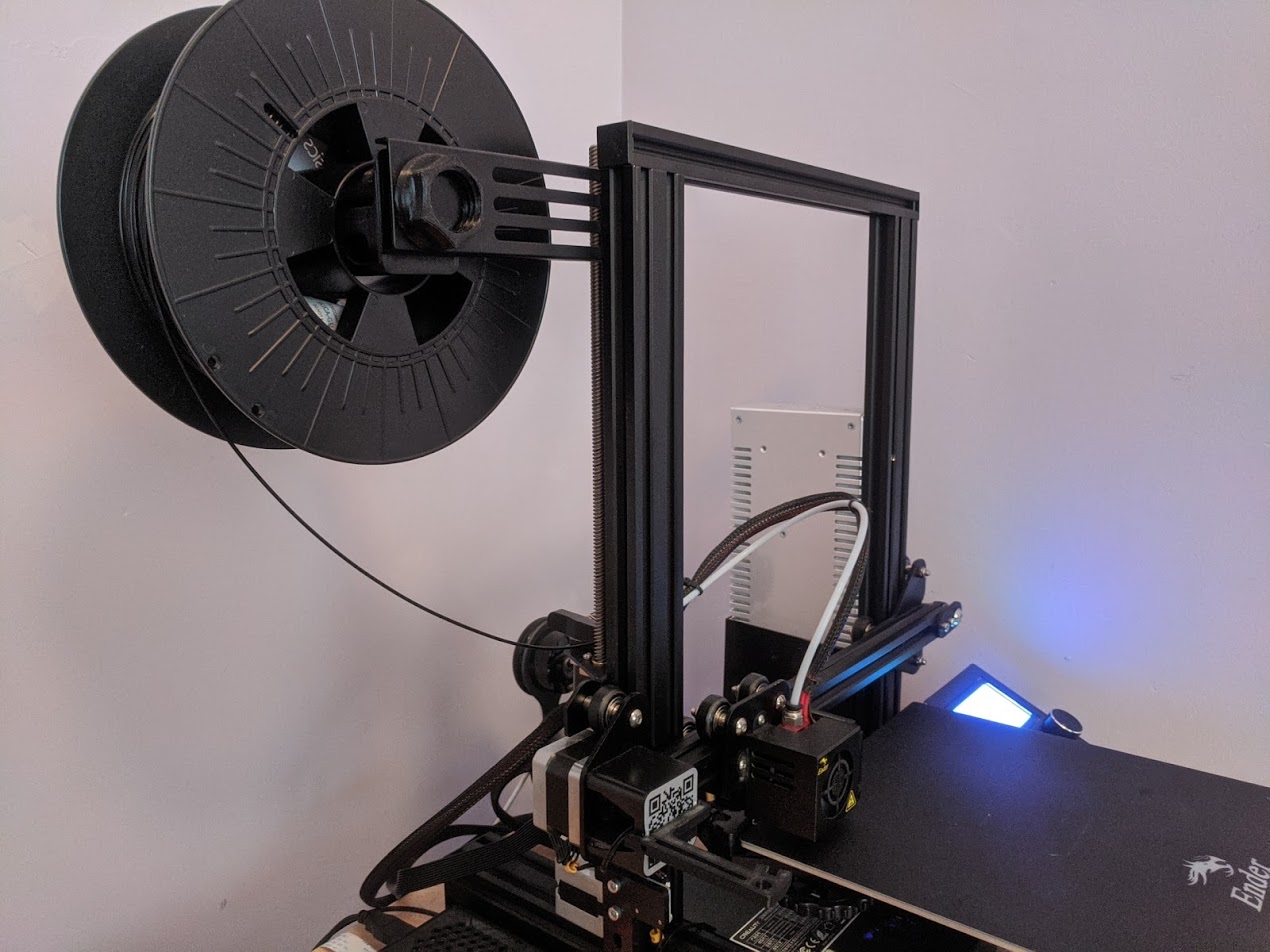
If you're just getting started there is no need to break the bank on an expensive printer. The best 3d printer for beginners is probably a low cost machine such as the Ender 3 or the Prusa Mini. The Ender 3 will frequently go on sale for under $200 and the Prusa Mini is around $350. Both of these require some very basic assembly, but all of the tools required are included. It’s similar to putting together Ikea furniture in difficulty. Take a look at one of the many YouTube videos walking through unboxing and setup to get a better idea what you’re in for.
Both of these printers are shockingly capable for their price point. You’ll be able to experiment with printing most items on Thingiverse without a problem. With some minor upkeep, they’ll last you quite some time too!
Next find a file you want to print and download the “stl” file. The “stl” is a digital description of the physical item, it doesn’t have anything specific to your printer in it and can be used to print on any 3D printer. Next you’ll need to download some slicing software and learn to slice your “stl” CAD file into a “gcode” file. The “gcode” file is a file that tells your specific printer how to move all of it’s motors to achieve the “stl” model that you sliced. You can change options in the slicer to adjust how quickly it tries to do this or if it should add little scaffolds to hold up overhanging sections (these are called “supports”). There are lots of online tutorials for this too, just search “how to slice an stl for [my printer name]”. There will be a TON of options in the slicer, but generally the defaults will do fine for your first try. Once you have a gcode file, copy it to your SD card, plug it into your printer, and use the menu on the printer to print from SD card!
Remember if anything goes wrong, just Google it! There will be lots of people encountering similar issues. If you do get started, shoot us an email with a picture of your first print!
