3D Print Troubleshooting - Bed Adhesion
If you've ever done any metal machining, you already know that rigidly attaching your stock material to the machine is one of the most important steps in the process. In 3D printing, this is also true. Rigidly attaching the base of your part to the print bed, also known as bed adhesion, is one of the most critical parts of the printing process.
When this fails, it can be difficult and frustrating to debug. The reasons why bed adhesion fails are sometimes not obvious and can be finnicky to reproduce and rectify.
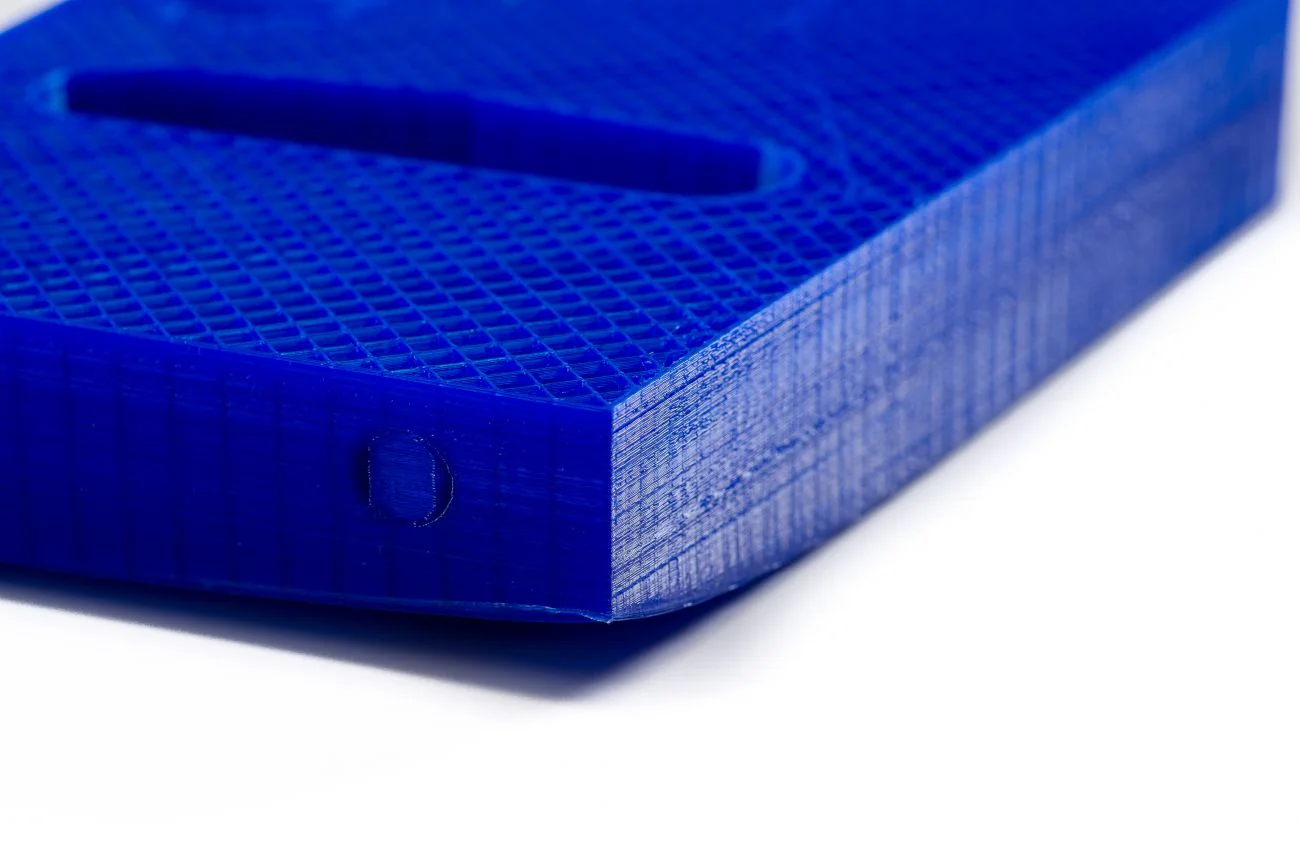
What Causes Bed Adhesion to Fail?
The root causes of poor bed adhesion can be narrowed down to two basic factors: improper nozzle distance to the print bed, and cooling causing the print to shrink away from the print bed. Both of these will be addressed in this article.
A good distance between the nozzle and the print bed is critical: If the nozzle is too close to the bed, the nozzle will not be able to extrude enough filament and the first layer height will be incorrect. Too far, and the extruded filament will not "squish" against the build plate, and will not have a firm hold.
As the filament heats up, it expands. Similarly, as it cools, it contracts. If this contraction happens too early or too fast, the first layer can shrink away from the build plate and come off. The exact ways in which the plastic contracts depend not only on the type of plastic and the temperature, but also the geometry of the extruded plastic.
Nozzle Height
Bed Levelling
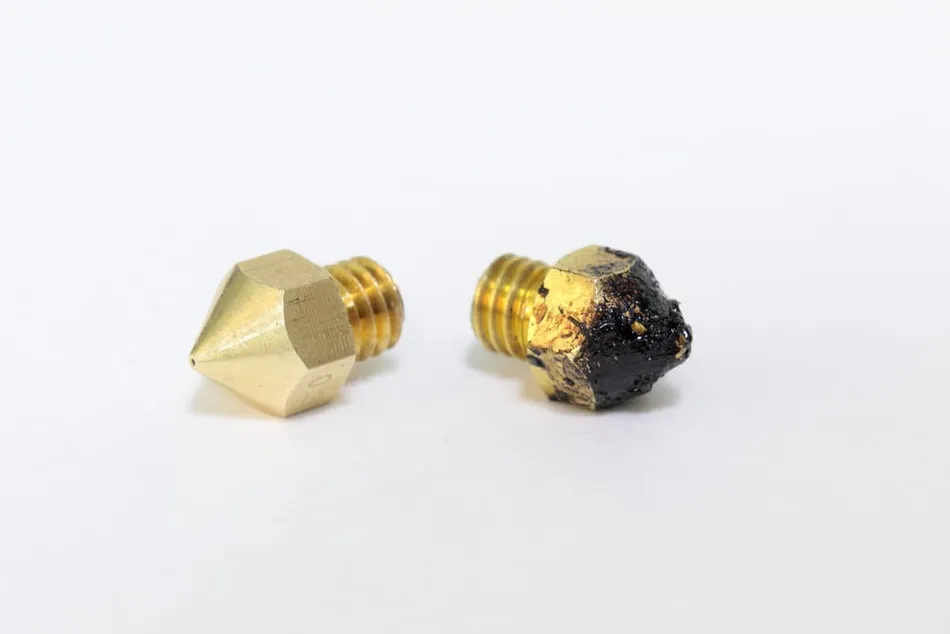
Bed levelling is a critical part of preparation to 3D print, and a precisely levelled bed can make the difference between success and failure of a print. Many modern printers have ways to automatically level the bed, but it is important to verify that these methods are working correctly. For example, many printers physically tap the nozzle tip against the print bed to probe the bed height. If the nozzle has a plastic blob stuck on the tip from a prior print, this will lead to an incorrect bed level. Similarly, if you are using a device such as the BLTouch or a capacitive sensor, make sure that the mounts that affix these to your nozzle are correct, and have not been bumped or are loose.
Z-Offset
Once the bed level is determined, the printer applies a z-offset to calculate the actual height of the nozzle. If you are using an external device to determine the bed level, this can be thought of as the height difference between the sensor and the nozzle tip. If you are getting a successful bed level but your nozzle is still too high or too low, slightly modifying the z-offset up or down might help in this case. Make sure to change your z-offset
First Layer Print Speed
While the first layer print speed does not directly affect the distance between the nozzle and print bed, it can have a similar effect on adhesion. Faster print speeds can prevent the filament from being properly "squished" into the build plate. Slowing down the print speed on your first layer (as many slicers easily allow you to do) can improve bed adhesion significantly.
Thermal Contraction
First Layer Temperature
Maintaining the temperature of the first layer is absolutely critical, and there are many factors that can impact this. First, check for fluctuations in your bed temperature by looking at the plot of the bed temp over time. If the temperature is changing a lot over time, first try running a new PID tune for the bed temperature controller. If that does not improve things, double check the connections to the bed heater and thermometer. If none of these work, you may need to replace the bed thermometer and/or heater.
Make sure that the part cooling fan is disabled for the first layer of your print, this will ensure that you are not blowing cool air across your first layer while printing.
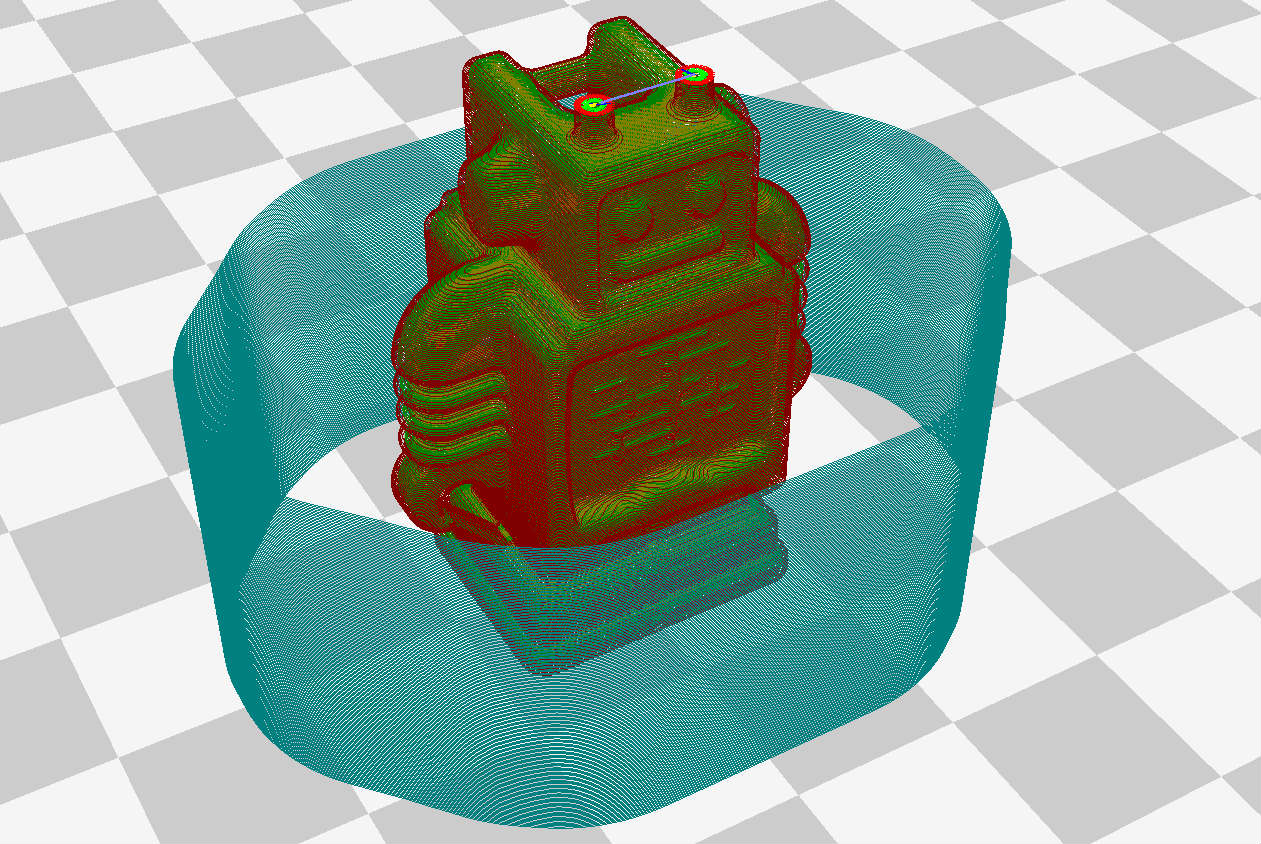
Ideally, your printer will be enclosed and there won't be any external cool air contacting the print bed. However, even if you don't have the ability to do this, there is an easy way to emulate this: printing a draft shield. Enabling this setting in your slicer instructs the printer to print a wall around your print that shields it from any breezes that may improperly cool your print. In some slicers, this feature is not called draft shield. Instead, users can enable a skirt and modify the skirt height to the desired height.
Build Platform Surface
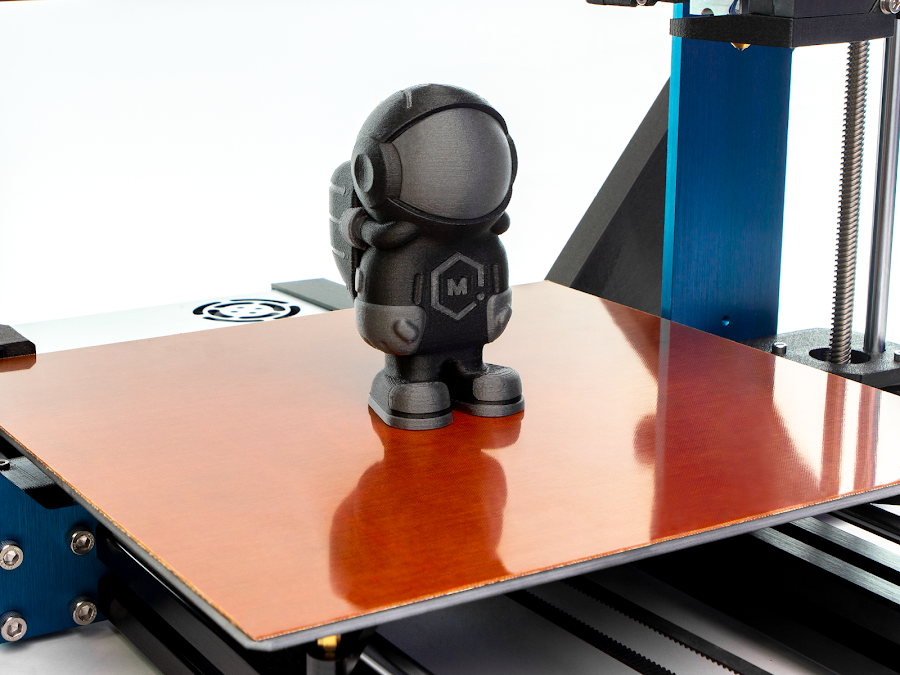
Another way to adress the contraction problem is to improve the adhesive properties of the bed. There are some materials that plastic sticks to better than others: PLA sticks very well to blue painter's tape, and ABS sticks well to kapton tape. Additionally, you can apply adhesive treatments to the build surface like a glue stick or hair spray. It may also be worth changing out your build surface entirely; while magnetic PEI build plates are very convenient, there are other surfaces with better adhesive properties. Garolite sheets have become popular for their excellent surface finish and adhesive properties.
Print Orientation
Something as simple as the orientation of your print can also have a massive effect on build plate adhesion. Re-orienting your part to maximize the area of the first layer can increase adhesion, so consider designing your parts to be printed with their largest face down.
Additionally, you can rotate the part so that the first layer consists of many short lines instead of fewer longer lines. Longer straight lines on the first layer contract along their length, and shorter lines have less ability to exert the contraction force that pulls the part off the bed. In the extreme, consider trying something like the "hilbert" first layer pattern, which minimizes the length of individual extrusions, but takes significantly longer to print.
Brims and Rafts
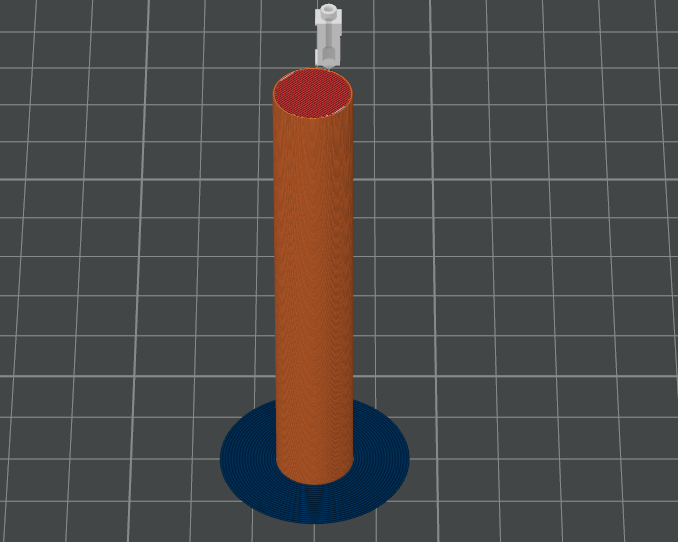
In service of maximizing the area of your first layer, you can also use brims and rafts. Enabling brims will direct your slicer to generate a thin layer that makes contact with the base of the print. This brim helps hold the edges of the modl down to the build plate. Rafts, in contrast, generate an entire new base layer for your print to print on top of. This uses more filament, but can also generate a much stronger interface between the print and bed.
Obico

One of the most frustrating aspects of bed adhesion problems is the sheer amount of wasted filament. Detecting print failure early can help you save filament, and Obico can automatically detect many types of print failures.
To set up Orca Slicer with Obico, follow the instructions in this guide: Obico Integration Guide