3D Printing PETG - All You Need To Know

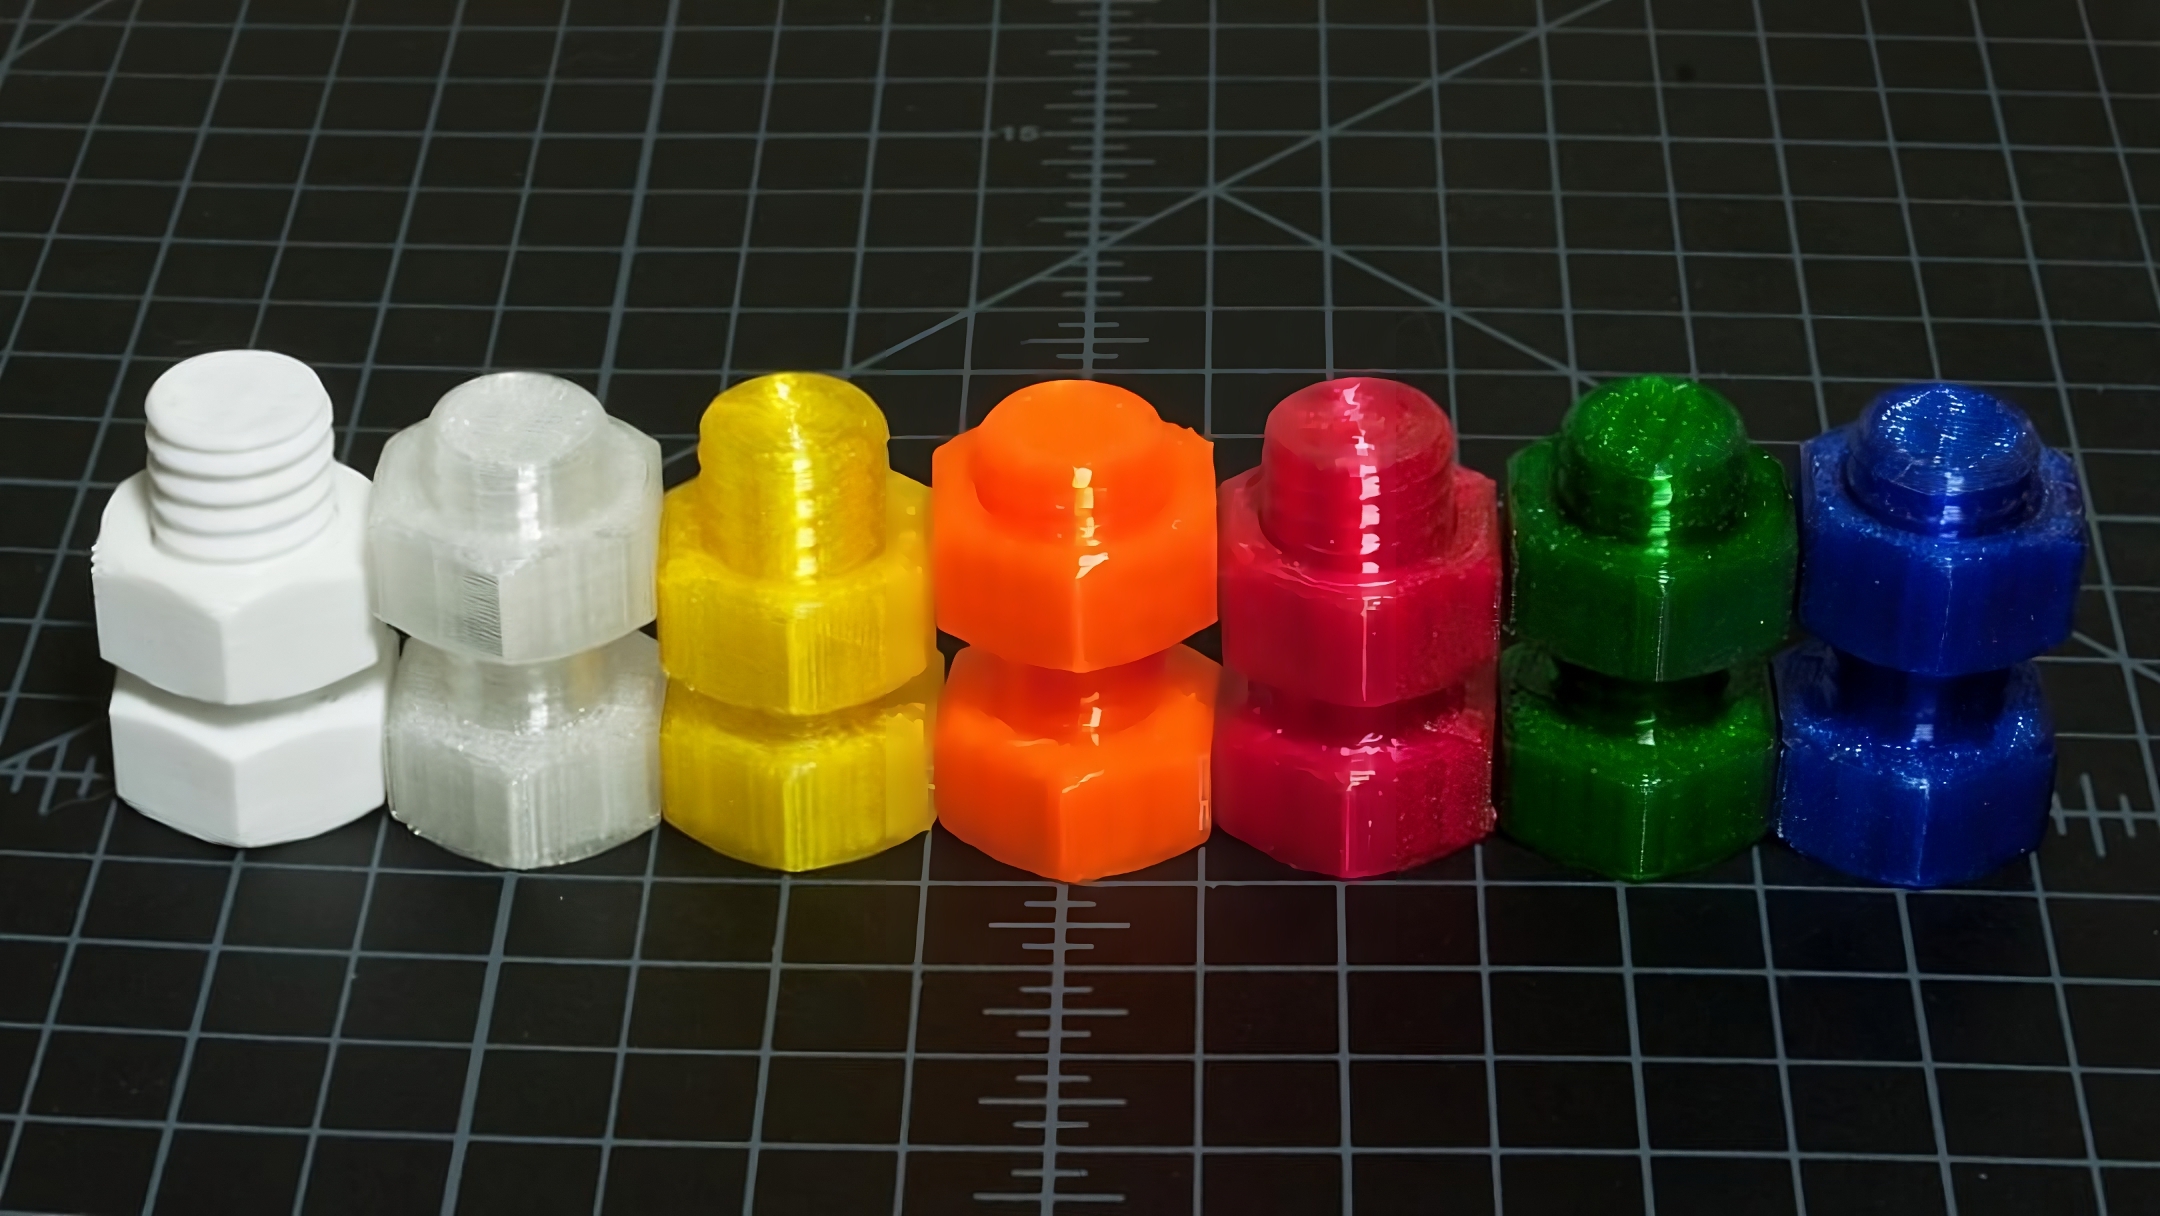
Picture courtesy: CobaltEchos via Reddit
PolyEthylene Terephthalate Glycol, or PETG, is like the middle sibling in 3D printing. It gives you the strength of ABS while being as easy to print as PLA. PETG is known for its excellent impact resistance and toughness and is a great material for printing functional parts.
In this article, we'll look at everything there is to know about this material. We'll understand what exactly PETG is, what are its advantages and drawbacks and how to optimize your print settings for the best print quality with this material.
So bottle up your designs and get ready to print them with PETG.
What is PETG Filament?
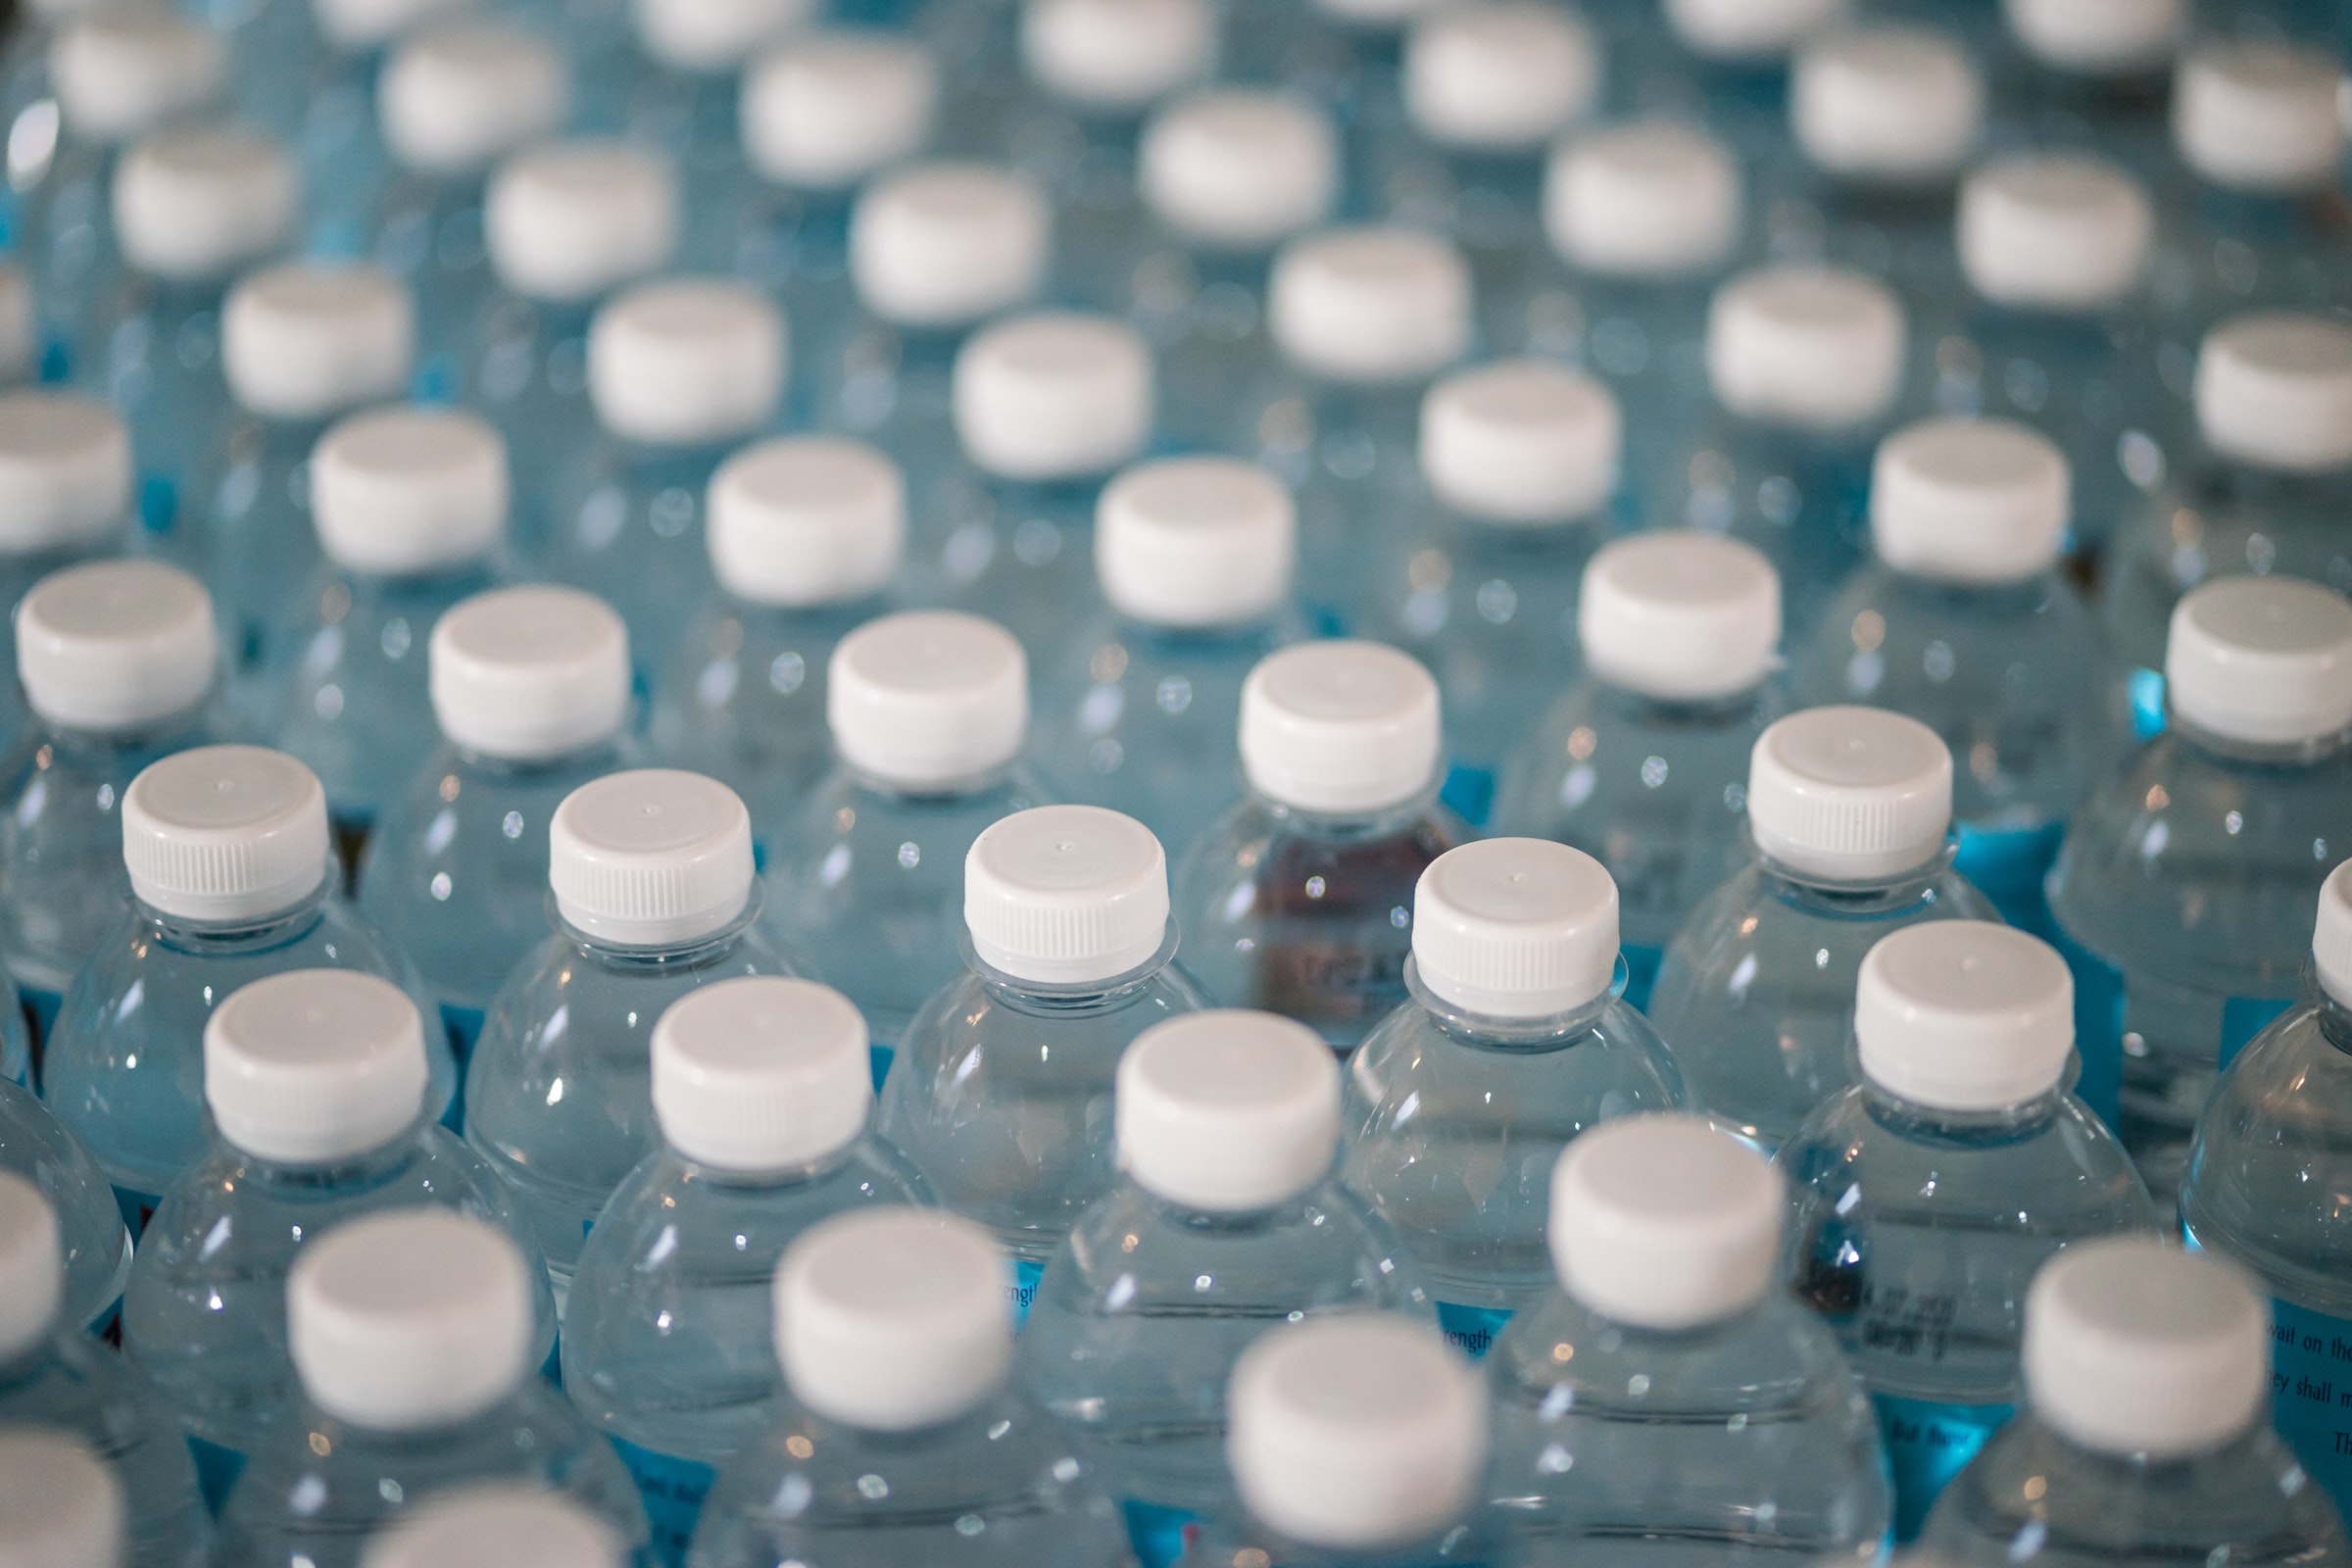
Picture Courtesy : Photo by Jonathan Chng on Unsplash
PETG filament is a thermoplastic polymer popular for its chemical resistance and excellent durability. It's a transparent material and is what is used to make plastic bottles. But there's a slight difference between the plastic used in industries and 3D printing.
The plastic bottles you see are made of PET material. It's recyclable, food safe, and chemically resistant. But PET is slightly brittle and has a high melting point.
This is why glycol is added to the material to improve its mechanical characteristics and lower the printing temperature. Glycol makes the filament more pliable and improves its shock resistance capabilities.
With the addition of glycol, PETG becomes an ideal material for printing functional parts and load-bearing models. Combined with its ease of printing, PETG is much more suitable for 3D printing than abs.
You can print snap-fit parts, enclosures, torque wrenches, pliers, and even vases out of PETG. It's a versatile material, and you have a lot of freedom over what you can print with it.
Why 3D Print PETG?
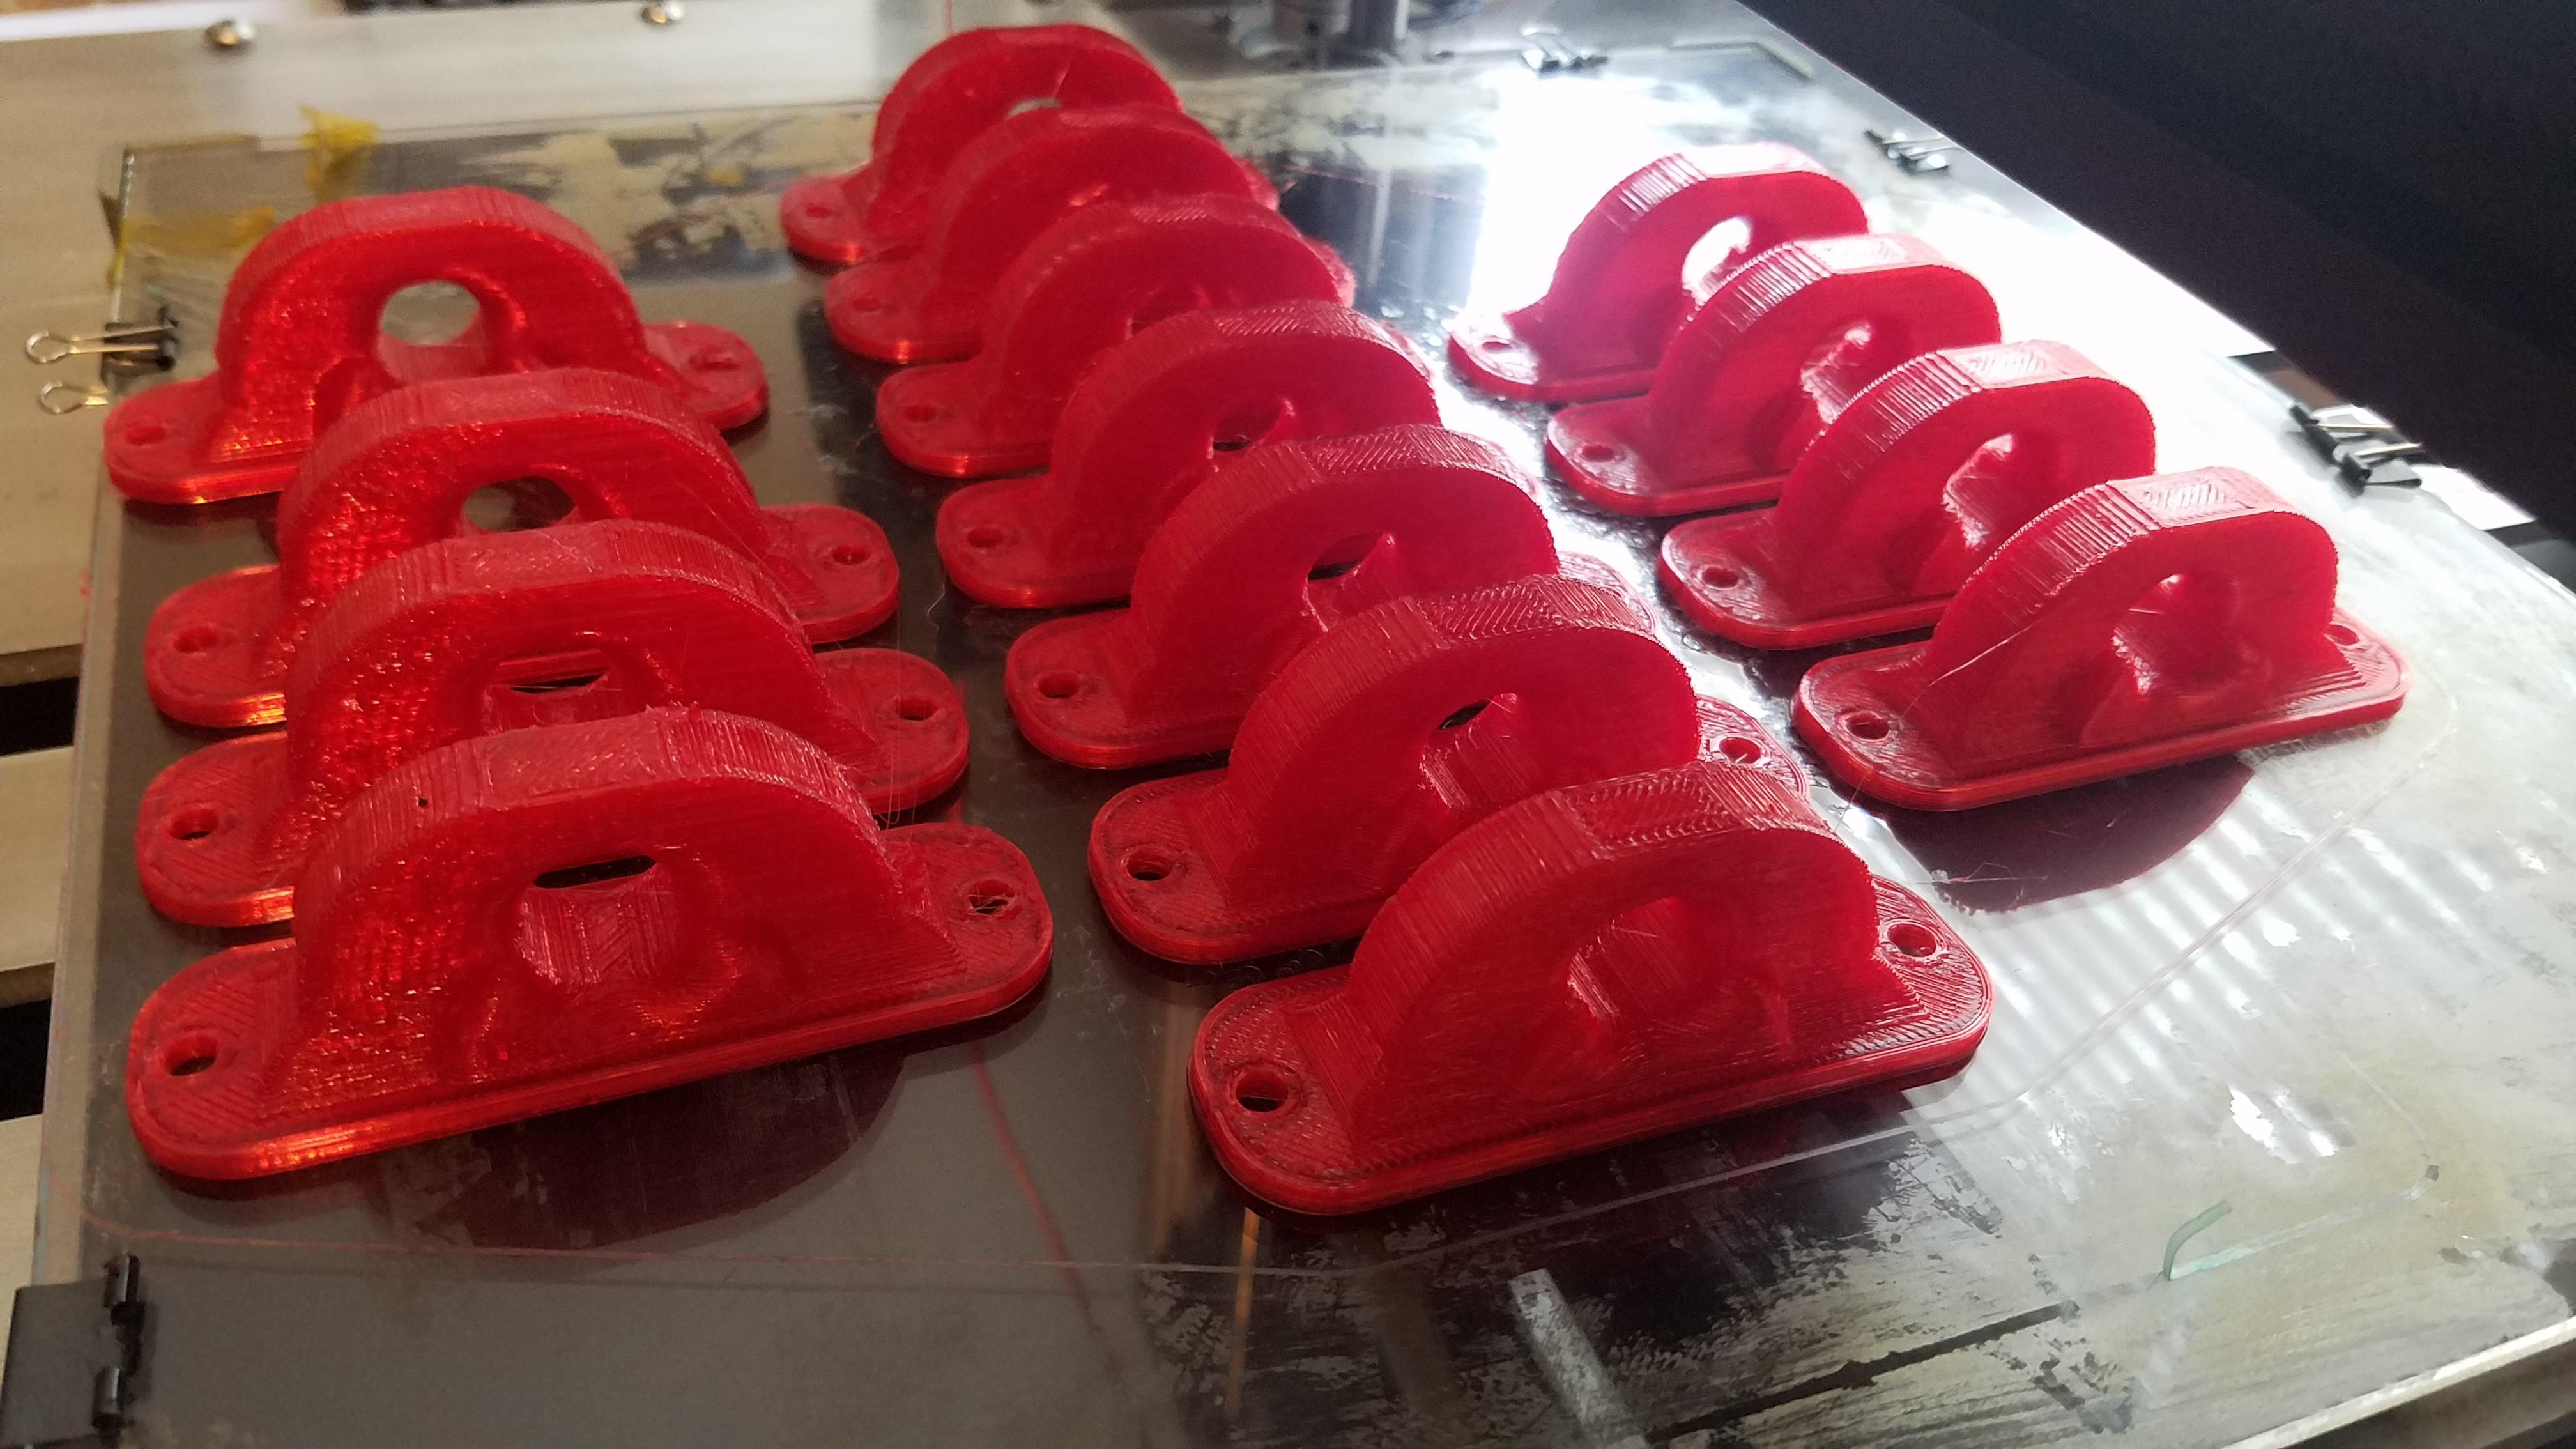
Picture Courtesy: bstarkman via Reddit
Now that we have a brief understanding of PETG, we can understand why you should use it in your 3D prints. This action will highlight the advantages of PETG and how you can benefit from 3D printing it.
Easy to 3D Print
PETG is known to be easier to 3D print than ABS and, in some cases, even PLA. The material is less prone to warping and has excellent layer adhesion, provided you set all the slicer settings correctly.
The slicer settings are also relatively easy to set, and you will learn in the following sections that there is not much to tune when it comes to PETG.
Tough, Impactful and Food Safe
PETG has good toughness and high tensile strength as compared to PLA and ABS. Your parts won't break easily; even if they do, they'll bend and flex quite a bit before breaking. This allows the part to withstand loads for a while without cracking instantly.
It is also known to have excellent impact resistance. It can withstand sudden shock loads and easily prevent the parts from getting damaged. This property makes PETG a good material for enclosure cases, custom tooling, and snap-fit components.
PETG is also one of the few food-safe 3D printing materials. The parts are safe to use with liquid and food, and you don't have to worry about toxic elements. That said, using 3D-printed PETG parts right away for storing foods is not a good practice. The small food pieces can get stuck between layers and allow bacteria to grow in your containers.
All these properties make PETG an extremely versatile material. You can use it to print functional mechanical components like springs and gears and for packaging and storing food items.
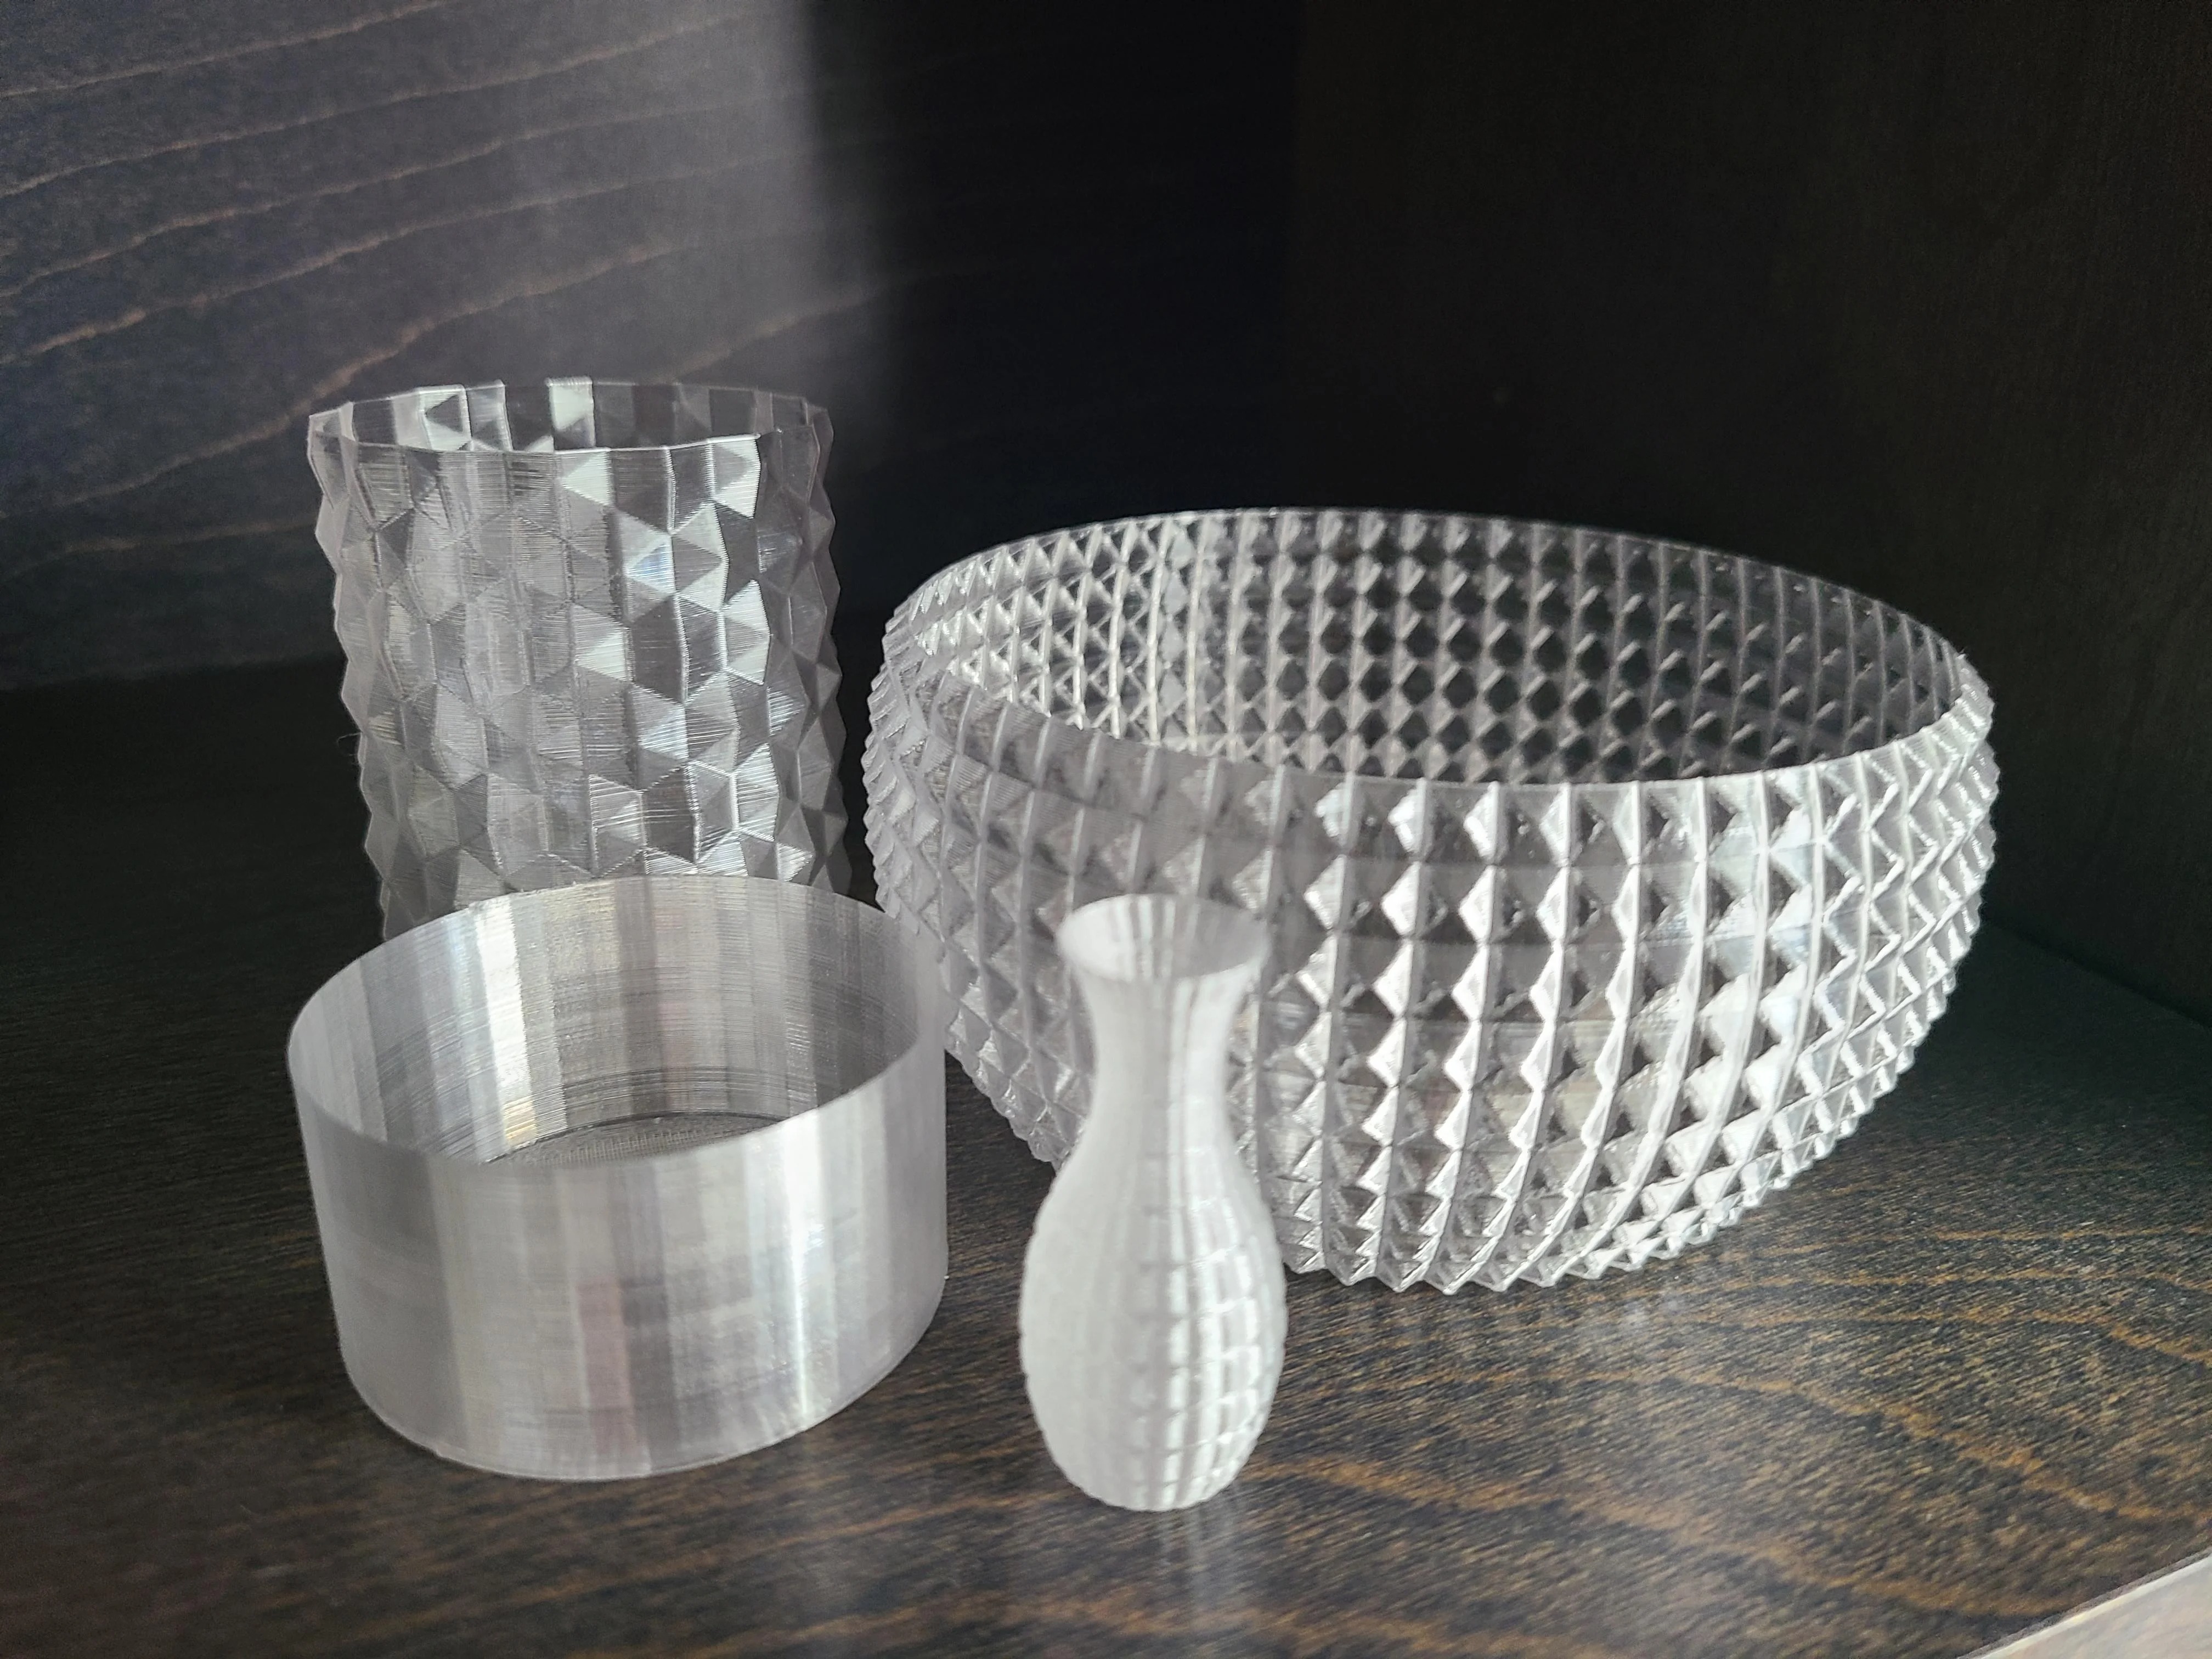
Transparent appearance
PETG, by nature, is clear plastic. You can get it as a clear 3D printing filament without any colors or additives. This lets you print parts that are transparent and have a clear surface.
It benefits when you 3D print cases, lamps, and vases from PETG. The transparent nature lets you get a clear view of your components' internals and adds to your models' aesthetics.
No odor or toxic fumes
PETG prints without any order and emits almost no toxic fumes during the printing process. This makes it easy to print the material without any enclosure or need for an air filter. You can print PETG inside your homes or workspace without worrying about any health-related side effects.
Why not 3D print with PETG
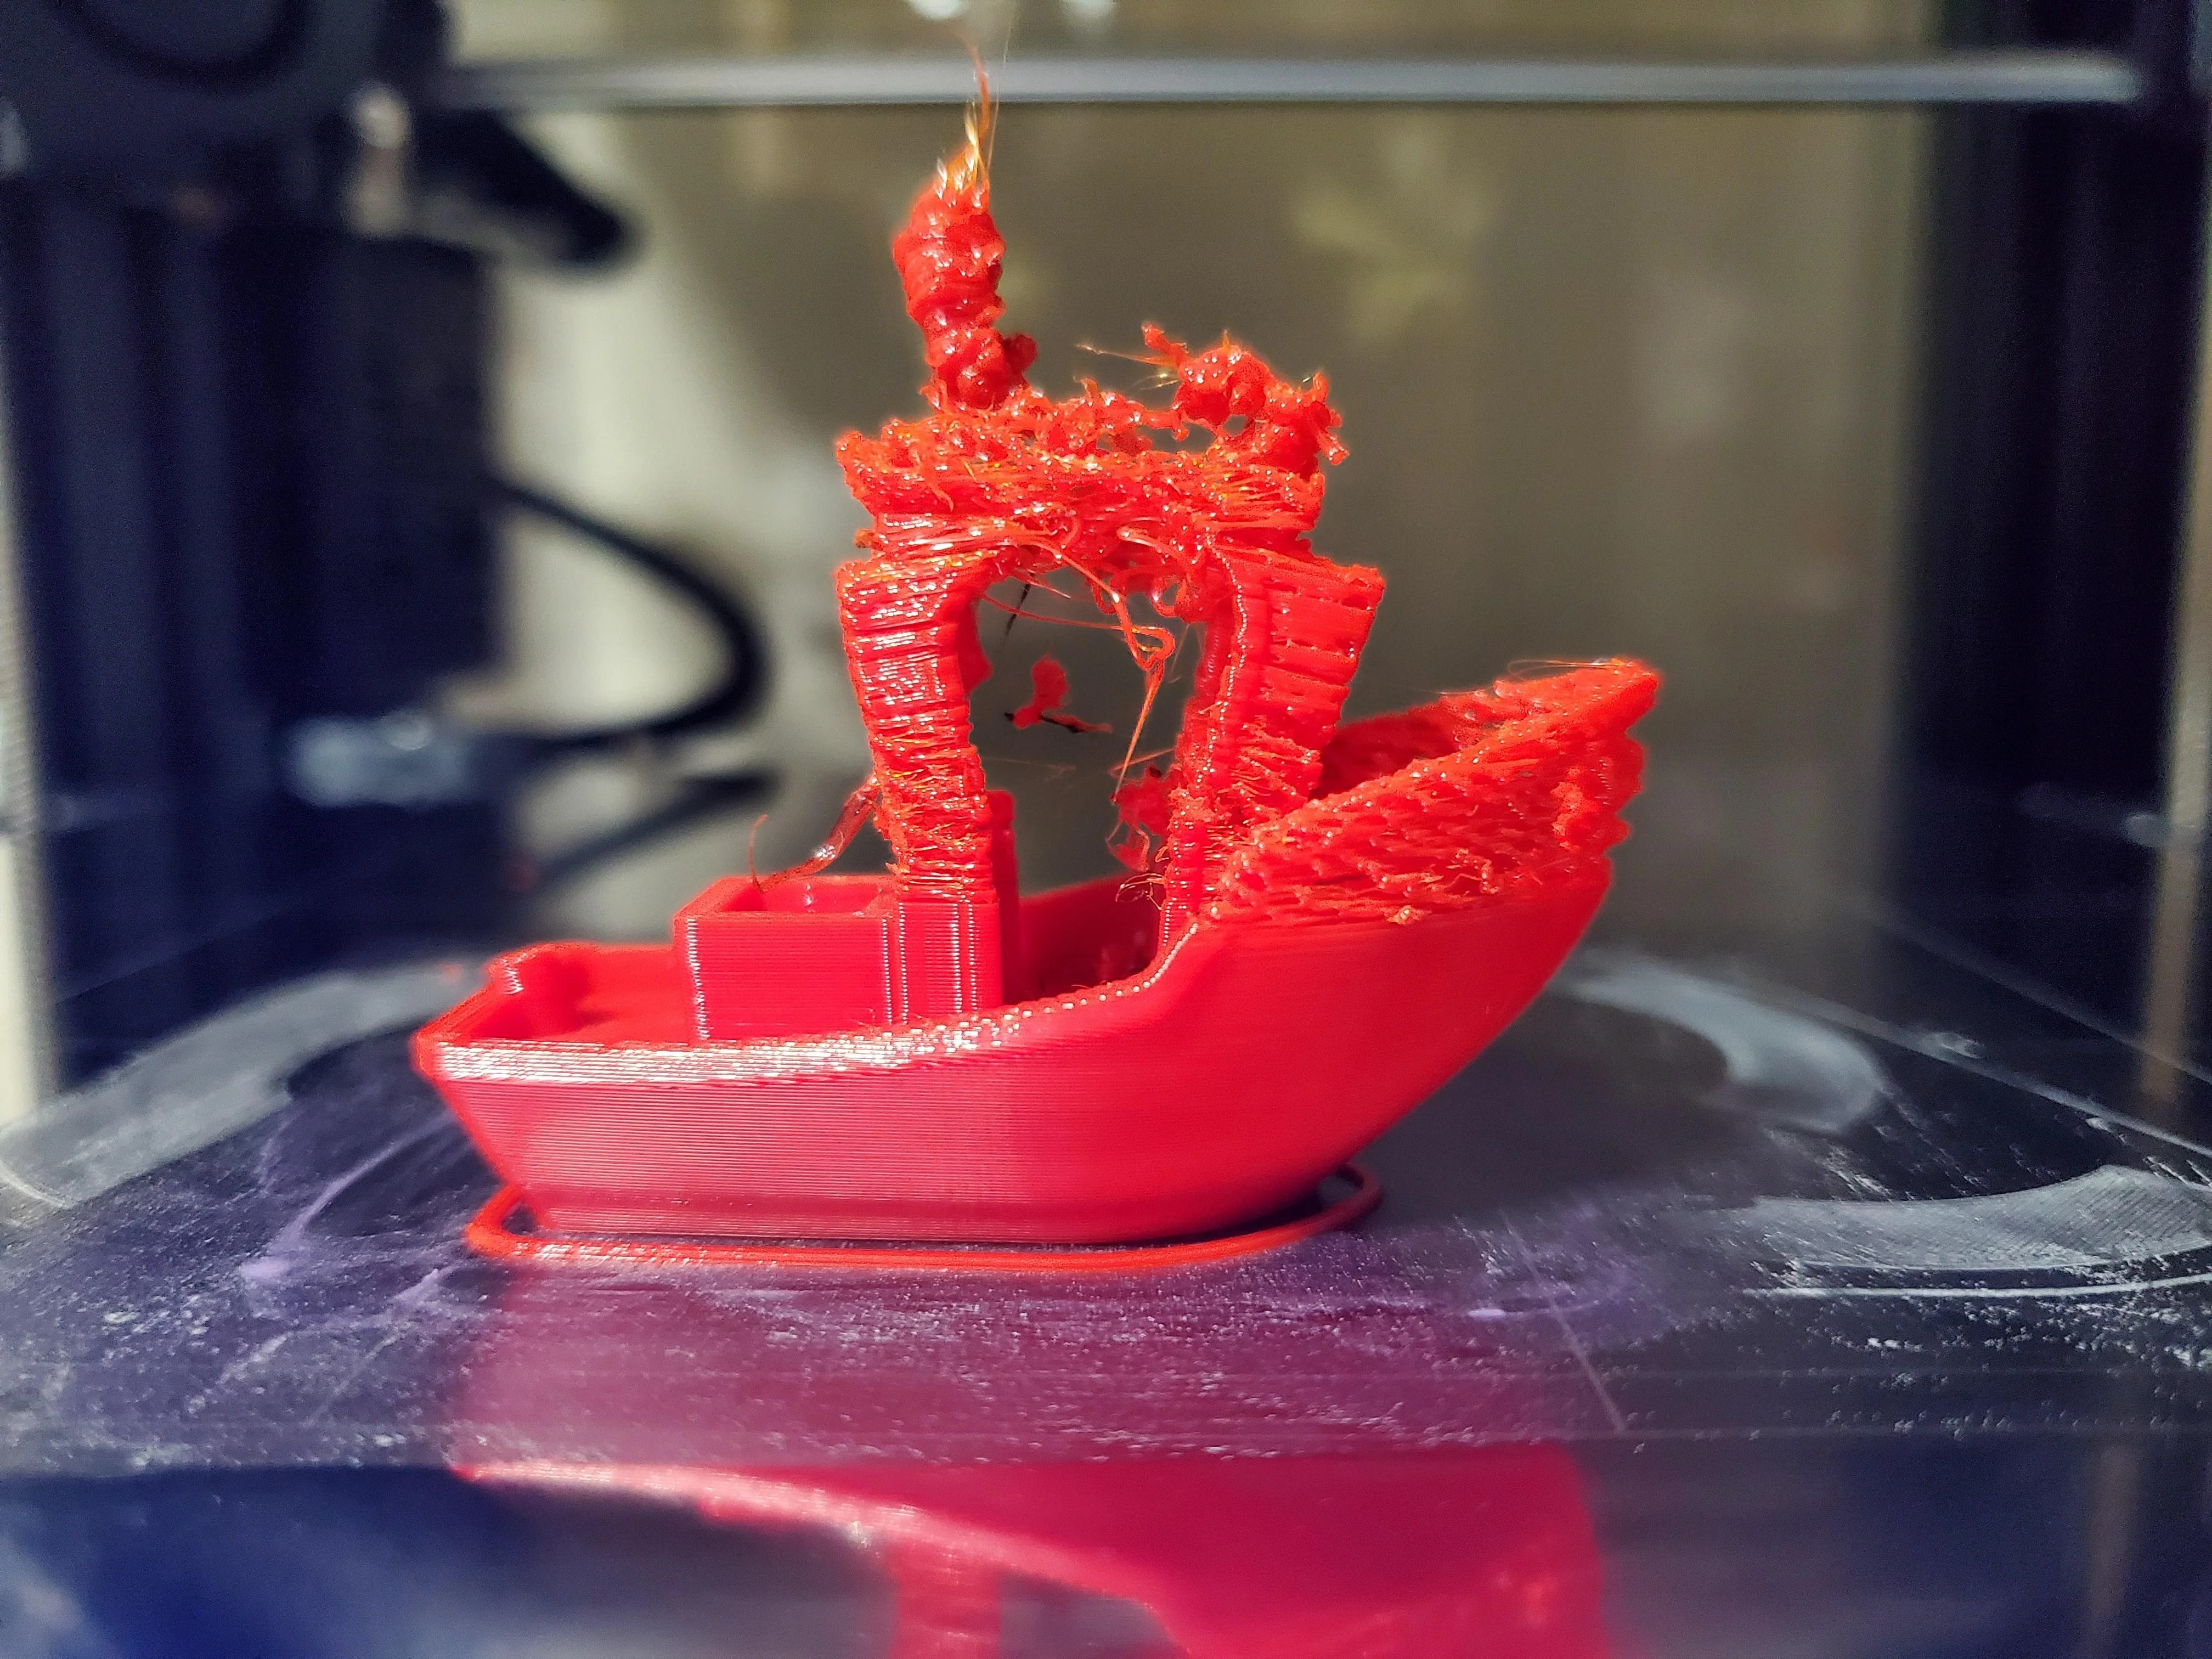
Picture Courtesy : NyvadNoxid via Reddit
Prone to oozing issues
PETG gets stringy and oozes out of the hot end while printing, which leads to webs and stringing issues in your parts and ruins the surface quality of the print. It also adds extra time in post-processing, increasing the labor cost and overall cost of your print.
It's not something that affects your printing experience greatly but still something to note. You can minimize the oozing and improve your print quality with proper print settings.
Needs an all-metal hot end
PETG prints at a temperature between 230 -260 ° Celsius. While it's within the range of the PTFE tube, it's still on the higher side. Continuous printing at such high temperatures will cause the tube to wear out quickly. It might also affect the filament flow out of the nozzle and leads to extrusion issues in prints.
Therefore, if you print PETG exclusively, you must get an all-metal hot end. This slightly increases the cost of your setup and might be a new thing to get used to for beginners.
Extremely Hygroscopic
PETG can easily absorb moisture from the air. Especially in a humid environment, the material can get wet easily and lead to printing issues.
If the filament becomes too wet, you will notice blobs and zits on your print's surface. The layer adhesion is also affected, and your parts become quite brittle due to a wet filament.
To avoid these issues, you must invest in filament dry boxes and storage solutions. This further adds to your setup costs for printing with PETG.
Difficult to post-process
There's no easy way to get a smooth surface finish for PETG parts as with ABS. Chemical smoothing isn't an option with PETG; therefore, you must stick with sanding and polishing.
This increases the time and effort spent post-processing, thereby increasing the cost of manual labor. So if you want to print aesthetic parts with a smooth surface finish and less effort, you're stuck with ABS.
How to 3D Print PETG
Picture Courtesy : Chris Cecil via Flickr
Print Temperature
Keep the print temperature between 230 - 250° Celsius for this filament. PETG prints well in this temperature range. The parts have excellent layer adhesion, and the print surface is also smooth.
That said, each filament roll will have its specific printing temperature that gives the best results. A temperature tower is the best way to determine the best print temperature for your pet filament. It's a good practice to print this model before you print with a new roll for excellent results.
Bed Temperature
A heated bed minimizes the chances of warping in your PETG prints. If your printer has a heated bed, keep it around 70 to 90° Celsius while printing PETG.
This temperature is enough to make sure that your first layer adheres firmly to the print bed. It also helps to maintain a warm printing area and reduces layer splitting and corners lifting off in large parts.
Bed Adhesion
PETG sticks very well to PEI and glass print beds. Sometimes, it can stick too well and rip apart the print surface while removing your parts.
Glue stick adhesives, hair spray, and blue painter's tape are great for making sure your parts stick to the print surface firmly but also come off easily after the printing surface.
Print speed
It is important to keep the print speed moderate while printing PETG. Print too high, and you risk stringing under-extrusion and layer adhesion issues in your prints. In contrast, if your print speed is too slow and you can overheat the filament leading to blobs and material oozing out of the nozzle.
A print speed of 60-80 mm/s is a good range for getting good print quality with PETG. For the first few layers, keep the print speed at around 20-30 mm/s for excellent bed adhesion. These speeds offer a great balance between the print time and quality without affecting your overall printing experience.
Retraction Settings
Set the retraction speed at around 25-30 mm/s for PETG filament. Set the retraction distance to around 6-8 mm in Bowden extruders and 2-3 mm in Direct drive systems.
The exact values will vary depending on your individual filament and extruder setup. Print a retraction test model to get the precise retraction settings for your 3D printer.
Supports
PETG has good layer adhesion. While it's helpful for your parts, it can present a challenge for support structures. The supports might stick too well to your parts and be difficult to remove. Keep a 0.1-0.2 mm distance between your supports and 3D prints.
If you have a dual extruder setup, it's best to use PVA or HIPS filament for support structures. These soluble materials make it extremely easy to post-process your PETG parts.
Part cooling Fan
Keep the part cooling fan on during the printing of PETG. It will help cool down the material quickly and reduce over-melting and blobs in your prints. The part cooling fan also comes in handy if you're printing bridges and reduces the sagging in your models.
However, if you notice layer splitting or cracks in your prints, switch off the part cooling fans. PETG can print equally well without a part cooling fan. In fact, it aids in layer adhesion and improves the strength of your parts.
Post-Processing PETG
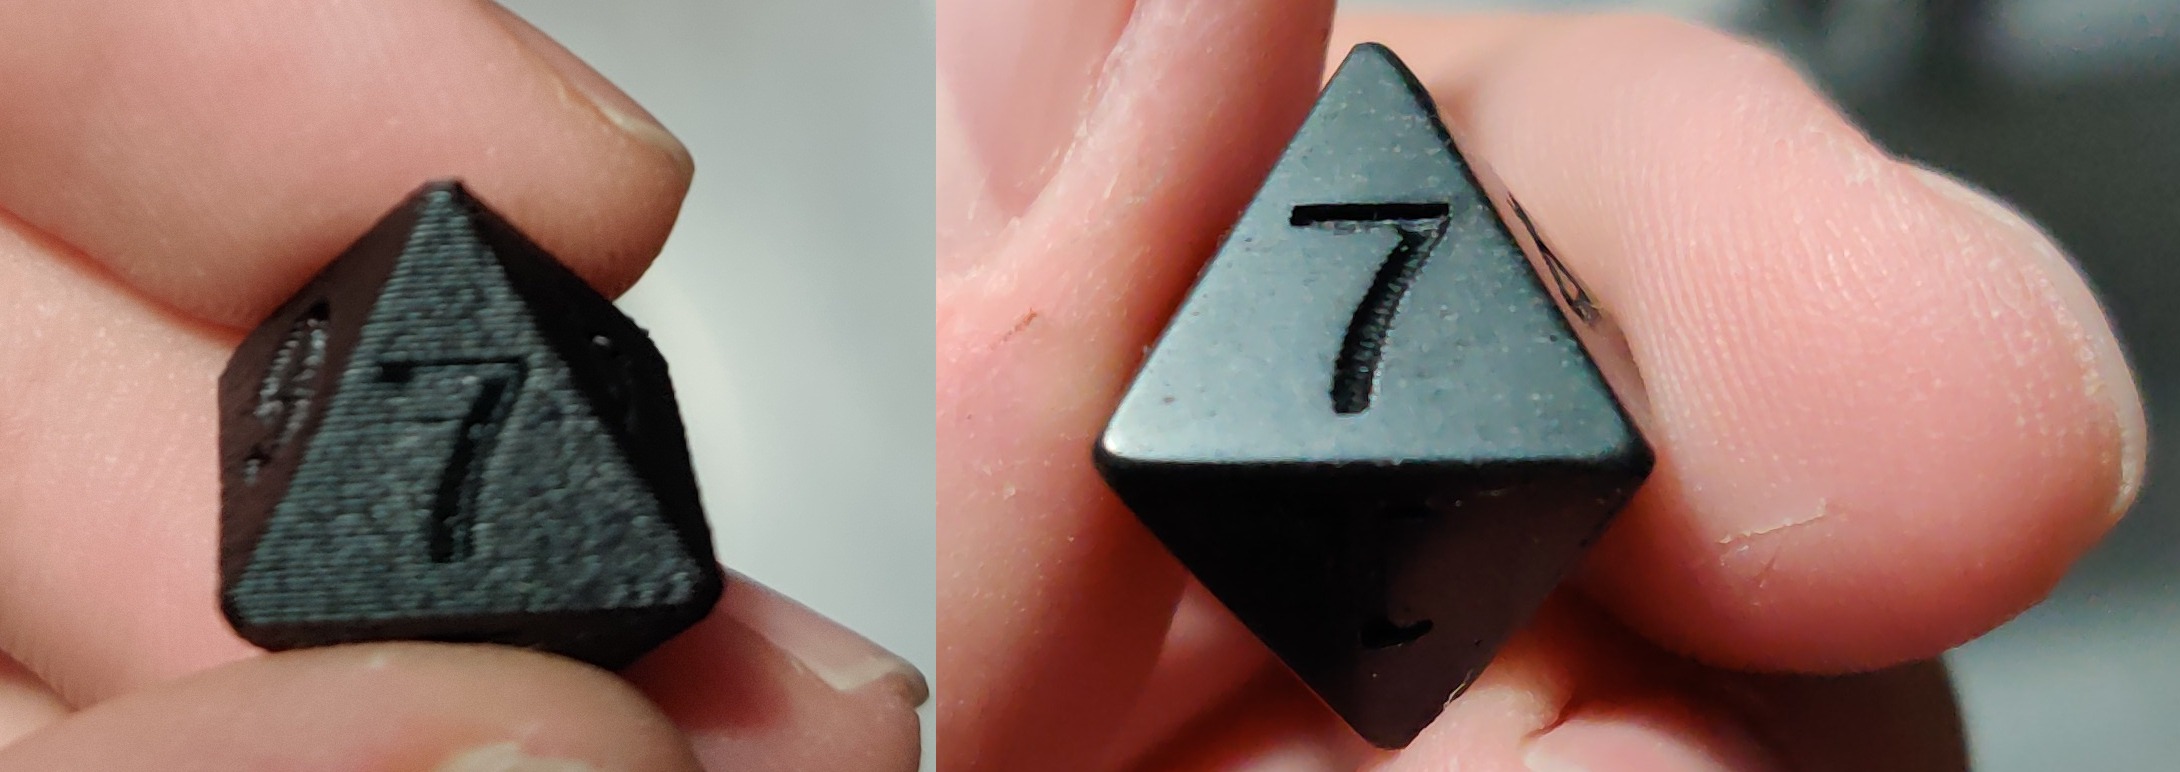
Picture Courtesy : kungfufishstick via Reddit
The post-processing of PETG is on par with that of PLA material. Chemical smoothing is not an option with PETG as the chemicals used are not easily available and toxic for regular use. Nonetheless, the material responds well to the usual post-processing techniques. In this section, we'll go over a few of them.
Sanding and Polishing
Sanding is a great way to remove surface irregularities like blobs and zits on your prints. It's the preliminary step to prepare your prints for further painting processes.
You can easily sand PETG parts without having to worry about them melting. PETG has a high glass transition temperature of approx 85° Celsius and won't deform easily due to sandpaper friction.
Start with a 100-grit sandpaper and slowly work your way up to a 1000-grit one. You can even use water for wet sanding as you go higher and get a smooth and glossy surface finish on your prints.
Polishing is also a great way to cover up any surface gaps and achieve a high degree of surface finish for your parts. You can use any metal polish to smoothen out the surface. Just rub a drop of polish on a cleaning cloth across your print's surface.
These post-processing techniques are great for parts that don't have a large surface area without too many intricate details.
XTC3D
XTC3D is a two-part coating for smoothing the surface of 3D prints. It coats your parts with a layer of resin and evens out the surface. It's a great way to quickly seal and smoothen your parts without the hassle of sanding and polishing them.
Just mix the two parts and apply using a brush. Apply thin layers at a time to minimize any drooling of the liquid. You can use it in conjunction with sanding to achieve a higher-quality surface that's free of any imperfections.
It's not wise to consider that applying epoxy makes your parts food safe. XTC3D epoxy is definitely not food safe and it's better to err on the side of caution before using your parts for storing any food.
Another thing to note is that this method will cover up small and intricate details in your parts. Therefore it's not the right method for post-processing figurines, miniatures, and highly detailed parts.
Heat gun
Using a heat gun is probably one of the quickest methods to post-process your PETG parts. It melts the upper surface and fuses the layers together, giving you a glossy and smooth surface finish.
Keep the heat gun temperature at around 230° Celsius and hover it over your parts from a feet's distance. The goal here is to fuse the layers and not melt the part entirely. Keep on moving the heat gun over the part's entire surface at a gradual pace.
It's quite a tricky method and not very precise. However, it does give good results and can help you get a smooth surface for your PETG parts. We recommend using a heat gun with the temperature knob for more control during this process.
Tips and Tricks for 3D Printing PETG
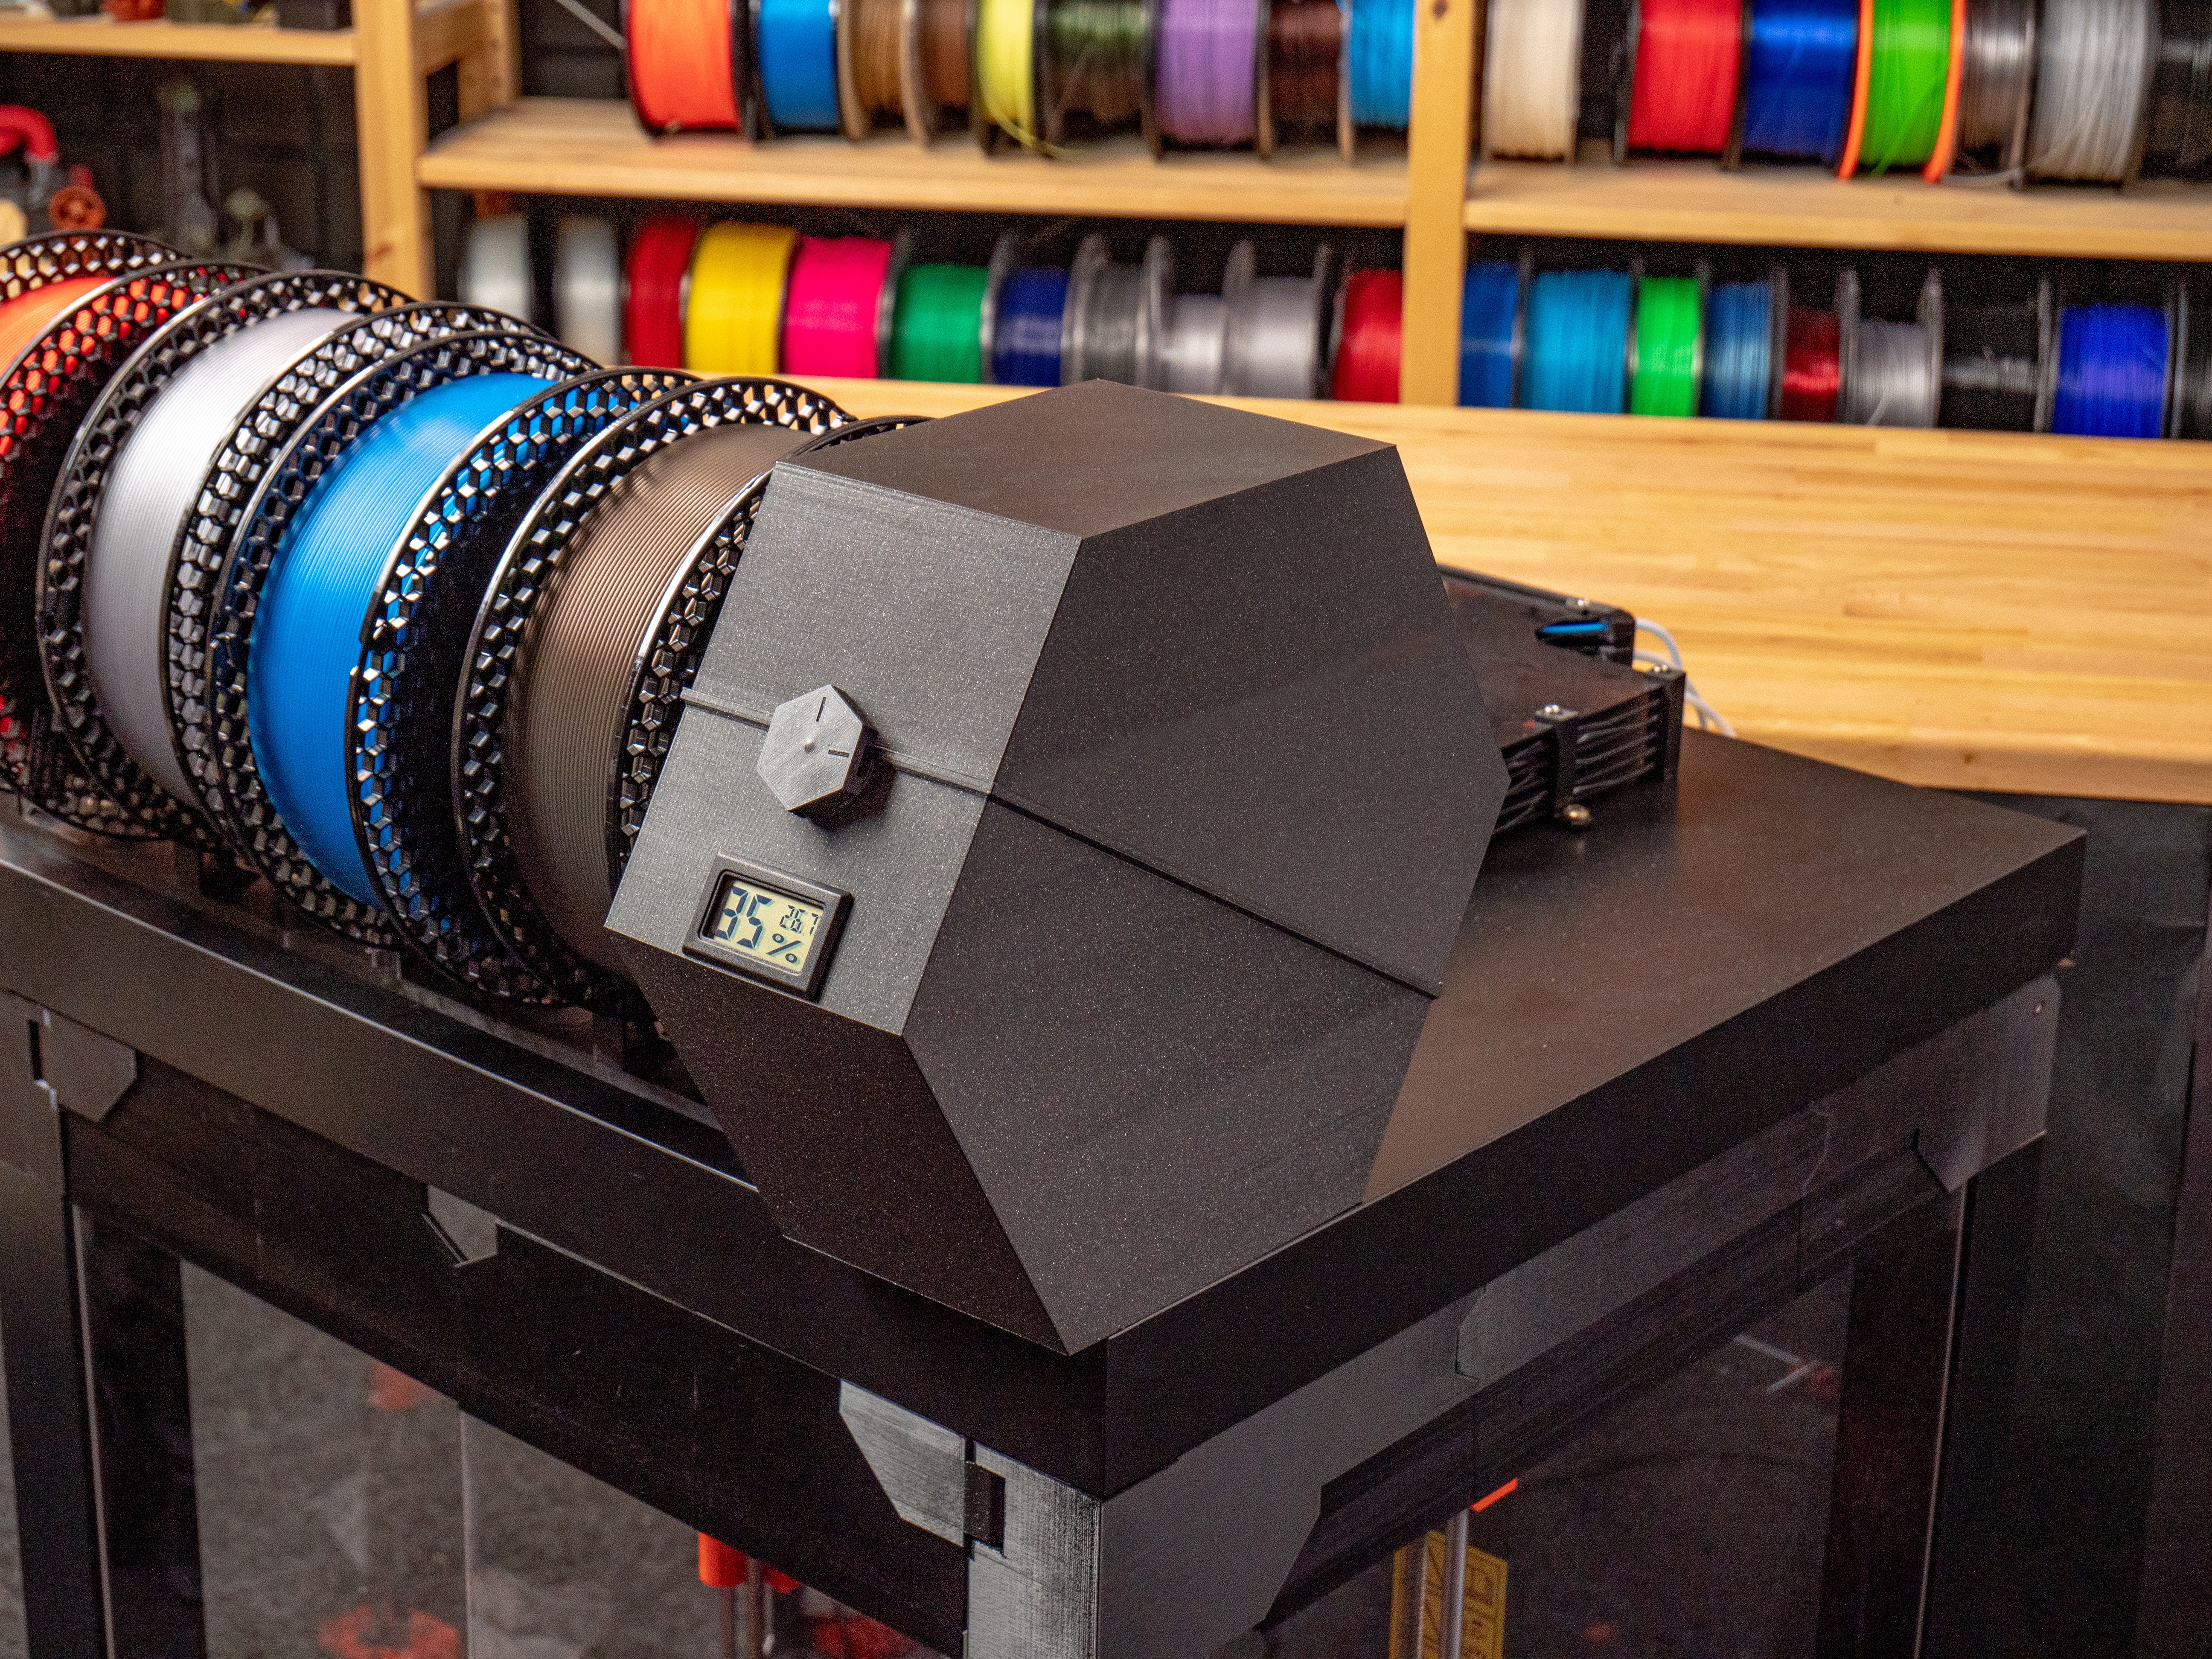 Picture Courtesy : Ondřej Stříteský via Prusa Blog
Keep your Filament Dry
As we've mentioned earlier, PETG is a hygroscopic material. It readily absorbs moisture from the air which further leads to printing issues. To avoid this, keep the filament in a dry box.
There are multiple DIY dry box options available on sites like Thingiverse and Printables. You can make one for yourself using these designs or buy a professional dry box to save on time and quality.
Besides storing the filament, it's also good practice to preheat the material before you begin printing. This dries out the filament and removes any moisture from it. You can use a food dehydrator or a filament dehydrator for this purpose. Keep the temperature at around 60- 70° celsius for around 4 to 5 hours to completely dry the filament.
Fine-tune Retraction settings
PETG is prone to stringing issues and can leave webs in your 3D prints. It's important to fine-tune your retraction settings to minimize this issue.
Print out retraction test models for each roll of filament and try to dial down the exact values. If you notice excessive stringing, adjust your print temperature and retraction parameters.
Use a heated bed
A heated bed will help reduce warping in your prints and help you get a better first layer. Keep the printer bed at around 70 to 90° Celsius, or use the value recommended by the filament manufacturer.
An enclosure will also help get better print quality. It can trap the heat from the print bed and maintain a warm ambient printing temperature. This aids layer adhesion and reduces the chances of cracking and delamination in your prints.
Keep the Nozzle Clean
PETG has a tendency to ooze out of the nozzle while printing. Excessive material on the nozzle can lead to blobs on the 3D print and affect its surface quality and appearance.
Always ensure that your nozzle is clean and no molten material is stuck to it. Use a brass brush to keep the nozzle clean. Using a hot-end sock is also a great way to ensure your hot end remains clean and the material doesn't stick to it.
Final Thoughts
PETG is one of the best 3D printing materials you can use for printing functional and showpiece models. It has the strength of abs but the printability of PLA. This makes it a great material for someone looking to upgrade over PLA who does not want to deal with ABS issues.
Remember to fine-tune your retraction settings and calibrate the print temperature to reduce stringing and oozing issues. Keep the filament dry and use a heated bed to minimize the chances of warping. Always use a bed adhesive between your parts and the print surface. This will make it easy to peel off the prints without causing any damage to your print bed.
That's all you need to keep in mind for printing PETG parts. It's a relatively forgiving material. You can get excellent print quality and strength for your 3D models with the correct settings. So have fun, and don't bottle up your printing fun.