ABS Smoothing - All You Need To Know
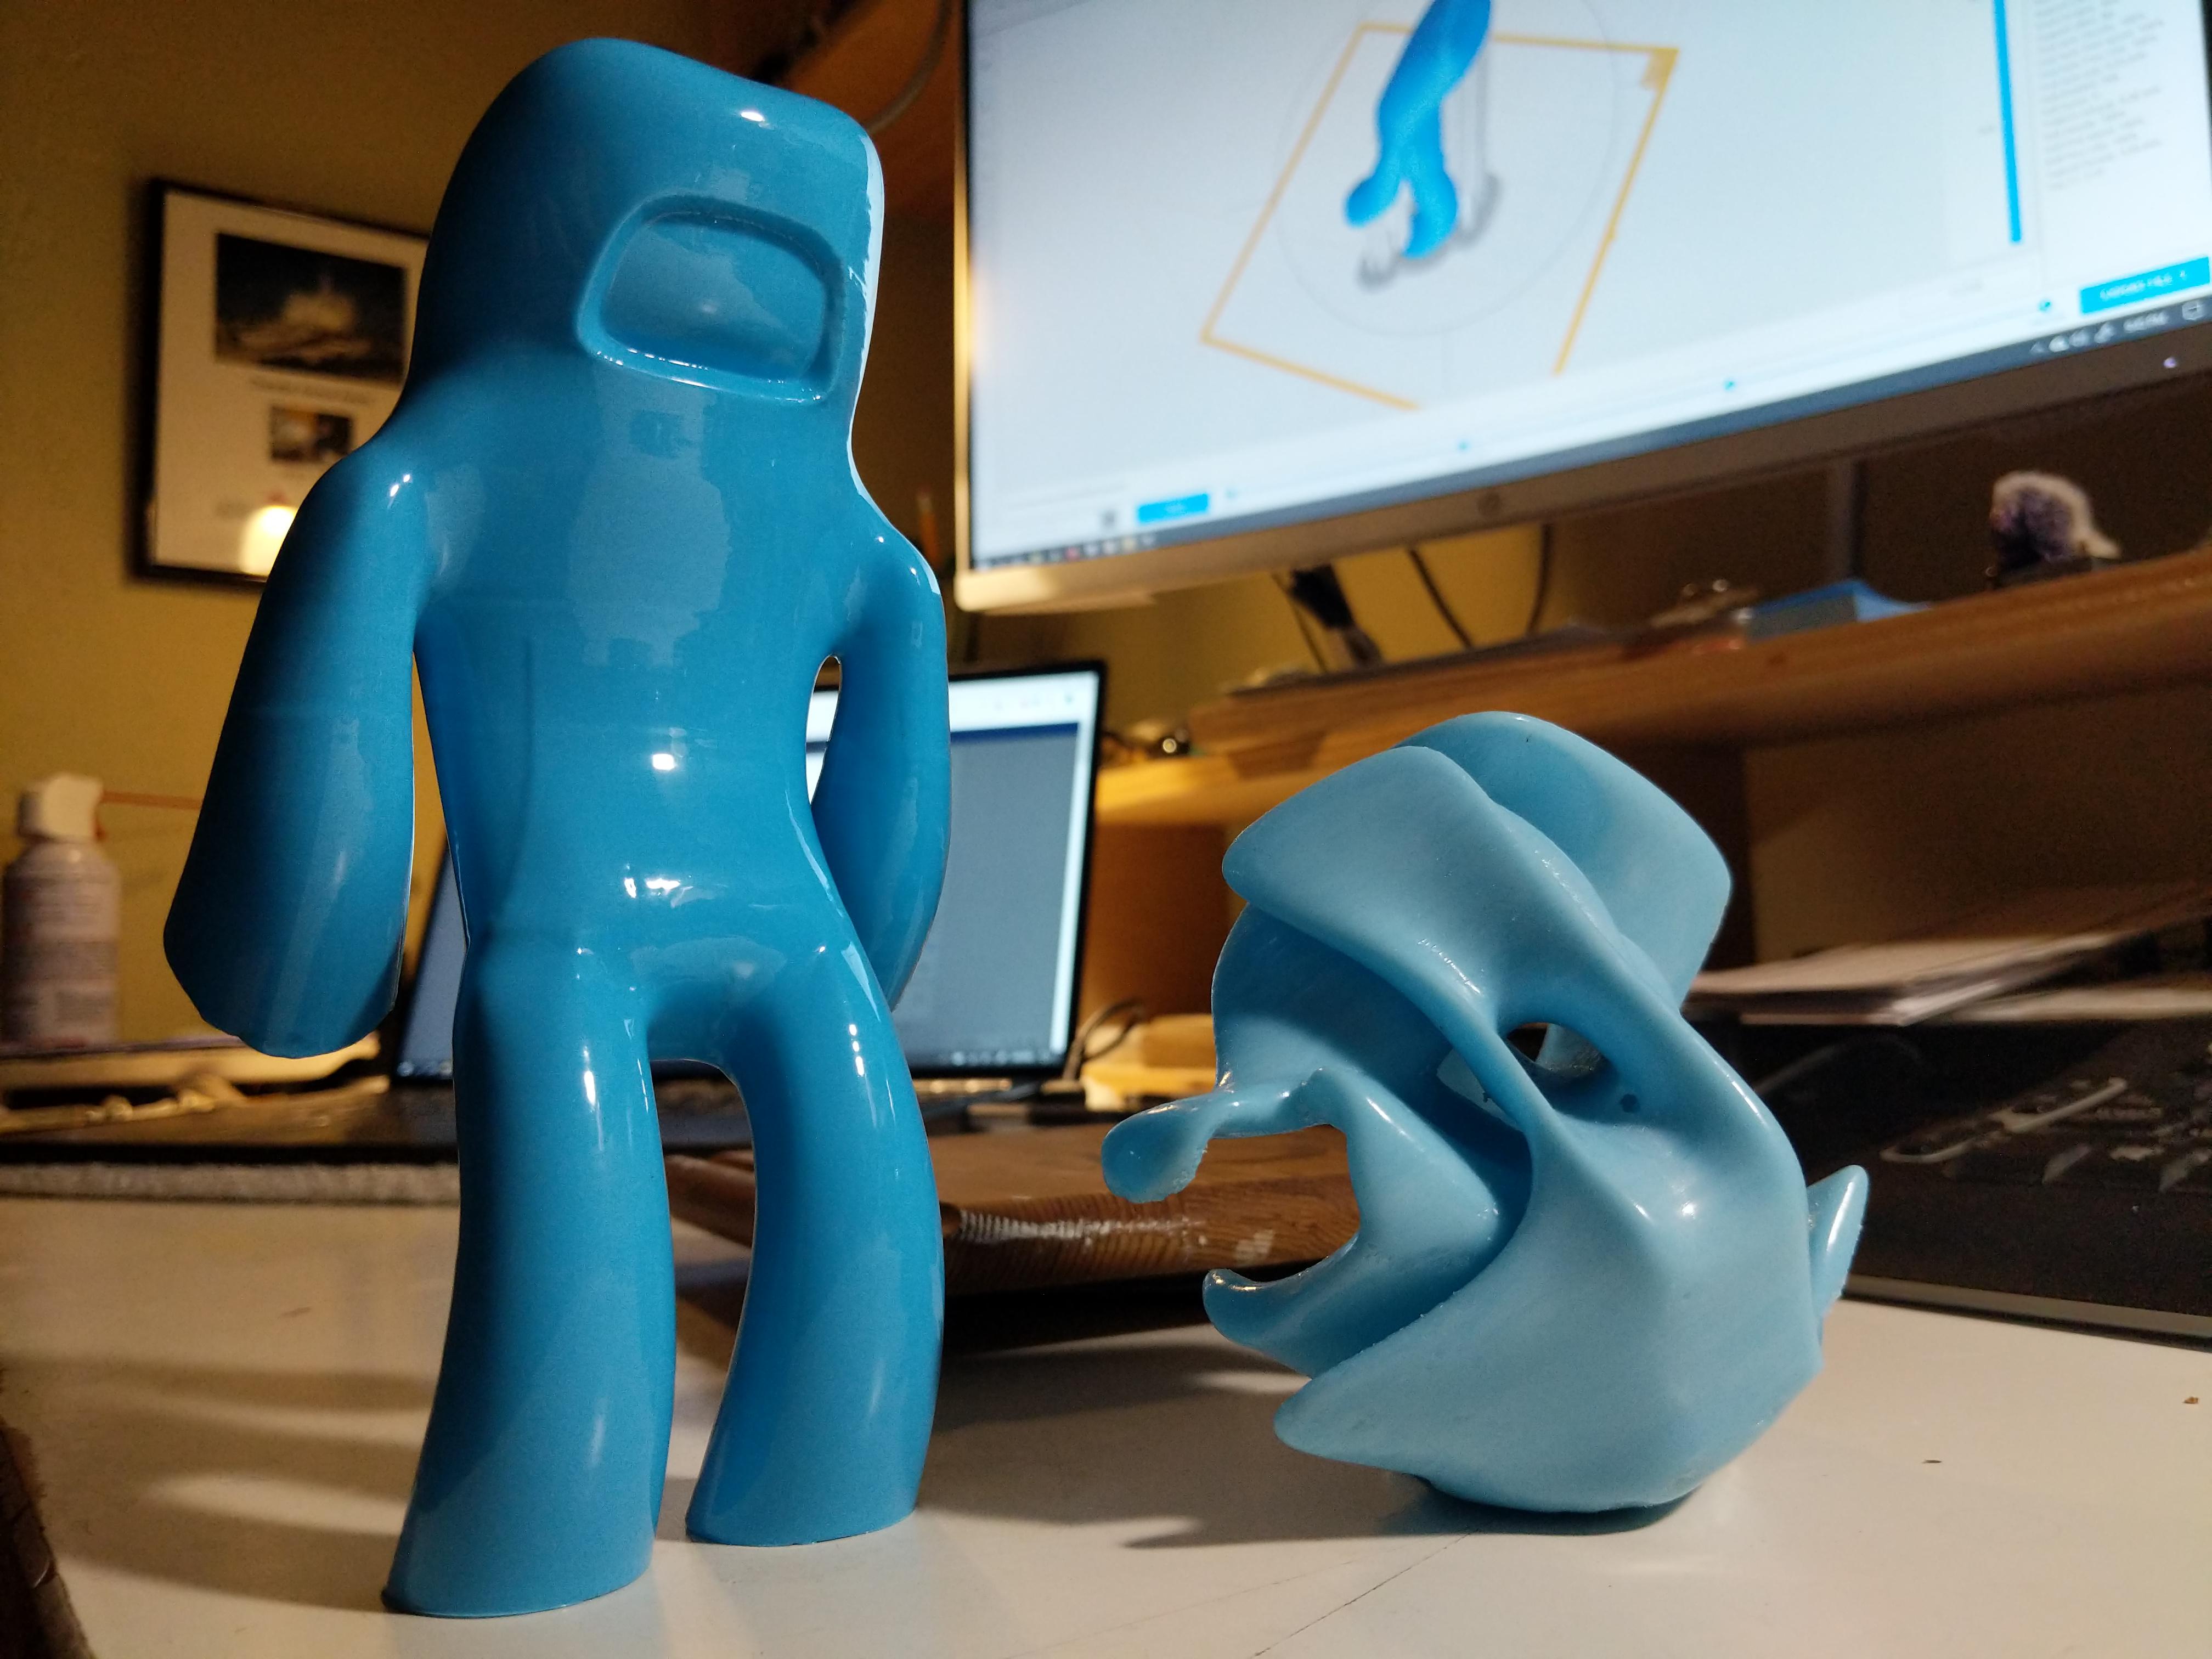
Picture courtesy : adonutforeveryone via Reddit
ABS is an amazing material for 3D printing. It's a type of industrial plastic that was used as one of the first materials for 3D printing in the 1990s. But even ABS can't escape the problem of FDM 3D printing: layer lines.
Fused deposition modeling inherently produces layer lines. It makes your 3D-printed parts special, but let's face it, layer lines don't look good on every model. They make your models look less professional and take away from their visual charm.
Thankfully, you can entirely conceal these layer lines in your ABS components with little post-processing. ABS Smoothing is a process in which the layer lines totally melt, giving your parts a smooth, shiny surface.
In this piece, we'll learn everything there is to know about this process and show you how to make professional-looking 3D prints. Let's print some ABSolutely amazing creations!
What is ABS Smoothing?
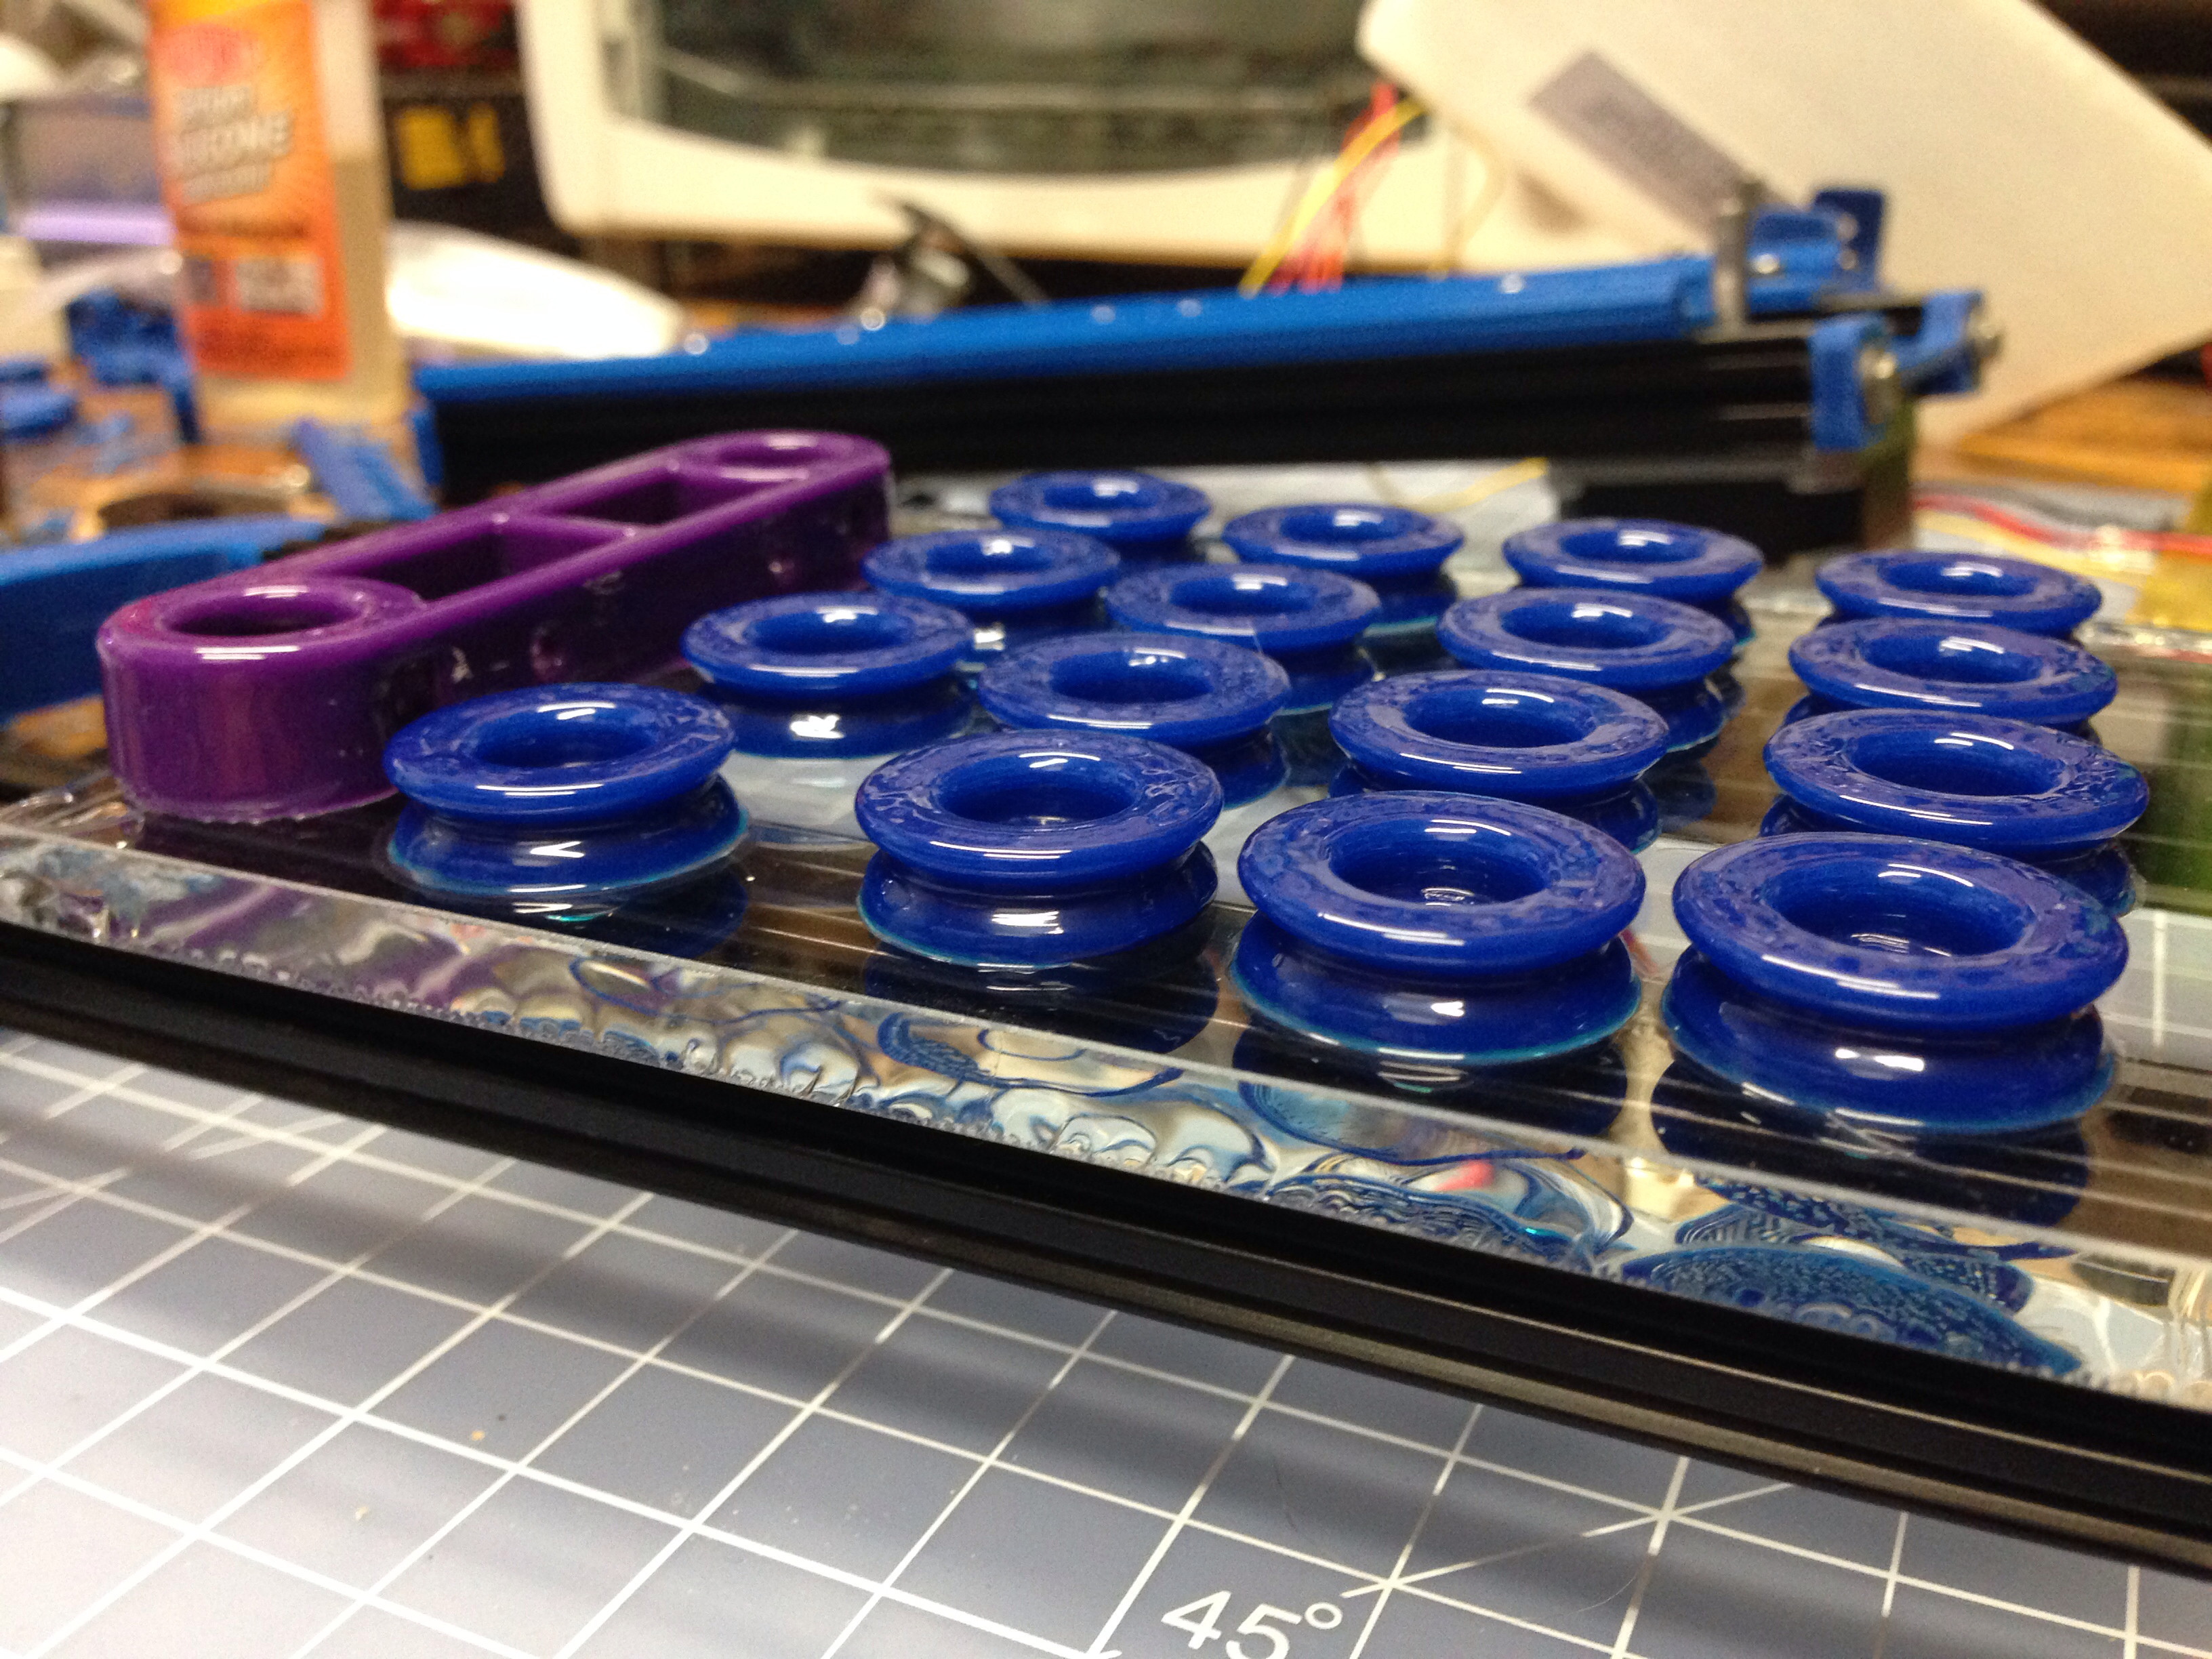
Picture courtesy: FTMOG via Reddit
ABS smoothing is a post-processing method for ABS 3D printing filament that gets rid of your layer lines by melting them away. Acetone is used as a solvent to bond the layer lines together, giving your 3D prints a glossy surface appearance.
It's also known as Vapor/Acetone smoothing because of the post-processing method and chemical used. Injection-molded components and vapor-smoothed ABS 3D prints look virtually identical. You can't see any layer lines on the part's surface, and it looks more smooth.
In fact, vapor smoothing is one of the reasons why many people prefer this plastic to other 3D printing materials. PLA and PETG, two popular filaments used in 3D printing, are known for being hard to work with after printing.
Acetone, on the other hand, is a natural and easy-to-find solution for ABS. The chemical makes it really easy to finish processing ABS parts. This is helpful for prints where the surface finish and look are the most important things.
Since ABS melts and combines the outer layers of your 3D prints, it also adds some strength to the finished product. The gap between the layer lines is a possible place for a crack to start. By sealing that gap, you make it less likely that your prints will break, which makes them last longer.
Why You Should Smooth ABS Prints
The WHAT of ABS smoothing is clear to us, but the WHY remains elusive. There must be a reason why this process is so popular among people who use 3D printing. Let's take a close look at each of them.
Zero Layer Lines
 x`
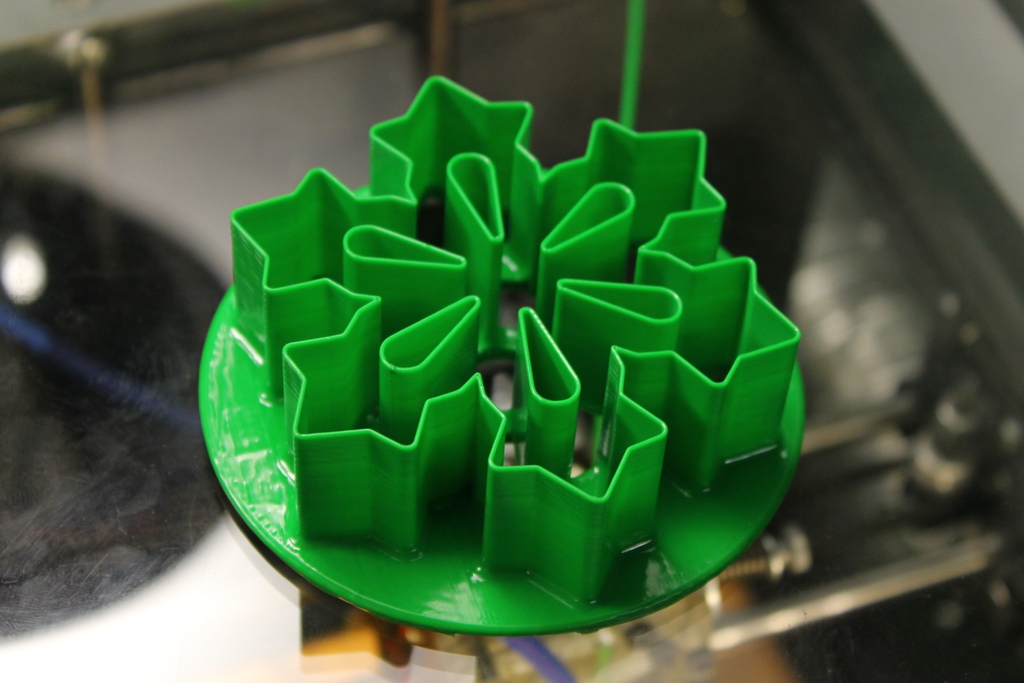
Picture courtesy: ianjohnson via Thingiverse
Acetone is a common ABS solvent, and the term "smoothing" appears in the name of the process itself. When you put acetone on your 3D-printed part, it smooths out the surface and blends the spaces between the layers.
You can't feel any layer lines on your part, and it almost looks like it was injected molded. The part also doesn't leak as much because it doesn't have open gaps. This helps when printing things like vases, containers, and part boxes.
Glossy Surface finish
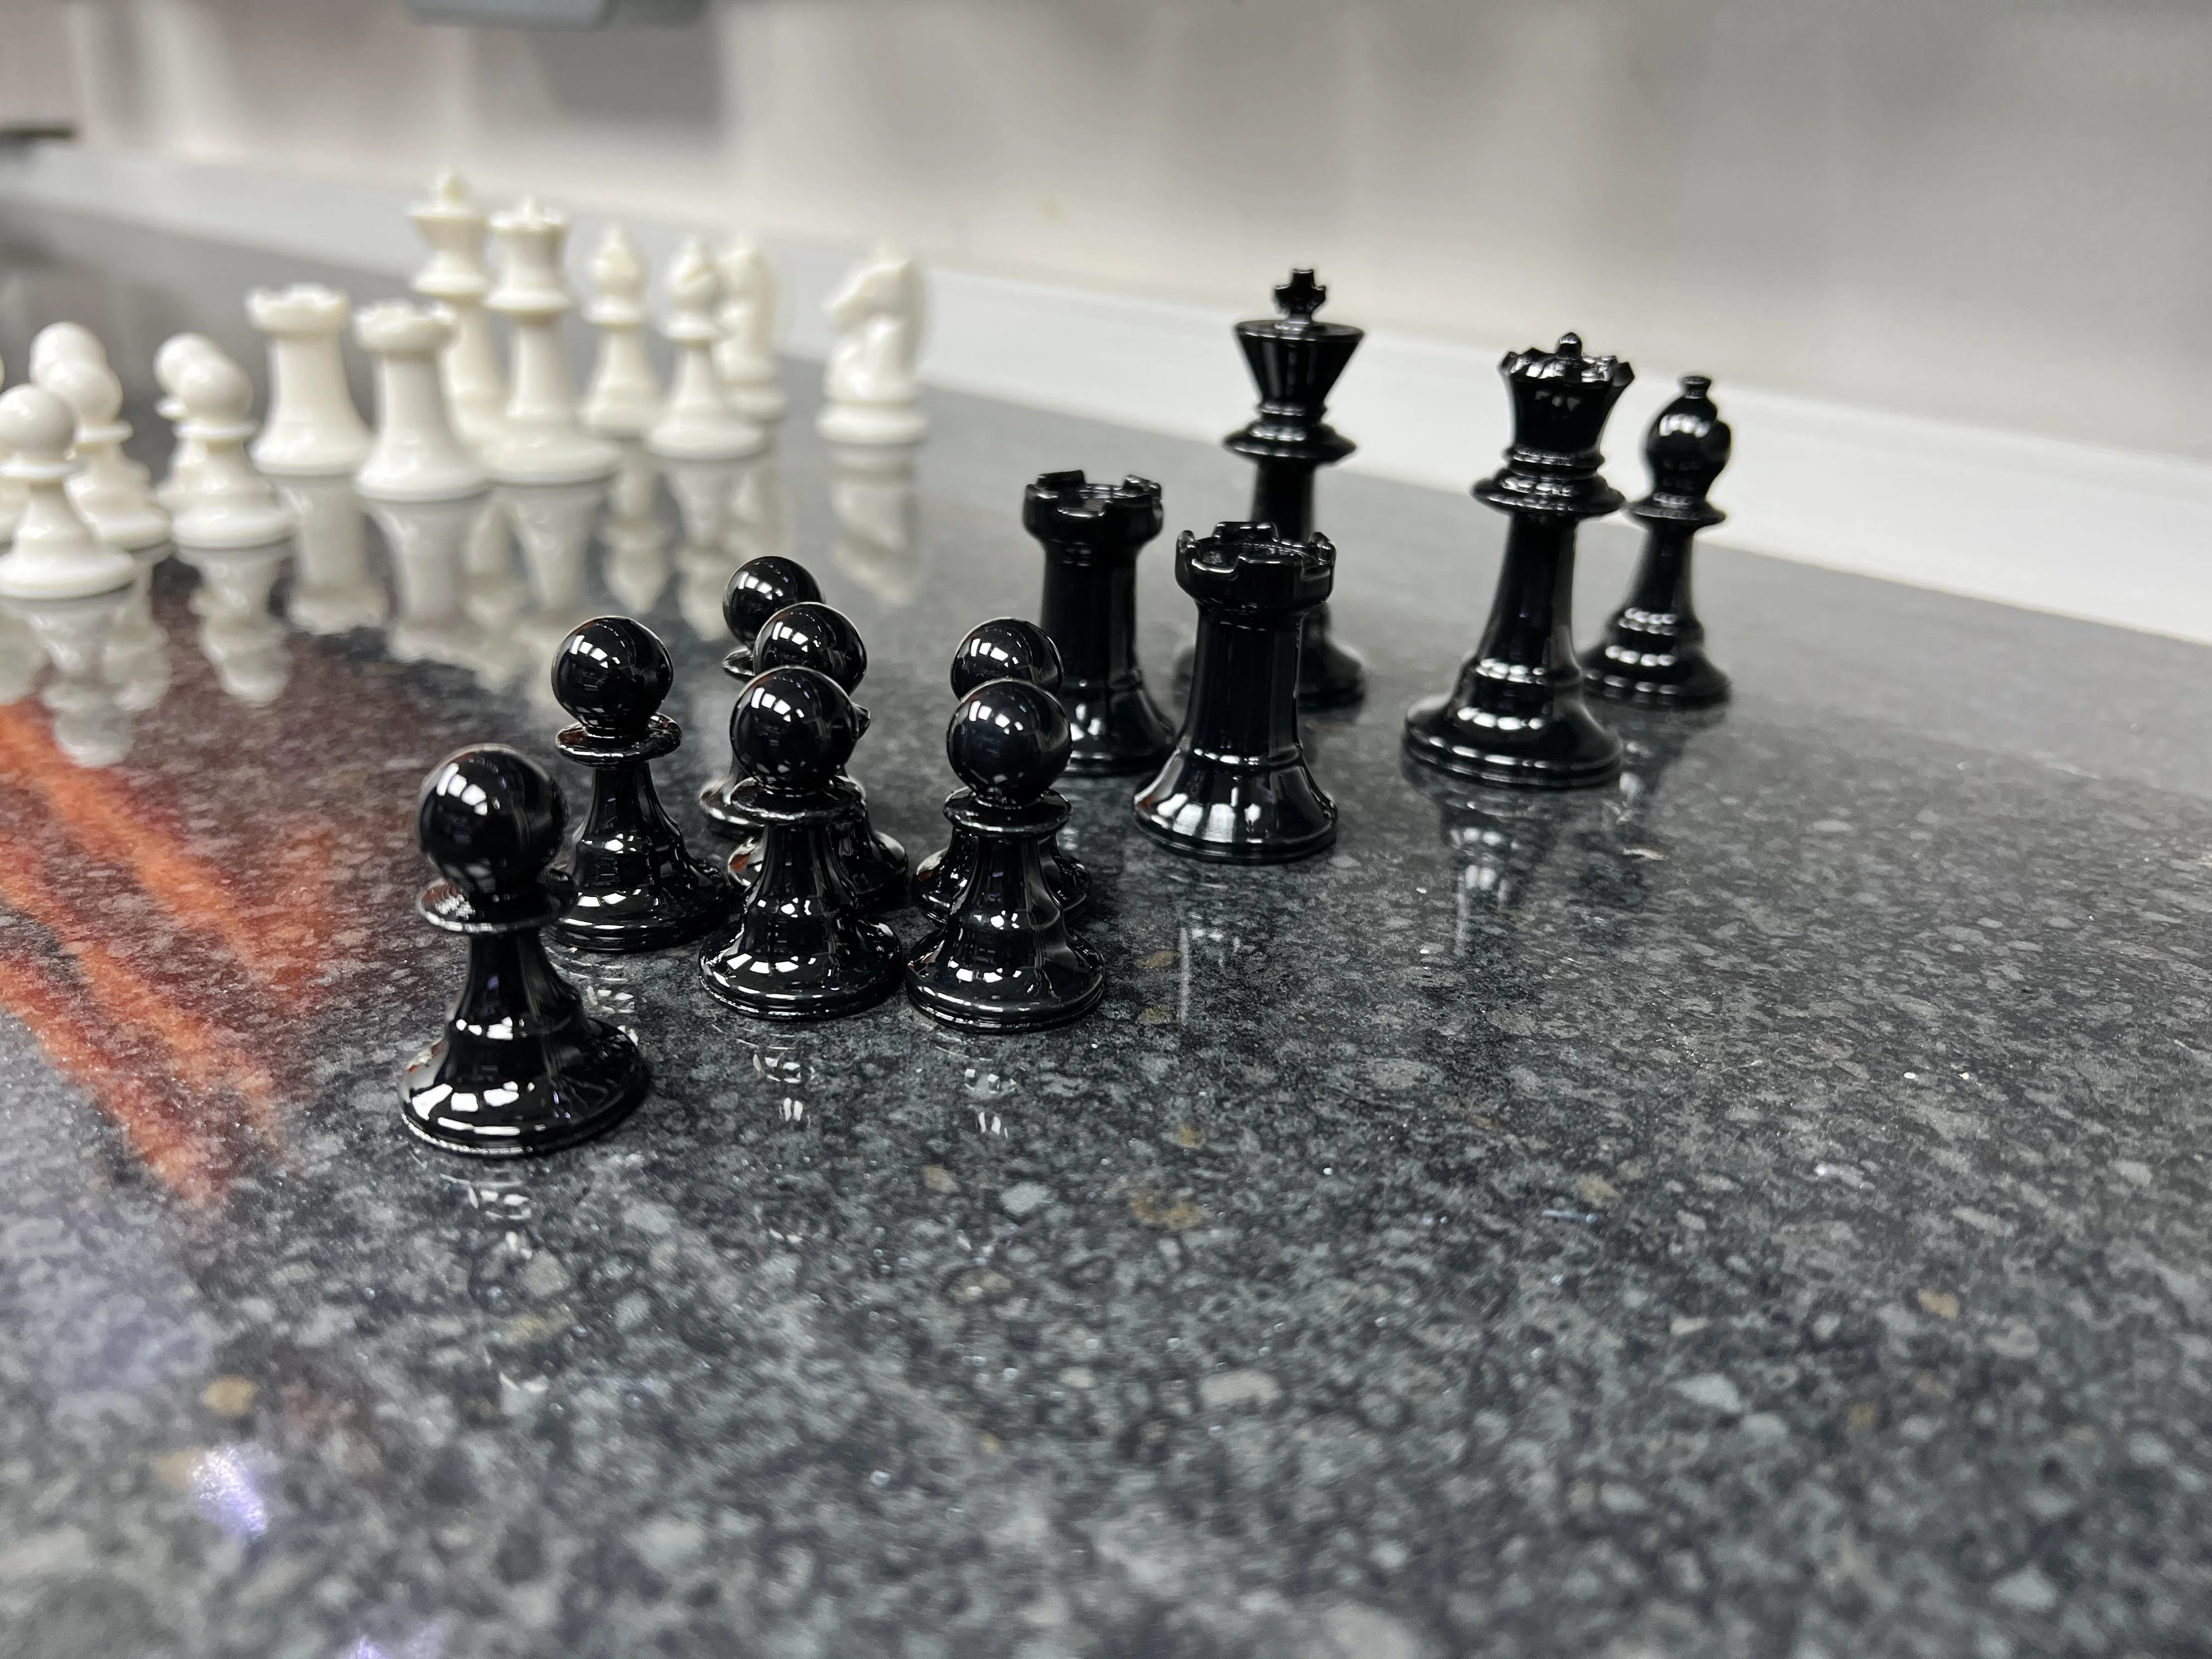
Picture courtesy: Skyraider1071 via Reddit
The ABS part nearly dissolves in the acetone chemical. It makes the layers stick together and gives the surface a shiny look. The result is a 3D print that is smooth, shiny and looks like it was made by a pro.
Glossy surfaces look great on some prints, like models, figures, busts, and decorative pieces. Also, you don't have to paint the parts if the filament is already the right color.
The shiny look also improves the look of your parts as a whole. It makes your 3D-printed parts more flexible and useful for things like home decor.
Why should You not use ABS smoothing?
Not everything that shines is gold. The same is true for smoothing with acetone. There are a few problems with this method, and even though they're small, you should look at them.
Impacts accuracy
Picture Courtesy : Illegal-bacon via Reddit
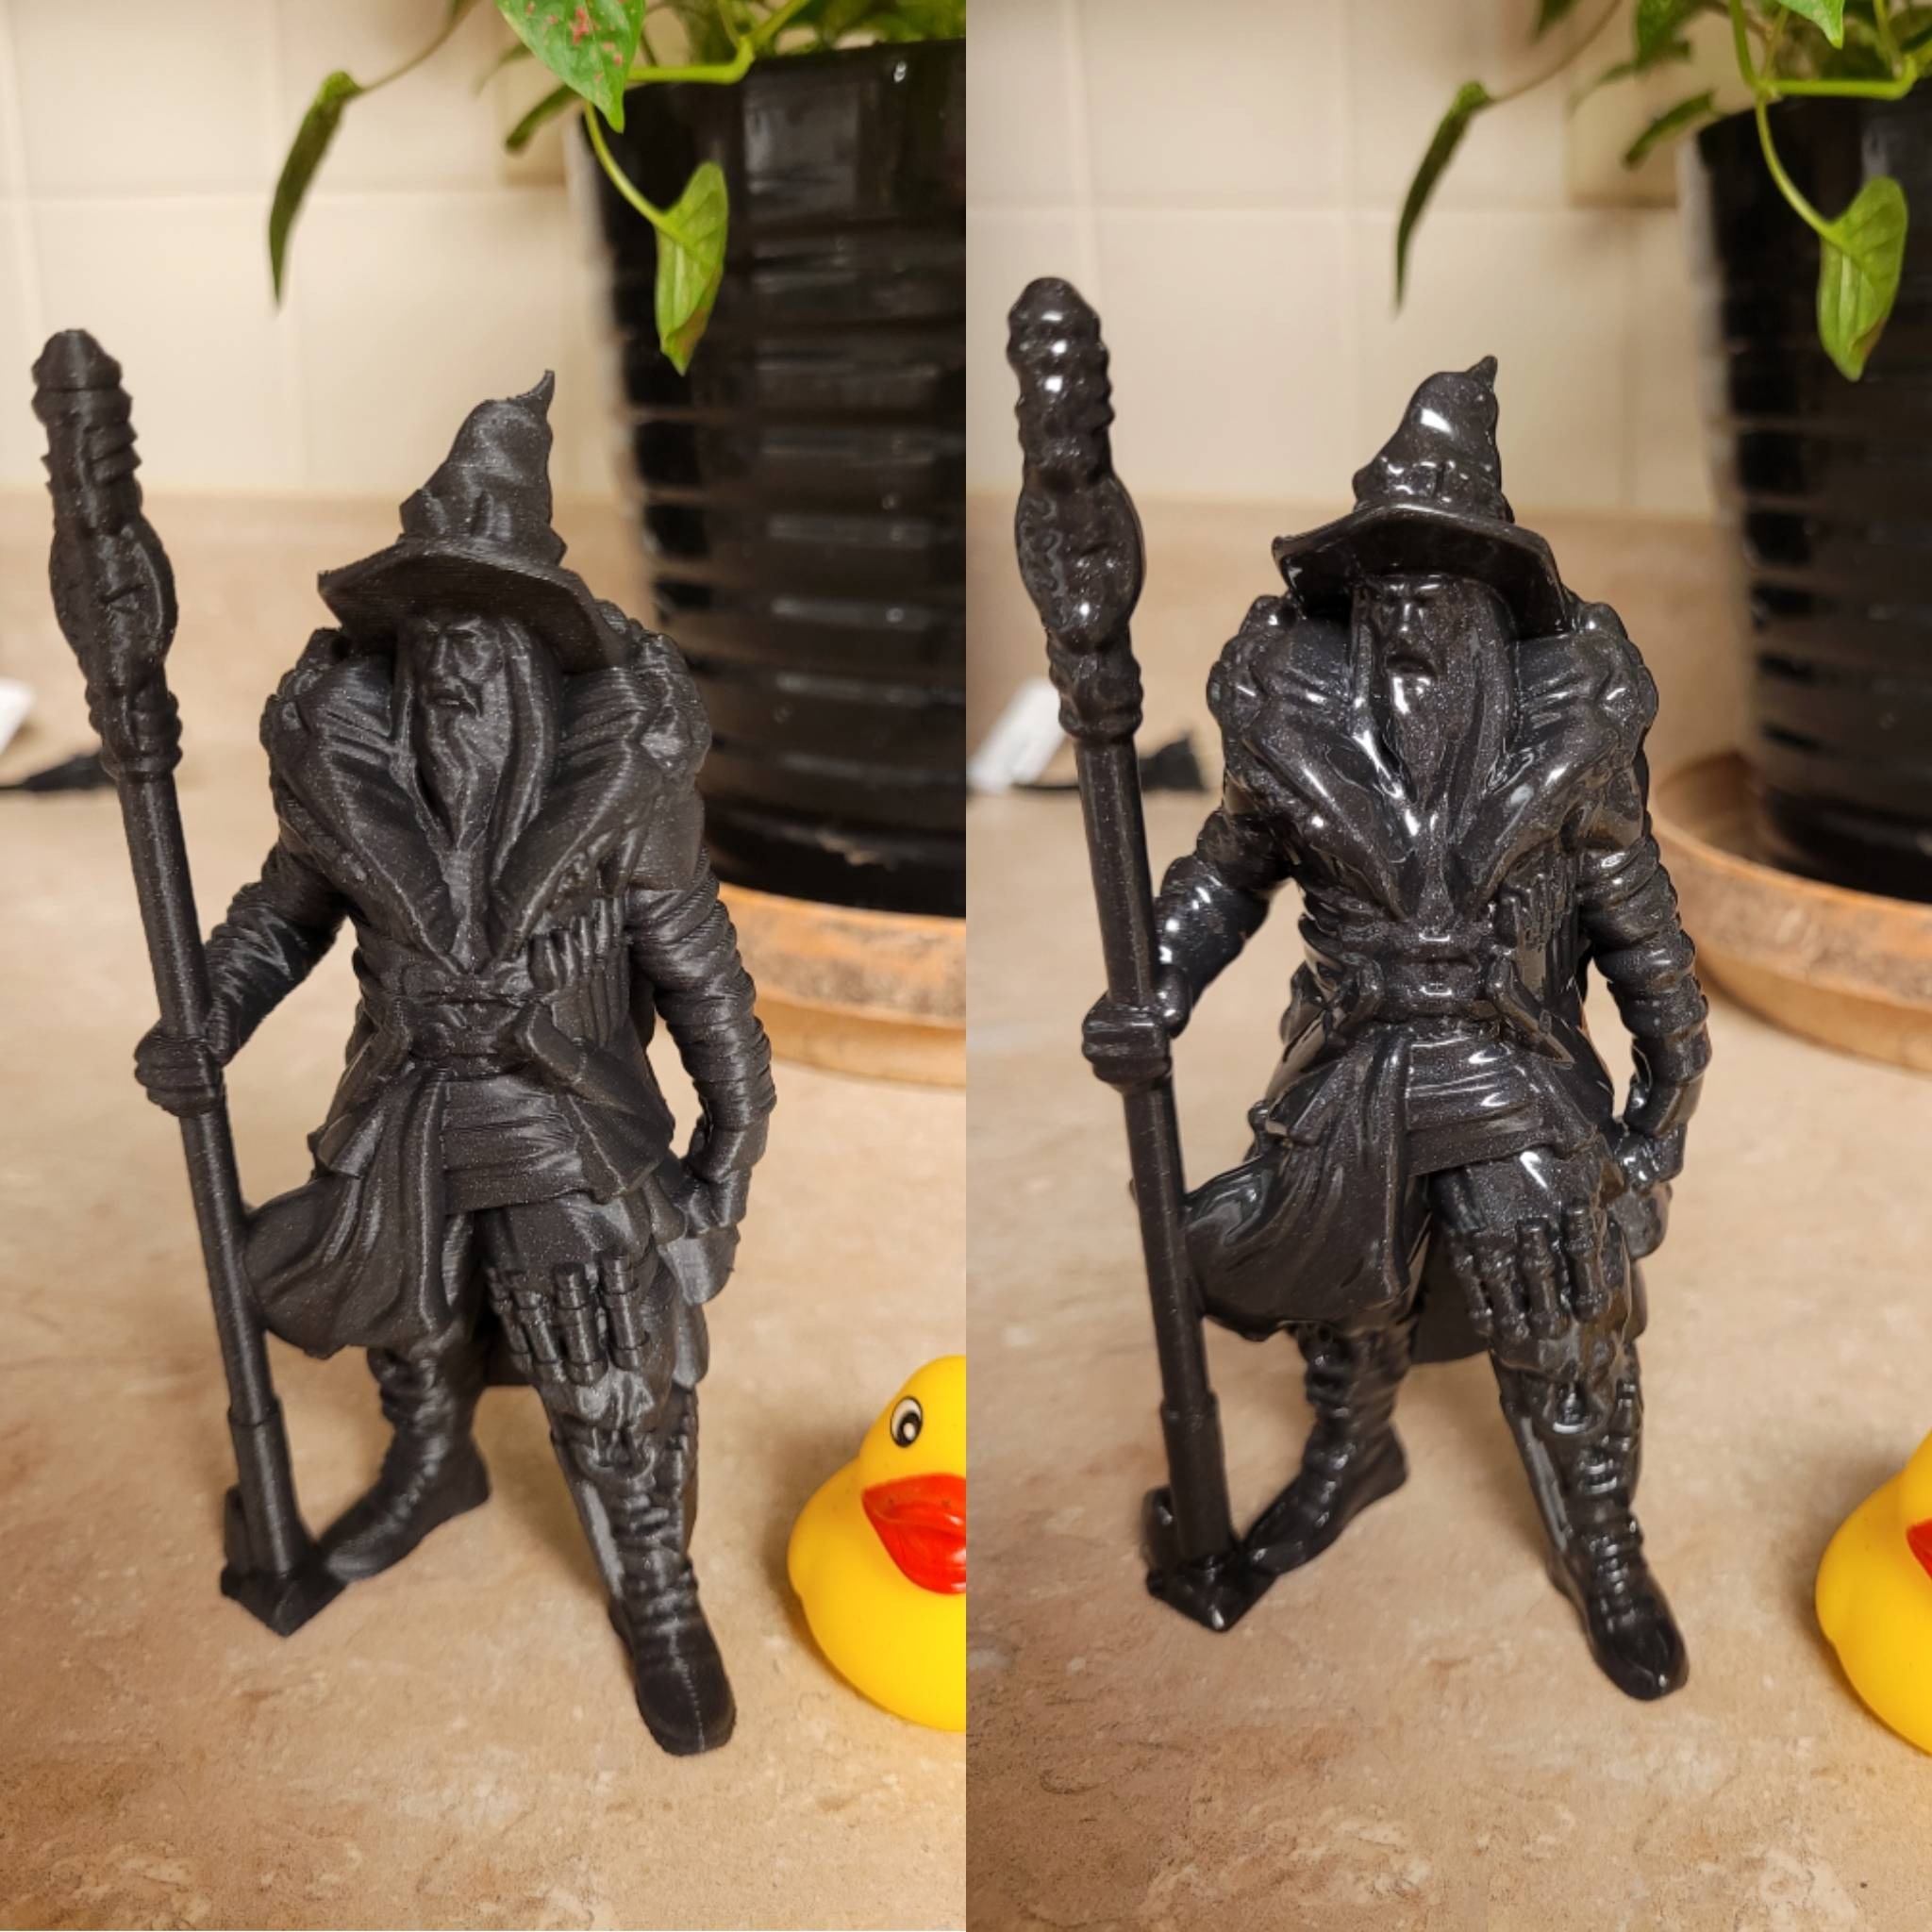
Your 3D-printed parts will melt in acetone. As the original plastic melts and the layer lines merge, your part's size and appearance become less accurate. You lose the fine features on the surface of your print, and the part won't be an exact copy of the original design.
For example, say you want to print a simple part like a nut and screw. Chances are, after vapor smoothing, the threads won't be as straight as you need them to be, and the two parts won't fit together well.
The same might be the case with highly detailed miniatures. Fine features like hairlines, engraved armor, and any patterns can blend together and disappear completely.
Acetone Hazards
 Picture Courtesy : Ganokpat via Wikimedia Commons
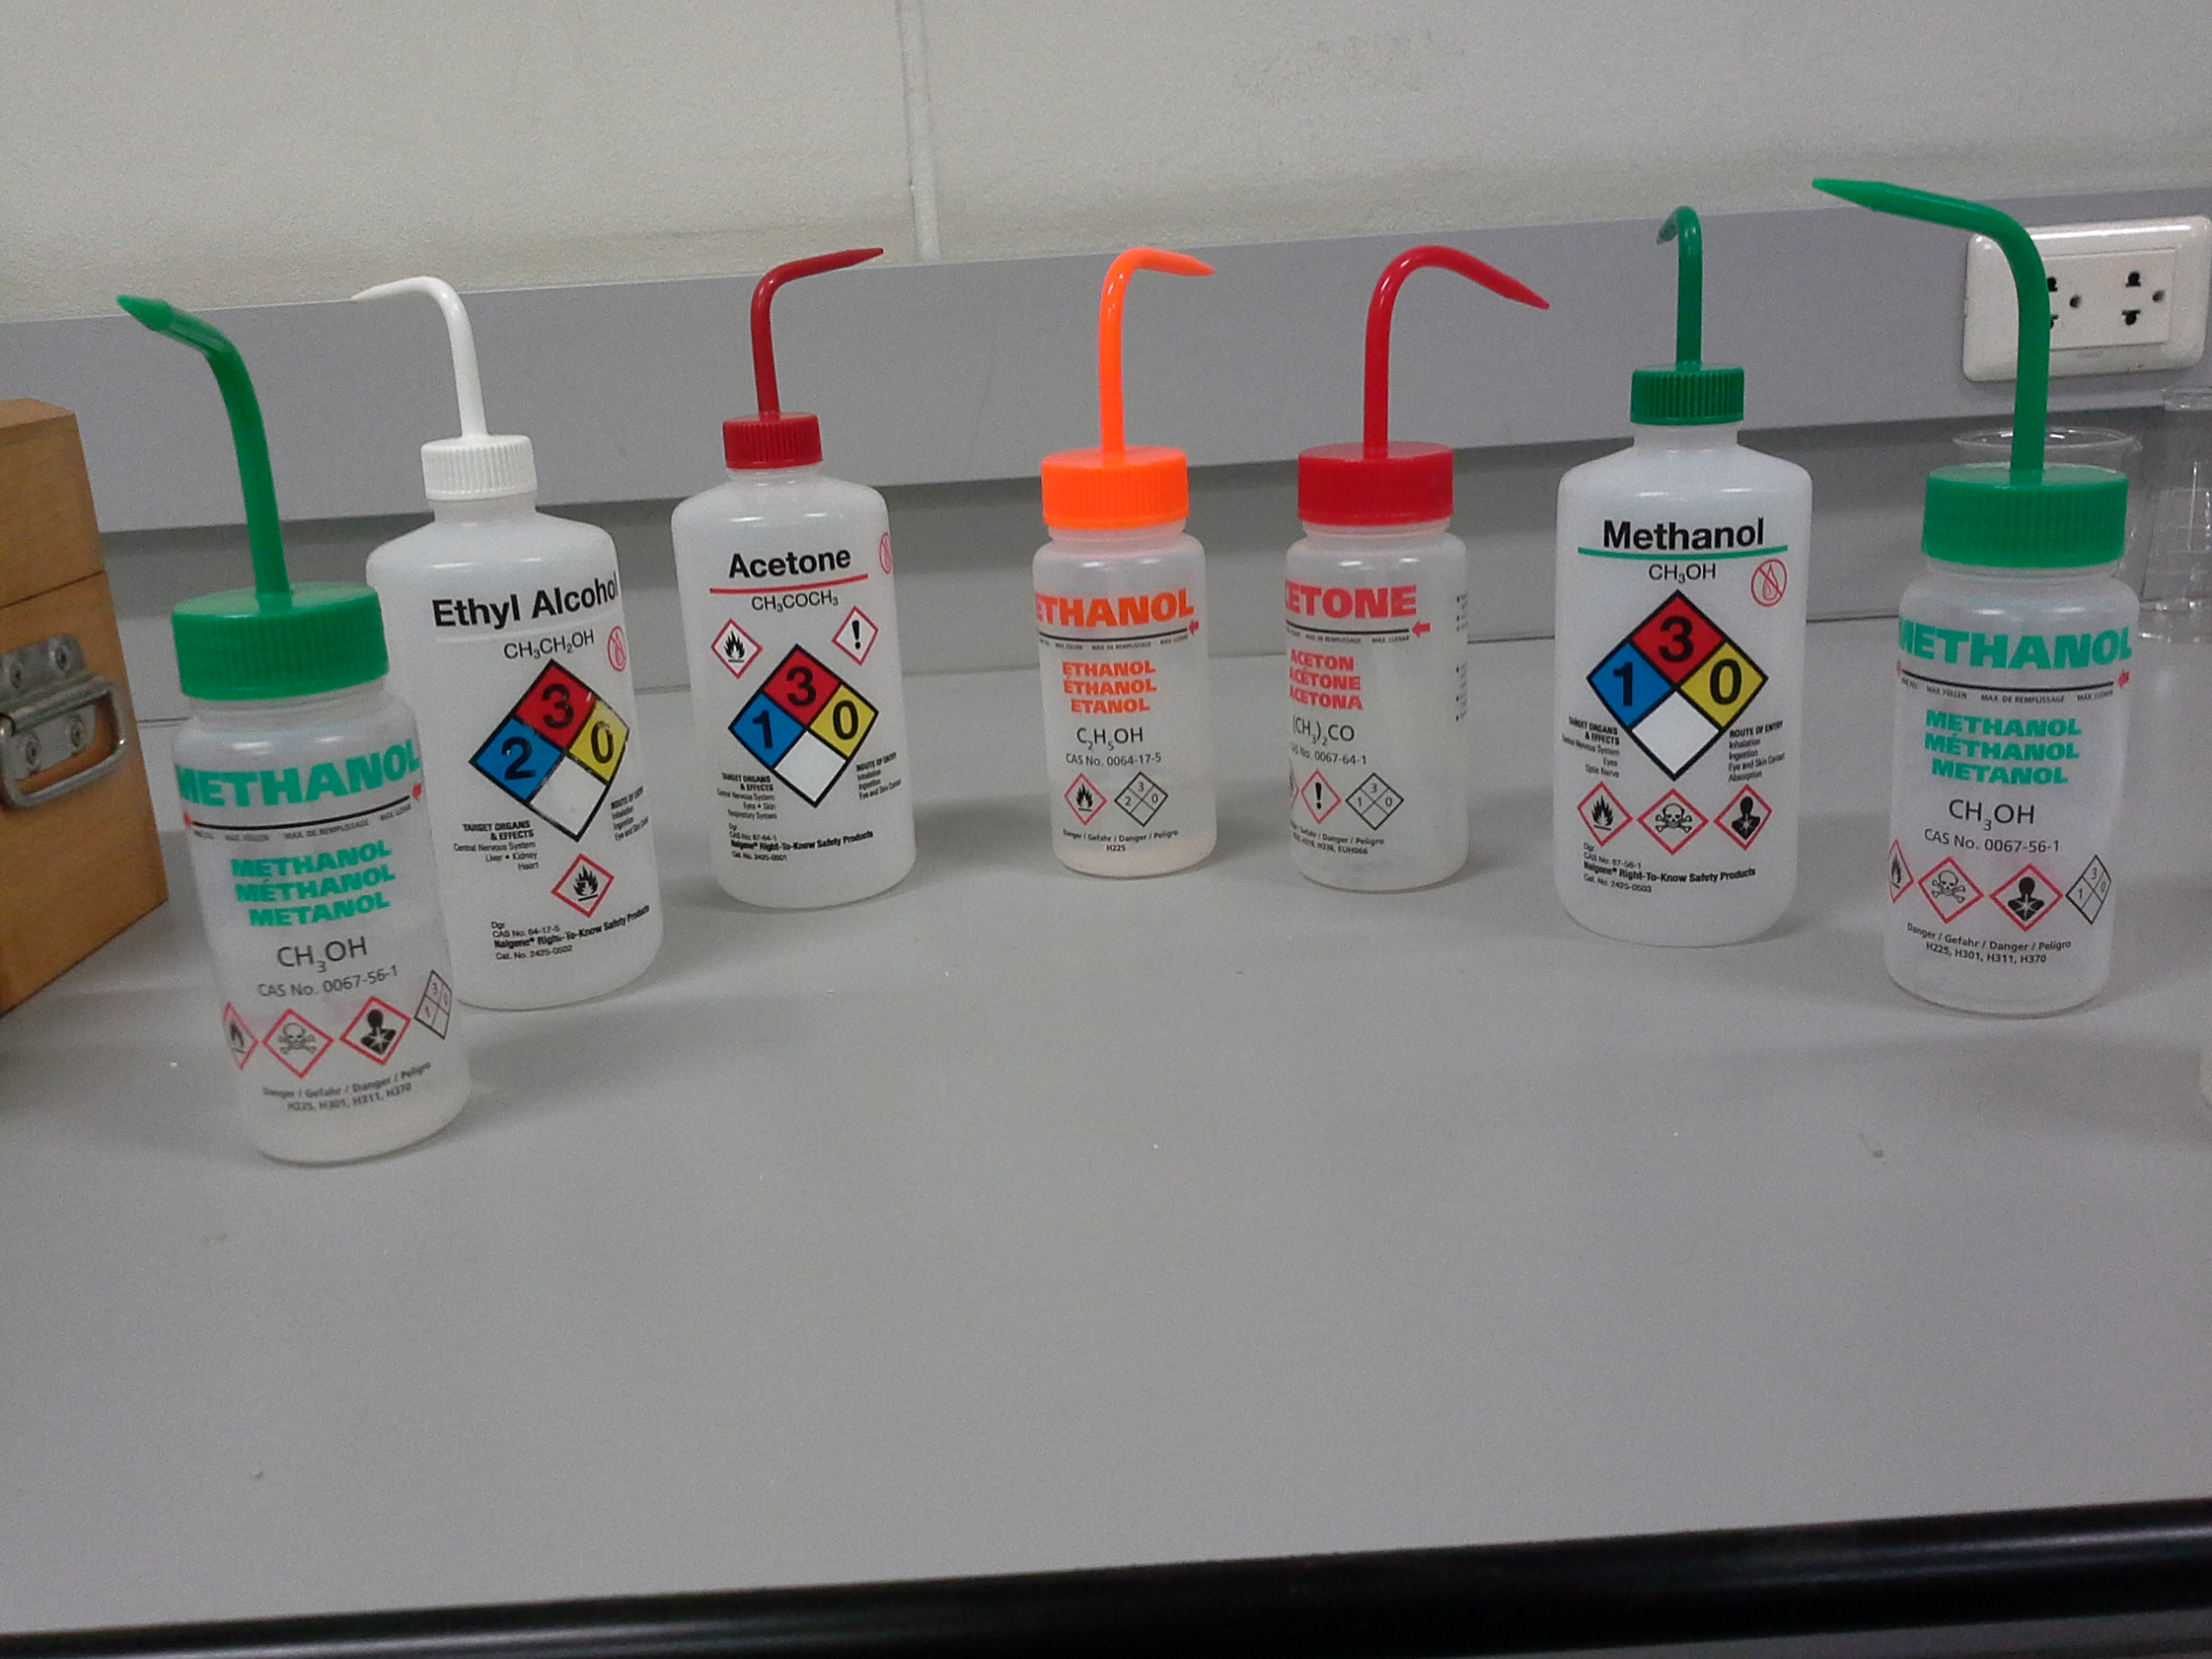
If you are around acetone for a long time, it can give you headaches and make you feel sick. In some cases, using high-quality Acetone without safety gloves can even irritate and damage the skin. When cleaning your 3D prints, you should always make sure to wear the right safety gear and a face mask.
Also, acetone is very easy to light on fire. You should be careful not to put it near an open flame or in a hot place because it can easily catch fire.
These were some bad things about acetone. They aren't there to stop you but to make you more careful about what you're doing.
How to Smooth ABS with Acetone
There are three main ways to use acetone to smooth out your ABS parts. Each method has its own pros and cons, and this section will tell you more about how each one works. Let's start.
Using a Paintbrush
Picture courtesy : Spool3D Canada
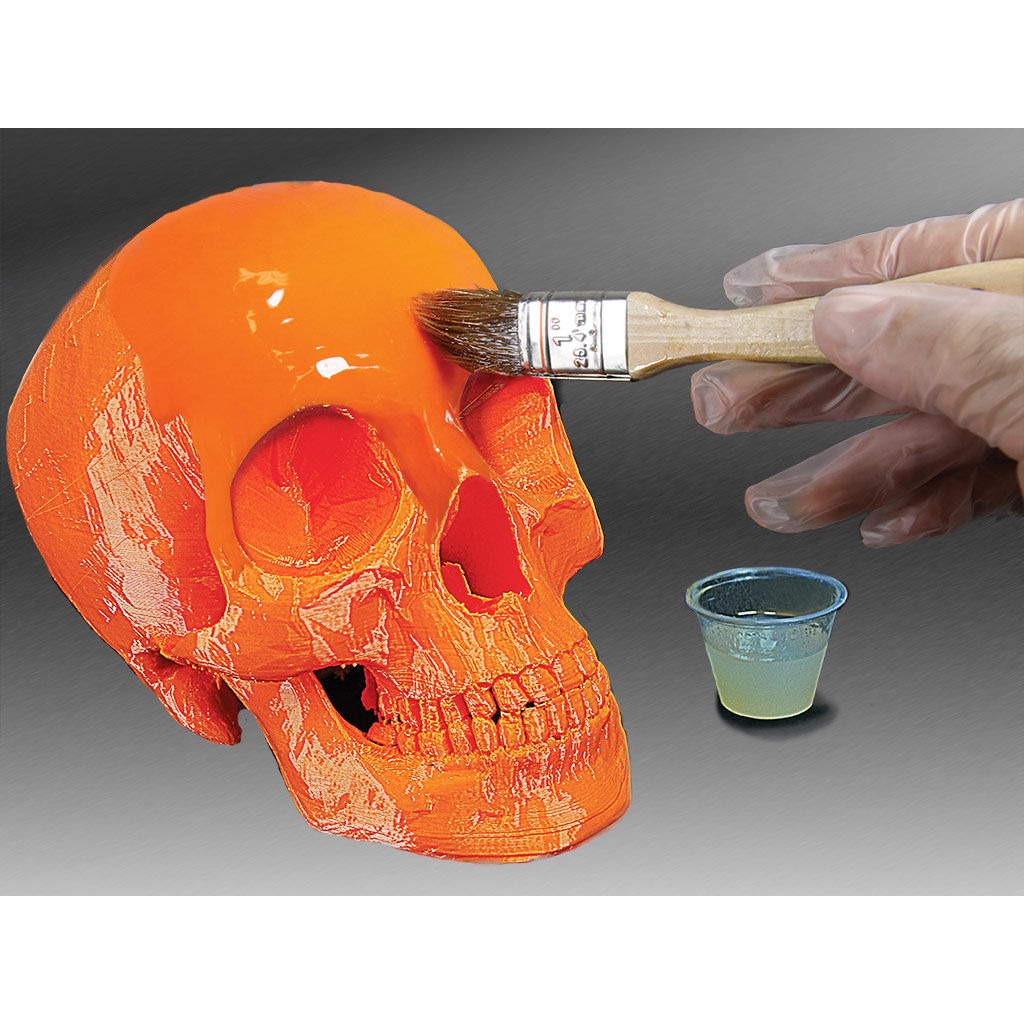
Smoothing ABS prints with acetone is simplest when done with a paintbrush. You can decide the amount of smoothing and how it is applied. Furthermore, you benefit from not having to use as much acetone to melt your prints.
How big the paintbrush needs to be depends on what you want to smooth out. Use a brush with a fine tip to paint small features. On the other hand, you can use a flat brush for big, flat areas.
To apply acetone to your part's surface, just dip the brush's end in the solution and spread it thinly over the area. At room temperature, acetone dissipates quickly. So watch it, and don't put too much on at once.
Apply acetone to your parts until you are happy with how smooth they are and how they look. Depending on how you set up your print and what kind of ABS plastic you use, you may need anywhere from 4 to 10 coats of acetone to get the results you want. Once you're done covering your parts with acetone, you should let them dry for a while before using them.
With a brush and acetone, you can smooth models and prints with lots of details. When using acetone with a brush, you may be precise and avoid damaging the details. It also takes the least time out of all the ways to smooth.
This manual operation does have its drawbacks, though. It's easy to use too much acetone and put on more than is needed. Also, some places may be smoother than others, which again makes your parts look bad.
Be careful and put on thin layers. Remember that it's better to not smooth too much than to smooth too much.
Acetone Vapor Smoothing
When it comes to smoothing ABS components, acetone vapor smoothing is by far the most common technique. It uses fumes of acetone to melt the lines between the layers and clean your 3D prints. The method is simple, rapid, and adaptable to a wide range of models. We'll break down this method into four easy steps.
Parts and Smoothing Chamber Prep
 Picture Courtesy: caskelcey via Instructables
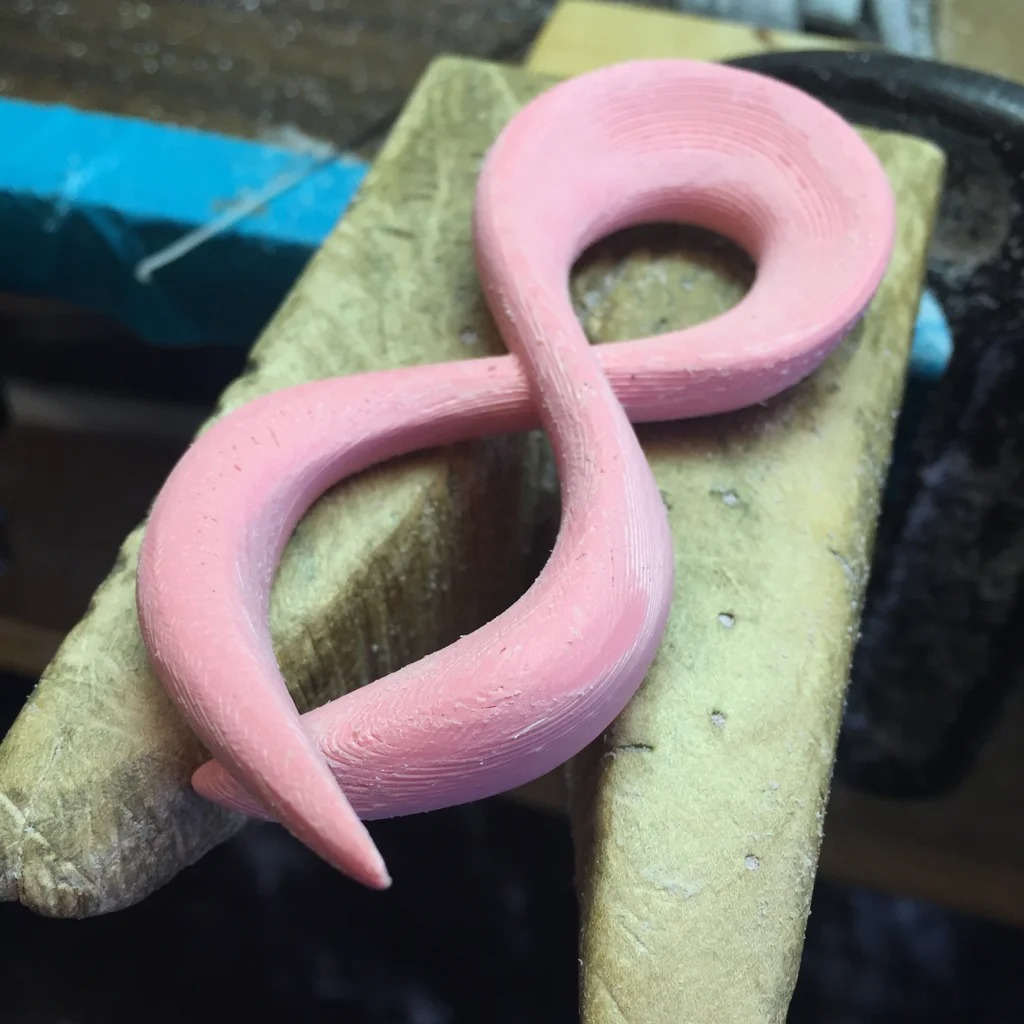
First, make sure that your part is ready to be smoothed. Remove any support structures, small pimples, and blobs, and clean the model well.
You'll need a small jar or other container that will act as a smoothing chamber. This box will keep the fumes of acetone inside of it and make sure they stay close to the part. The jar also needs to be properly shut so that the Acetone fumes can't get out.
Use clear jars with flat tops made of glass or plastic, ideally glass. Glass is more clear than plastic, and you can see how the melting is going.
Start Smoothing
Picture courtesy : northernmenace via Instructables
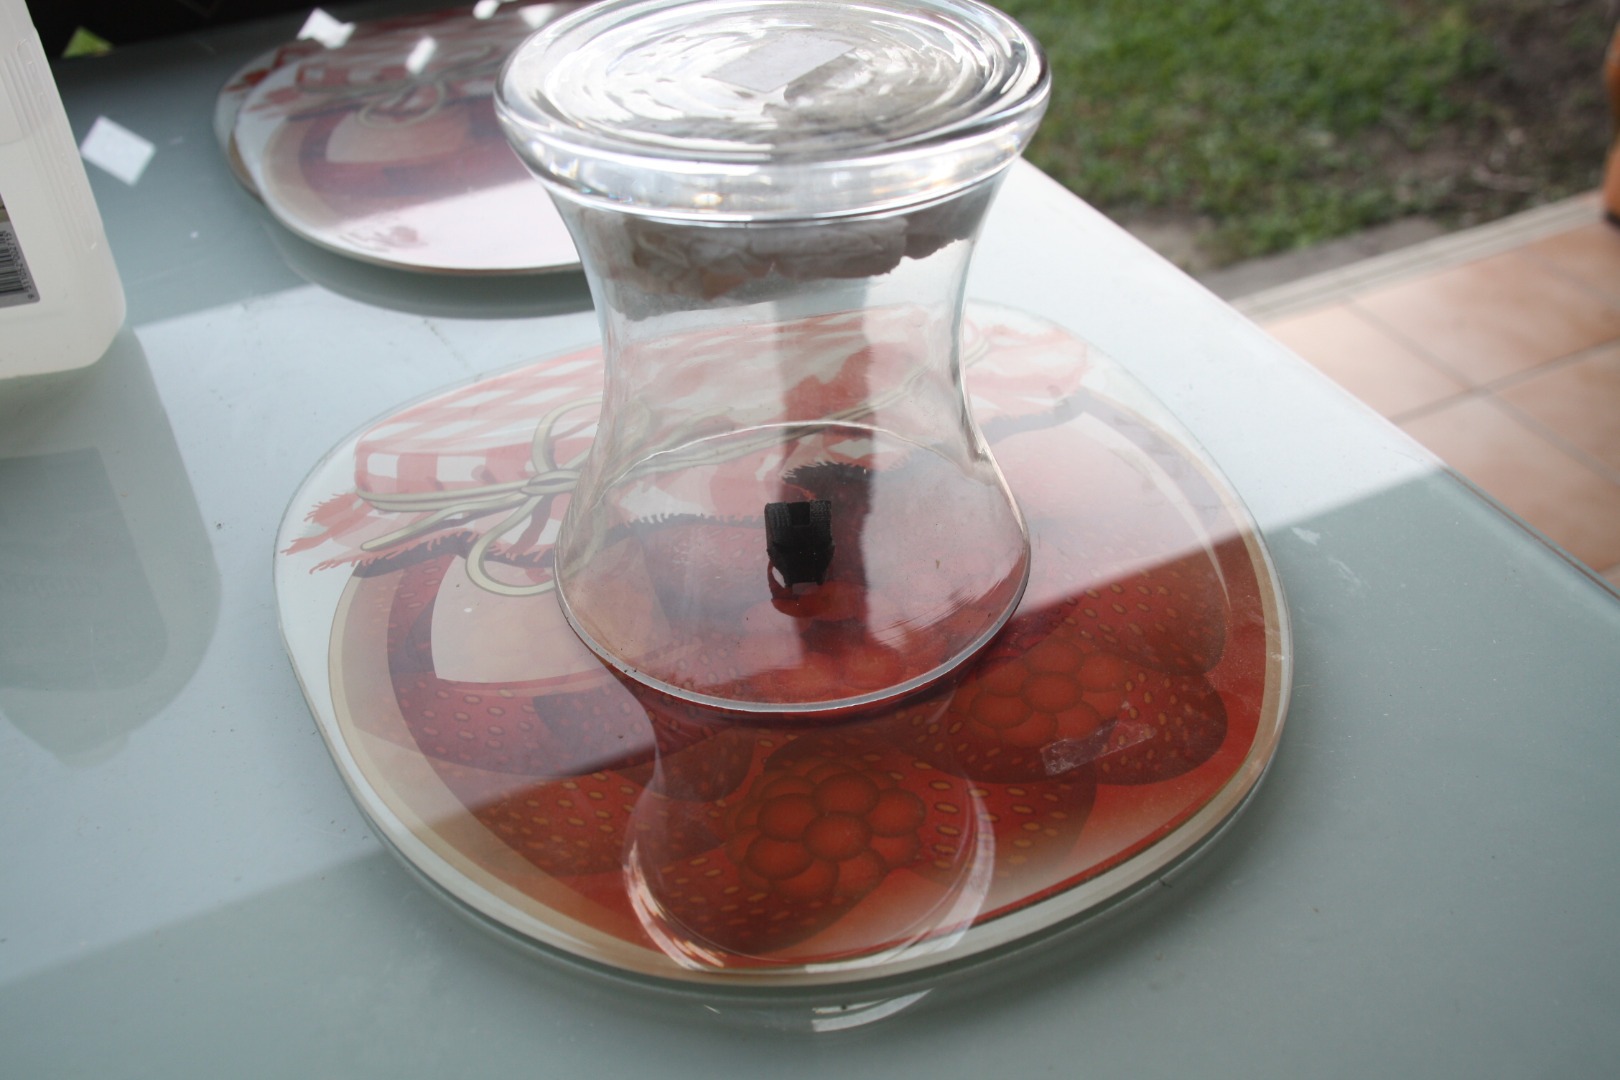
Put a base like aluminum foil, a wooden brick, or a metal piece under your 3D-printed model. It will help keep the plastic from leaving marks on your table if it melts. Then, soak a few pieces of paper towel in acetone. They should be a little damp but not dripping wet.
Take the glass jar and the tissues that have been soaked in acetone and put them next to your 3D-printed part. Put the tissues toward the jar's surface and flip the jar upside down over the model to cover it. You can seal the jar from the bottom by using a lid or a plate filled with water. Don't touch the ABS print with the paper towels.
Wait and Watch
 Picture courtesy : diegozalezz via Instructables
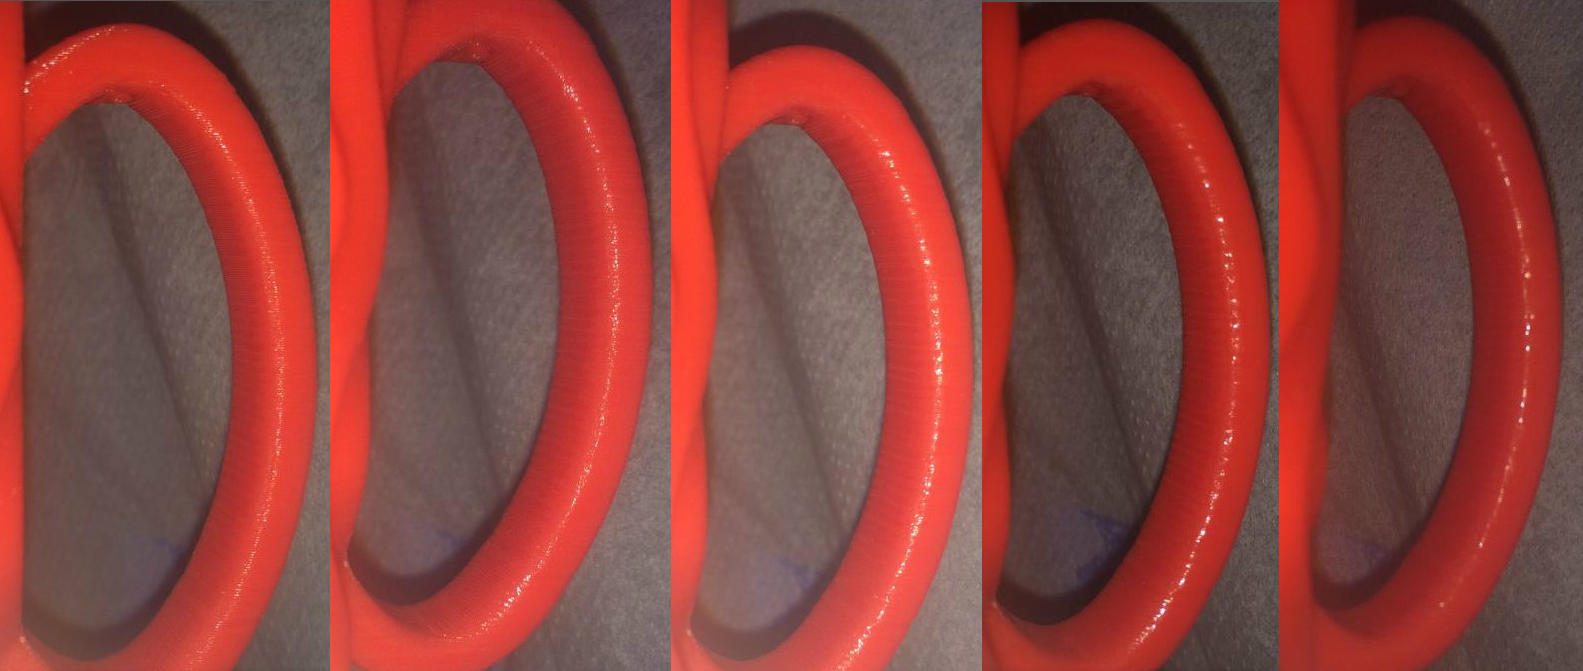
Set a timer and wait a little while. It will take some time for the box to fill up with acetone fumes and start to affect the model. The time varies on how big your model is, how much space it has, and how much acetone is in the tissues.
You'll start to notice that the layer lines on the surface of your part are slowly going away. Depending on the above things, it can take anywhere from 20 minutes to 2 hours.
There is always a chance that you might smooth your parts too much and ruin them. So, it's best to check on the part every few minutes to see how it's coming along. Because of this, a clear jar is useful. When you want to check on the model, you don't have to lift the container.
After you've smoothed a few more pieces, you'll have a better idea of how long it takes to obtain good results. It's a game of practice before you can confidently estimate the smoothing time for your prints.
Let It Dry
Picture Courtesy: caskelcey via Instructables
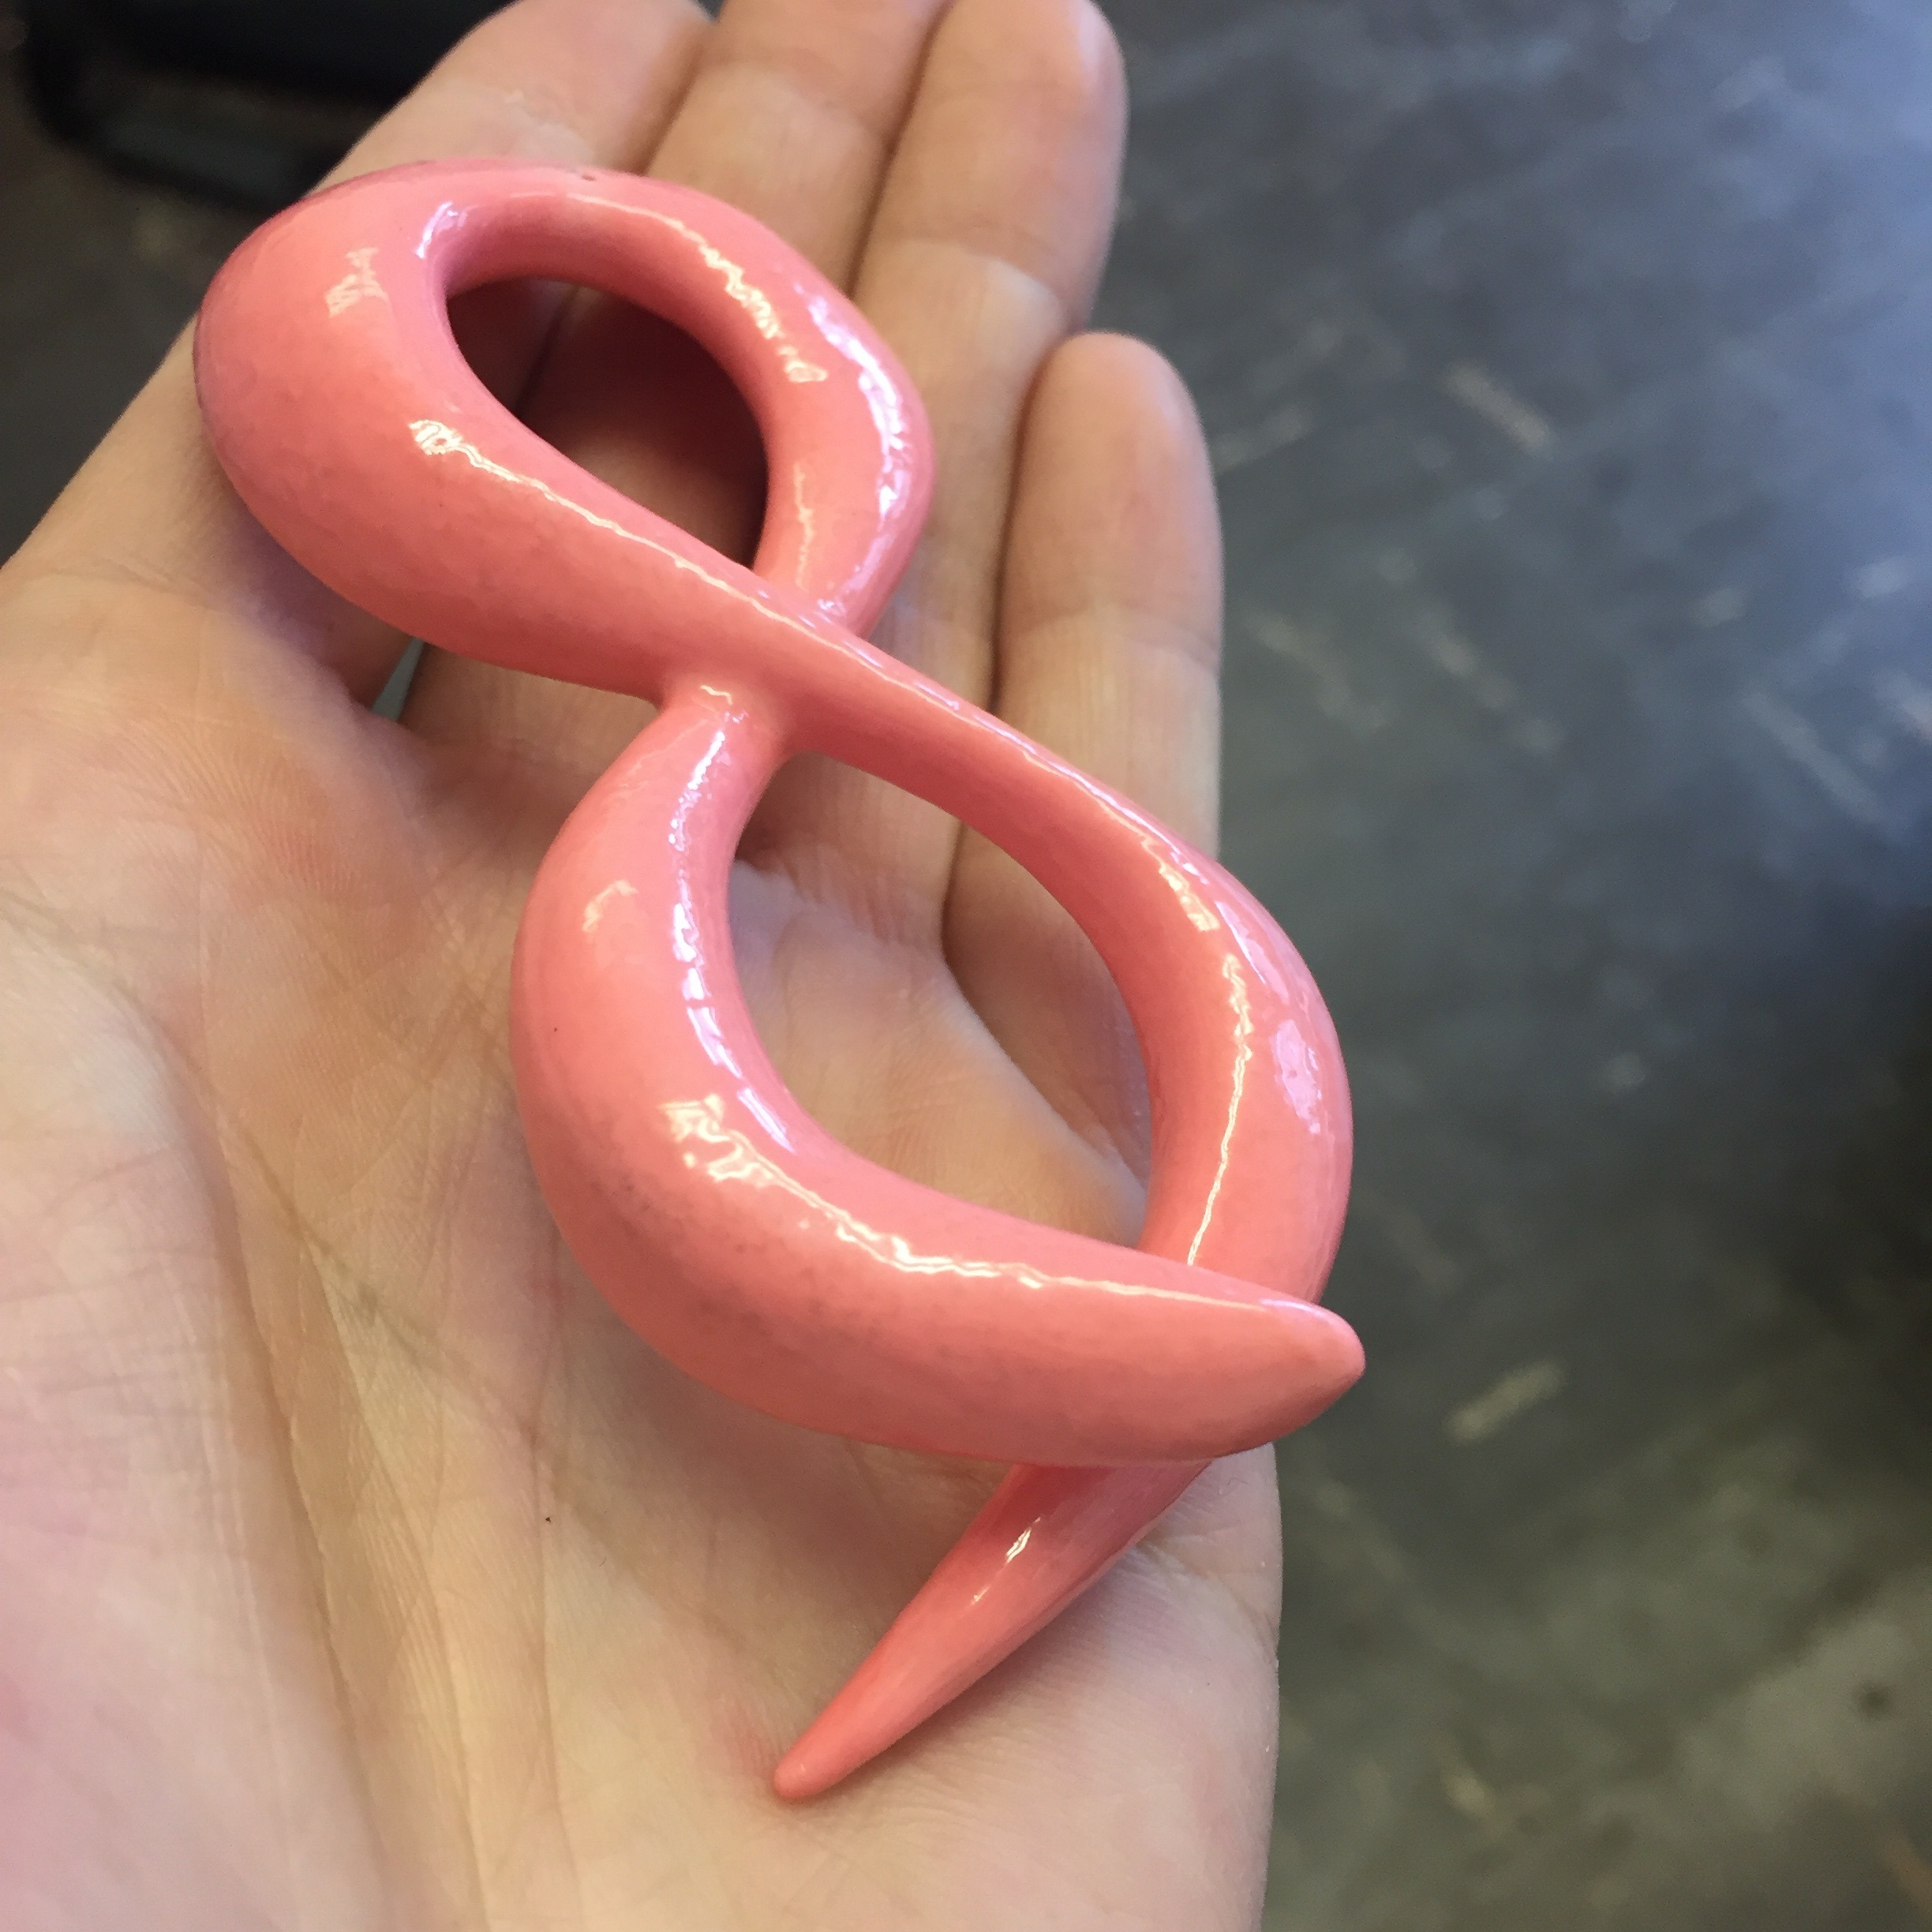
Once you're sure the layer lines are gone, and the quality of the part meets your standards, lift the jar and take out the acetone tissues. Don't touch your 3D-printed piece for a while, and let it rest. The surface is still soft, so it's easy to leave marks on it or bend it.
Use the base to move the part and put it in a separate area. Before using the component, all of the extra acetone vapors must be evaporated. The drying time can last anywhere from a few hours to a few days.
You can't touch or use the part in your work until it's completely dry. Don't hurry the drying process. Once your components have dried completely, you may use them in your projects and admire the shiny sheen you gave them.
Automatic Vapor Smoothing Equipment
Picture Courtesy : Zortrax
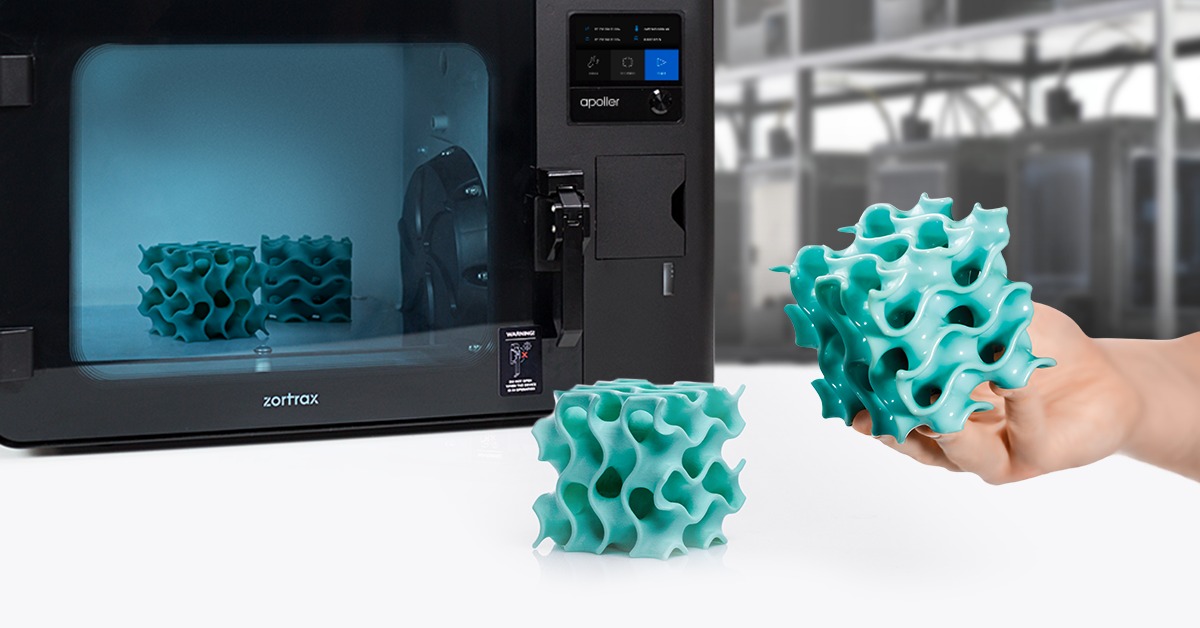
Last but not least, you can use a machine to smooth out your ABS parts. It uses the same acetone fumes as the method above, but it takes things a step further. In place of a do-it-yourself method, you now have access to a professional-grade machine for finishing your ABS prints.
There aren't many products available; however, the Zortrax Apoller SVS Device is one among them. It takes care of everything and makes your 3D printing lab look more professional. It has built-in vacuum and air-circulation technology to help you get the best results and smooth your parts better.
But there is a cost to all this refinement. The price tag of approximately $6,000 USD puts it out of reach of most consumers. But you still have a choice if you need something professional and robust for your business 3D printing needs.
Final Thoughts
Smoothing ABS 3D prints is a great way to add a final touch to your parts with little work. It improves the visual quality of your models and makes them look more professional.
The acetone vapor approach is the most effective for treating ABS after it has been printed. There's a reason why so many people like it. It's easy to implement, easily accessible, inexpensive, and compatible with a wide range of models. The output is high-quality, and it's easy to adjust for your specific 3D printing requirements.
Send us feedback on how well the ABS smoothing technique worked for your 3D printing. If you've done this before or want to add something we forgot, feel free to leave a comment below.
Keep on printing, and let the smoothness of your parts shine!
