Download, Install, and Setup Bambu Studio – Step-by-Step Guide
What is Bambu Studio?
If you’re into 3D printing, or just dipping your toes into it, you’ve probably come across Bambu Studio.
But what is it, exactly?
In simple terms, Bambu Studio is a 3D printing slicer software that acts as the bridge between your creative ideas and your printer.
It’s designed to be user-friendly, so you don’t need anything like a PhD in 3D printing to get started. Yet, it’s packed with advanced features (like multi-material support) that will help you handle complex projects very easily. And its slicing engine? It’s not just fast, it’s also smart and is designed to ensure your prints come out just the way you envisioned them.
It’s also compatible with a variety of 3D printers, such as Bambu Lab’s X1 series and P1P, along with other popular models from brands like Creality and Prusa.
Let’s dive into how to get it up and running!
System Requirements
Bambu Studio is flexible and works on a range of systems (including Windows, macOS, and Linux), but here’s what you’ll need:
Minimum System Requirements
At a bare minimum, your computer should have:
- Processor: A dual-core processor, like an Intel Core i3 or similar.
- RAM: 4GB of memory.
- Storage: 500MB of free space for installation.
- Graphics: Integrated graphics with OpenGL 3.3 support.
Recommended System Requirements
For the best experience (especially if you’re working with intricate designs or multi-material prints) aim for these:
- Processor: A quad-core or better, such as an Intel Core i5/i7 or AMD Ryzen 5/7.
- RAM: At least 8GB, though 16GB is ideal for heavy-duty tasks.
- Storage: 1GB or more of free space to handle larger files.
- Graphics: A dedicated GPU, like an NVIDIA GTX 1050 or equivalent, for faster processing.
- Operating Systems:
- Windows 10/11 (64-bit)
- macOS 11 (Big Sur) or newer
- Linux with updated OpenGL drivers.
How to Download Bambu Studio
You’ll be glad to hear that downloading Bambu Studio is quick and easy:
- Navigate to the Download Page from the Official Website
- Head over to the official Bambu Studio download page in your web browser.
- Here, you’ll find links to the different versions of Bambu Studio for Windows and macOS, as well as a link to Github where you can download the Linux version and check the latest release notes.
- Choose the Right Version
- Select the version that matches your operating system:
- Windows Users: Click the link for the Windows version, and you’ll get a .exe file for installation.
- macOS Users: Choose the macOS version to download a .dmg file
- Start the Download
- Click the download link, and the file will begin downloading to your computer.
Always use the official site for downloading Bambu Studio (to avoid potentially harmful third-party sources).
Take note that for Linux users, the process is a bit different. Go to this step-by-step guide for detailed instructions.
How to Install Bambu Studio
Now that the Bambu Studio download process is complete, you’re ready to move onto installation. The installation process is straightforward, but it will vary slightly depending on your operating system.
Here’s how to install Bambu Studio:
Windows Installation
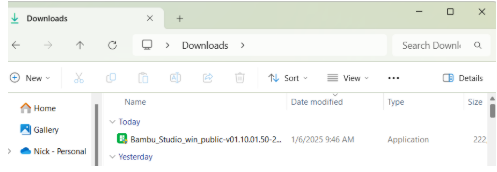
- Locate the .exe file you downloaded. It’s usually in your computer’s ‘Downloads’ folder. Then double-click on the file to launch the installer.
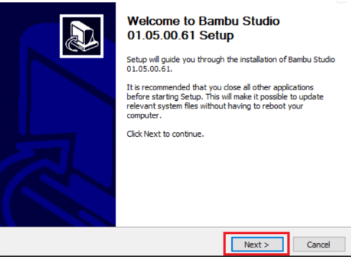
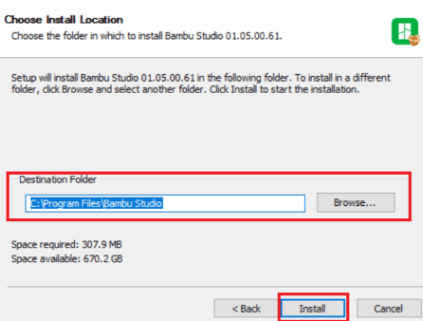
- Follow the on-screen prompts (which will guide you through selecting the installation directory and agreeing to the terms).
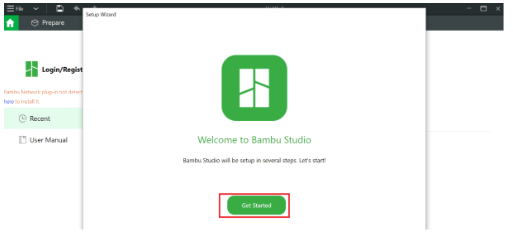
- Once the installation is complete, you can click ‘Close’.
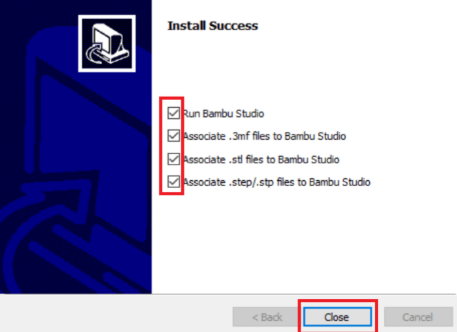
You can now find and open Bambu Studio from your Start Menu or desktop shortcut!
macOS Installation
-
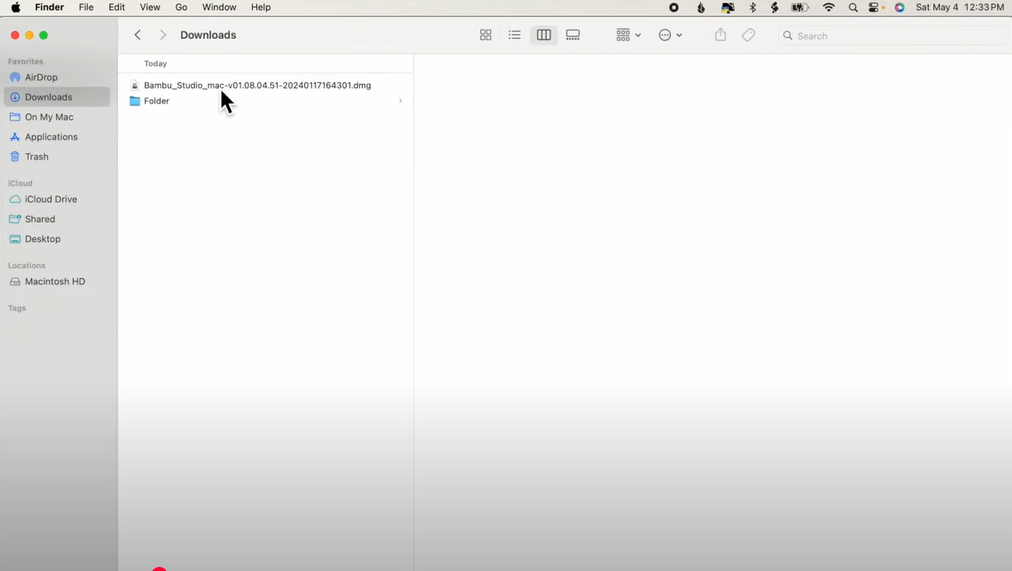
Locate the .dmg file you downloaded.
-
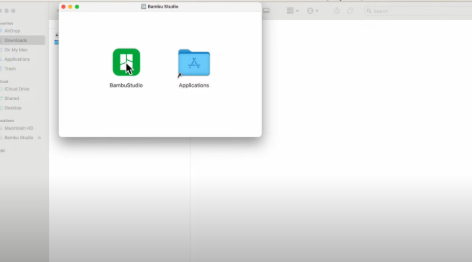
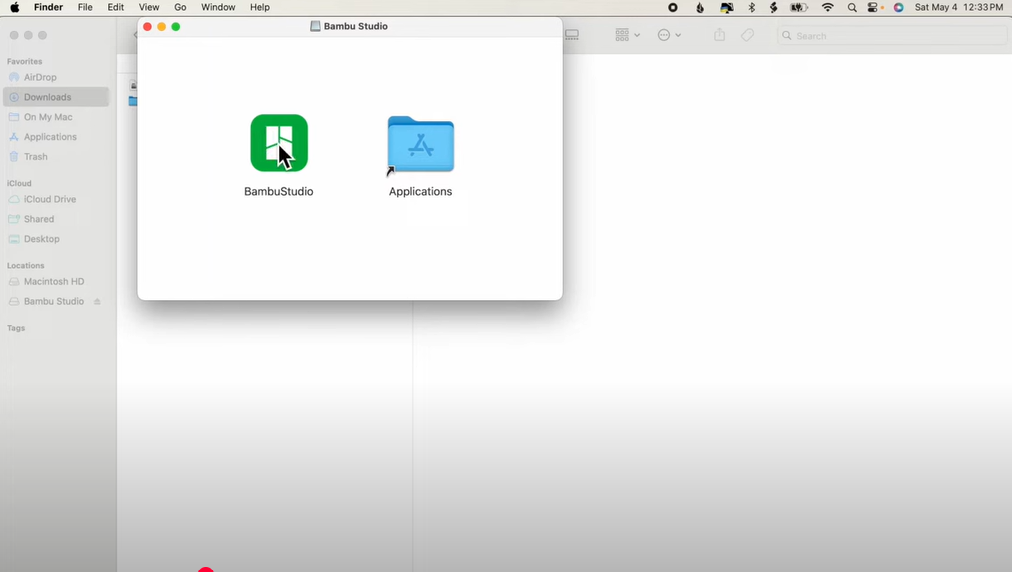
Double-click the file to open the installer (a window will appear with the Bambu Studio icon and your Applications folder).
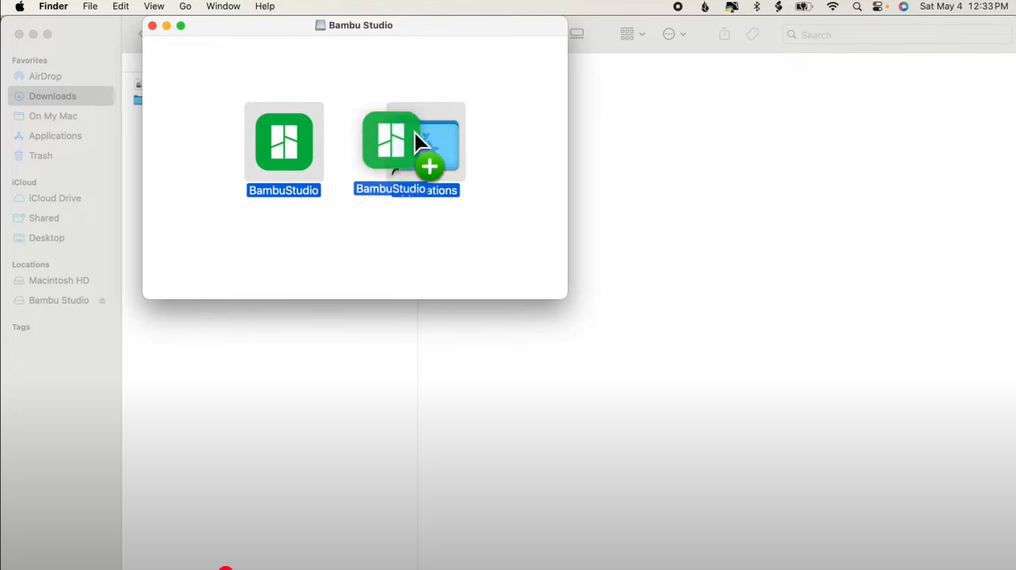
- Drag the Bambu Studio icon into the Applications folder.
-
Once it’s copied, you can eject the .dmg file by right-clicking it and selecting Eject.
-
Open your Applications folder, find Bambu Studio, and double-click to launch it.
Take note that if a security prompt appears, you may need to confirm that the app is safe to open under System Preferences > Security & Privacy.
Troubleshooting Tips
Windows
If you encounter errors during installation, try running the installer as an administrator (you’ll need to right-click the .exe file and then select Run as Administrator).
macOS
If the app doesn’t open due to security settings, go to System Preferences > Security & Privacy and allow the app to run.
Post-Installation Setup
Congrats! Now that you have Bambu Studio installed, it’s time to set everything up so you can start printing like a pro.
Here’s a few additional things you would be wise to keep in mind:
Setting Up Your Printer
You’ll need to tell Bambu Studio what printer you’re using.
This step is super important because it helps the software tailor settings to your specific machine, but it’s not too much different from any other 3D printing software setup:
-
Pick your printer model from the list (Bambu Studio has presets for popular ones like the Bambu Lab X1 or P1P).
-
Don’t see your printer? No problem. You can manually add it by entering a few details, like your bed size and nozzle diameter.
Once you’ve got everything set, save your printer profile. Boom, just like that, you’re ready to slice!
Getting Familiar with the Basics
Now that your printer’s set up, you can take a minute to check out the basic settings:
Print Quality
You can choose between presets like Draft (quick but rough), Standard, or High-Quality (slow but super detailed).
Filament Type
Let Bambu Studio know if you’re using PLA, ABS, PETG, or something else. It’ll adjust settings for the best results.
Tips for a Smooth Start
Last but not least, here are some additional things that you can keep in mind:
-
Try a simple design first (like a calibration cube or one of the sample models) to make sure everything’s working as expected.
-
If your printer suggests a firmware update, go ahead and do it. It will keep things running smoothly with Bambu Studio.
Conclusion
That’s it! Your Bambu Studio setup should be complete and you should also be ready to roll.
Once you’re up and running, you should take some time to explore the software’s many features.
For instance, you can tinker with settings, try out multi-material projects, and check out the layer previews. It’s all part of the fun, and the more you experiment, the more you’ll discover what makes this 3D printing slicer so useful.
If you found this Bambu Studio tutorial helpful, why not share it with your fellow 3D printing enthusiasts? And if you run into any issues along the way, don’t hesitate to leave a comment below. We’d love to help you out!
