Klipper Essentials - Top 10 things to Install on your Klipper 3D Printer
Introduction
Klipper is not any run-off-the-mill 3D printing firmware. Its extensive range of features, upgradability, and growing popularity are making all the news in the 3D printing community right now.
Installing Klipper and getting it running is one part of upgrading to Klipper. The real fun begins when you start configuring it. There are so many things you can install side-to-side with Klipper to improve your 3D printing game.
In this article, we'll be exploring the top 10 Klipper applications that you should install on your 3D printer. These applications are designed to improve Klipper's functionality and provide you with the best possible Klipper experience.
So, let's get started!
Klipper Installation And Update Helper (KIAUH)

KIAUH is the first thing any new Klipper user should install on their 3D printers. It's a great and must-have tool that lets you control everything Klipper-related from a single window.
You can install Klipper interfaces, backup items, configure plugins, and a lot more all through KIAUH. It's pretty easy to install KIAUH on your Klipper instance, and its GitHub page outlines the process very well.
Klipper Multiple Interfaces - Mainsail and Fluidd
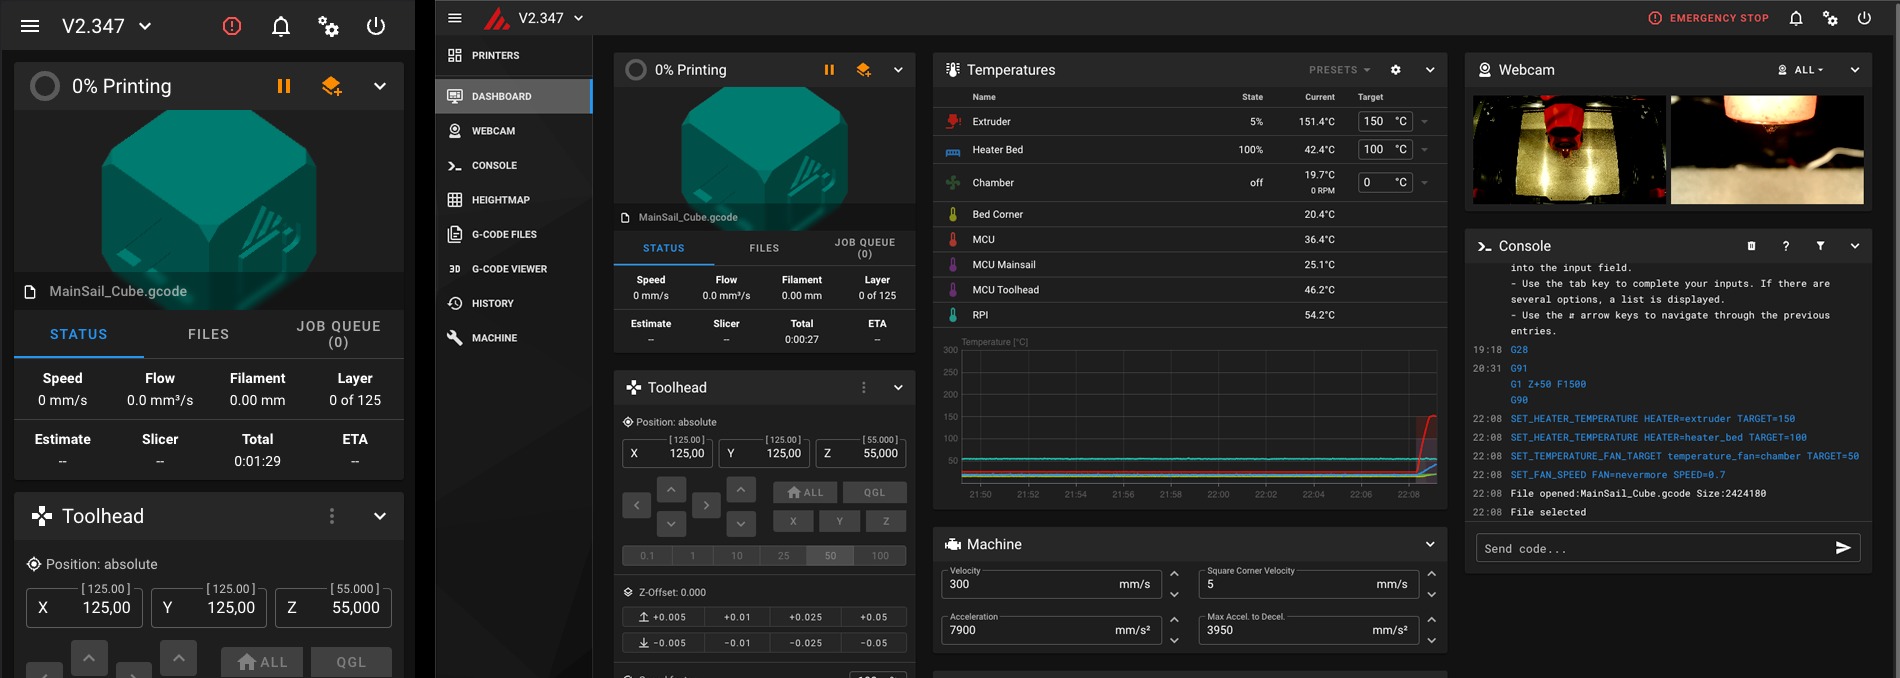
The one benefit of installing KIAUH is that you get to set up multiple interfaces for Klipper. You can set up Mainsail as well as Fluidd for your Klipper instance and get the benefits of both these web interfaces.
Mainsail and Fluidd both offer a great Klipper experience. Mainsail gives you better customization, while Fluidd's User interface is relatively easy to use. Mainsail has a good track record of regular updates, and Fluidd's printer statistics give you a good idea of the print history.
There's really not a "Best Klipper Interface" between the two. Both are excellent in their own regards and by using KIAUH, you get the option to easily install and use both these interfaces on your Klipper 3D printer.
Custom Macros
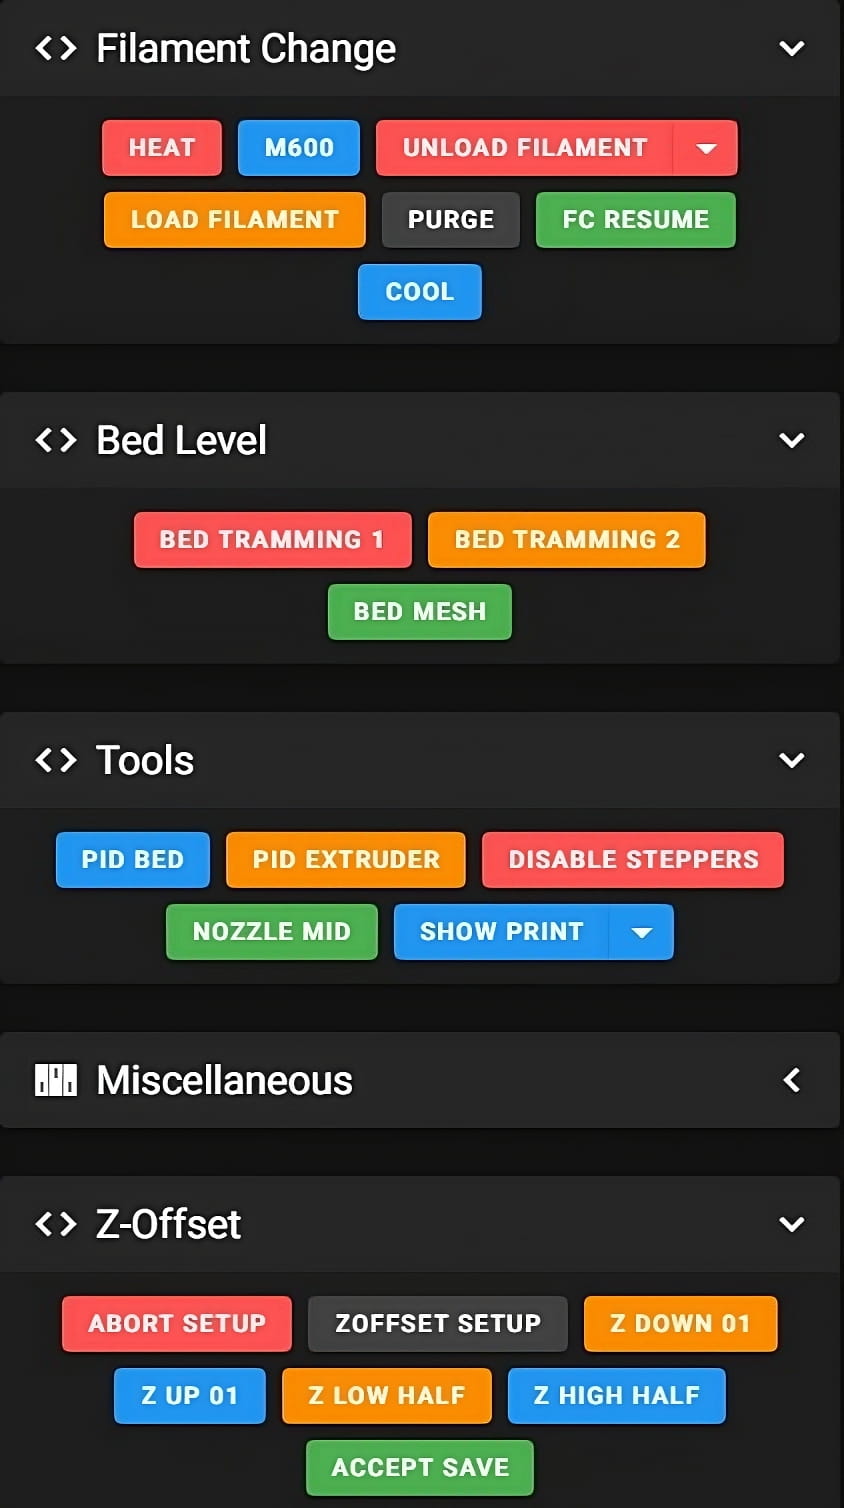
Macros are a big part of the overall Klipper experience. These Klipper Macros give you an easy way to automate or customize specific tasks on your 3D printer.
For instance, you can create a START PRINT macro and write a custom start Gcode for your specific 3D printer. Or you can create a PAUSE macro and let the printer know what it needs to do when you hit the PAUSE command.
You can create tens and hundreds of Klipper macros, from changing filaments to switching on LEDs. They make it easy for you to perform certain tasks and help you focus more on the printing side of things.
Exclude Object
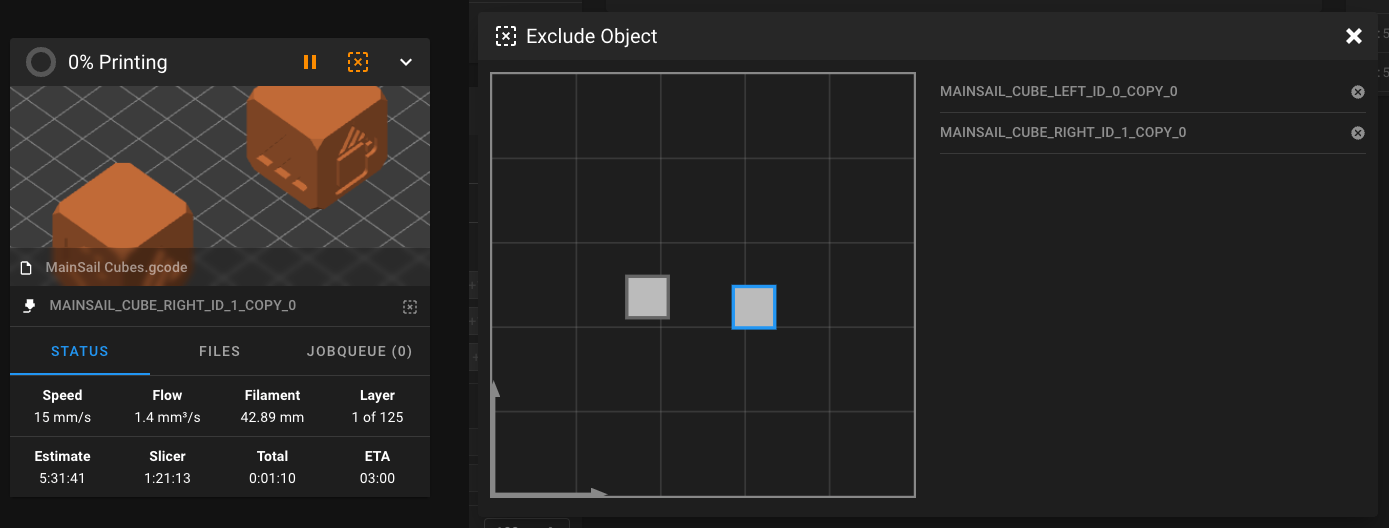
The Klipper Exclude Object is a feature within the firmware that can help you save failed prints. It comes in handy when you're printing multiple parts in one go and reduce wasted material and print time.
To illustrate, let's say you're printing 10 parts on your printer, and one of them fails or has an error. Without Exclude Object, you would need to pause the entire print cycle and reprint all 10 parts because of a single failed part. This can result in significant losses in print time, material, and manual efforts.
However, with the Exclude Object feature in Klipper, you can simply select the failed print and "exclude" it from the current printing process. The printer will then skip any Gcode related to the failed part and continue printing the remaining 9 models.
This feature is especially useful for those who frequently run multi-part prints. It's also simple to install and use, making it a must-have for any 3D printing enthusiast.
Klipper Cura Plugin - Moonraker Connection
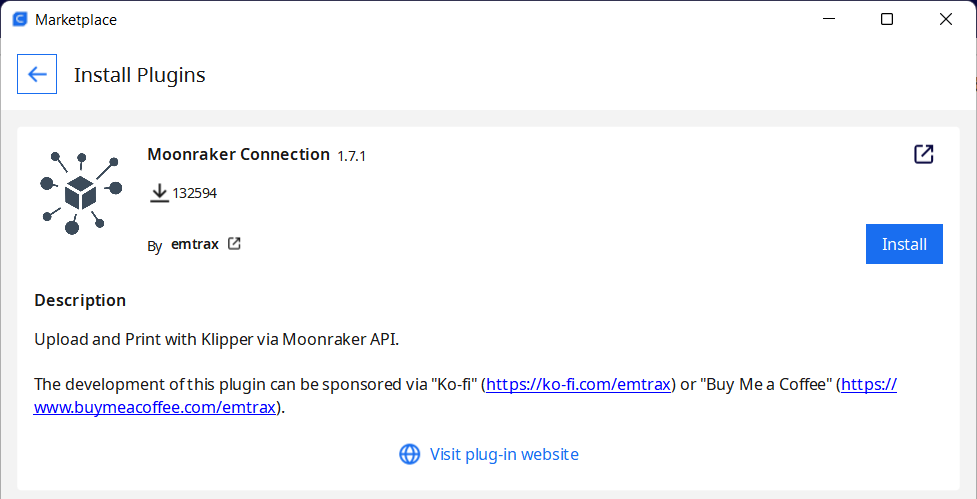
Cura is one of the most widely used 3D printing slicers in the community. It works very well on its own, and you can pair it up with Klipper to improve your overall 3D printing workflow.
The Moonraker Connection plugin lets you upload the Gcode files directly from the Cura slicer to your Klipper firmware. It uses the Moonraker API and connects the Cura slicer to the 3D printer.
Although it may seem like a minor add-on, this small improvement can greatly enhance your productivity if you frequently slice and print multiple models at once. If you use Cura as your primary slicer, it's recommended that you install this plugin.
Mainsail Themes
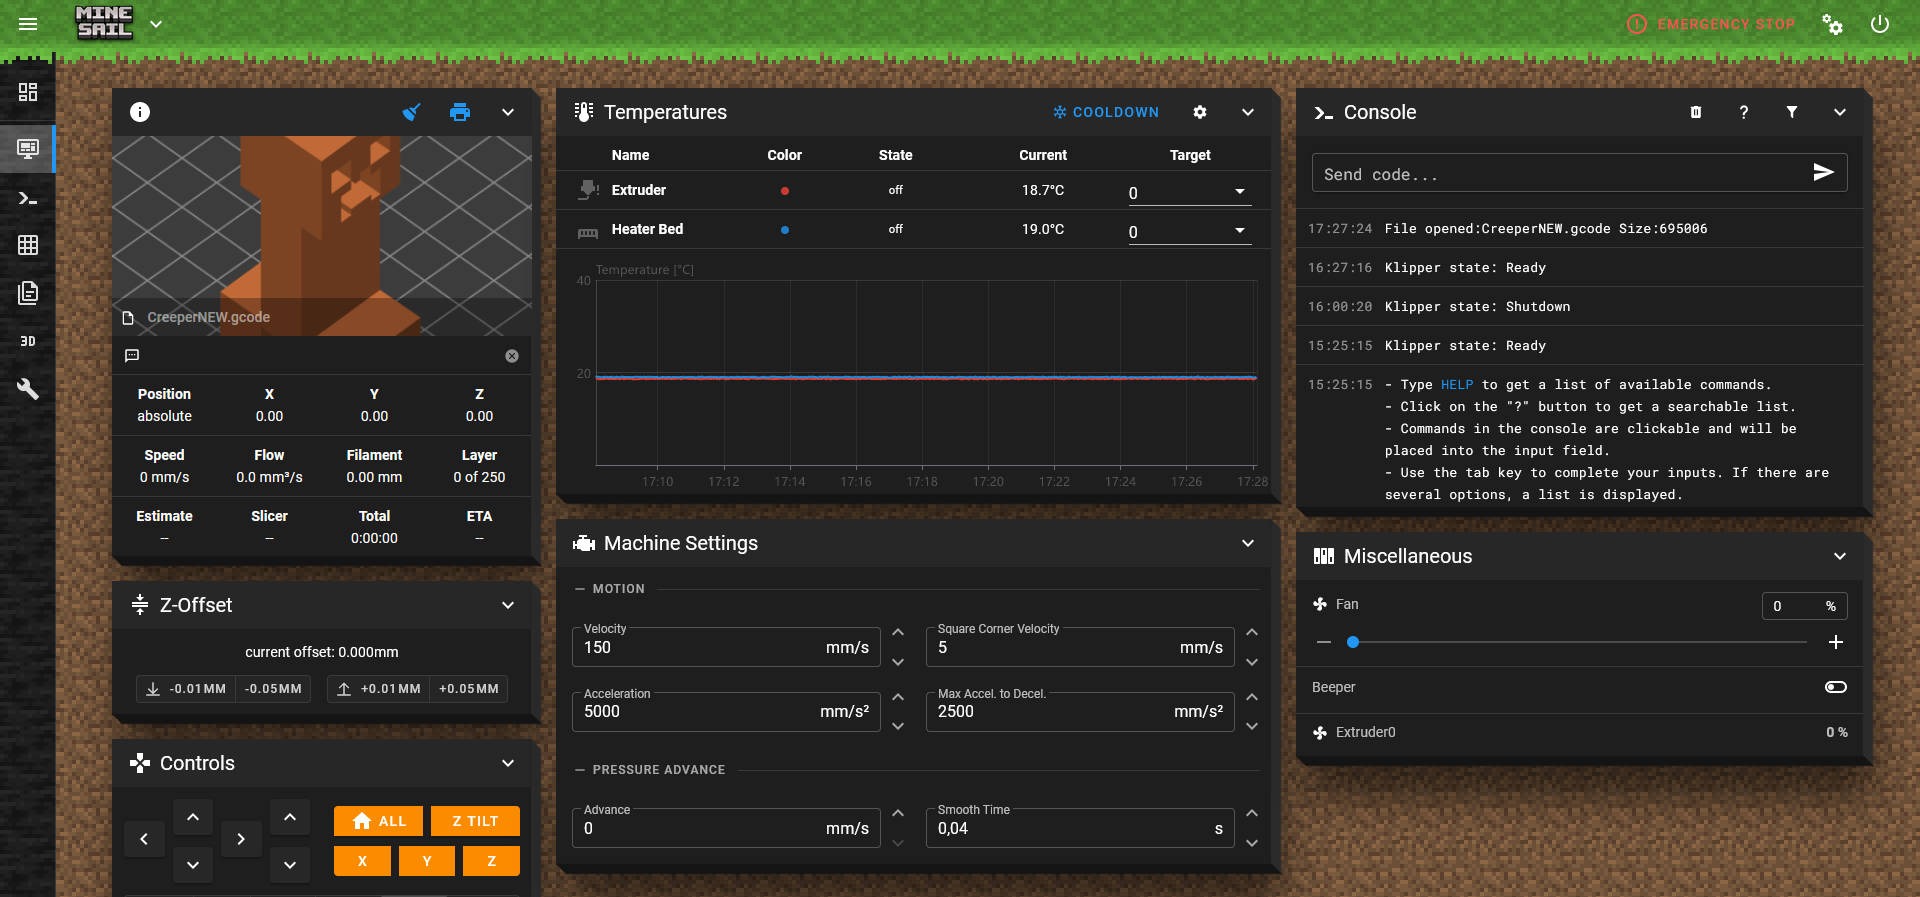
Mainsail gives you the option to customize and personalize the web interface UI. Using the theme manager, you can install Klipper themes on your Mainsail interface and give it a new look.
The KIAUH tool makes it straightforward to set up the Mainsail themes. It's a neat thing to have on your Mainsail-Klipper combo and can instantly refresh the design of the UI.
Telegram Bot
Klipper works very well as a remote 3D printing firmware. It's designed to work off a web browser as opposed to a terminal near the printer. However, a limitation is that the laptop controlling the printer must be connected to the same network as the printer.
The Klipper Telegram Bot is a nifty solution that overcomes this limitation. The Klipper Telegram Bot gives you basic control commands using which you can operate and keep an eye on your 3D printer from outside your house.
You can get timely updates on your printer's progress, execute Gcode commands, and even record timelapse videos of your 3D prints. Installing the Bot using the KIAUH tool is a simple and straightforward process. Let us know how you like this Bot.
Obico
The telegram bot does give you remote functionality, but it's not as much fun. The UI is not that great, and the features might limit you from a true remote 3D printing experience.
Enter Obico.
Obico is an easy-to-use tool to control your 3D printer remotely. It connects to your 3D printer and lets you control it from anywhere in the world and from any device.
You can send Gcode files, execute Gcode commands, record time-lapse videos, and more with Obico. It also gives you a detailed print history and full statistics of all your 3D prints.
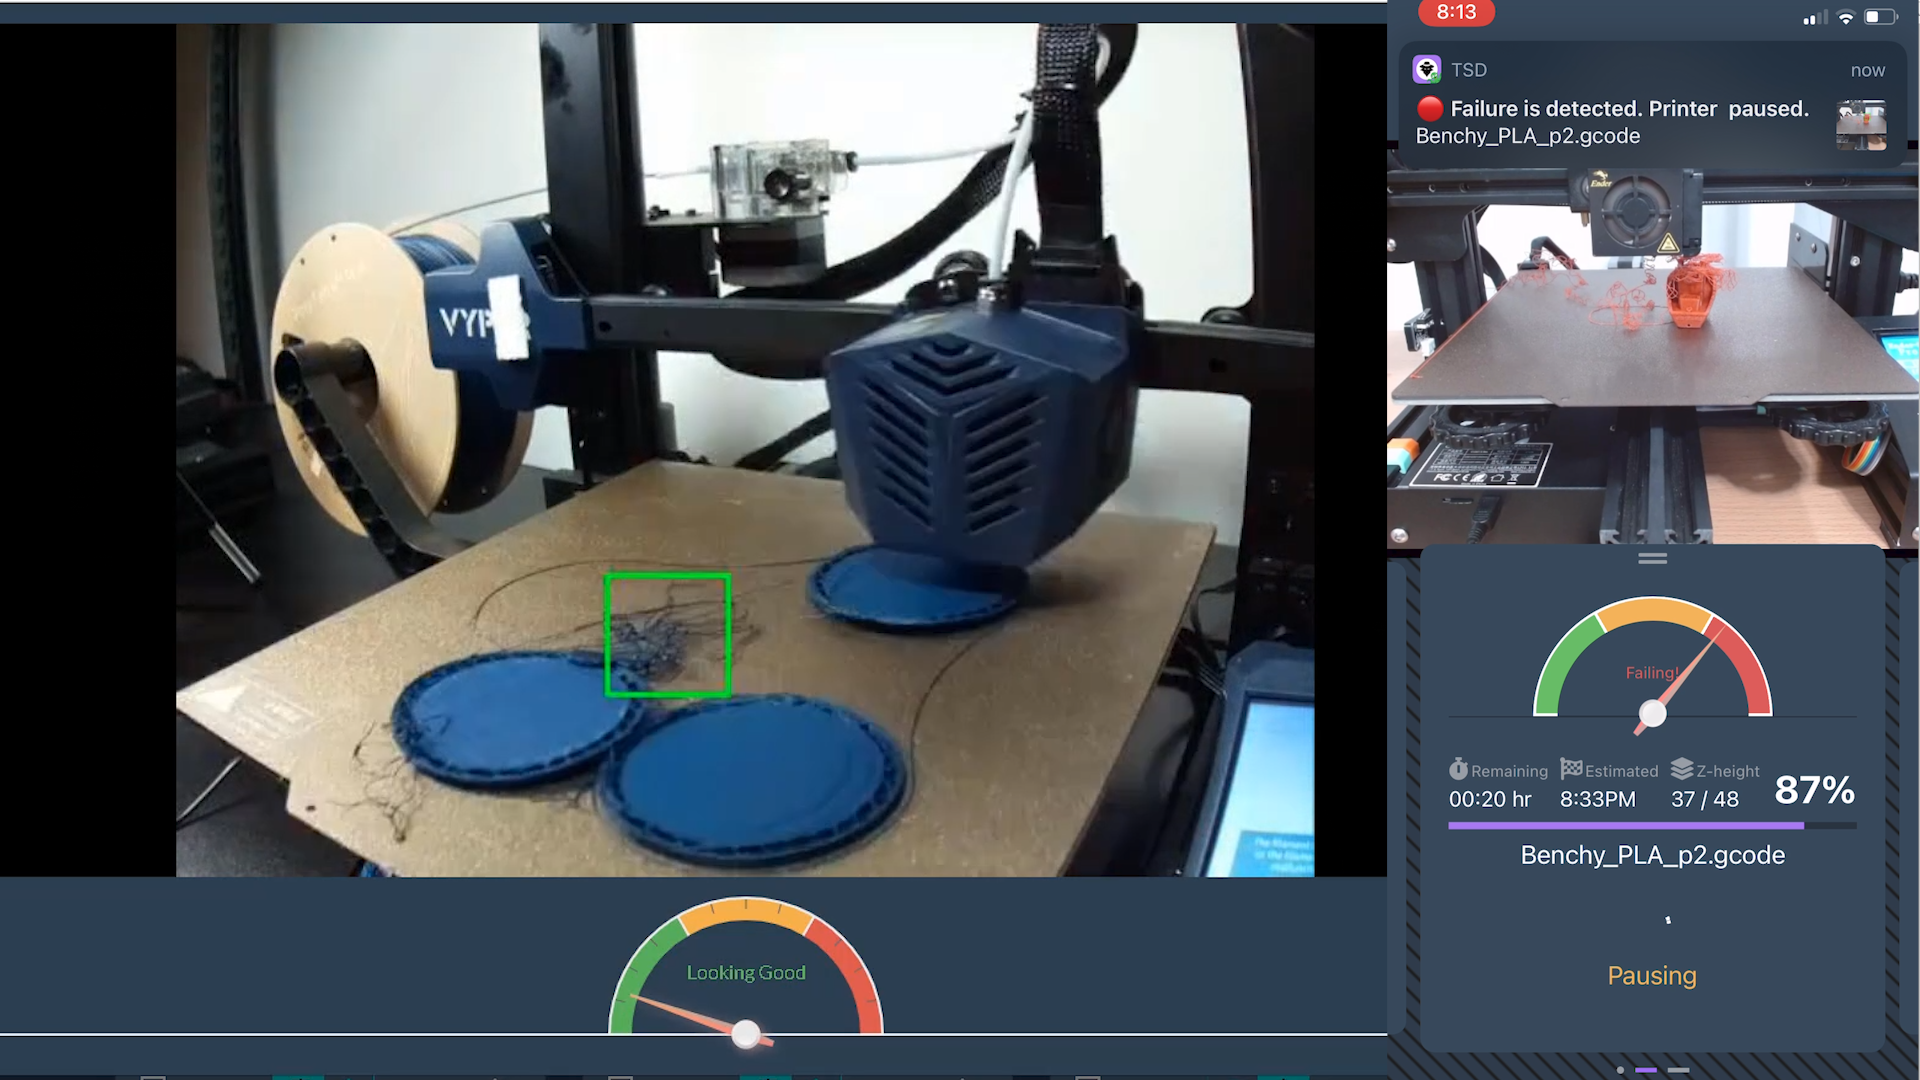
One of Obico's unique features is its AI failure detection. Built on The Spaghetti Detective framework, Obico has analyzed millions of hours of 3D printing footage and can pinpoint potential failures as they happen. You'll receive immediate notification if something goes wrong.
Overall, Obico is a comprehensive assistant for your 3D printer(s) and a great addition to your Klipper printer. You can continue 3D printing even when you're away from the machine with peace of mind.
Timelapse
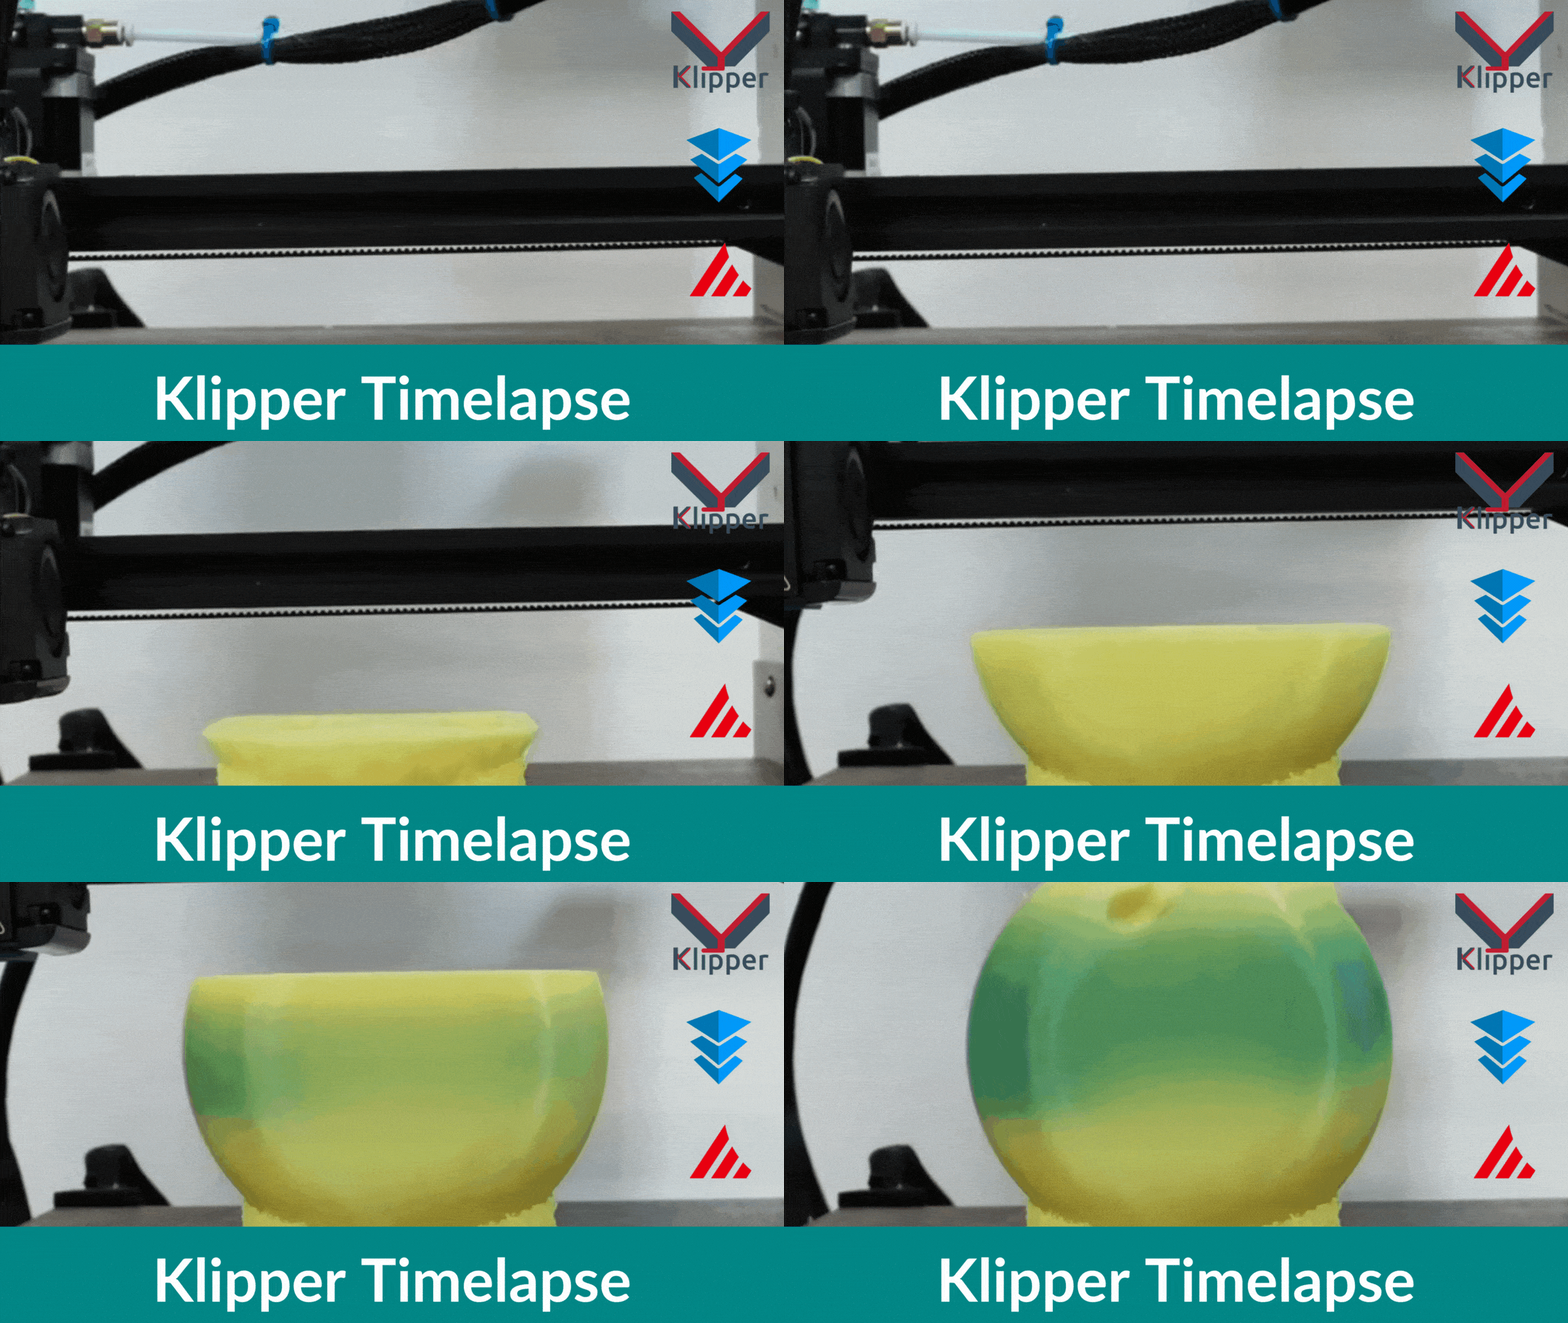 The Klipper Timelapse is a great feature that’s baked right into the firmware. Using the Mainsail UI, you can record time-lapse movies of your 3D prints and keep a record of them.
The time-lapse tool also gives you the ability to shoot Octolapse-style videos, the ones where the tool head doesn't move. These videos make it seem like your 3D print is appearing out of thin air.
Apart from being visually impressive, these videos can also be helpful in the case of a print failure. By watching a short span of the video, you can easily determine the cause of the failure without having to watch the entire print cycle.
Klipper Screen
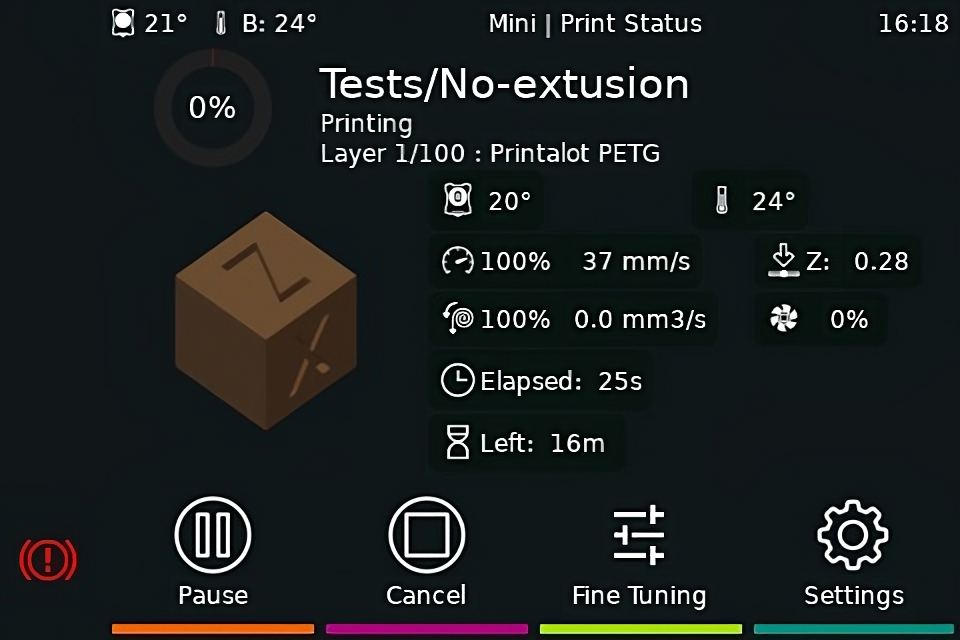
The KlipperScreen is a physical terminal that allows you to interact with your Klipper printer. It uses a Raspberry Pi-compatible touchscreen display and connects to the 3D printer.
With the KlipperScreen, you can easily access all of the printer's functions from a single display. The user interface is simple to navigate, and the icons are bold and clear.
You can control multiple printers from a single KlipperScreen, just like you would through a web interface. If you prefer not to use a separate device, the KlipperScreen is a convenient way to interface with the printer.
There are a few limitations when compared to a full-fledged web interface like the Mainsail. But, if you have a print farm or prioritize ease of use, the KlipperScreen is a great way to access all the Klipper features in a single window.
Final Thoughts
In conclusion, the Klipper firmware provides exceptional versatility and performance for 3D printing. However, these ten essential add-ons and plugins allow you to fully unleash your printer's potential.
These tools will aid you in streamlining workflow, enhancing remote monitoring, and adding visual appeal to your printer's interface. By using these tools, you can make your Klipper 3D printer even more impressive.
Give them a try, and let us know how they fare for you. If you have any more tools or add-ons you'd like to include in the list, feel free to comment below.
