Creality Sonic Pad Remote Access

Creality Sonic Pad Meets Obico - Klipper Remote Access and AI Failure Detection
The Creality Sonic Pad and Obico converge to create a dynamic duo in the realm of 3D printing, each bringing unique capabilities to the table. While the Sonic Pad is recognized for its streamlined and user-friendly interface, it has been noted for having certain limitations, particularly in the realm of remote management features. On the other hand, Obico emerges as a pioneering technology, notably recognized for its AI-driven capabilities in 3D printing management, offering users the ability to remotely operate and monitor their 3D printing tasks. The intersection of these two technologies could potentially unlock new possibilities, combining the user-friendly interface of Sonic Pad with the advanced remote management and monitoring capabilities of Obico.
The Significance of Remote Management in 3D Printing
Remote management in 3D printing is pivotal in enhancing the user experience and optimizing the printing process. It allows users to monitor, control, and adjust their 3D printing tasks from anywhere, providing flexibility and ensuring that the printing process is not hindered by physical presence requirements. This is particularly crucial in managing long printing tasks, where continuous monitoring can be labor-intensive. Remote management also enables users to promptly address any issues or failures during the printing process, thereby reducing the risk of material wastage and ensuring the efficient utilization of resources. Furthermore, it opens the door to managing multiple 3D printing tasks across various locations, paving the way for scalability and mass production in 3D printing ventures.
Enter Obico, the all-in-one solution for Remote Access and AI failure Detection
Obico: Bridging the Gap Between Remote Access and Efficient Printing
Obico stands out as a transformative platform in the 3D printing arena, offering remote access and management capabilities that enhance the efficiency of printing processes. It provides users with the ability to monitor and control their 3D printers from any location, ensuring that the complexities and challenges of 3D printing are significantly mitigated. Obico not only simplifies the management of 3D printing tasks but also ensures that users can focus on the creative aspects of their projects while the platform handles the technical and management aspects seamlessly.

AI-Driven Insights: A Closer Look at Obico’s Failure Detection Mechanism
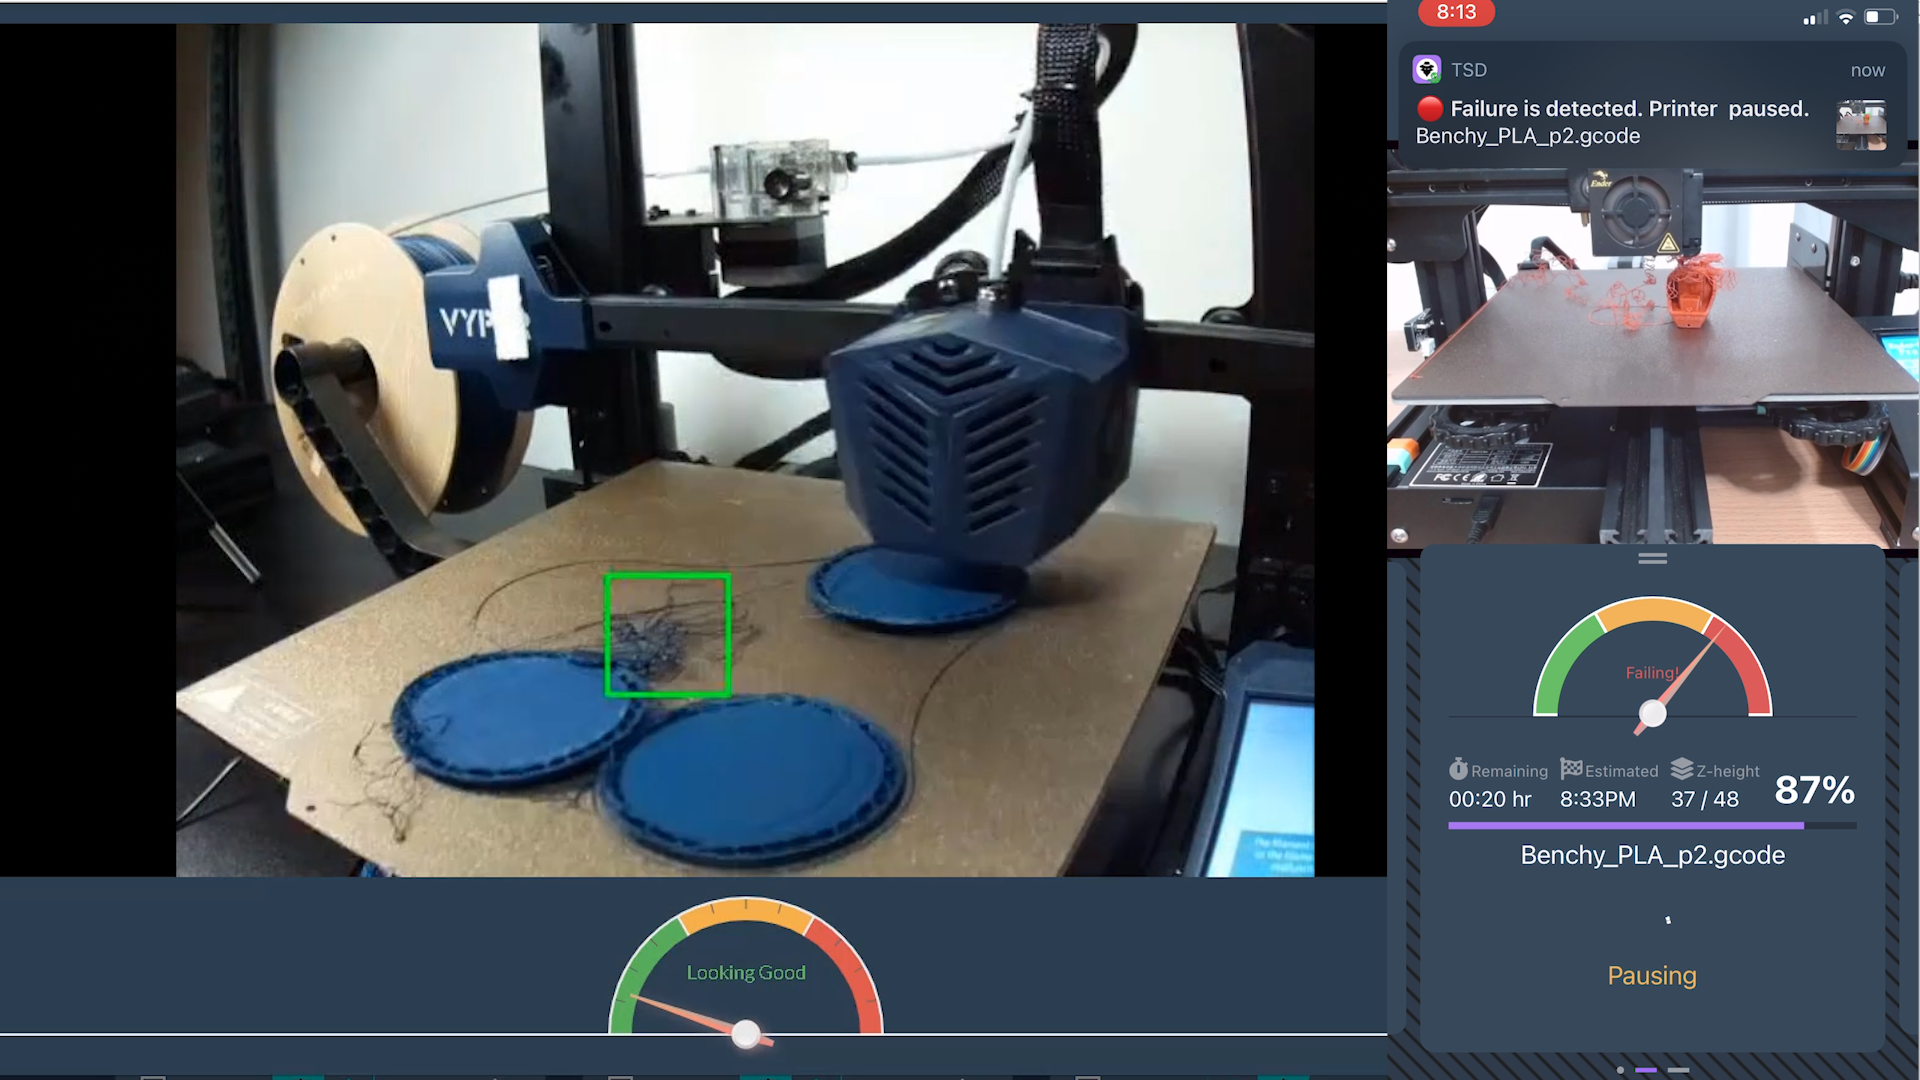
Obico incorporates an AI failure detection system that diligently monitors your 3D printing projects, ensuring that any issues or failures are promptly detected and addressed. This system is designed to provide users with peace of mind by watching over their prints and sending failure alerts directly to their phones through the Obico mobile app. The AI-driven insights offered by Obico’s failure detection mechanism not only enhance the reliability of 3D printing projects but also ensure that users can intervene and address issues promptly, thereby reducing the risk of print failures and material wastage.

Creality Sonic Pad: A Glimpse into Its Capabilities
Exploring the Features and Specifications
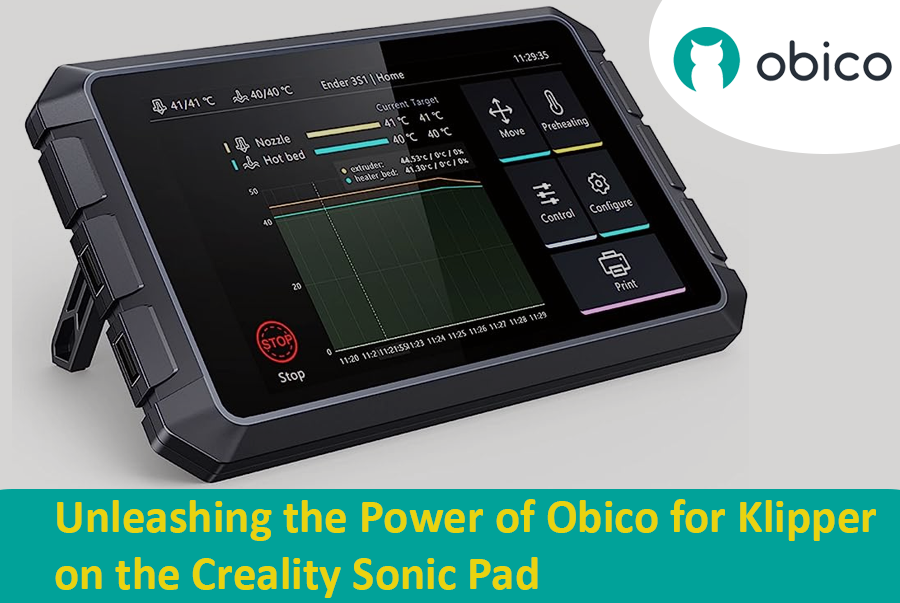
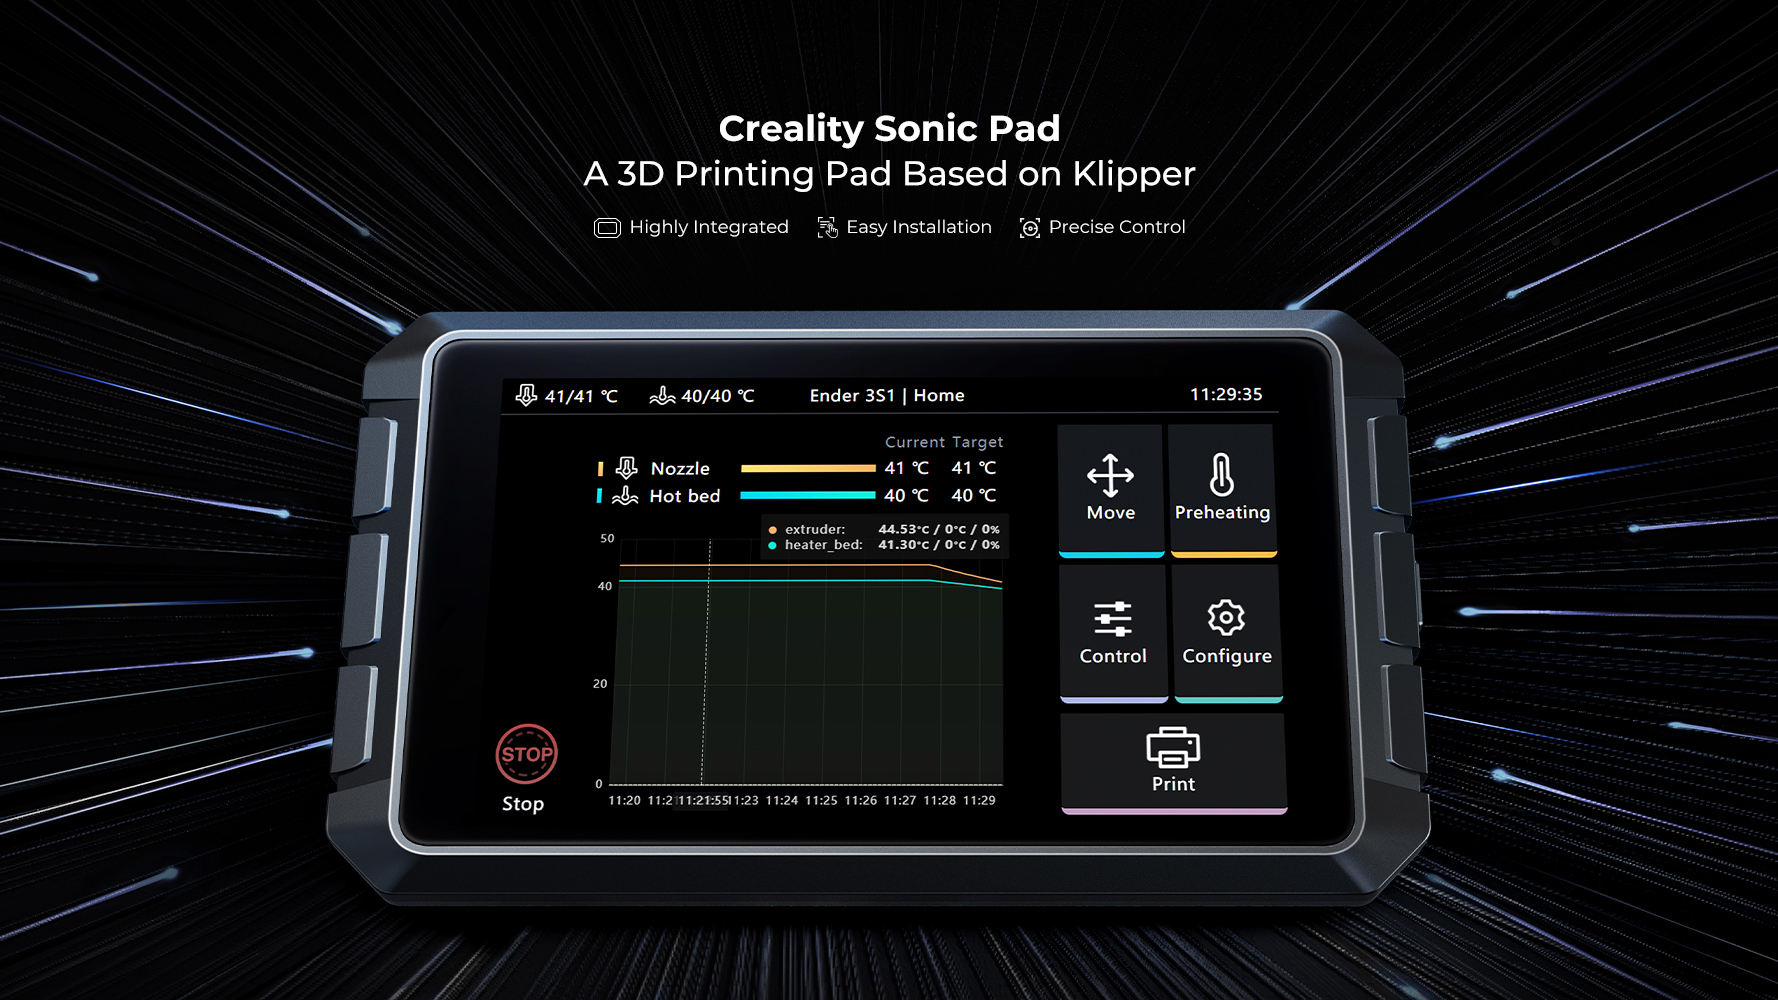
The Creality Sonic Pad is a notable addition to the 3D printing ecosystem, providing a 7-inch color tablet that connects to 3D printers via a USB cable, thereby taking over control and facilitating enhanced management of the printer. It is not only "sonic" in developing print speed but also enables users, including 3D print beginners, to navigate through the complexities of 3D printing without getting bogged down with intricate "what & how" questions. The Sonic Pad comes with hardware specifications such as a T800 CPU, 2GB RAM, 8GB ROM, four USB 2.0 interfaces, a screen resolution of 1024×600, and Wi-Fi connectivity.
Navigating Through the User Experience of Creality Sonic Pad
The user experience of the Creality Sonic Pad is designed to be user-friendly and intuitive, ensuring that even beginners in the 3D printing realm can quickly adapt and manage their printing tasks efficiently. The Sonic Pad takes over the control of the connected 3D printer, simplifying the printing process and making it more accessible to users of various expertise levels. It provides a streamlined interface that allows users to manage and monitor their 3D printing projects with ease, ensuring that they can focus on the creative aspects of 3D printing.
Implementing Obico for Klipper on the Creality Sonic Pad: A Step-by-Step Guide
Introduction to Implementation
Overview of the Integration Process
Implementing Obico for Klipper on the Creality Sonic Pad involves a series of systematic steps that primarily focus on establishing a secure SSH root access, downloading Obico and linking the Sonic Pad. The integration process is structured to enhance the Sonic Pad's capabilities by leveraging Obico’s remote operation and monitoring features for 3D printers.
Importance of Remote Management in 3D Printing with Obico
Remote management in 3D printing, especially facilitated by Obico, brings forth a plethora of advantages, particularly in enhancing the user experience and optimizing printing tasks. Obico, initially known as The Spaghetti Detective, is recognized for its AI-driven capabilities, offering users the ability to monitor and control their 3D printing tasks remotely. This becomes particularly vital in managing long print jobs, where continuous physical monitoring is impractical. Users can observe the printing process, make necessary adjustments, and even halt printing if an issue is detected, all from a remote location. Moreover, Obico’s failure detection mechanism adds an extra layer of reliability, minimizing resource wastage and ensuring smoother printing experiences. This integration thus not only elevates the functionality of the Creality Sonic Pad but also significantly enhances the efficiency and management of 3D printing tasks.
Connecting to Your Sonic Pad Remotely
How to Use SSH to Log into Sonic Pad
SSH, or Secure Shell, lets you access and control your Sonic Pad from another computer. Think of it like remote controlling your Sonic Pad using text commands!
Here’s a simple step-by-step guide: Find Your Sonic Pad's IP Address: You'll need this address to tell SSH where to connect. With the sonic pad turned on, select “Other Settings” from the menu. Scroll down, select “Network Setting Select “Wireless Network” or “Wired Network” depending on which you are using. Click the i icon next to the network you are connected to and the IP address will be displayed. Write this down.
How to find the root password for Creality Sonic Pad
In early versions of the Sonic Pad, Creality did not provide an easy way to gain root access. If your Sonic Pad firmware is version 1.06.43.51 or later, you can get the root username and password from the Sonic Pad interface. If you are on an older version, upgrade your sonic pad firmware before continuing.
- Select “Other Settings” from the Creality Sonic Pad interface
- Select “Advanced Options”
- Select “Root Account”
Check the box to confirm that you have read and understand the root login risks. Make sure to scroll through all of the risks. Select “Next” after the 30 second waiting period. Your root account and password should be displayed below.
This device had the following account and password but it’s possible yours is different: Account: root Password: cxsw-sonic_2023
- Write down the account and password
How to log into the Sonic Pad with root access
- Log in as the Superuser (Root): Now, we’ll connect to the Sonic Pad as the "boss" user, known as "root". Open a terminal such as PuTTY Use the following command, replacing
[your-ip/hostname]with your Sonic Pad’s IP address:
ssh -oHostKeyAlgorithms=+ssh-rsa root@[your-ip/hostname]
Example: If your IP address is 192.168.1.100, type the following code:
ssh -oHostKeyAlgorithms=+ssh-rsa root@192.168.1.100
- Enter the Superuser Password: You'll be asked for a password. Use the new root password, which is
creality.
Congratulations! 🎉 You’re now logged in as the superuser (root) and have full control over your Sonic Pad. You can make any changes you need and proceed with setting up your remote 3D printing management.
Getting and Setting Up Obico for Sonic Pad Remote Access and AI Failure Detection
How to Download Obico from GitHub
Obico helps manage your 3D printing tasks remotely using Sonic Pad. To get Obico, we'll download it from a website called GitHub. Here’s a step-by-step guide:
-
Go to the Right Folder: First, we need to go to the folder where we want to download Obico. We'll use the cd command to navigate there:
cd /usr/shareType this command and press Enter.
-
Download Obico: Next, we'll download Obico using a command called git clone. This command will get Obico from GitHub and save it in our Sonic Pad:
git clone https://github.com/TheSpaghettiDetective/moonraker-obico.gitType this command and press Enter.
Now, Obico will be downloaded into a new folder named moonraker-obico in the /usr/share directory.
Install the Sonic Pad specific scripts for Obico
- Go to the moonraker-obico folder
cd /usr/share/moonraker-obico
- Install the script
Now enter the following command and press enter:
./scripts/install_creality.sh
- Select Sonic Pad Type 1 and press enter to confirm you would like to install the script for the Creality Sonic Pad.
The Sonic Pad installation scripts will automatically create all of the necessary Obico configuration files, modify the moonraker logging path for Obico, and set up everything else needed to get the Creality Sonic Pad working seamlessly with Obico.
Link your Sonic Pad to Obico
Link your Sonic Pad with auto-discovery
Now, we’ll establish a connection between your printer (via Sonic Pad) and Obico:
- Visit Obico Website: Go to the Obico website (or your own Obico server if you have one), sign in, and click “Link New Printer” from the printers page.
- Select “Klipper”. Click “next” At this time, your Sonic pad should automatically be recognized by the Obico app. If it is, simply click link in the Obico app to link Obico to your Sonic Pad
Link your Sonic Pad manually
If your Sonic Pad isn’t automatically recognized, go back to the terminal and enter y to enter manual linking mode.
Go back to the obico app. Select “switch to manual setup instead” and get the six-digit code.
Paste the code into the terminal to link your printer.
Go back to the Obico app, name your printer, and start exploring full remote access plus AI failure detection for the Creality Sonic Pad.
Sonic Pad Klipper Remote Access and Ai Failure Detection
You have now done everything you need to be able to get full Klipper remote access, including tunneling to the full Fluidd or Mainsail interface, 3D printer access on any mobile device with Obico’s mobile app for iOS and Android.

Try out Obico’s mobile app
The Obico mobile app gives you an easy way to monitor and control your Sonic Pad connected printer from anywhere even if you are away from your 3D printer. The Obico app is highly rated with 4.8+ stars.
Test Klipper remote access
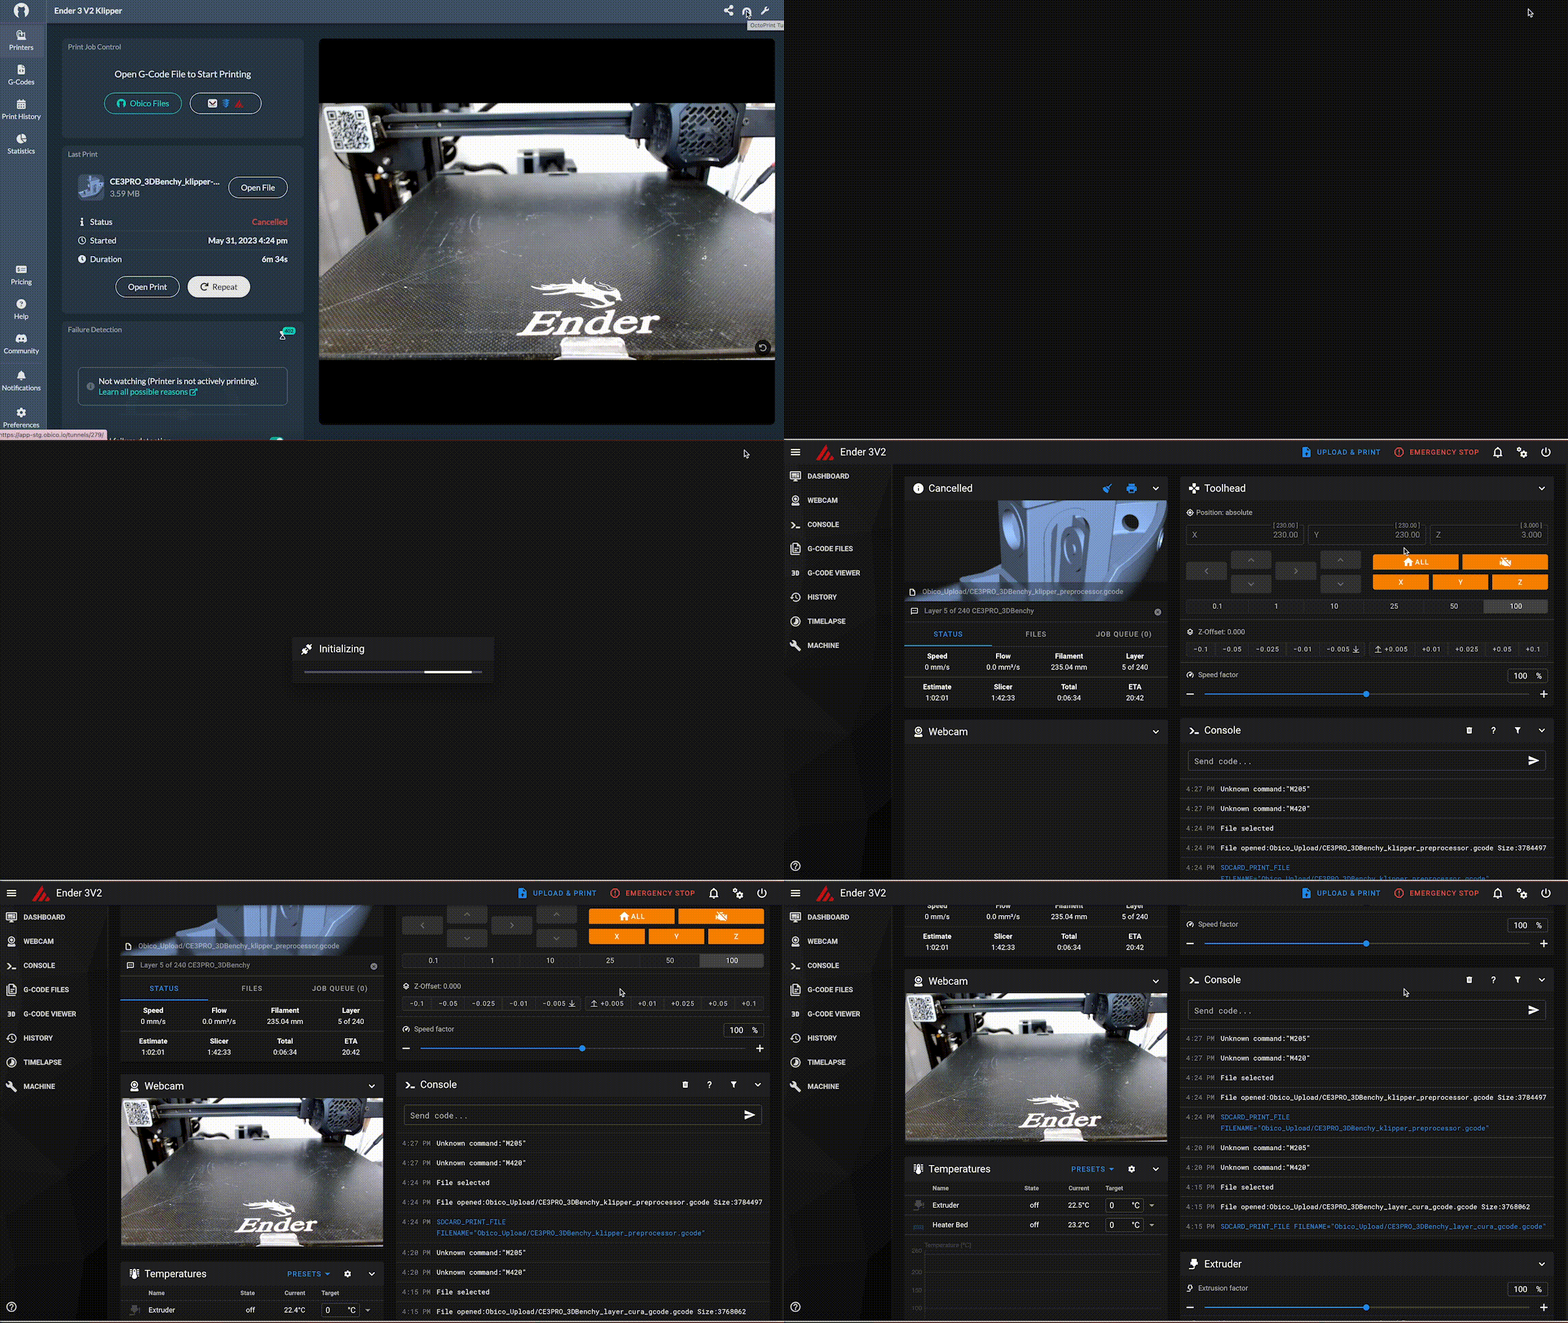
Now that you've linked Obico to your Sonic Pad, you can now access the Fluidd interface remotely with Obico’s tunneling feature even if you are nowhere near your 3D printer.
In the web app:
If you only have one printer connected to Obico, you can access the Fluidd remotely by opening the printer page, and clicking the tunnel icon in the upper right corner.
If you have more than one printer connected, you can open the fluidd tunnel remotely by clicking the three-dot menu for the printer you want to access from the printer page. You can also open the detailed view and click the tunnel icon in the upper right as mentioned above.
Of course, you can also use the tunneling feature in the Obico mobile app or simply use the mobile app interface to monitor and control most aspects of your 3D printer.
Configure Klipper notifications including push notifications, discord, email and more
Obico's customizable notification system helps you stay up to date throughout the whole process of your print. Get notifications on any type of device including your phone, computer or Apple Watch!
Connect a webcam and try AI failure detection
Obico uses the latest cutting edge AI technology optimized for 3D printing to monitor your 3D prints so you don't have to! Use a webcam connected to your sonic pad to watch for failures and get notified or pause the print when a failure is detected.
Troubleshooting and Recovery
Addressing Potential Issues and Errors
When implementing Obico for Klipper on the Creality Sonic Pad, you might encounter various issues or errors. It's crucial to approach troubleshooting systematically:
- Observe and Log: Keep an eye on any error messages or unusual behavior. Logging these instances can be crucial for identifying patterns or specific triggers for issues.
- Check Configurations: Ensure that all configuration files, especially moonraker-obico.cfg, are set up correctly, with accurate paths and settings.
Utilizing the Recovery Command for Device Restoration
In instances where the Sonic Pad is not functioning as expected or if you encounter irrecoverable errors, utilizing the recovery command can help restore the device to a stable state:
- Recovery Command:
/usr/share/script/recovery.sh all
This command can help restore the device, but it's essential to note that it might revert configurations and installed applications to a previous state, so use it cautiously.
- Precaution: Before using the recovery command, ensure that you have backed up any crucial data or configurations to avoid data loss.
- Reconfiguration: After running the recovery command, you may need to reconfigure settings, reinstall applications, and reapply any customizations made to the Sonic Pad.
- Testing: After recovery and reconfiguration, ensure to test the functionality of both the Sonic Pad and Obico to confirm that the issues have been resolved and the system is operating as expected.
Conclusion
The integration of Obico for Klipper on the Creality Sonic Pad, as detailed in the preceding sections, illustrates a meticulous and technical process. The guide navigated through gaining root access, configuring Obico, ensuring dependencies are met, linking the printer, and ensuring Obico runs at boot, among other steps. This process not only enhances the functionality of the 3D printer by enabling remote management but also opens up a realm of possibilities in efficient 3D printing management, troubleshooting, and monitoring.
Have another printer running Klipper?
[Use the standard guide to install Obico for Klipper] to get full remote access and AI for any printer running Klipper on a Raspberry Pi.
If you have a 3D printer that came with Pre-installed with Klipper, use one of our printer specific guides to enable remote access for your 3D printer:
- Qidi Tech X Series including X-Max3 X-Plus3 and X-Smart3 3D printers.
- Elegoo Neptune 4 Series including Elegoo Neptune 4, Elegoo Neptune 4 Pro and Elegoo Neptune 4 Max 3D printers.
- Sovol Sv07 Series including Sovol SV07 and Sovol SV07 Plus 3D printers.
- Creality K1 Series including Creality K1 Creality K1 Max 3D printers.
