Speed Test in OrcaSlicer (VFA): A Comprehensive Guide
Introduction
3D printing is a great technology that turns designs into real objects, but figuring out the best print speed can be tricky. If you go too fast, quality may be lost; if you go too slow, it takes forever.
In this guide, we will show you how to use OrcaSlicer to determine the perfect print speed for your 3D printer. By the end of it, you will know how to get great prints quickly while maintaining good quality.
Let’s get started!
Overview of OrcaSlicer
OrcaSlicer is a powerful software tool that prepares your 3D models for printing. It is based on Bambu Studio and adds more functionalities to improve your 3D printing experience. It works well with beginners as well as advanced users.
If you are new to OrcaSlicer, our Getting Started with OrcaSlicer guide is perfect for beginners. It covers the basics and helps you get up to speed quickly. Explore other related articles to further enhance your 3D printing skills.
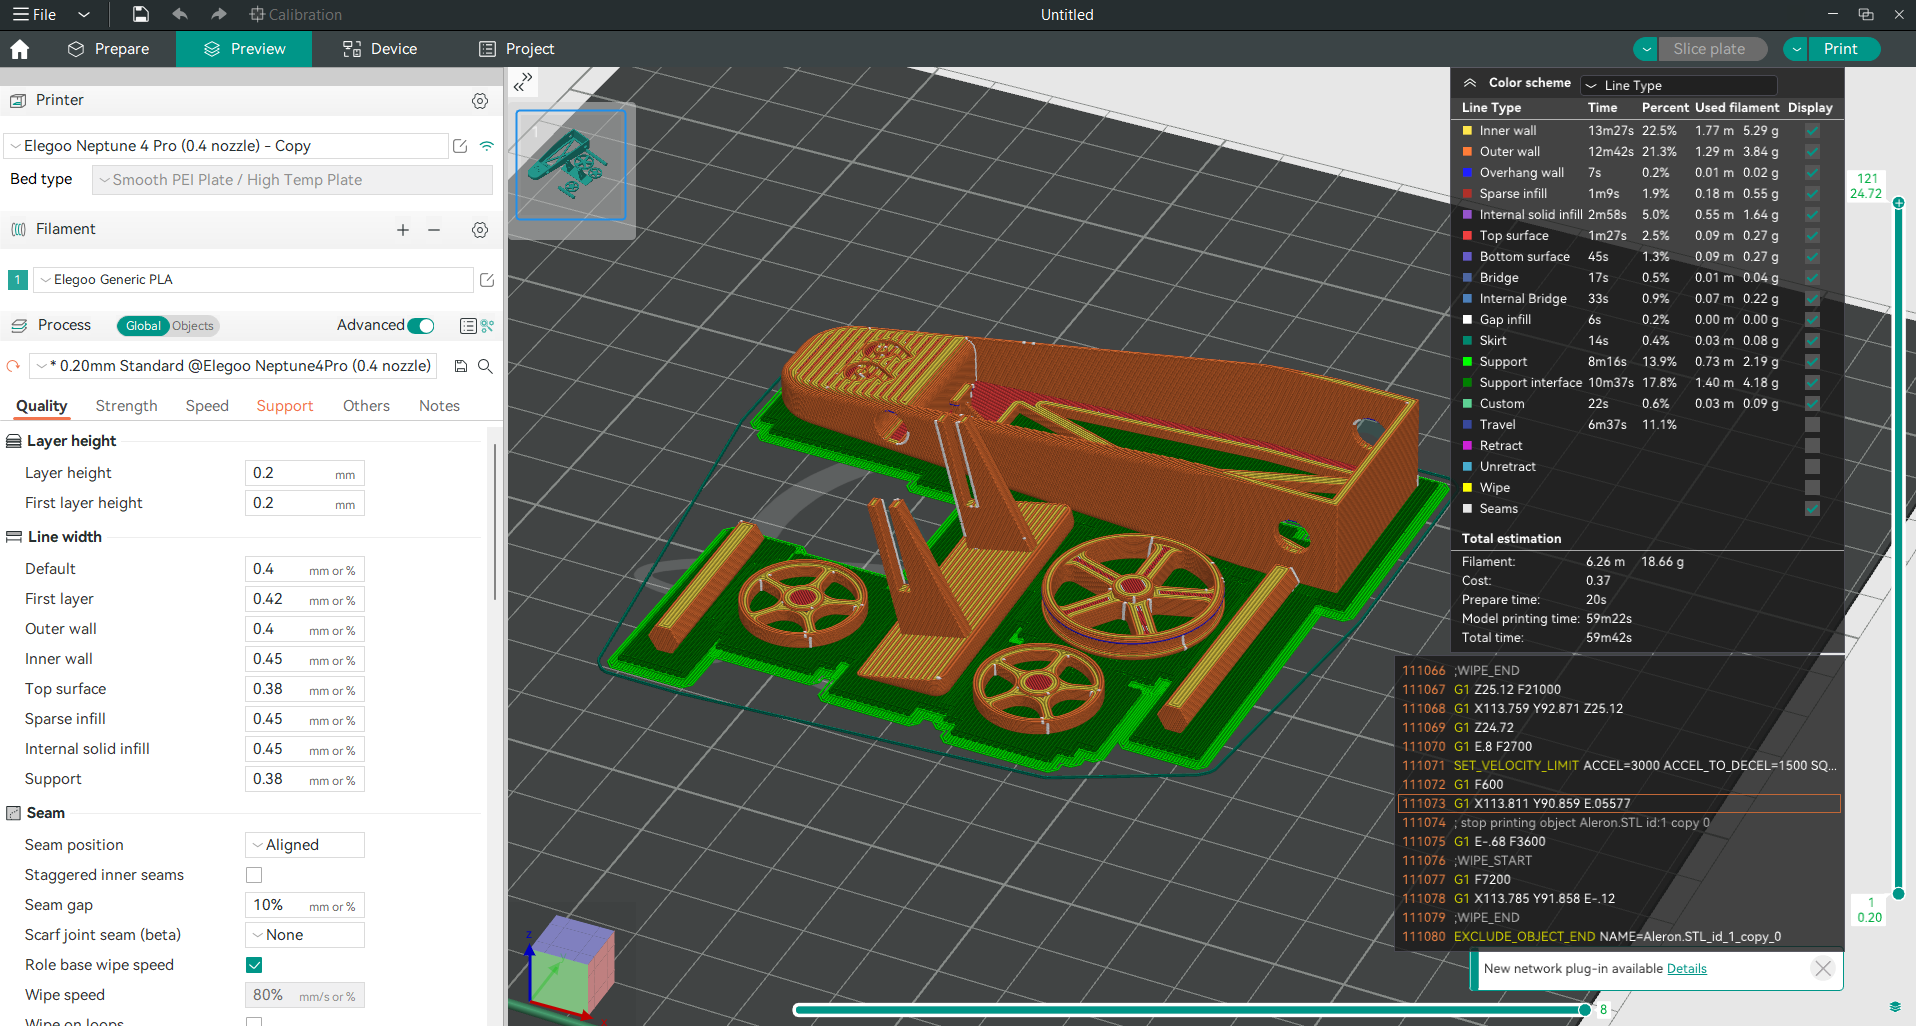
OrcaSlicer has many features that make it one of the best slicers for 3D printing, such as a modern, clean interface, pre-made printer profiles for popular 3D printers, and seamless integration with popular 3D printing software and firmware like Klipper, OctoPrint, and Marlin.
It comes equipped with built-in calibration tools such as Temperature Tower, flow rate calibration, pressure advance calibration, maximum volumetric speed calibration, Tolerance Test, along with pre-built profiles for different filaments (PLA, ABS, PETG, TPU, and Nylon) from different brands.
Regular updates and being open source ensure that OrcaSlicer keeps evolving, with new features being added and bugs being fixed.
OrcaSlicer makes calibration easy with simple tools to ensure your printer is always ready to produce high-quality prints. One such tool is the speed test which helps you find the best print speed for your printer without compromising on quality.
What does speed mean in 3D printing?
In the context of 3D printing, "speed" refers to either print speed or travel speed, and it’s better if we understand both before starting our test.
- Print Speed: This is how fast the nozzle moves while printing; usually measured in mm/s. The faster you print, the more time is saved, but at the same time, quality could be compromised as well. So, this guide aims at finding that ‘sweet spot’ where we can print fast without losing any quality.
- Travel Speed: This is how fast the nozzle moves when not printing anything. It doesn't affect virtually anything except for some vibrations caused by higher speeds of movement.
Impact of Speed on Print Quality
We need to strike a balance between speed and quality because faster speeds may lead to under-extrusion (not enough filament) or ghosting (vibrations causing visual artifacts). While slower speeds generally produce better quality, but they also take more time. Knowing how these two variables are related will help you make informed decisions about what settings to use when slicing your models.
The VFA Test in OrcaSlicer
What is the VFA test?
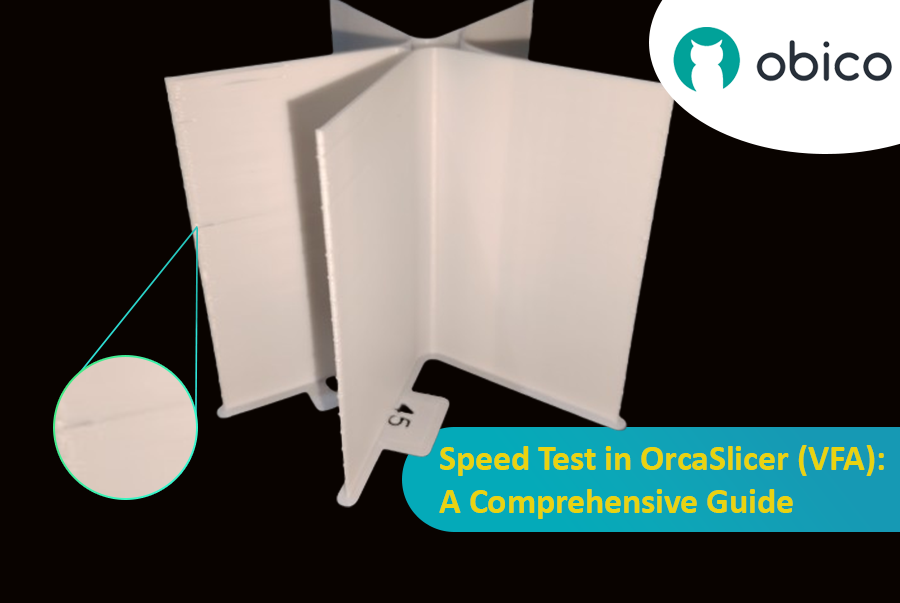
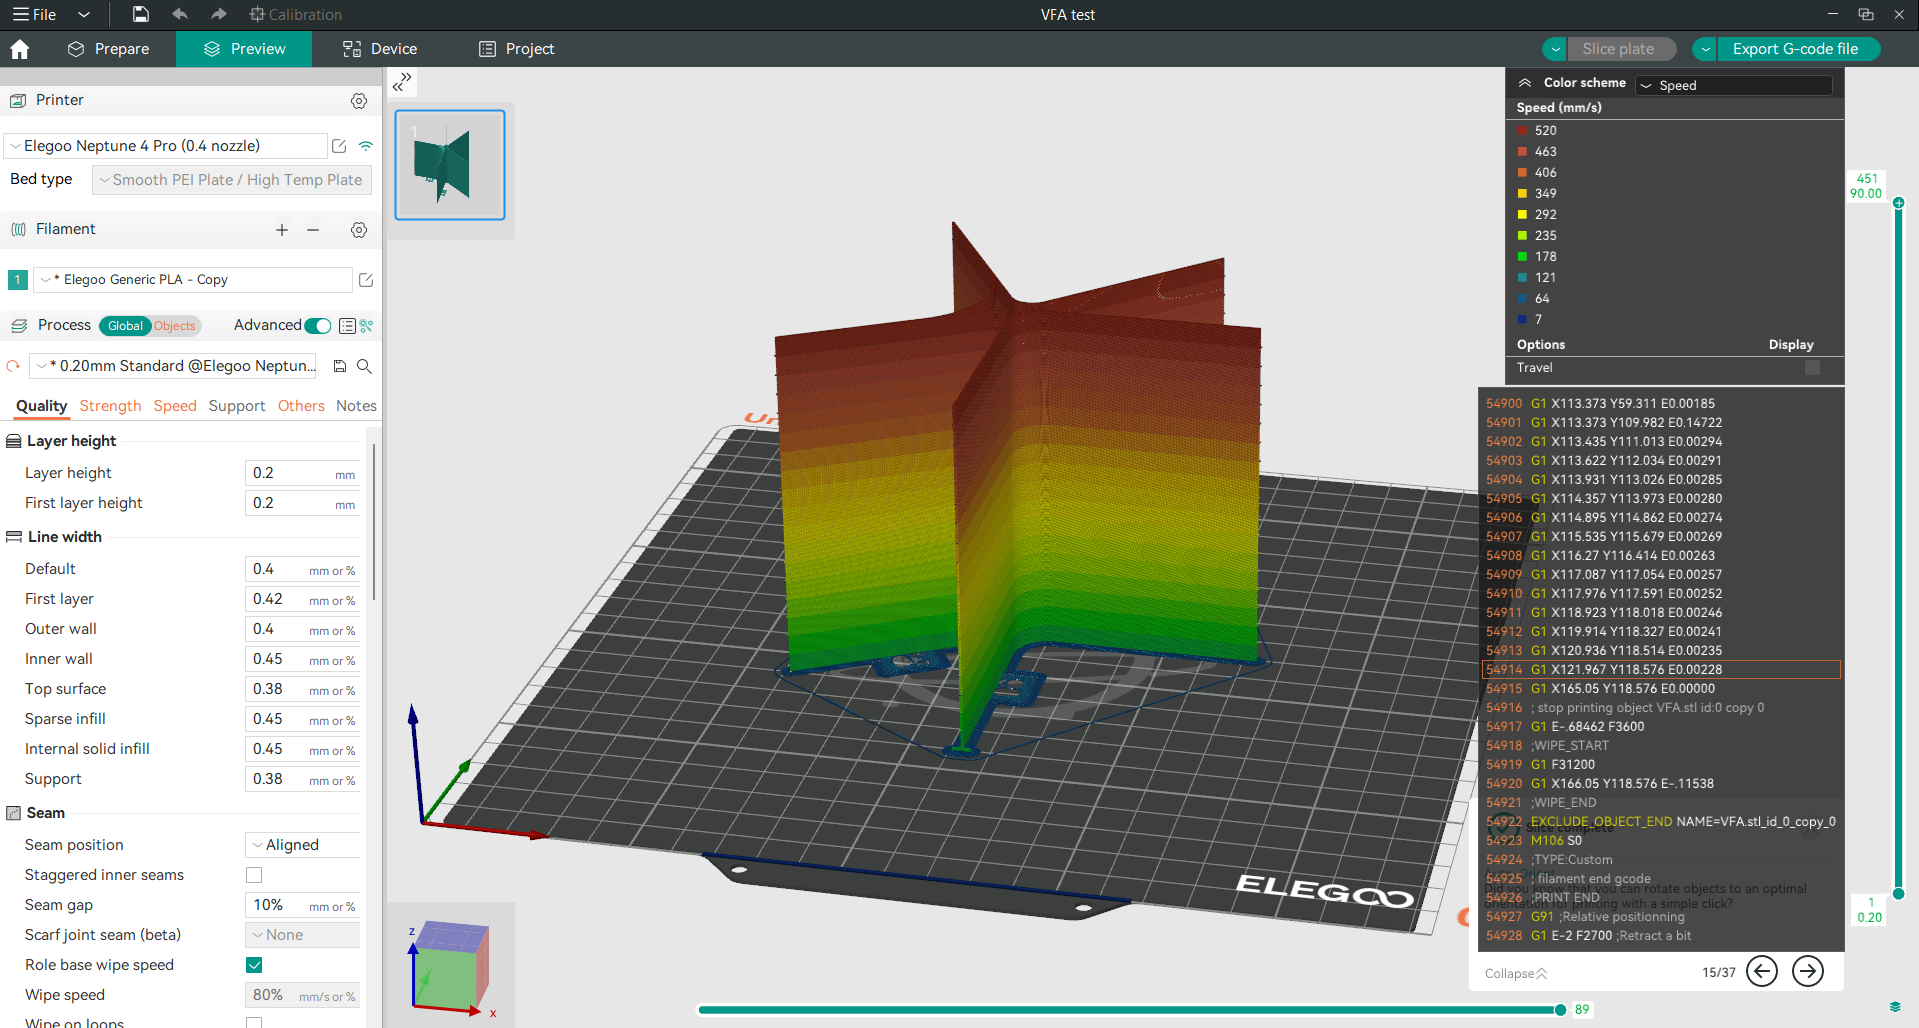
The Vertical Fine Artifacts (VFA) Test in OrcaSlicer helps you find the best print speed for your 3D printer. It involves printing a special model with curved thin walls called a speed tower, which has sections printed at different speeds; this lets you see how speed affects print quality.
How Does the VFA Test Work?
The VFA Test works by printing a model with sections that gradually increase in speed. You set the start and end speeds and the step increments in your slicer. OrcaSlicer then creates a speed tower with these settings.
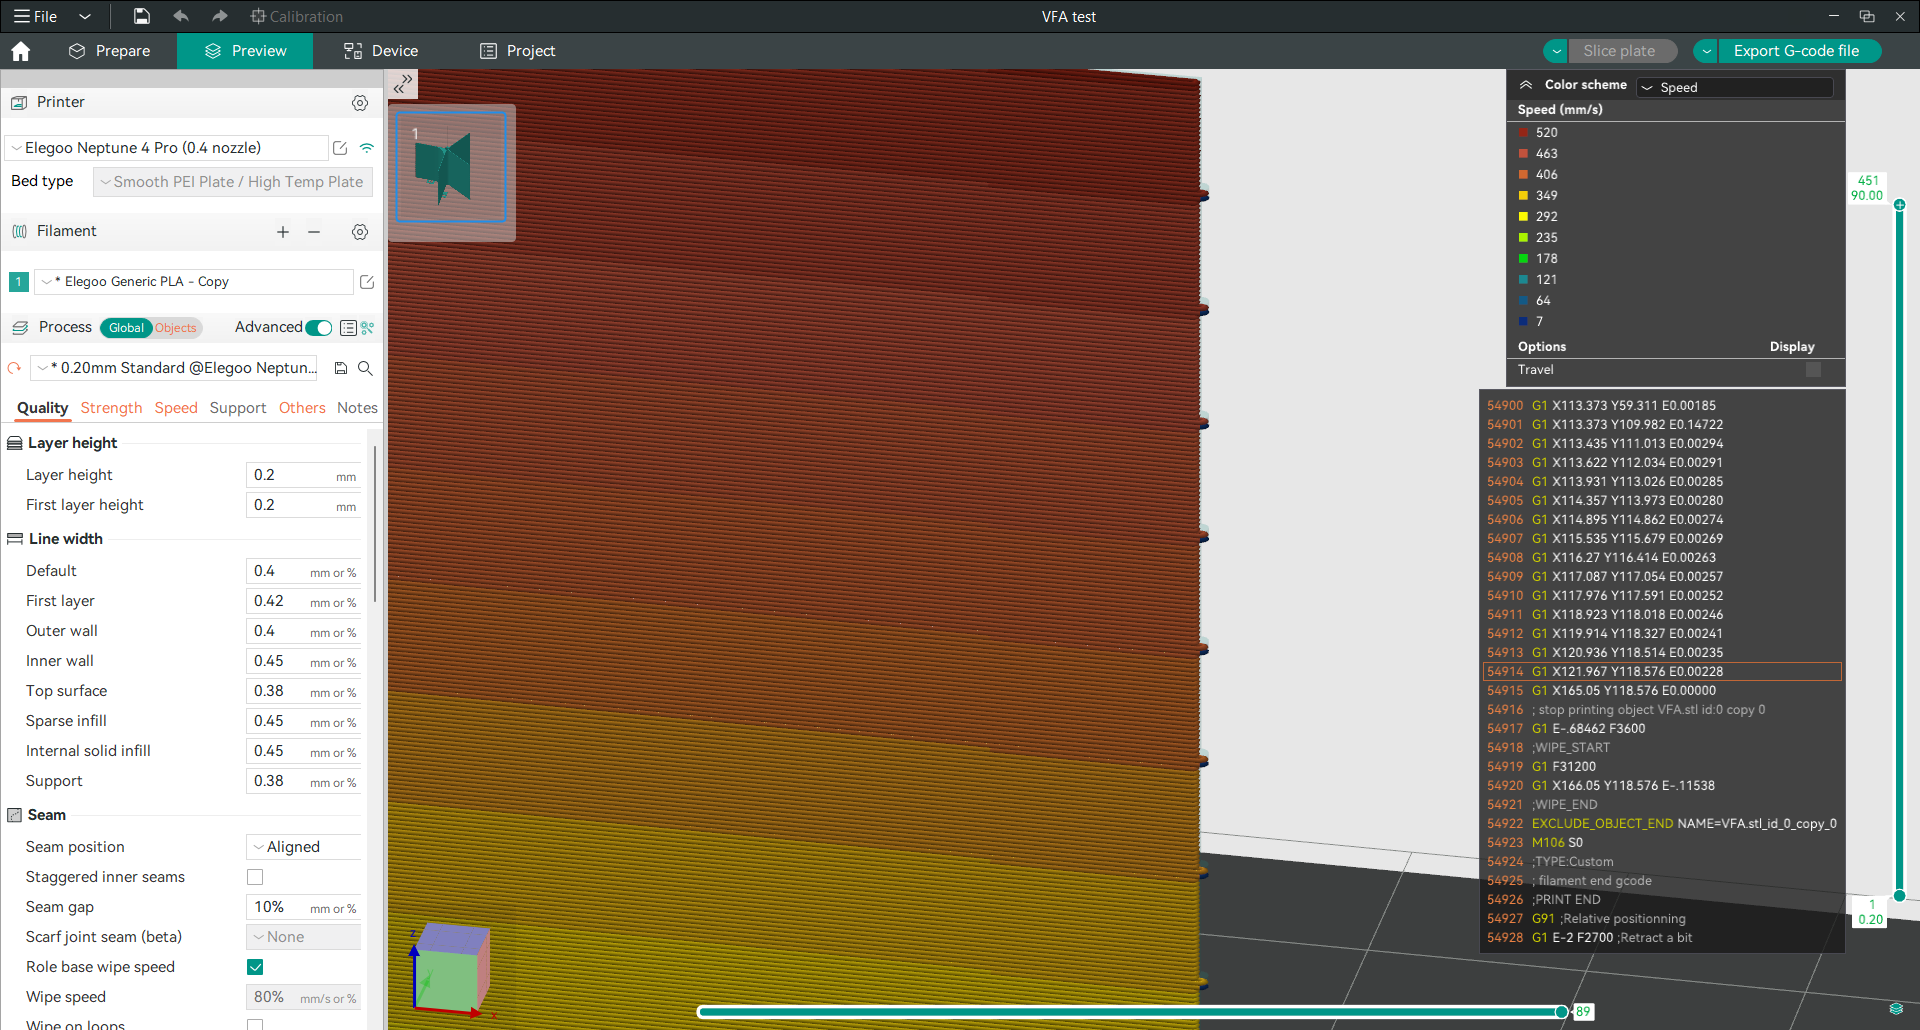
Once printed, you can inspect the model to find out which is the best maximum print speed that you can use without compromising on quality.
Preparing for the Speed Test
Before running a speed test, certain steps should be taken to ensure that your printer is configured properly for accurate results. These are calibration, maintenance, selecting the right filament, and establishing a stable printing environment.
It is important to note that 3D printing is a very complex process with many variables that can affect each other. Hence, we need to have our printers in perfect condition and well calibrated before proceeding with any other tests of this kind. This way, we will be able to get precise measurements for one variable under test.
Good maintenance practices as well as calibration are crucial to successful speed testing. These include extruder calibration (if necessary), bed leveling, nozzle checks, temperature calibration, and flow rate calibration.
Some tips for maintenance may involve checking belts so that they do not become loose or too tight, keeping an eye on moving parts by lubricating them regularly, ensuring that frames are inspected from time to time since they could crack easily when subjected to pressure, cleaning bed surfaces, which tend to accumulate dust particles over long periods without use, thus clogging up nozzles, updating firmware, among others.
The choice of filament is also important in getting accurate results because different filaments behave differently, so always go with what you usually use.
A stable environment gives consistent outputs, so place your printer on a solid vibration-free base plate, control room temperature and humidity levels, and ensure good ventilation plus enough light for monitoring prints.
Conducting the Speed Test with OrcaSlicer: A Step-by-Step Guide
Step 1: Downloading and Installing OrcaSlicer
Go to the GitHub page of OrcaSlicer, then download and install it according to the given instructions, compatible with your OS.
Step 2: Configuring Printer Profile and Filament Settings
Open OrcaSlicer and set up the printer profile by selecting the model, then configuring filament settings; otherwise, create a custom profile if it is not listed.
Step 3: Accessing the VFA Test Feature
Create a new project in OrcaSlicer and go to the calibration menu. Click on “more” then select the "VFA" option to configure your speed test settings.

Step 4: Setting VFA Test Parameters
After selecting the VFA option, this will open a new small window where you can set the start speed, end speed, and step increments.
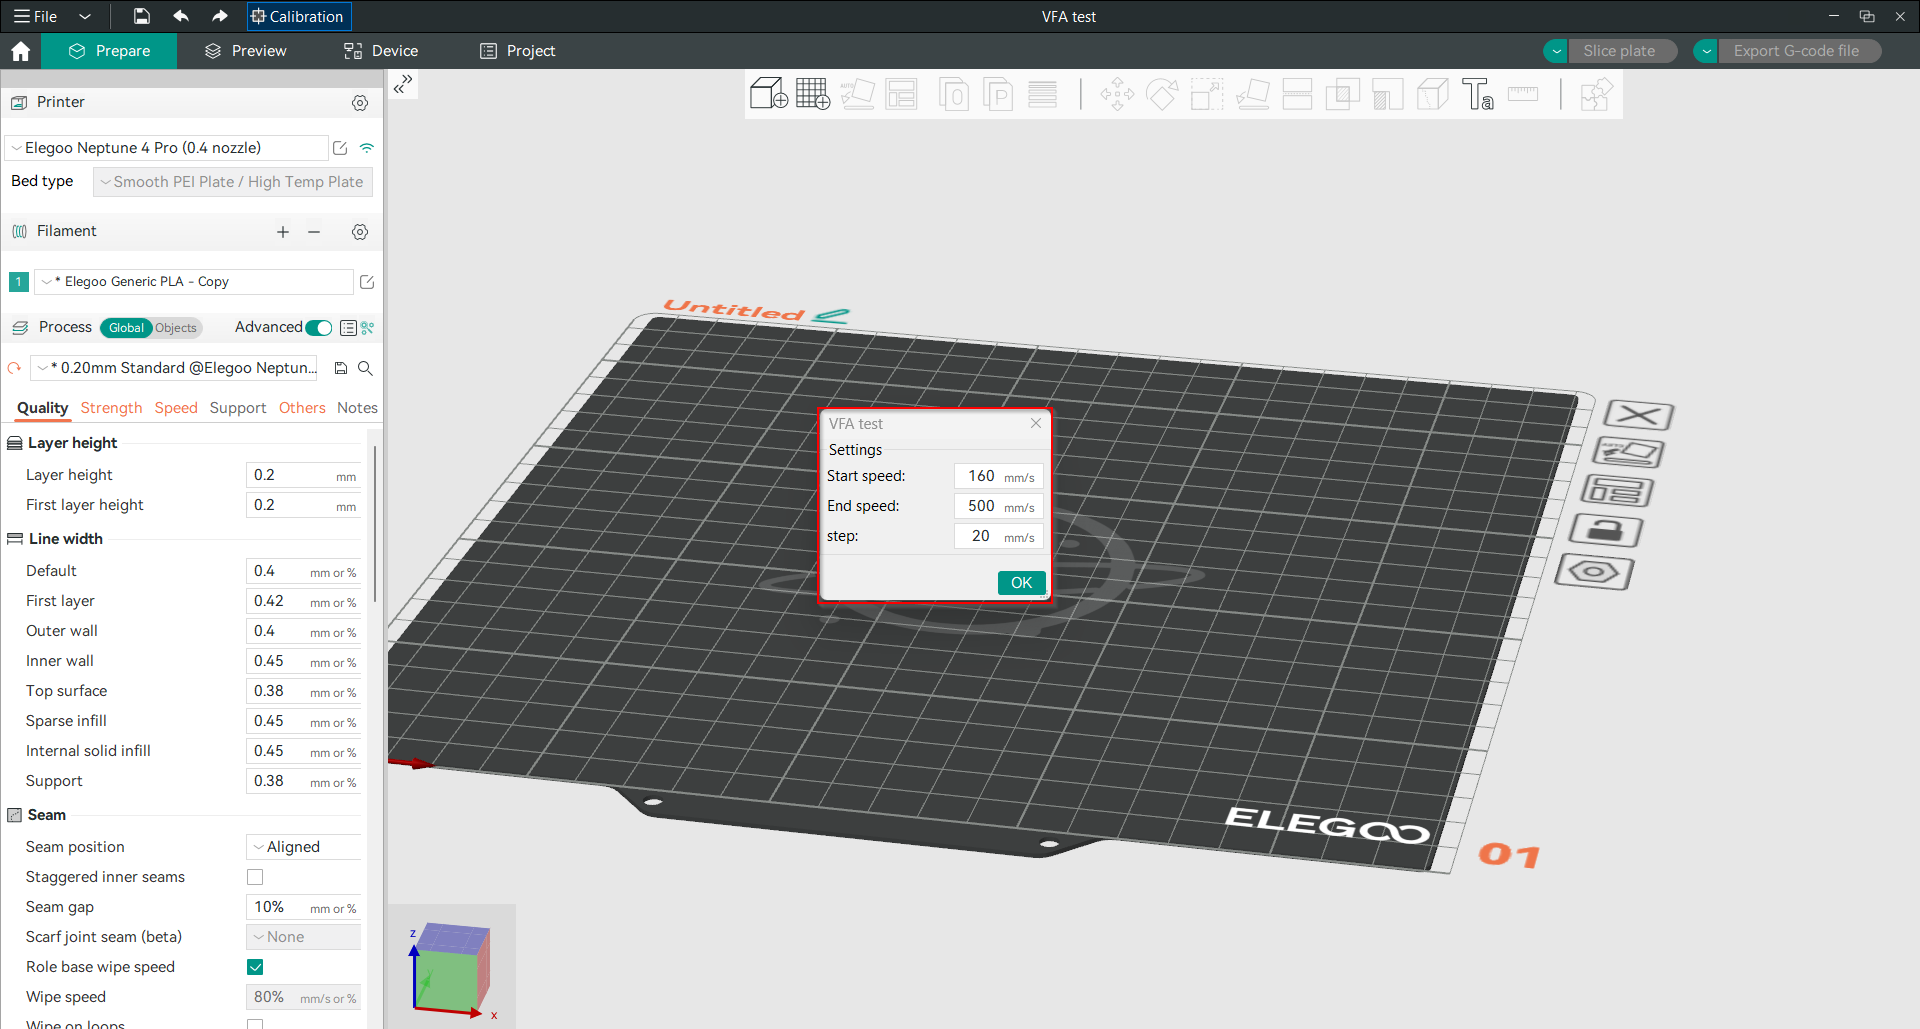
As we use a Klipper 3D printer in our test that can reach a speed of 500 mm/s. We will set the start speed at 160 mm/s and the end speed at 500 mm/s, with increments of 20 mm/s.
This creates a speed tower model with different speed sections, starting at 160 mm/s and increasing by 20 mm/s after each section until reaching the end speed of 500 mm/s as determined.
From the printed notch at every section, you can easily realize and calculate the speed of each section after printing the model when you examine it to determine the maximum safe speed that you can reach with your specific setup without compromising on quality.
Step 5: Printing the Speed Test Model
Slice the speed test model and start the print. Monitor the print to ensure there are no issues. The model will have sections printed at different speeds, allowing you to compare the quality.
Relax with Obico
Tip: Explore Obico for OctoPrint and Klipper!
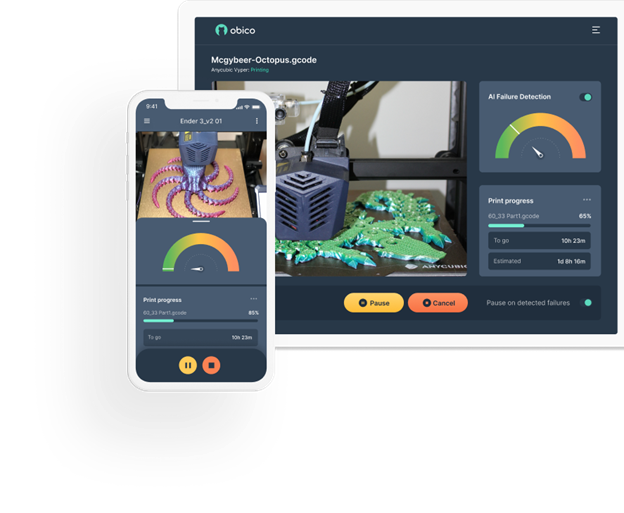
While your speed test is printing, why not explore Obico, the ultimate smart 3D printing software? With Obico, you can monitor and control your 3D printer from any device and anywhere. You can also relax with Obico's AI failure detection system, which keeps an eye on your print and notifies you of any issues. Connect your printer to Obico for free and enjoy unlimited webcam streaming, 3D printer status notifications, 3D printer remote access, and more!

Obico also offers mobile apps for iOS and Android, so you can access and manage your 3D printer from any device and location. Join Obico for free and enjoy the ultimate 3D printing experience.
After completing the speed test with OrcaSlicer, it's time to analyze the results to understand the maximum printing speed that your 3D printer can handle without sacrificing print quality. Here's how you can proceed:
Analyzing the Speed Test Results
After completing the speed test with OrcaSlicer, it's time to analyze the results to understand the maximum printing speed that your 3D printer can handle without sacrificing print quality. Here's how you can proceed:
Analyzing the Speed Test Results
Look at the printed speed tower to identify defects and changes in quality.
Common defects include stringing (fine threads of filament between sections), under-extrusion (gaps in layers), layer shifts (misalignment between layers), and surface finish issues (smoothness and consistency).
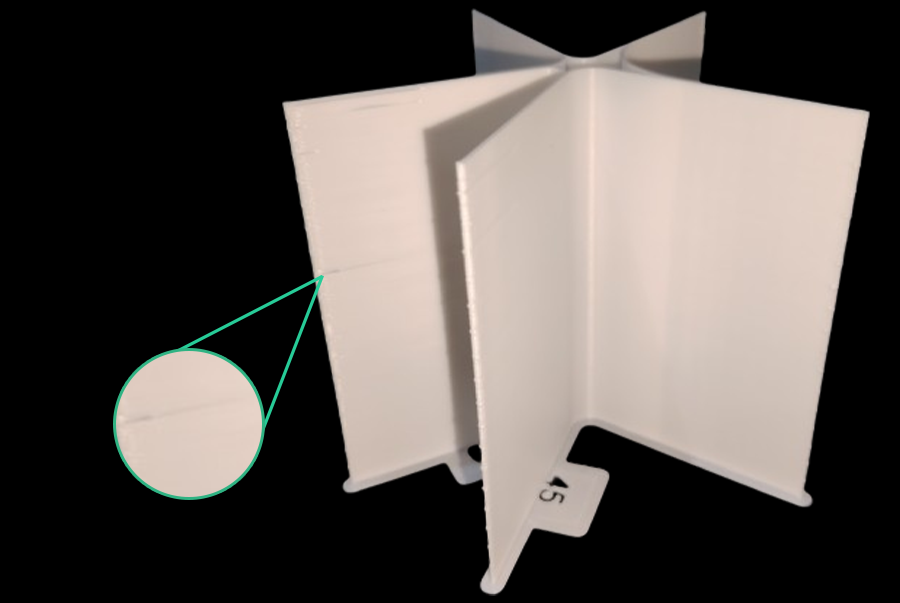
Compare different sections to see where quality starts to degrade. Look for sharp edges, smooth surfaces, and overall consistency.
Measure the dimensions and surface roughness of the printed model to assess its accuracy and quality. Use calipers to measure the model's dimensions and compare them to the intended size. Use a surface roughness tester if available to get objective measurements of the surface quality.
Determine the highest speed that maintains good quality. This is your optimal print speed, balancing efficiency and quality.
As we see in our test, there is under extrusion starting to happen at notch 11.
Calculate the speed:
Speed at notch 11 = Start speed + (Increment (11 - 1))
Speed at notch 11 = 160 mm/s + (20 mm/s 10)
Speed at notch 11 = 360 mm/s
That means that the maximum safe printing speed that we can use in our setup while maintaining good quality is 360 mm/s.
Applying Your Speed Test Insights
Depending on what you have found during the test, you should adjust your default print speed settings in OrcaSlicer.
If you usually use various types of filaments, it is advisable to create custom profiles for each type of filament after testing it so that they can have their own optimal print settings.
Troubleshooting Common Issues
During the process of printing out your speed test, there are common issues that may arise, and these problems tend to happen at maximum speed, but you can still eliminate their effect by following the below tips and advice in order to get more accurate results as well as achieve the highest possible print speed while maintaining good quality.
Stringing and Blobbing
If you face stringing and blobbing, you can minimize them by adjusting retraction settings and print temperature. Increase the retraction distance to ensure the filament is being pulled back sufficiently during non-print moves.
This helps prevent filament from oozing out and causing stringing. Adjust the retraction speed to find the optimal setting that minimizes stringing. Additionally, lowering the print temperature can prevent the filament from becoming too liquid and oozing during travel moves.
Under-Extrusion
Under-extrusion can be caused by several factors, including incorrect settings or clogged nozzles. If you are faced with extrusion, try to increase the extrusion multiplier to ensure the correct amount of filament is being extruded or recalibrate your extruder. This helps fill gaps and improves layer bonding.
Also, ensure that the nozzle is clean and free of blockages, as a clogged nozzle can restrict filament flow.
Layer Shifts
Layer shifts can occur due to some mechanical issues. Ensure that the printer frame and belts are tight and secure. Loose components can cause the printer to lose steps, resulting in layer shifts.
Adjust acceleration settings to minimize vibrations. Lower acceleration values result in smoother movements and better alignment between layers.
Surface Finish Issues
Rough or inconsistent surface finishes can be addressed by adjusting the print temperature and cooling settings. Find the optimal temperature for your filament to ensure smooth extrusion. Too high a temperature can cause the filament to become too liquid, resulting in rough surfaces. Ensure adequate cooling during printing to prevent overheating and maintain surface quality.
Proper cooling helps solidify the filament quickly, resulting in smoother surfaces. Try different infill patterns that produce smoother surfaces. Patterns like gyroid or grid can provide good structural support while maintaining a smooth surface finish.
Frequently Asked Questions
Q1: What is OrcaSlicer?
A1: OrcaSlicer is an advanced 3D printing software that assists in the preparation of 3D models for printing. It is derived from Bambu Studio and comes with additional functionalities to improve your overall print experience. It has built-in calibration tools and supports integration with popular 3D printing firmware such as Klipper, OctoPrint, and Marlin.
Q2: Why does print speed matter in 3D printing?
A2: Print speed determines how quickly the nozzle of the printer moves during printing. This affects both the time taken to complete a print and the quality of the final output. Faster speeds save time but may reduce quality, while slower speeds take more time but generally produce better quality. Therefore, finding a balance between both is crucial for efficient, high-quality 3D prints.
Q3: What is the VFA test in OrcaSlicer?
A3: The Vertical Fine Artifacts (VFA) Test is one of the features in OrcaSlicer that enables you to find out what print speed works best for your 3D printer. It involves printing a tower model that has sections at different speeds so as to see how speed affects print quality.
Q4: How do I prepare for a speed test in OrcaSlicer?
A4: Preparing for a speed test in OrcaSlicer entails calibrating your printer, doing regular maintenance, choosing the right filament, and ensuring stable conditions during printing. Calibration steps include bed leveling, extruder calibration, and flow rate calibration, among others, while maintenance involves checking belts, lubricating moving parts, and updating firmware.
Q5: How do I do a speed test using OrcaSlicer?
A5: To conduct a speed test:
- Download and install OrcaSlicer.
- Configure your printer and filament settings.
- Open the calibration menu and access the VFA Test feature.
- Set the start speed, end speed, and step increments.
- Print the speed test model while observing the print process.
- Examine the printed model to find out the best print speed.
Q6: What common print defects should I look for during the speed test?
A6: During a speed test, some of the typical print defects to look out for include stringing (fine threads of filament), under-extrusion (gaps in layers), layer shifts (misalignment between layers), as well as surface finish issues like rough or inconsistent surfaces. These defects help in identifying quality speed settings for printing.
Q7: How can I optimize my print settings based on the speed test results?
A7: Use these findings to adjust your default print speed settings on OrcaSlicer. Create custom profiles for different filaments so that you have optimum parameters set for each material type. Do frequent speed tests in order to build a complete profile of the best settings that work well with your printer and setup.
Q8: What should I do if I experience stringing and blobbing during printing?
A8: To tackle stringing and blobbing problems when printing:
- Tweak retraction settings so that there is enough filament retraction during non-print moves.
- Lower the print temperature to prevent excessive melting and oozing of filament material, which leads to blobs forming on printed objects.
Q9: How can I address under-extrusion issues?
A9: If you encounter under-extrusion:
- Increase the extrusion multiplier to ensure the correct amount of filament is being extruded.
- Verify that the filament diameter matches the slicer settings.
- Ensure the nozzle is clean and free of blockages.
Q10: What should I do if my prints have layer shifts?
A10: To address layer shifts:
- Ensure the printer frame and belts are tight and secure.
- Adjust acceleration settings to minimize vibrations and ensure smoother movements.
Q11: How can I improve surface finish issues?
A11: To improve surface finish:
- Adjust the print temperature and cooling settings to find the optimal temperature for smooth extrusion.
- To maintain a good surface quality, make sure there is enough cooling during printing.
- Use different infill patterns for testing out various ways of getting smoother surfaces.
Conclusion
In this article, we've guided you through the process of optimizing 3D printing speed with OrcaSlicer. By understanding the impact of speed on print quality and using the VFA test, you can find the perfect balance between efficiency and quality. Proper setup, including calibration and maintenance, ensures that you will have accurate results.
By applying these insights and adjusting your settings, you'll achieve better printing results faster.
Always remember: regular testing and adjustment will keep your 3D printing experience efficient and enjoyable.
Happy printing!
