
NOZZLE NINJA

First Layer AI Error Detection for OctoPrint & Klipper Now Available!

OBICO_NOZZLE_NINJA_COMPATIBLE_BADGE

84 posts tagged with "3D Printing Tips"

View All Tags

Image Courtesy - Marco Verch via Flickr

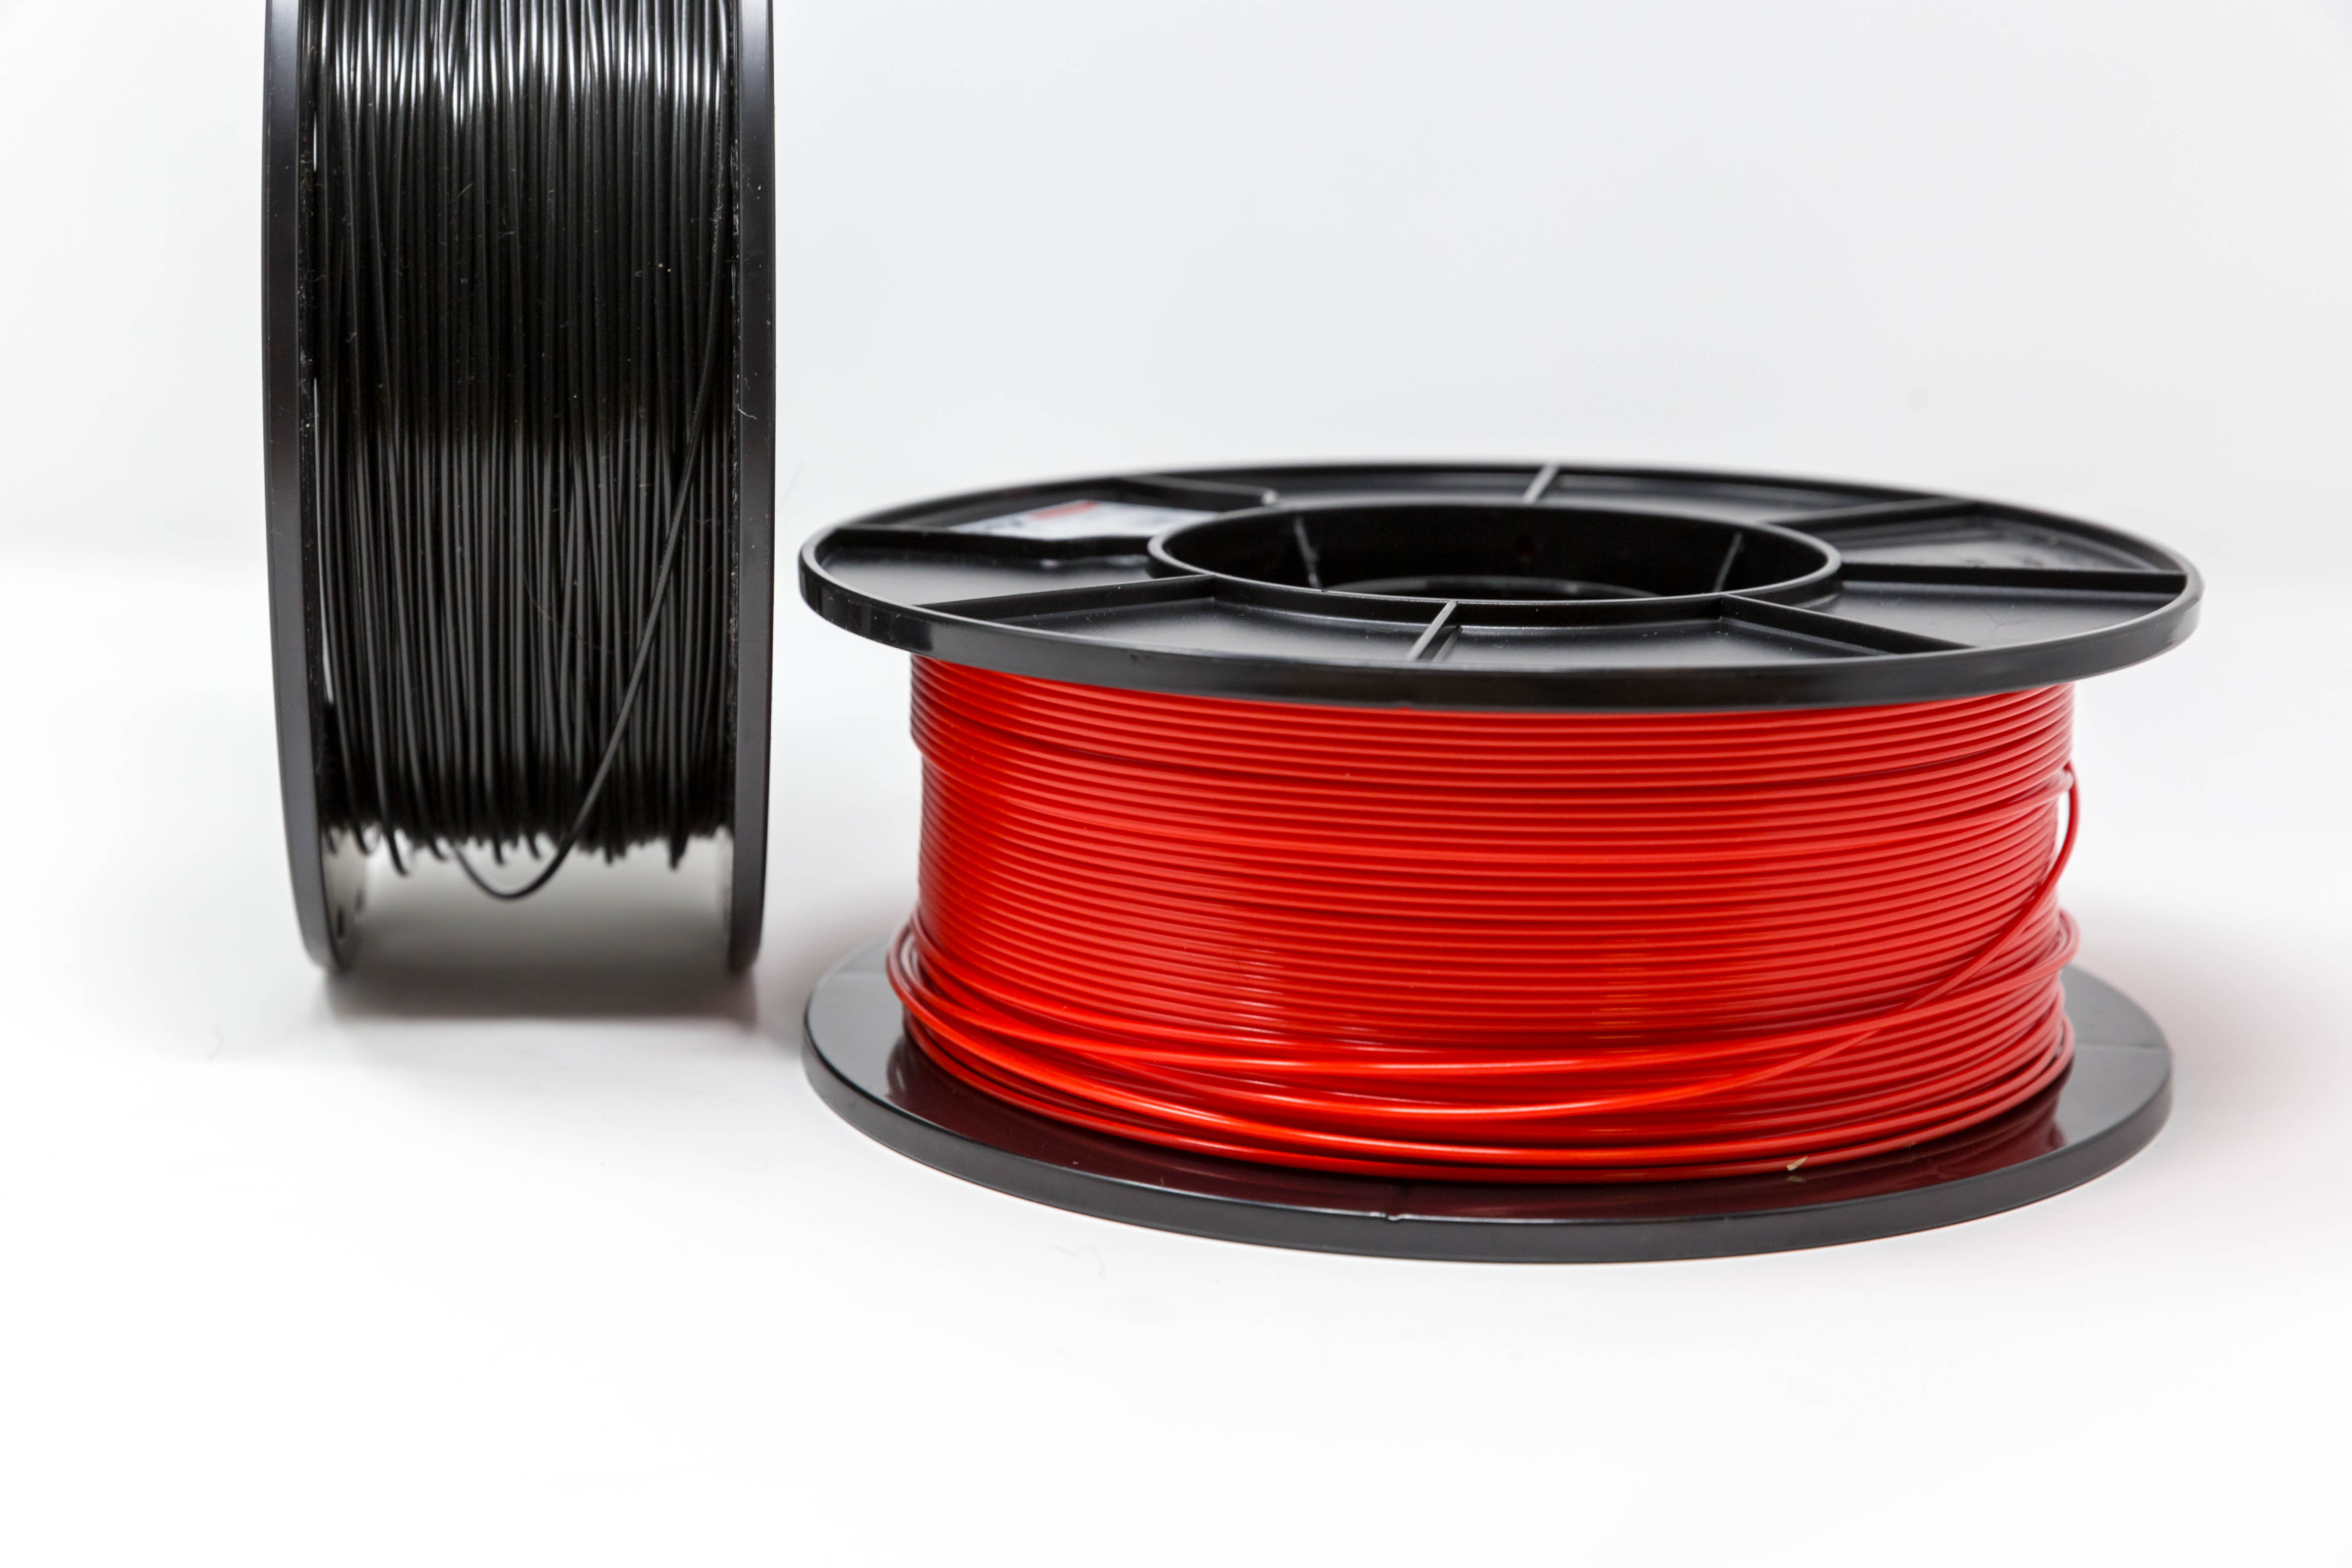
PLA, or polylactic acid, is a popular and commonly used 3D printing polymer. It's likely to be among the first materials you try with your 3D printers. It is easy to print, cheap, and comes in many different types for many different uses.

There are still a lot of questions about PLA material on various community forums. How do you print it? What is the best printing temperature? Slicing options? These are just a handful of the many queries that consumers have about the PLA filament.

This article aims to answer these questions for good. We'll delve deep into the world of PLA filament in this post and learn everything there is to know about it. By the end, you'll have answers to all of your PLA questions and feel confident in printing it.

Continue reading to improve your PLA skills and 3D print some high-quality models. Let's get started!

Alt text

Photo Courtesy : 3D Printing Geek via Reddit

Klipper is an advanced 3D printing firmware that gives you a high level of control over how your 3D printer moves. One key part of this control is the measurement and management of your stepper motor's motion. Klipper does this with the help of the Rotation Distance parameter.

Rotation Distance measures how far your print head moves in a single rotation.This value has an impact on the dimensional accuracy and appearance of your prints. and, in turn, is a key factor in determining the final quality of your 3D models.

In this article, we'll talk about what the rotation distance means in Klipper and how you can use it to get the best prints possible. We'll talk about it in detail and go over the steps for setting up the rotation distance for your 3D printer.

Read on to learn how to 3D print highly accurate parts and take your printing to the next level.

Alt text

Klipper macros are an incredible firmware feature that allow you to swiftly automate complex and repetitive processes with a single click. Whether you're a beginner or an experienced user, these macros can help you streamline your workflow and save considerable printing time.

In this article, we'll learn more about the Klipper macros, their benefits, and lead you through the installation process step by step. We'll also include some handy Klipper macro examples near the end to help you better understand these macros.

Follow along if you're ready to "macrofy" your 3D printer and learn how to implement it into your own 3D printing endeavors.

The Ender 3 series of 3D printers have made all the news for the last couple of years. Featuring an amazing set of features at a budget pricing, Ender 3 has made 3D printing accessible for several hobbyists and first-time users.

Another equally important thing that's been making rounds in the 3D printing community is the Klipper firmware. First released in 2016, Klipper is quickly ranking up amongst users as the go-to firmware for high-speed 3D printing. It's free, easy to use, and has many useful features that help you get the best printing experience.

We've explored the combination of Klipper and Ender in depth with several of our articles. Klipper elevates the performance of Ender 3 well-beyond expectations and with a bit of fine-tuning the print quality rivals even that of the high-end 3D printers.

In this article, we'll explore this partnership in detail and understand how you can fine-tune your Ender 3 to get the most out of the Klipper firmware.

Let's Klippify the Ender!

The first Lithophanes in the 1820s were made out of porcelain material. It was a pretty labor-intensive and expensive process. But, with the rise of 3D printing technology and affordable 3D printers, you can single-handedly 3D print exquisite lithophanes at your home.

That said, 3D printing quality Lithophanes is still a relatively challenging process. You need to fine-tune several little parameters and carefully set your slicer settings to get the best-looking Lithophane on your 3D printer.

In this article, we’ll break down the science behind 3D printing lithophanes. We’ll look at the various tools you can use to prepare a lithophane and understand the crucial factors to consider while 3D printing it.

Let’s print some 3D images.

Klipper’s Input Shaping functionality stands out particularly well owing to its excellent execution and utility. It lets you print at higher speeds while ensuring that the print quality is not affected due to the 3D printer’s fast movements. It’s probably one of the most sophisticated and our favorite features in the Klipper firmware.

Yet, for several users, Input Shaping is still a mystery and a concept that seems too technical and complex to understand.

In this article, we’ll break down Input Shaping in Klipper for you and help you understand how it can assist you in achieving excellent print results. We’ll start by understanding it in detail and learn more about how it works in Klipper. We’ve also included a step-by-step guide that’ll help you configure Klipper for your 3D printer. In this guide, we will tune input shaper on an Ender 3 3D Printer, but this guide is relevant for similar 3D printers as well.

Let’s start shaping our Klipper 3D printers!

Gone are the days in 3D printing where you constantly need to be tethered to a 3D printer. There are now automated software tools that allow you to monitor and control your printer without being present in the same room. Some of these applications give you unrestricted access to your machines and let you operate them from anywhere in the world.

In this article, we’ll look at eight remote 3D printing software you can use to run your 3D printers remotely. These programs are suited equally well for hobbyists and professional 3D printing farms and can be a great way to ease out the manual workload in your workflow.

Let’s power up your remote 3D printing setup!

Update on the Orange Pi Zero 2 for OctoPrint Project

In an ongoing effort to get find an easy way for makers to install OctoPrint with the Raspberry Pi shortage ongoing, we developed an easy to install raspberry pi alternative for OctoPrint using the Orange Pi Zero 2.

Installation works similarly to installing OctoPi on a Raspberry Pi. You can get a complete OctoPrint Kit that includes a webcam and everything you need to get started, or just the Orange Pi Zero 2 Board in our online store (available for U.S and Canada only).

Introduction

Klipper is quickly ranking its position as one of the best 3D printing firmware in the community. Using a combination of Raspberry Pi and web interface, Klipper significantly improves your 3D printer’s speed, print quality, and user experience.

Pair it up with Cura, and you open up a world of new possibilities for your 3D printing workflow. Cura is one of the most widely used and popular 3D printer slicers with top-notch features that help you achieve high-quality 3D prints.

Yet, as good as they are, there are some pointers you need to be mindful of when using Cura and Klipper together. In this article, we’ll understand how you can use these two software side-by-side to get the best quality results from your 3D printer.

Let’s Klip and Slice.

Klipper as a 3D printer firmware and PrusaSlicer as a 3D printing slicer have become widely popular in the past few years. They’re both completely free to use and loaded with features, and you get the benefits of open-source development with either of these programs.

It makes sense to use them together to streamline your 3D printing workflow and make the most out of these two pieces of software. In this guide, we’ll go over the process of setting up Prusaslicer with your Klipper 3D printer. It’s simple and quick and can help save you from the hassle of manually uploading your print files.

We’ll begin with understanding the benefits of using these two software together and then look at the detailed setup process. Let’s begin!