6 posts tagged with "filament"

View All Tags

Start G-Code in Orca Slicer: Start Your Print the Right Way

· 18 min read

In the 3D printing world, the initial setup of your print is just as important as the model you’re trying to bring to life. One of the most critical and often overlooked components of this setup is the Start G-code, a set of instructions that prepares your 3D printer for the actual print. Whether you use Orca Slicer, a feature-rich slicing software that is based on Bambu Studio and PrusaSlicer, or another slicer, understanding and customizing the Start G-code can be the key to better prints and a smoother workflow.
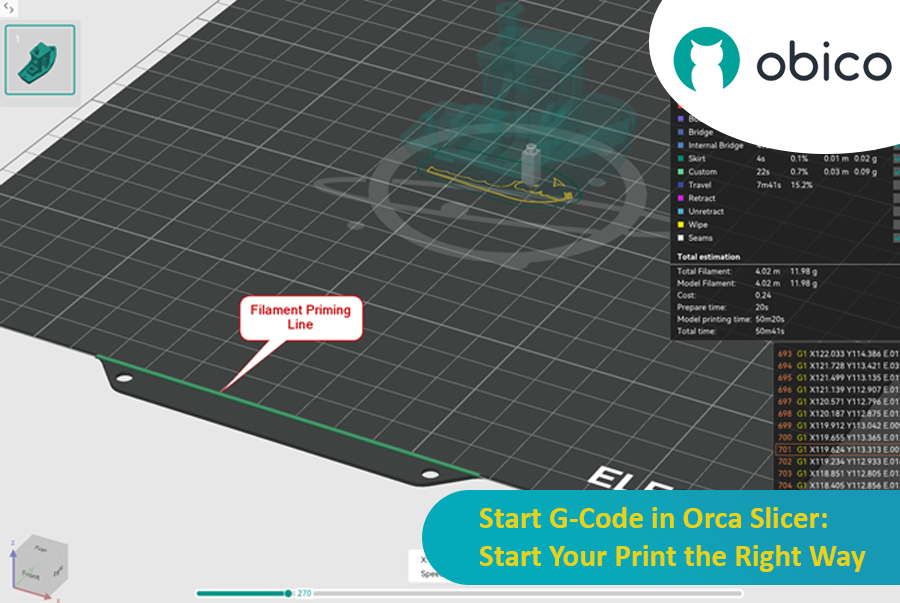
Start G-Code in Orca Slicer: Start Your Print the Right Way

In this article, we will go deep into what is Start G-code, why it’s important for perfect prints, how to edit it in Orca Slicer, and how to customize it for any 3D printer. We will also explain the Start G-code in the well-known Elegoo Neptune 4 Pro in Orca Slicer as an example for better understanding.

By the end of this article, you will know how Start G-code works, how to tweak it for best results, and how to use advanced techniques like Klipper macros to make your G-code simpler more readable and easier to update.

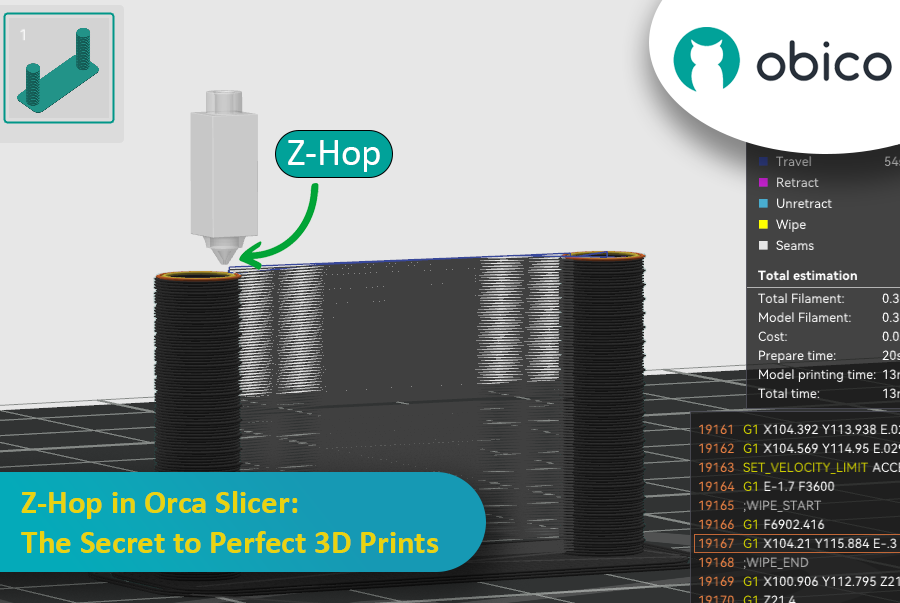
Z-Hop in Orca Slicer: The Secret to Perfect 3D Prints

· 17 min read

Ever seen those little strings hanging off your 3D print like tiny spider webs? Or the nozzle scratching over a beautiful layer? If you’ve experienced these issues, you’re not alone—and there’s a fix. Enter Z-Hop, a feature in Orca Slicer that will take your 3D prints from good to great.

Z-Hop in Orca Slicer: The Secret to Perfect 3D Prints

Whether you’re new to 3D printing or a hobbyist, getting the settings right makes a huge difference. In this guide, we’ll be exploring Z-Hop—what it is, how to use it, and why it’s a game changer.

Let’s get started!

Best Upgrades for Bambu Lab 3D Printers

· 16 min read

Introduction​

If you have a Bambu Lab 3D printer, you’ve already opened the door to a world of creativity, precision, and innovation. Bambu Lab printers are known for being reliable and high quality, so they’re a favorite among users all around the world.

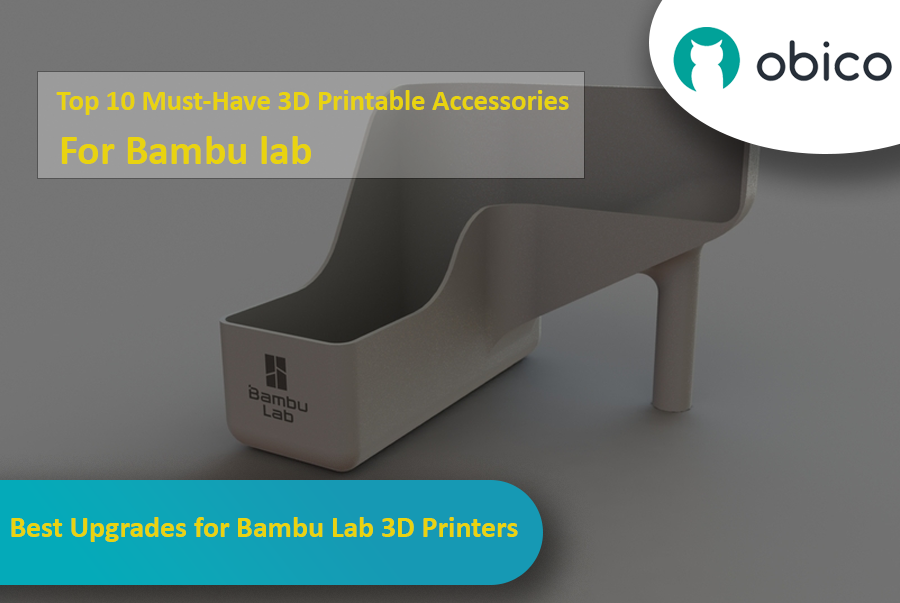
But even great printers can be made better with a bit of customization. With the right printable accessories, you can make your Bambu Lab printer even more efficient, more versatile, and more fun to use. In this guide, we’ll take a look at some of the best 3D printable accessories to get the most out of your Bambu Lab 3D printer.

Best Upgrades for Bambu Lab 3D Printers

Whether you want to reduce vibrations, manage your filament better, or tweak your AMS system, these upgrades offer practical and easy-to-print solutions that you can print directly with your Bambu Lab printer.

Let’s get started and see how these upgrades can improve your 3D printing experience.

Pressure advance calibration in OrcaSlicer: A Comprehensive Guide

· 20 min read

Overview of Pressure Advance​

Imagine you're drawing with a pen that sometimes spills too much ink and other times barely any. In 3D printing, something similar could happen when your printer moves fast and changes its speed– it can mess up how much plastic comes out.

Pressure advance calibration in OrcaSlicer: A Comprehensive Guide

But why does your printer sometimes mess up how much plastic comes out?

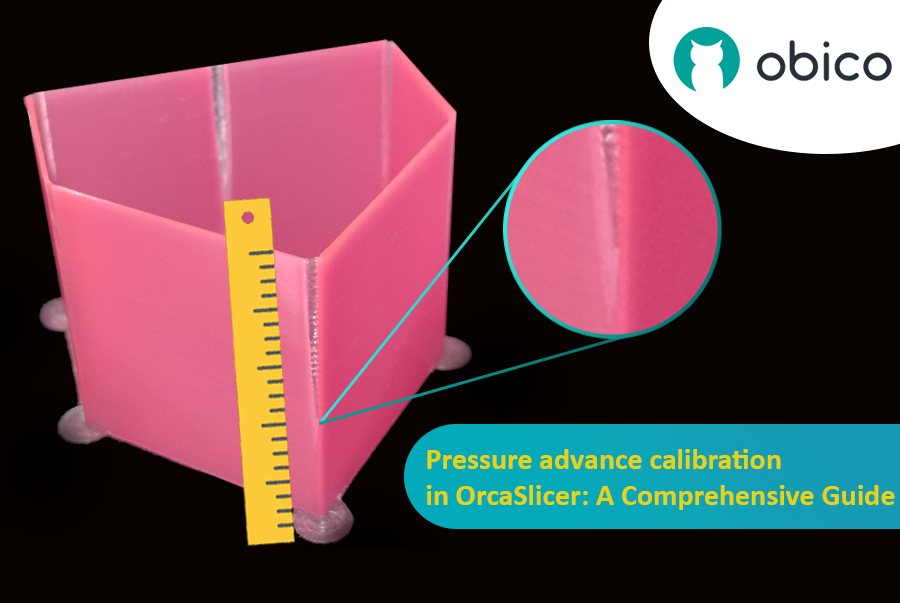
In a 3D printer, the filament comes out based on how much pressure is inside the nozzle. It's like a garden hose; you need enough water pressure before the water sprays out. When the printer speeds up or slows down, like when going around corners, it takes a bit for the nozzle pressure to catch up. If the printer moves too fast too soon, not enough filament comes out. And if it slows down too quickly, too much filament comes out. This can make the corners of your print look a bit messy because the printer didn't adjust the filament flow just right for the speed changes.

And here's where Pressure Advance steps in. It's a smart feature that compensates for these changes, ensuring the right amount of filament is extruded as the printer speeds up or slows down. With Pressure Advance, your printer can better handle speed transitions, leading to smoother, sharper prints, especially at those tricky corners.

Temperature Tower Test in OrcaSlicer: A Comprehensive Guide

· 11 min read

Introduction to Temperature Tower Test with OrcaSlicer​

3D printing is a fascinating technology that allows you to create physical objects from digital models. However, to achieve the best results, you need to fine-tune your printer settings and optimize your filament parameters. One of the most important factors that affects the quality of your prints is the temperature.

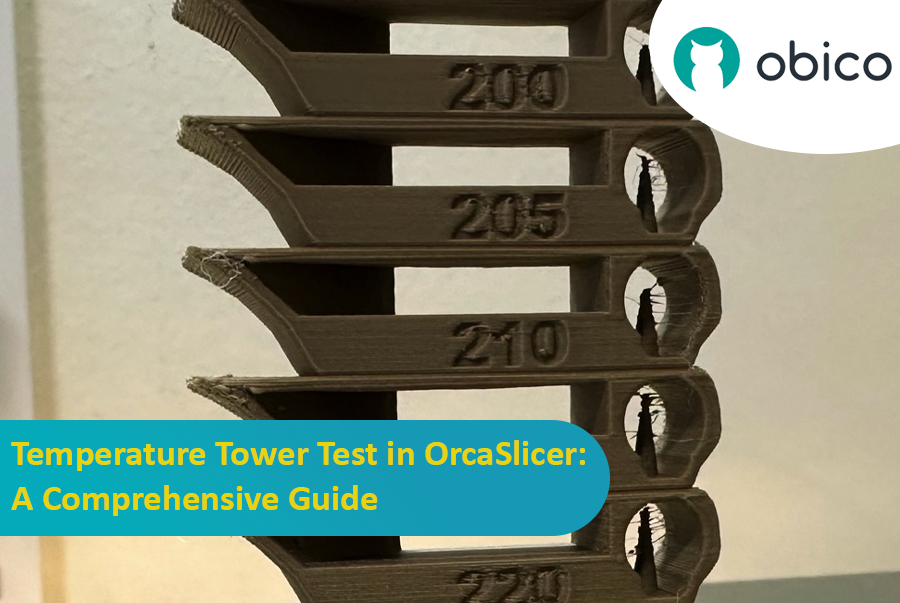
Temperature affects how well the filament melts, flows, and bonds with the previous layers. If the temperature is too low, the filament may not extrude properly, resulting in under-extrusion, poor adhesion, and weak parts. If the temperature is too high, the filament may ooze, string, or warp, resulting in over-extrusion, blobs, and deformations.

Temperature Tower Test in OrcaSlicer: A Comprehensive Guide

To find the optimal temperature for your filament, you need to perform a temperature tower test.

Fixing Z Banding/Wobble: A Comprehensive Guide

· 11 min read

Introduction​

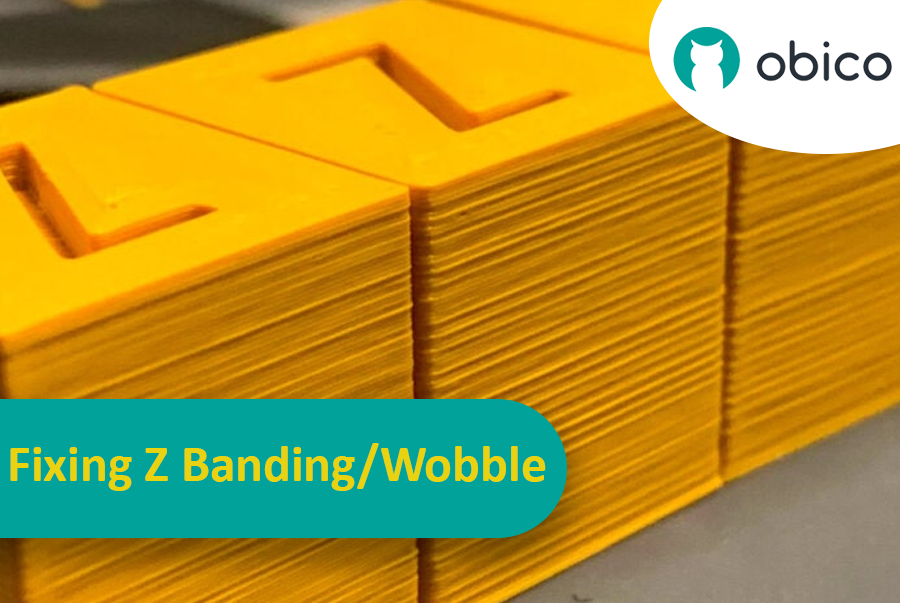
Imagine you've spent hours waiting for a 3D print to finish, only to find it has these unexpected and unwanted stripes or lines across it. This issue, known as Z banding, is a common headache in 3D printing. It's like when you're drawing a straight line but your ruler keeps slipping, leaving you with a jagged line instead of a smooth one. Z banding can make your 3D printed objects look striped instead of having a smooth, even surface.

Fixing Z Banding/Wobble: A Comprehensive Guide

But why should we care about fixing this? Well, these lines are not just a cosmetic problem. They can make your 3D printed items weaker and less functional. Think of it like building a tower with blocks; if the blocks aren't lined up properly, the tower won't be as strong. That's why it's important for anyone using a 3D printer, whether you're a hobbyist or a professional, to understand how to tackle this issue. This guide is here to help you do just that, turning those frustrating lines into a thing of the past and helping you get the best results from your 3D printing projects.