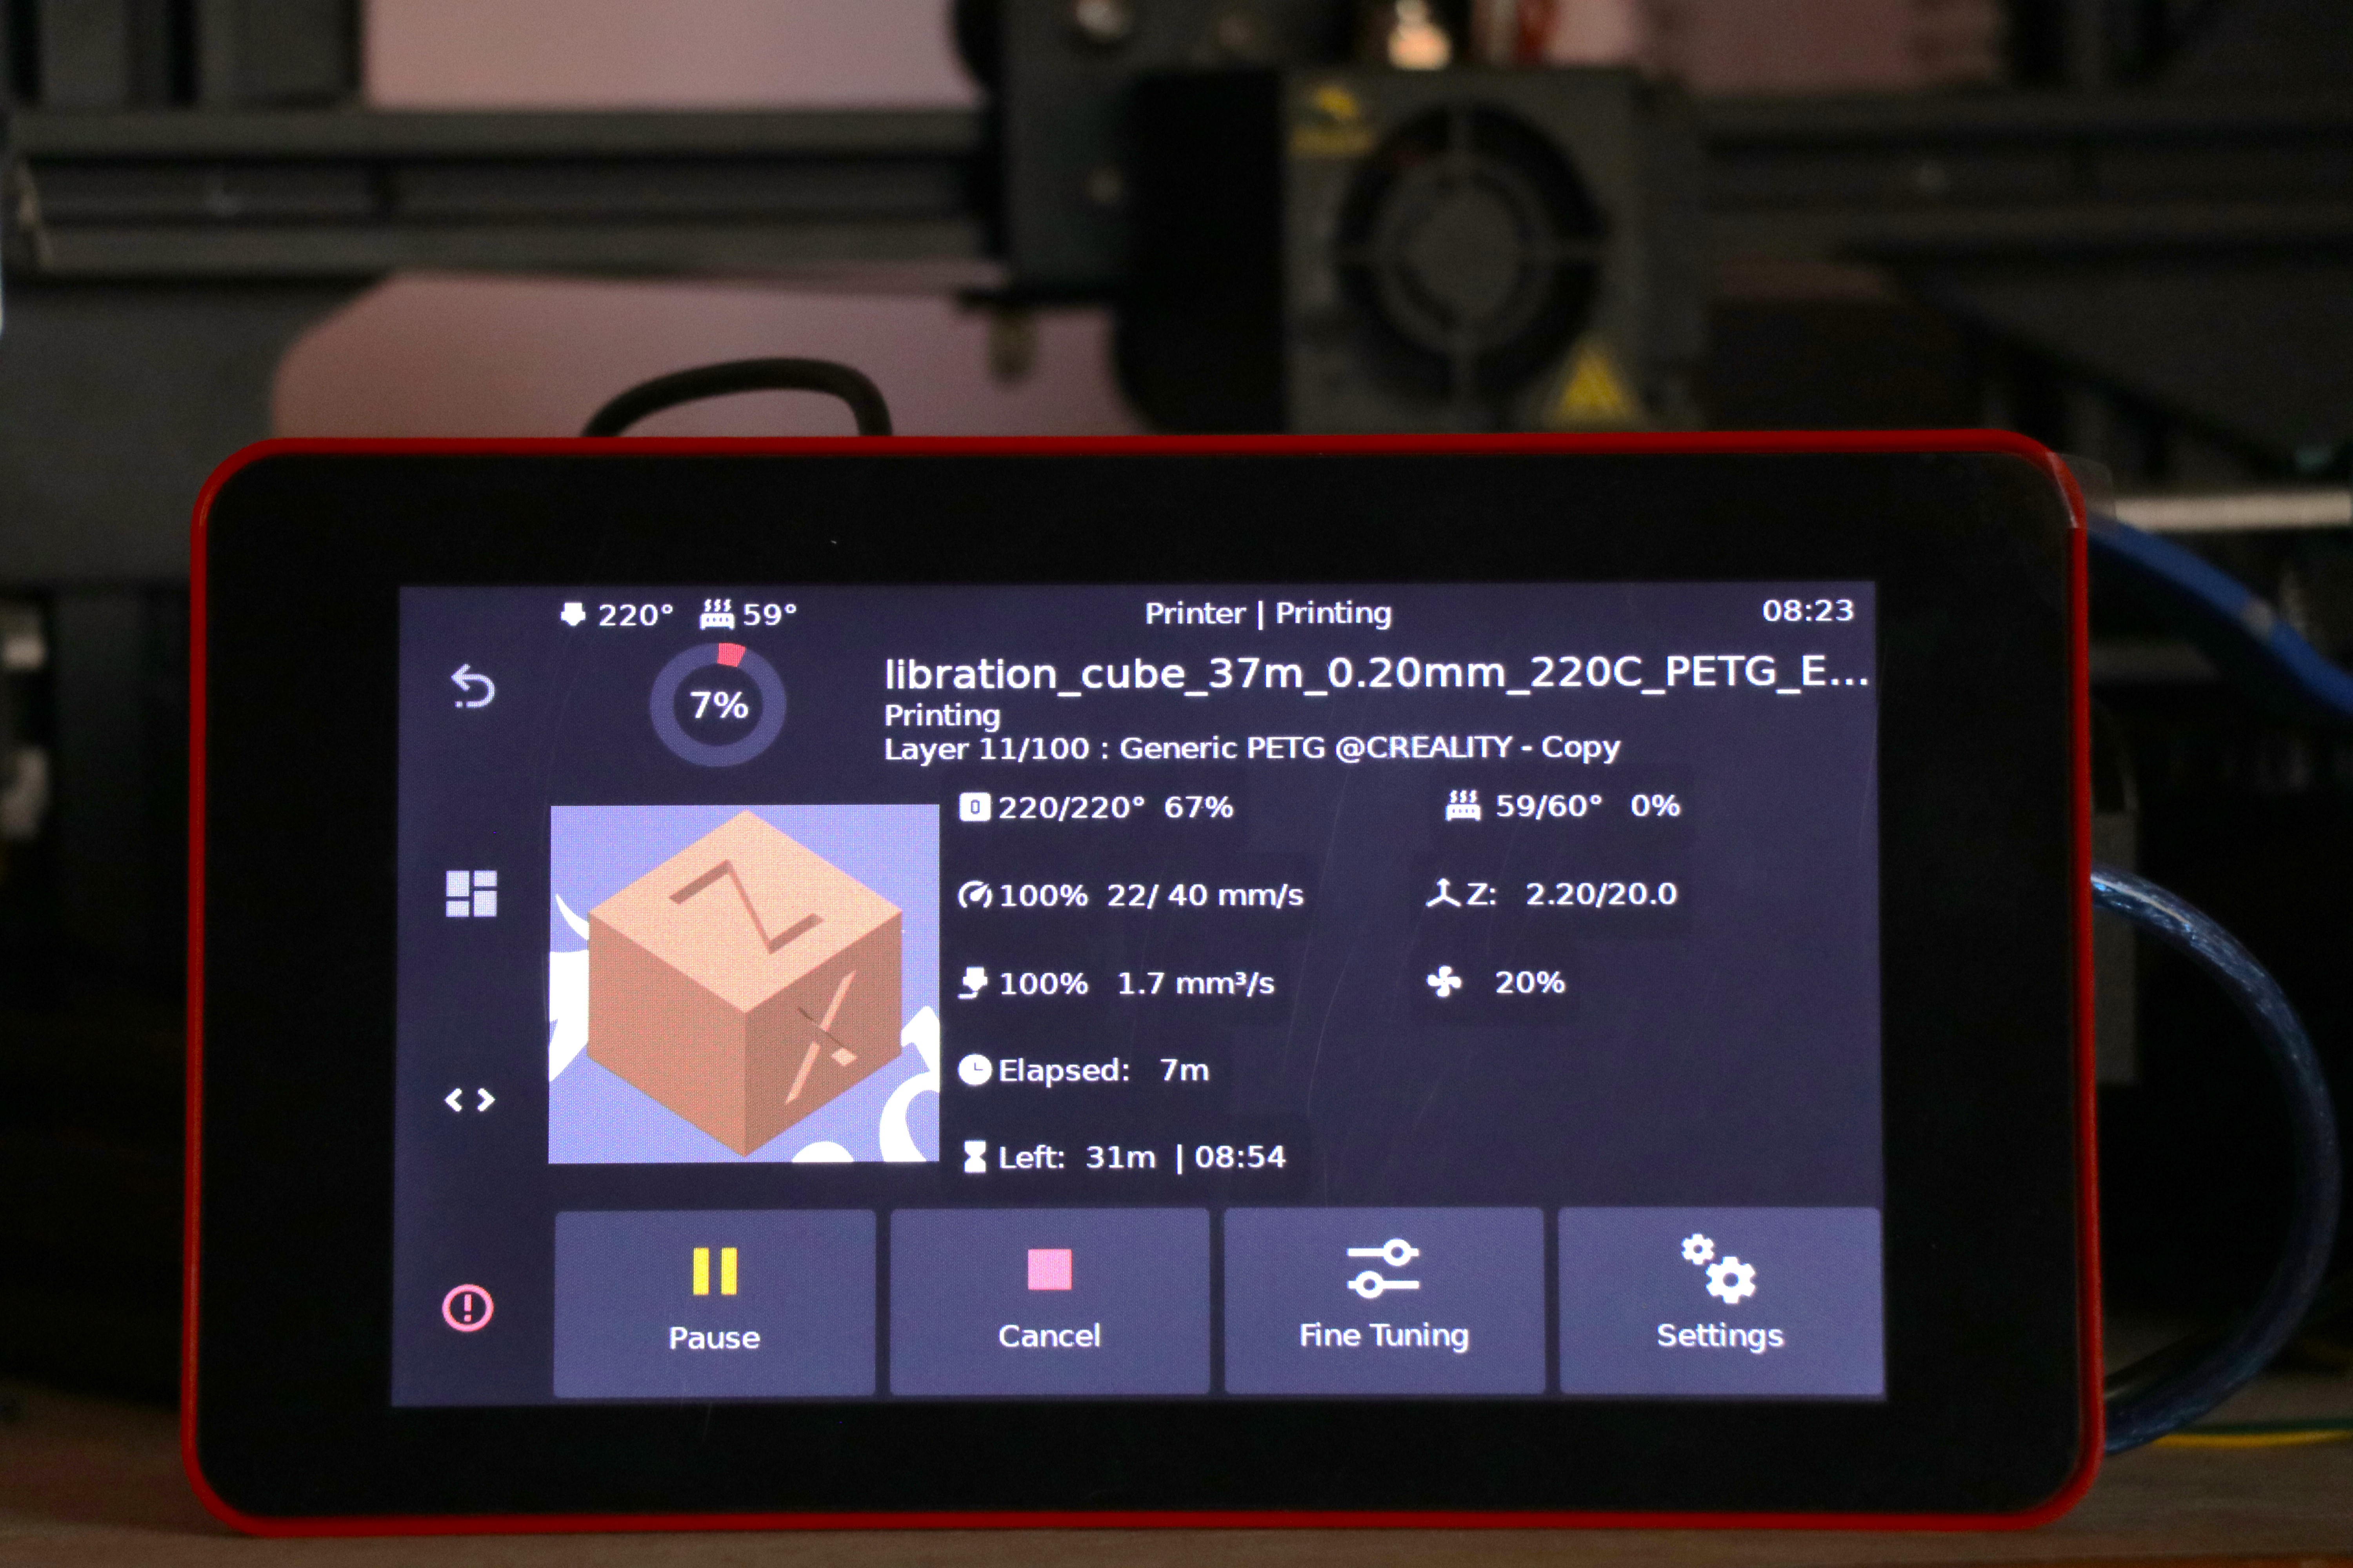
Picture courtesy: Mainsail
Klipper is fast, it's smooth, and it's really cool. It is quickly becoming the most used software for 3D printers. More and more commercial printers are being built using Klipper, and even more and more printers are being upgraded by enthusiasts so they can use Klipper.
Every day, more and more people hop on the Klipper train, which means that customization is more important than ever. Why shouldn't the printer's firmware be personalized by the user, much like the printer's brand, symbol, and 3D prints?
Today, we'll talk about how you can change the look and feel of your Klipper 3D printer to make it your own. This piece will go over Themes in Mainsail and Fluidd and help you personalize your machine to your liking.
Let’s Klipp away and custom-fit your machine to your taste!

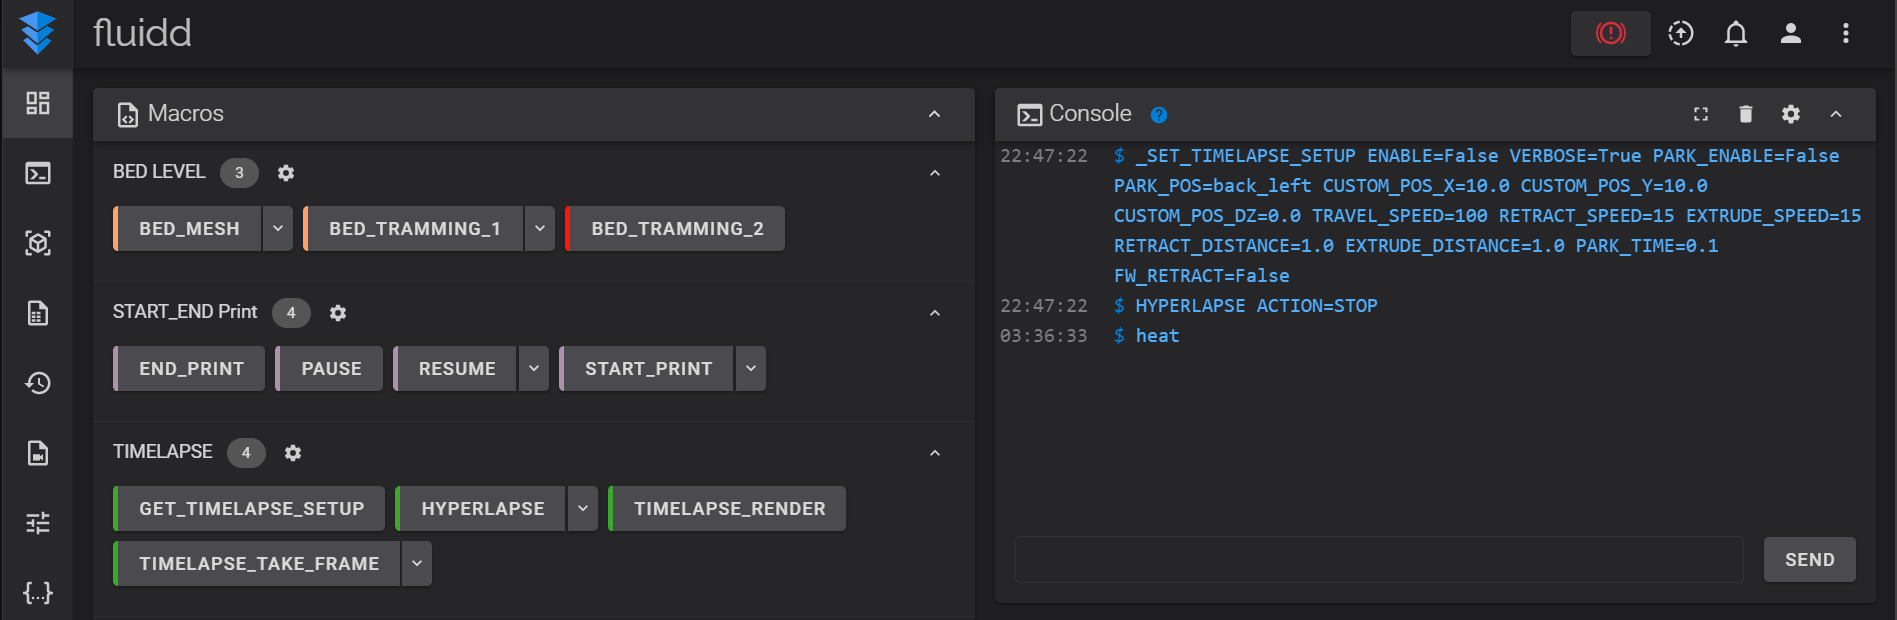
 Picture courtesy :
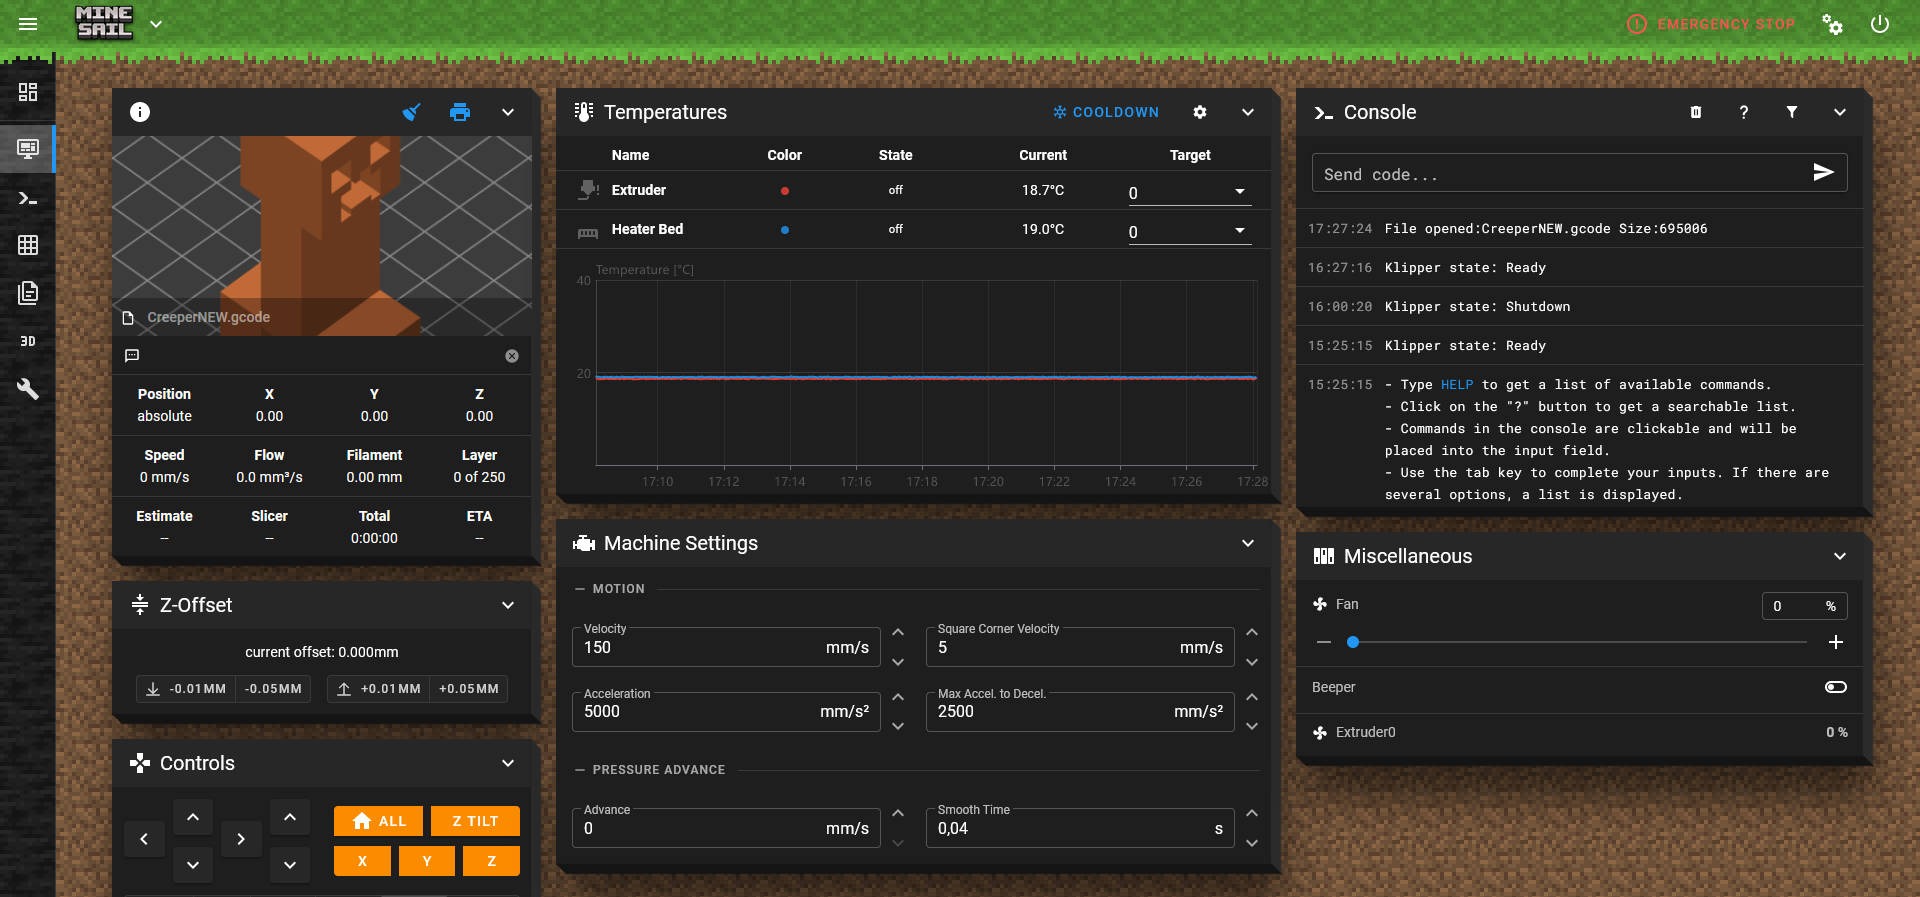
 Image Courtesy -