
NOZZLE NINJA

First Layer AI Error Detection for OctoPrint & Klipper Now Available!

OBICO_NOZZLE_NINJA_COMPATIBLE_BADGE

81 posts tagged with "how-to"

View All Tags

OctoPrint is the most popular software for monitoring and controlling your 3D printer from another room. It's expansive list of plugins takes it to the next level. In this blog post, I will discuss my two favorite OctoPrint plugins, Octolapse and The Spaghetti Detective. As a content creator myself, I will highlight some of the benefits these plugins provide for creating content.

What is Octolapse?

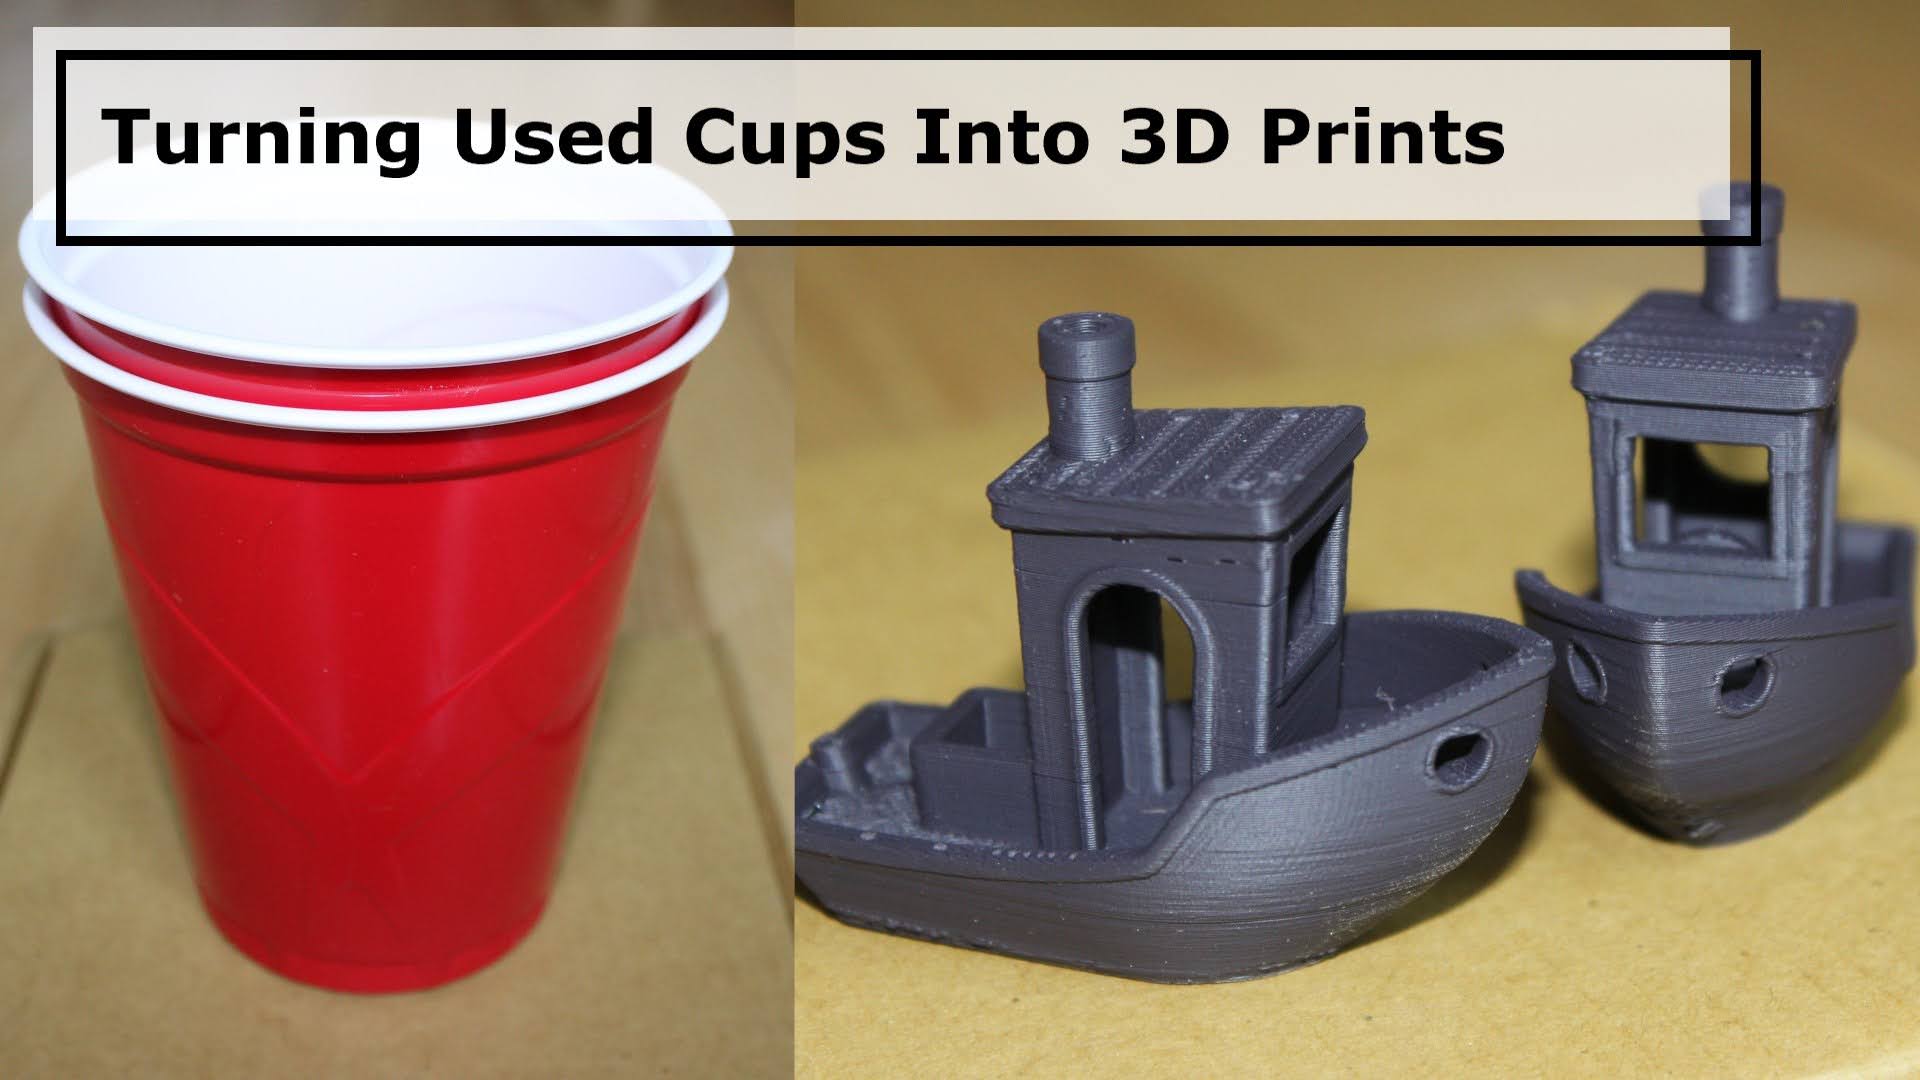
For those of you that do not know, Octolapse is a plugin for OctoPrint that was developed by FormerLurker. It is an easy to install plugin that provides seemingly magic time-lapses of your 3D prints. You can configure the time-lapses to work in a bunch of different ways. Some configurations make it look like the 3D print is growing out of the build plate, while others provide a satisfying animation effect. You can fully configure many settings to get the exact result you are going for (depending on your camera setup).

OctoPrint_interface

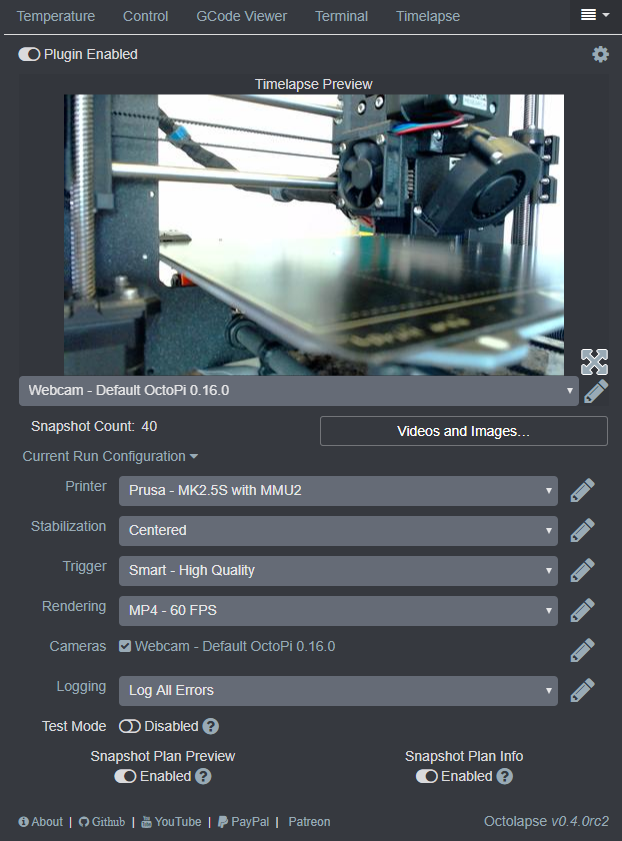
OctoPrint tab (Source: Octolapse page)

This article was updated on August 12, 2022

OctoPrint is a web interface dedicated to making 3D printing easier by allowing you to control and monitor the process. The software allows you to access and control virtually any parameter on your printer.

Moreover, in a heart-warming, traditional internet fashion, it’s open source.

There is a vast database of plugins developed by the 3D printing community that make your experience with OctoPrint even better, and here we list and explain the most popular ones.

The Spaghetti Detective uses AI (Deep Learning) to detect 3D printing failures. Compared to a CPU that runs in most PCs, GPU is much faster and more power-efficient at running the Deep Learning model in TSD. GPUs are commonly found in gaming PCs. However, even an entry-level gaming that can run TSD private server can easily set you back $1,000+. Ouch!

Are there an inexpensive GPUs that can be used to run TSD private server? Yes! NVIDIA Jetson Nano is a popular option among people who run TSD private servers. It is a single board computer so it can run TSD private server all by itself. The best part? It's quite affordable. Even if you throw in other things such as power supply, NVIDIA Jetson Nano will let you run TSD private server with less than $150!

If you are one of the people who want to jump on the Deep Learning bandwagon by doing a fun project, and you don't want to break the bank, follow along!

Some context: Photogrammetry is a term coined in 1867 by a Prussian architect (hence the difficult pronunciation). It is a science that uses photos to understand information about the object(s) present. A specific use case is to use multiple pictures in determining the geospatial relationship of the same object(s) across a series of photographs, then produce a 3D model from that understanding.

And here is where I come in:

I first heard about photogrammetry from this YouTube video by CG Geek. It seemed like it might be something I could do, so I decided to try it out! I recently acquired a Creality Ender 5 Pro that I wanted to try more fun stuff with. To take this to the next level, I bought a direct drive kit from Micro Swiss in order to use NinjaFlex but you can do this same concept with a stock 3D printer and other filament.

Image of Single Use Cups and 3D Printed Benchies Made From Them

We recently stumbled across a new company in 3D printing right near us called Closed Loop Plastics. After learning more about their 100% recycled plastic filament we were ecstatic to give it a try and share our experience.

If you have been churning out face masks and other PPE for coronavirus, like us, you’ve likely started to wonder if it’s possible to turn your 3D printer into an infinite 3D printer. Pulling parts off the print bed is tedious, time consuming, and requires being home when each job finishes. In this guide we teach you how to automatically eject parts from the print bed of your Ender 3 so you can start the next print while no one is around!

Disclaimer: Follow this tutorial at your own risk. Your printer is not built to do automatic part ejection. While we’ve discovered a technique that has been fairly reliable for us, it’s possible that if you don’t tweak the GCODE commands to your specifications, you can cause your printer to smash into things and do damage. Don’t blindly copy and paste GCODE commands, make sure you understand what they will cause the printer to do first.

Many people who know very little about 3D printing think the barriers to entry are extremely high, but the truth is that these days it’s extremely cheap and easy to get started. In this article we’ll walk through some of the myths and misconceptions then talk about how you can get started with 3D printing as a beginner.

Myth #1: Technical Expertise Required

Many people think you need to be a programmer or engineer to learn to 3D print, but in reality you only need a few tools and almost no expertise to get started! The biggest skill that is required to 3D print is being able to Google things and follow instructions. With so many people entering this hobby, there is almost always a YouTube step by step guide for anything you want to do. This means you don’t need to be an expert, when you encounter an issue you can just Google it and follow instructions to problem solve.

Today we're here to teach you about 3D print quality and some of the easy ways you can improve surface finish with minimal effort. Above are two 3D prints of the same exact GCODE done back to back on the same printer with the same filament. In this article we'll discuss what caused surface blobs seen on the left and how you can avoid this in your prints!

So you went to sleep with your 3D printer running. Excitedly, you wake up and run to go take a look at your beautiful new creation. To your dismay, something has gone horribly wrong. You've had a failed 3D print. It didn't just create a fresh plate of filament spaghetti, but it has fully encased the hot end of your extruder in a PLA / PETG blob.

We've been there -- the racing heart, the panic, the fear your 3D printer will never run again. While it is possible you've damaged the 3D printer, it's more likely you can get everything back to normal working order by following these steps. The most important part in 3D print clean up is to stay cool and don't rush. Damage is more often caused by frustration and impatience when trying to pull off the cold hardened PLA / PETG blob with force than by the print failure itself.

danger

This guide is out of date. The steps to install The Spaghetti Detective private server on a Jetson Nano have been greatly simplified and as the result, this guide no longer works. Please head to the updated guide.*

Reddit user MidnightLink took the time to write and post an awesome guide on Reddit. Re-posting it here with his permission. Thank you MidnightLink!

Hey all! The other day I decided I wanted to run a dedicated TSD server at my home as I have 4 printers that I want to monitor, and no real want to send out a bunch of info to an unknown server. Looking into the options, and not wanting to have my PC on 24/7, I picked up a Jetson Nano and started working on getting it ready.

The instructions on the official GitHub for doing this are very lacking, and a lot of the commands don't work properly. (docker-compose for example is a MASSIVE pain as it's not native to ARM64, and there are a decent amount of missing dependencies) so here is the complete guide on how to set up your own Spaghetti Detective server on a Jetson Nano!