NOZZLE NINJA

First Layer AI Error Detection for OctoPrint & Klipper Now Available!

OBICO_NOZZLE_NINJA_COMPATIBLE_BADGE

16 posts tagged with "Orca Slicer"

View All Tags

Introduction

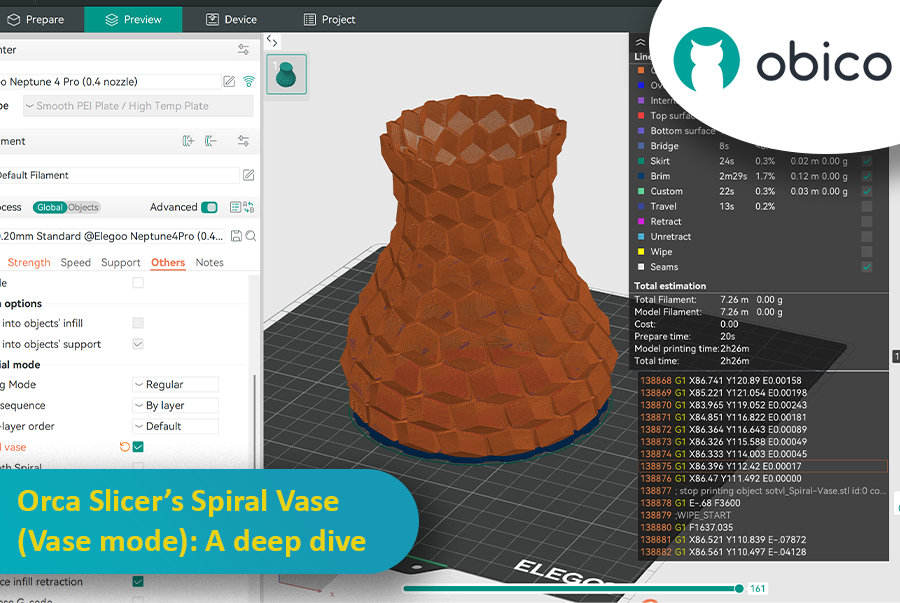
If you’ve ever wondered how people create those gorgeously smooth, hollow prints that look like ceramic vases straight from an artisan’s studio, you’re about to discover their secret. It’s called Spiral Vase Mode, and it can turn your 3D printer into a wizard of single-wall printing. Picture your extruder gliding in one continuous loop around a shape, steadily building a spiral from the bottom up. Gone are the days of multiple perimeters, infill grids, and cluttered top layers. In their place, you’ll find a single, graceful helix of filament that forms a delicate but surprisingly impressive object.

Orca Slicer’s Spiral Vase (Vase Mode): A Deep Dive

For many 3D printing enthusiasts, vase-mode prints represent a sweet spot between practicality and artistry. They can be quick to produce, visually striking, and mesmerizingly smooth on the surface. In short, they’re different from your average print. And thanks to Orca Slicer—a slicer admired for its user-friendly design and flexible feature set—accessing Spiral Vase Mode has never been simpler.

This guide will walk you through everything you need to know about Spiral Vase Mode in Orca Slicer. We’ll talk about what it is, why it’s so popular, and how to set it up. We’ll also cover vital details about nozzles, layer heights, water-tightness, tricky designs, and the all-important calibration steps. By the end, you’ll be ready to bring your own vase-mode dreams to life. Whether that’s a lamp, a prototype shell, a decorative piece, or an actual vase you can put flowers in, is entirely up to you.

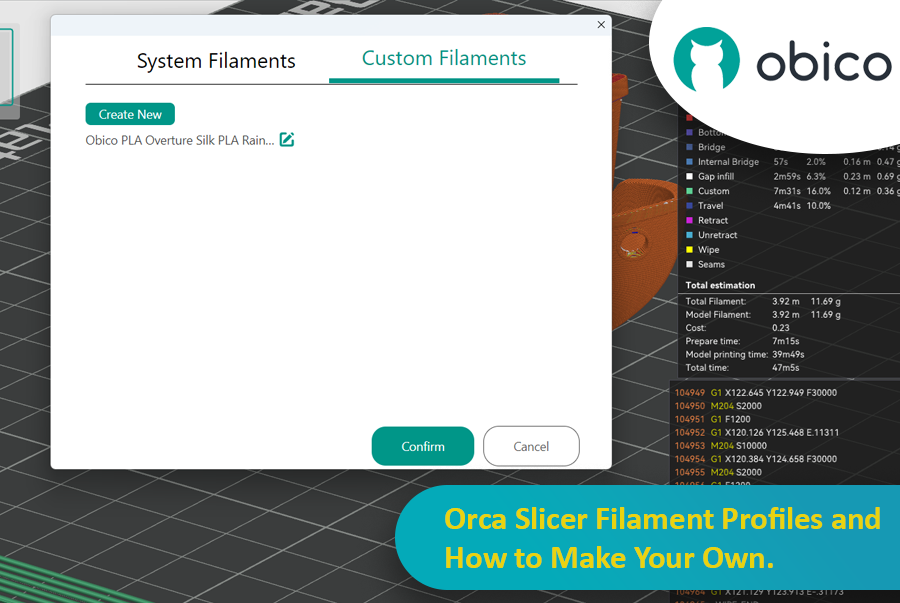
3D printing is more than a hobby; it’s a tool for innovation, design, and creativity. As technology gets better, the tools we use to optimize the print process get better. Orca Slicer is one of the best slicing software options out there for users who want precision, efficiency, and customization. One of its many features is the ability to create and manage your own filament profiles, and that’s a game changer for getting great results every time.

Orca Slicer Filament Profiles and How to Make Your Own

In this article we’ll go deep into filament profiles in Orca Slicer, what they are, why they matter, and how you can create, fine-tune, and optimize your own custom profiles for your material.

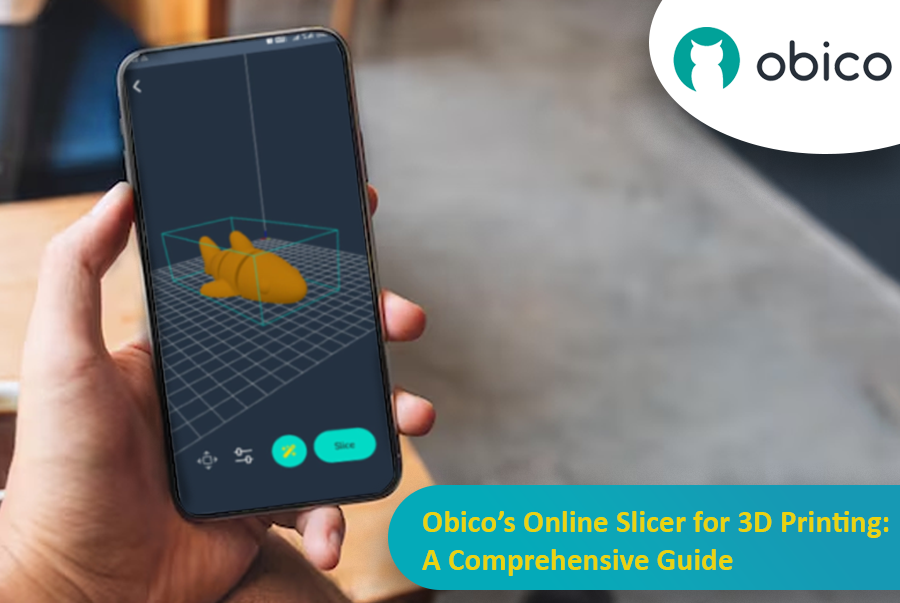
When you first get into 3D printing, the process of turning a digital model into a physical object can be both exhilarating and overwhelming. Every project starts with an idea, which is then turned into a digital 3D model that needs to go through the process of "slicing." Slicing is a crucial part of 3D printing, as it breaks down a 3D model into layers and converts them into instructions that a 3D printer can follow. But for this to be as smooth as possible, you need a good slicing tool, and that’s where Obico online slicer comes in.

Obico Online Slicer for 3D Printing

Obico offers an online slicing solution that’s easy, powerful and accessible from anywhere. This makes it perfect for both beginners and advanced users who want flexibility, control, and ease of use.

In this article, we’ll go into detail about Obico’s online slicer, from its features to a step-by-step guide on how to use it. Whether you want to print functional objects or creative sculptures, we’ll take you through the entire slicing process with Obico so you can get from model to print in no time.

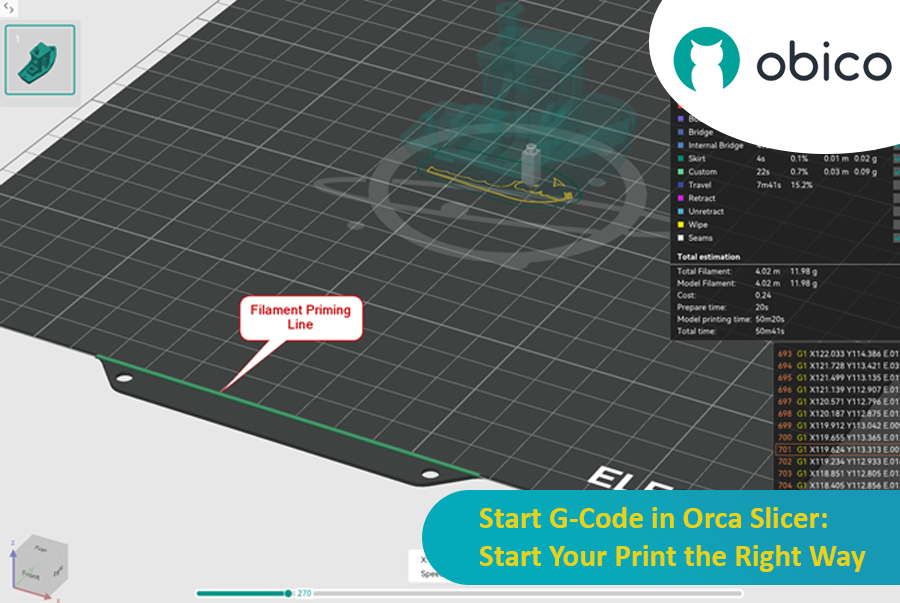
In the 3D printing world, the initial setup of your print is just as important as the model you’re trying to bring to life. One of the most critical and often overlooked components of this setup is the Start G-code, a set of instructions that prepares your 3D printer for the actual print. Whether you use Orca Slicer, a feature-rich slicing software that is based on Bambu Studio and PrusaSlicer, or another slicer, understanding and customizing the Start G-code can be the key to better prints and a smoother workflow.

Start G-Code in Orca Slicer: Start Your Print the Right Way

In this article, we will go deep into what is Start G-code, why it’s important for perfect prints, how to edit it in Orca Slicer, and how to customize it for any 3D printer. We will also explain the Start G-code in the well-known Elegoo Neptune 4 Pro in Orca Slicer as an example for better understanding.

By the end of this article, you will know how Start G-code works, how to tweak it for best results, and how to use advanced techniques like Klipper macros to make your G-code simpler more readable and easier to update.

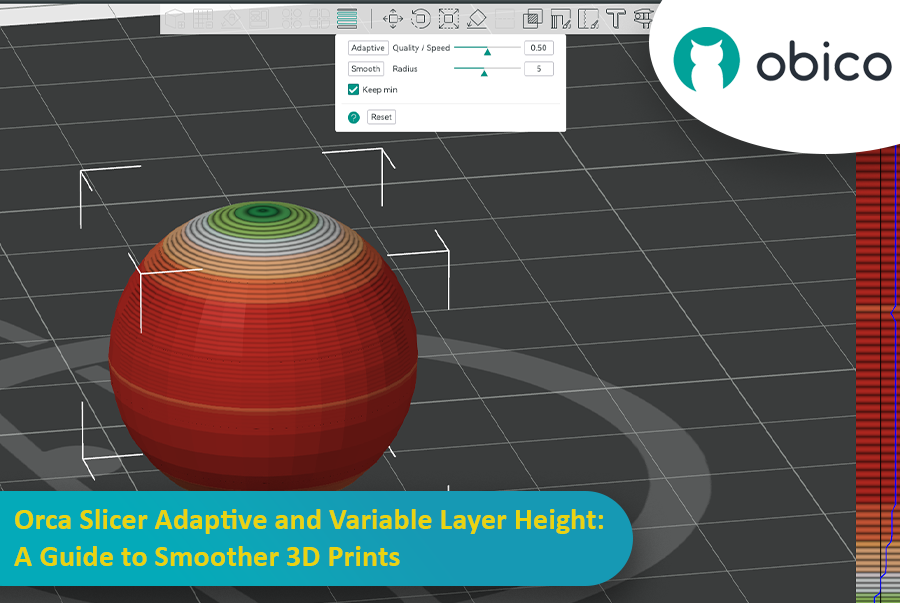
As a 3D printing enthusiast, you’ve probably faced the quality vs. speed dilemma. We’ve all been there—you’re printing a beautiful model with curves and slopes, but when it’s done, the surface is full of those telltale “stepped” layers.

Orca Slicer Adaptive and Variable Layer Height: A Guide to Smoother 3D Prints

That’s where adaptive layer height comes to the rescue like a superhero and saves the day by balancing speed and precision. Orca Slicer has an amazing tool to fine-tune your layer heights and get smoother prints in less time.

This guide will cover everything you need to know to master adaptive layer height and get better 3D prints.

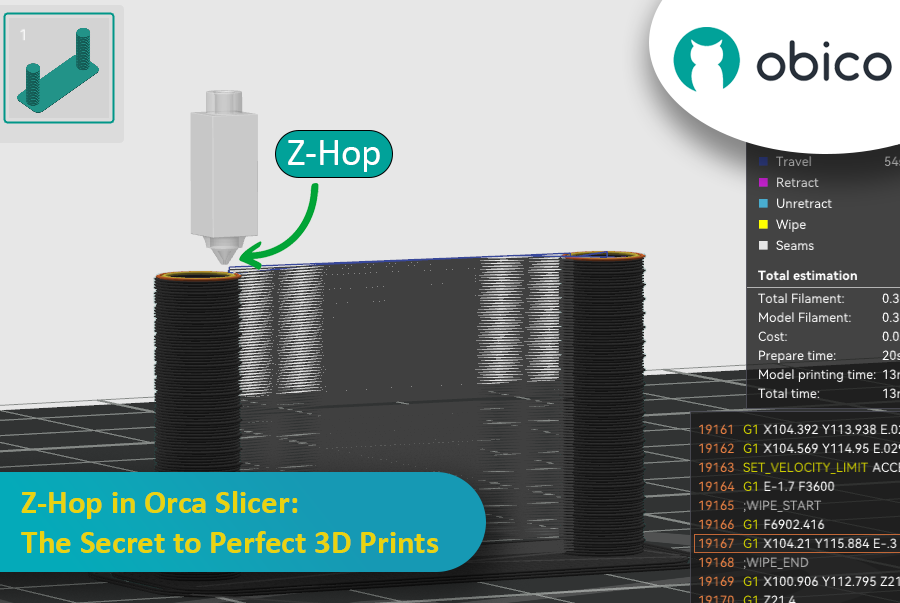
Ever seen those little strings hanging off your 3D print like tiny spider webs? Or the nozzle scratching over a beautiful layer? If you’ve experienced these issues, you’re not alone—and there’s a fix. Enter Z-Hop, a feature in Orca Slicer that will take your 3D prints from good to great.

Z-Hop in Orca Slicer: The Secret to Perfect 3D Prints

Whether you’re new to 3D printing or a hobbyist, getting the settings right makes a huge difference. In this guide, we’ll be exploring Z-Hop—what it is, how to use it, and why it’s a game changer.

Let’s get started!

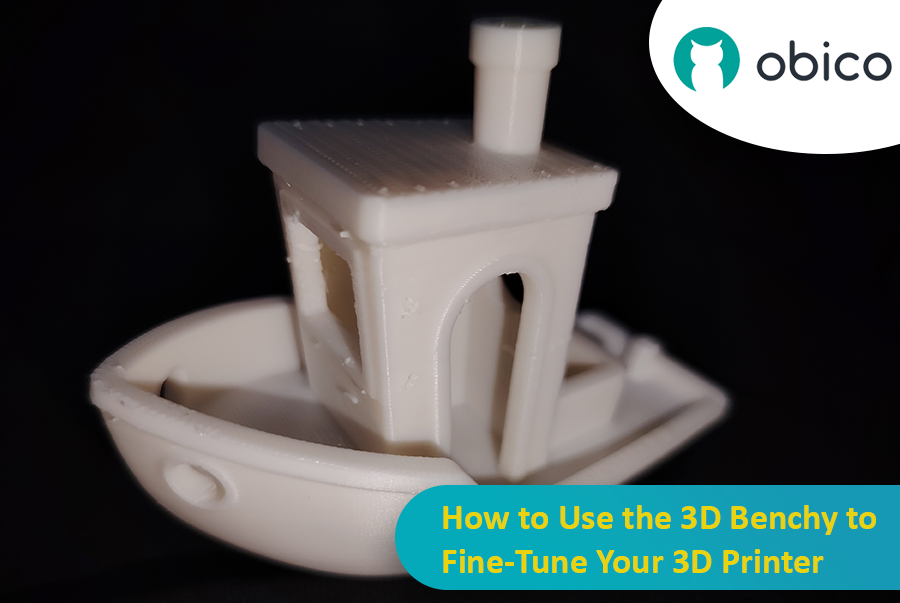
Let’s talk about the 3D Benchy, the little boat that has taken the 3D printing world by storm. At first glance, you may think that it’s a fun toy, but this little tugboat is actually one of the most powerful tools for testing and fine-tuning your 3D printer. Whether you’re new to 3D printing or an experienced user, the 3D Benchy can greatly help you with troubleshooting your 3D printer.

How to Use the 3D Benchy to Fine-Tune Your 3D Printer

Let’s dive deeper and understand how this model can improve your printer performance.

If you are into 3D printing, you must have used Cura or PrusaSlicer to slice your models. These tools are necessary for converting any 3D model into G-code, which contains instructions your machine can execute to actually print your model. However, there is always room for new software that provides different features and options.

Orca Slicer

Orca Slicer is what you need. It’s free and built on Bambu Studio. It gives you more ways to customize, control, and get precise results for your prints. If you’re a beginner looking for ready-made profiles or an experienced user looking for advanced settings, Orca Slicer has you covered.

Orca Slicer started as a fork from Bambu Studio, which in turn is based on PrusaSlicer, one of the most widely used open-source slicing software. It was developed by SoftFever. It rapidly gained traction due to the increased number of printer profiles and more advanced print calibration options. It's particularly helpful if you want more control and detail over how your 3D models turn out.

Introduction

In the world of 3D printing, the slicer software you choose can significantly impact the quality, speed, and efficiency of your prints. Two popular slicers making waves in the community are Orca Slicer and Bambu Studio. Both of these slicers offer a robust set of features tailored to different users, but which one is right for you?

Orca Slicer vs. Bambu Studio: Detailed Review and Features

In this guide, we’ll compare both slicers, covering installation, user interface, standout features, community support, and more.

Whether you're new to 3D printing or experienced, this will help you choose the right slicer for your needs.

Introduction

3D printing is a great technology that turns designs into real objects, but figuring out the best print speed can be tricky. If you go too fast, quality may be lost; if you go too slow, it takes forever.

Speed Test in OrcaSlicer (VFA): A Comprehensive Guide

In this guide, we will show you how to use OrcaSlicer to determine the perfect print speed for your 3D printer. By the end of it, you will know how to get great prints quickly while maintaining good quality.

Let’s get started!