3 posts tagged with "OrcaSlicer guide"

View All Tags

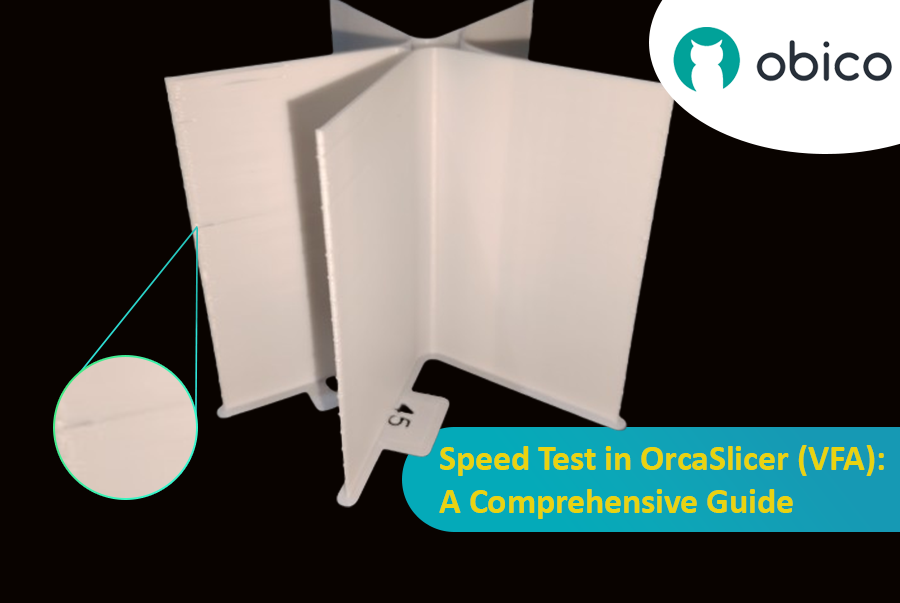
Speed Test in OrcaSlicer (VFA): A Comprehensive Guide

ยท 15 min read

Introductionโ€‹

3D printing is a great technology that turns designs into real objects, but figuring out the best print speed can be tricky. If you go too fast, quality may be lost; if you go too slow, it takes forever.

Speed Test in OrcaSlicer (VFA): A Comprehensive Guide

In this guide, we will show you how to use OrcaSlicer to determine the perfect print speed for your 3D printer. By the end of it, you will know how to get great prints quickly while maintaining good quality.

Letโ€™s get started!

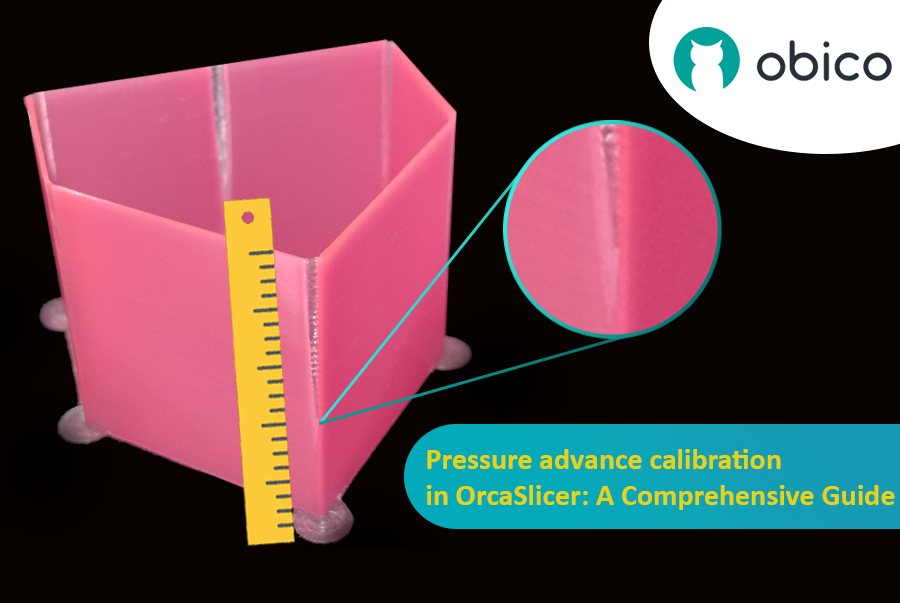
Pressure advance calibration in OrcaSlicer: A Comprehensive Guide

ยท 20 min read

Overview of Pressure Advanceโ€‹

Imagine you're drawing with a pen that sometimes spills too much ink and other times barely any. In 3D printing, something similar could happen when your printer moves fast and changes its speedโ€“ it can mess up how much plastic comes out.

Pressure advance calibration in OrcaSlicer: A Comprehensive Guide

But why does your printer sometimes mess up how much plastic comes out?

In a 3D printer, the filament comes out based on how much pressure is inside the nozzle. It's like a garden hose; you need enough water pressure before the water sprays out. When the printer speeds up or slows down, like when going around corners, it takes a bit for the nozzle pressure to catch up. If the printer moves too fast too soon, not enough filament comes out. And if it slows down too quickly, too much filament comes out. This can make the corners of your print look a bit messy because the printer didn't adjust the filament flow just right for the speed changes.

And here's where Pressure Advance steps in. It's a smart feature that compensates for these changes, ensuring the right amount of filament is extruded as the printer speeds up or slows down. With Pressure Advance, your printer can better handle speed transitions, leading to smoother, sharper prints, especially at those tricky corners.

Flow Rate Calibration in OrcaSlicer: A Comprehensive Guide

ยท 7 min read

Introductionโ€‹

Flow rate calibration is a crucial step in achieving high-quality 3D prints. Proper flow rate ensures consistent layer deposition, smoother surfaces, and better details. In this article, which is one of a series of OrcaSlicer calibration articles, weโ€™ll explore the flow rate calibration process using OrcaSlicer, an open-source slicer software designed for Fused Deposition Modeling (FDM) 3D printers.
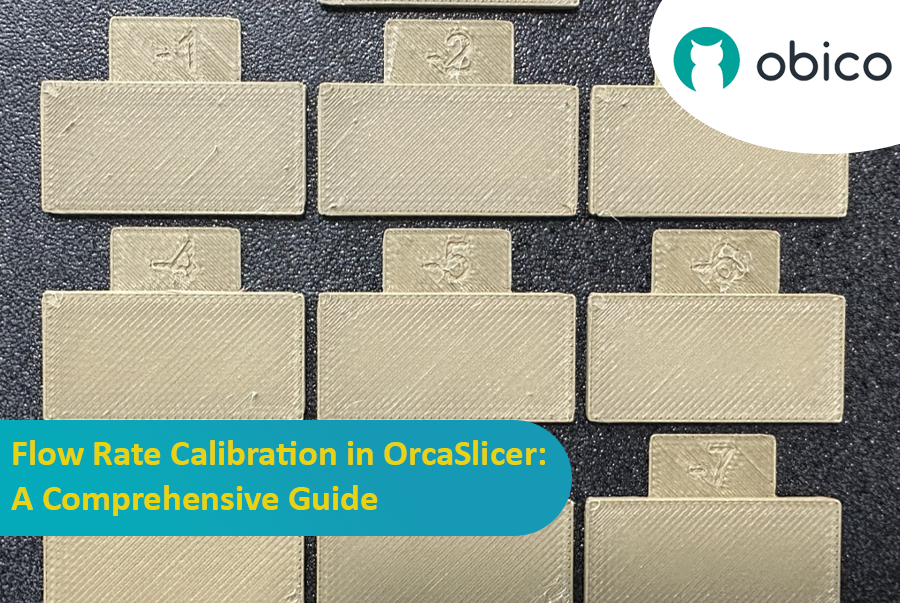
Flow Rate Calibration in OrcaSlicer: A Comprehensive Guide

Before we delve into the flow rate calibration process in OrcaSlicer, let's pause briefly to understand what it is and its key features.

OrcaSlicer: A Powerful & Flexible Option for 3D Printing Slicingโ€‹

OrcaSlicer is an open-source 3D printing slicer software for FDM printers. It's primarily designed for printers compatible with Marlin, Klipper, and Bambu Lab firmware. It supports various popular models from brands like Creality, Prusa, Elegoo, and even the open-source Voron.

OrcaSlicer Family Tree:โ€‹

OrcaSlicer is based on Bambu Studio, which itself is derived from PrusaSlicer. PrusaSlicer, in turn, is based on the open-source solution Slic3r.