
NOZZLE NINJA

First Layer AI Error Detection for OctoPrint & Klipper Now Available!

OBICO_NOZZLE_NINJA_COMPATIBLE_BADGE

52 posts tagged with "Tech"

View All Tags

Introduction

OctoEverywhere and Obico are two of the most popular Octoprint plug-ins developed to let you access your 3D printer virtually anywhere in the world. Both these plug-ins have great functionality and features that enhance the overall experience of using your 3D printer remotely.

In this article, we'll take a detailed look at these plug-ins and understand them inside-out. Towards the end, you'll have a complete understanding of Obico and OctoEverywhere, and will be able to choose the best plug-in that matches your remote 3D printing necessities.

Why do you require Octoprint plug-ins for remote 3D printing?

Octoprint by itself is a fantastic 3D printer host software that lets you remotely access your 3D printers. You can monitor and control your printer from your desktop without having to be near the printer. But, this remote functionality is limited solely to your local network.

It denotes that your Octoprint 3D printer and the device should be connected to the same wireless network for you to access your 3D printer. This limitation prevents you from accessing your 3D printer on a mobile network or when you're far away from your printing area.

Moreover, Octoprint's User Interface is not optimized for use on smartphones and small tablets. And while using Octoprint on the phone is technically possible through a browser, it will result in a poor user experience. This restriction also means that you're limited to accessing Octoprint via a laptop or desktop.

Obico and OctoEverywhere plug-ins help you to overcome these limitations by letting you access your 3D printers from anywhere and on any device. They're easy to set up, have a user-friendly interface, and feature various functions mainly designed for remote 3D printing.

Obico for Octoprint

Obico is the successor to the popular The Spaghetti Detective (TSD) plug-in for Octoprint. It improves vastly over TSD while retaining the core AI detection functionality. It is entirely open-source and designed to integrate seamlessly with Octoprint.

Obico for Octoprint gives you complete and secure remote access to your 3D printer, and you can use it to monitor, control and record time-lapse videos of your printing process. In addition to these basic functionalities, Obico comes with AI detection technology for recognizing and stopping failed prints.

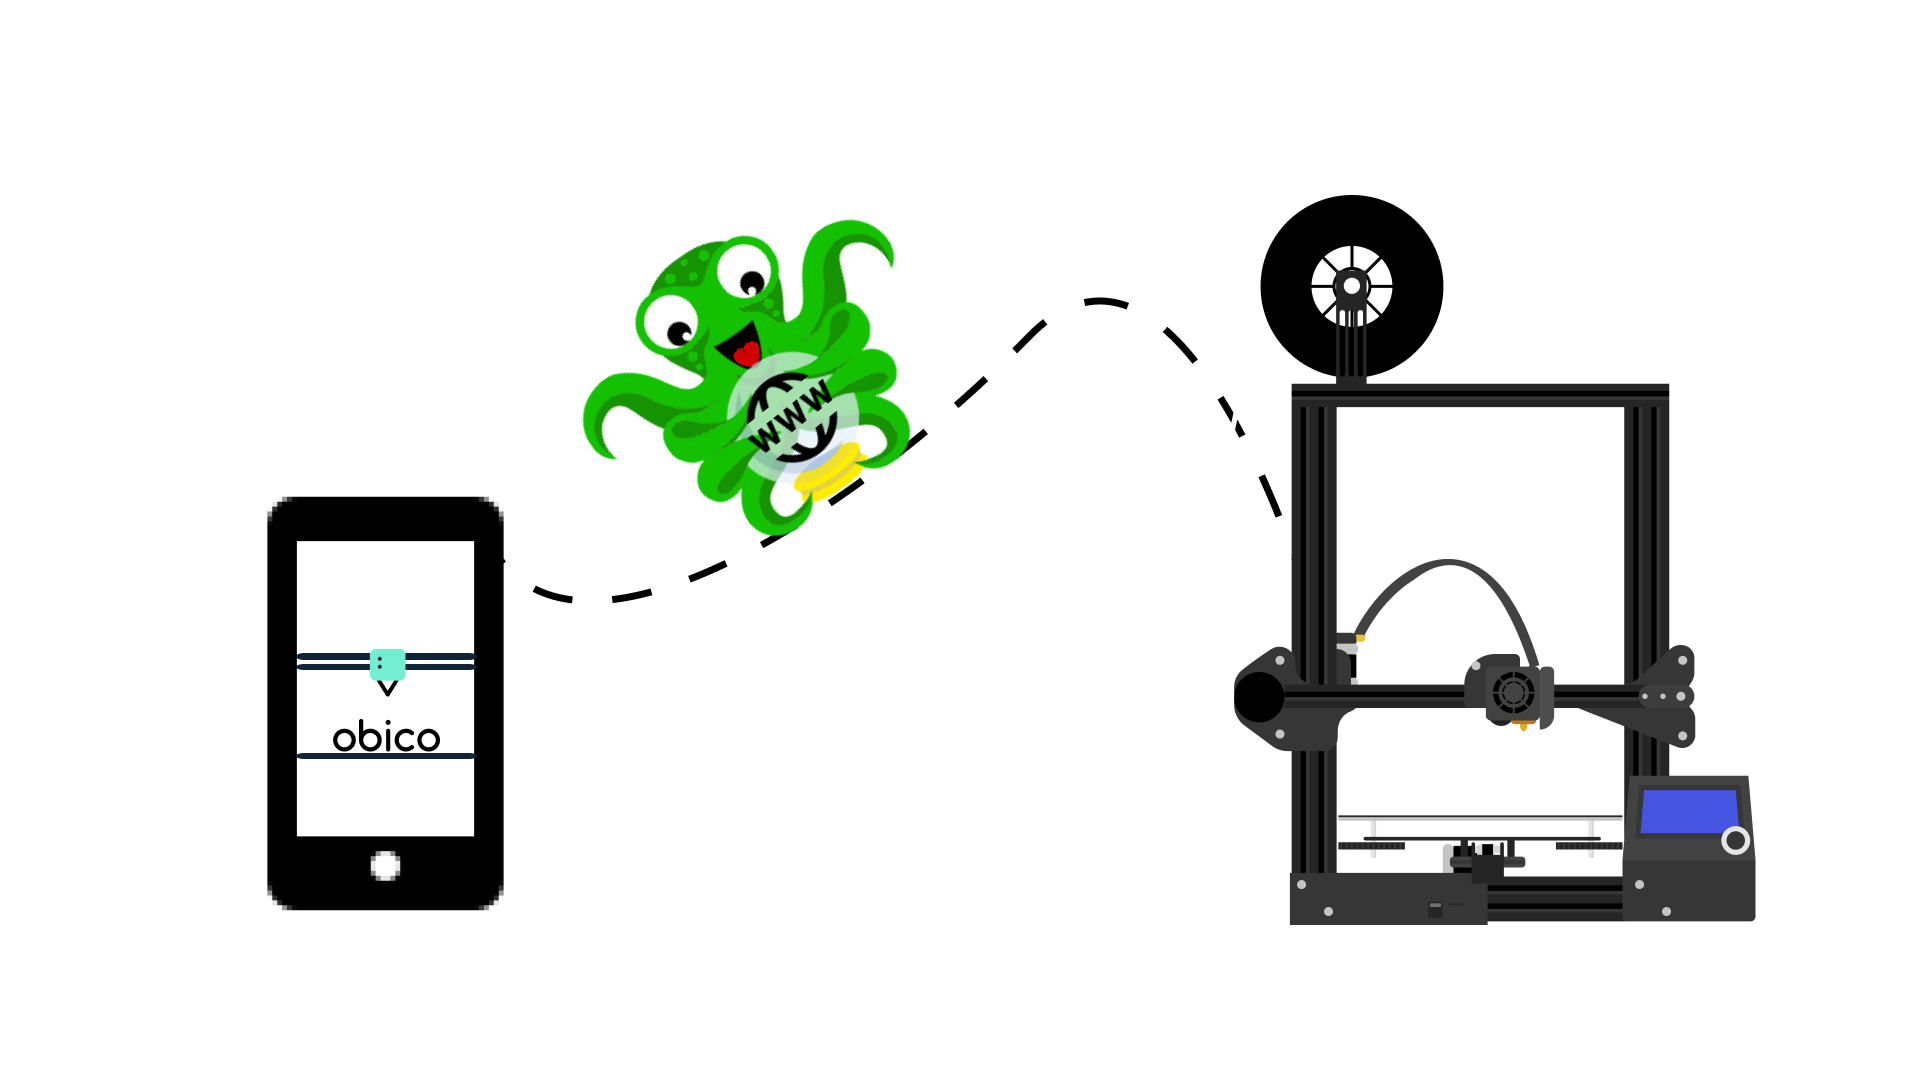
Obico's designed for multiple platforms comes with a free mobile application letting you access your 3D printer on Android and iOS devices. It's easy to install for Octoprint, and you can refer to this detailed guide to configure your Octoprint 3D printer with Obico.

OctoEverywhere for Octoprint

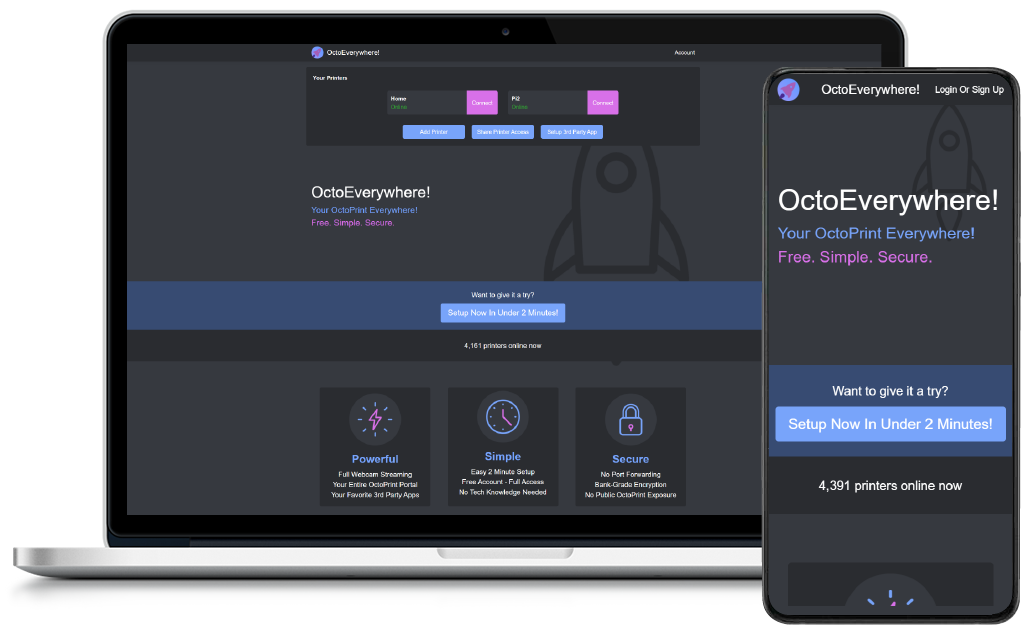
OctoEverywhere is similar to Obico in several aspects and gives you all the essential features for remote monitoring of your 3D printer. It lets you access your Octoprint instance on a browser interface and is tightly integrated with other Octoprint applications (OctoApp, Printoid, Polymer, Octopod), which you can use on your mobile phones.

It's designed for ease of use, and the user interface is highly intuitive to access all of its features. You can use OctoEverywhere to control the printer, send Gcode files, and receive notifications about your printer's status. Quinn Damerell - the developer behind OctoEverywhere, has recently introduced an AI failure detection feature for the plug-in. However, it's still in the Beta stage and might take a while before a full-proof release.

Like Obico, OctoEverywhere for Octoprint is quick to set up, and you can connect your printer with the plug-in in under 10 minutes. You can refer to this guide to configure the OctoEverywhere plug-in for your 3D printer. We'll compare all of the features in detail below.

Introduction

Remote monitoring of your 3D prints is, to date, one of the most challenging tasks to accomplish in 3D printing. And while applications like Octoprint and Klipper give you access to wireless monitoring, natively, these software are limited for use on the same network.

This is where Obico comes in handy and lets you experience the true meaning of remote, wireless 3D printing. In this article, we'll look at the Obico software in its entirety and understand its benefits to your 3D printing workflow.

What is Obico?

Obico is a 3D printer monitoring and controlling tool that features AI detection technology to notify you about any failed prints. It's the successor to the popular Octoprint plug-in, The Spaghetti Detective. Obico builds upon The Spaghetti Detective and adds features like printing from anywhere, Octoprint tunneling, and improved AI print failure detection.

You can use Obico on Android, Apple, and any other browser based devices from virtually anywhere in the world. This cross-compatibility allows you to select any device and start with remote 3D printing. And it frees you from the bounds of your local wireless network, and you can access your 3D printer even over a mobile network.

Obico's AI detection capabilities quickly recognize print failures or discrepancies in your ongoing print and notify you about the print's status. This feature helps you to save considerable printing time, cost, and filament that you would've otherwise lost due to failed prints.

However, Obico is not a standalone software yet. Instead, it works alongside Octoprint and Klipper 3D printing applications. You'll need to install either of these software on your 3D printers before setting up Obico and experiencing remote 3D printing.

Setting up Obico is relatively easy on both these platforms, and there are detailed guides available on Obico's websites that you can refer to install Obico for your 3D printer.

Let's briefly explain the basics of configuring Obico for Octoprint and Klipper applications. It'll give you an insight into the installation process and help you to learn about the Obico software.

Would you like to upgrade your 3D printer? There are several modifications you can make to your 3D printer to transform it into an impressive machine. These modifications apply to the hardware, software, and firmware features of the 3D printer. The beauty of it is some of these modifications can be 3D-printed directly at home. Others can be purchased and mounted on your 3D printer to improve specific aspects of your 3D printing activities.

We have compiled the best of these upgrades and modifications for the 3D printer in the list below. From a brand new automatic bed levelling sensor to a simple 3D printable extruder, you won't recognize your 3D printer once you're done with these upgrades. Unlike these Ender 3 upgrades, which are for a specific model, note that this is a general guide for various 3D printer upgrades that can help improve 3D printing quality and user experience. It isn't for any specific printer and will generally apply to most open-source 3D printers on the market.

When and Why Should You Upgrade Your 3D Printer?

You should upgrade your 3D printer if, first, the stock firmware has some issues. You may also need to do this to make the printer faster, more accurate, and effective with its function. Upgrading the 3D printer is also done to protect the machine, user, the printed objects and make it easier to use.

But 3D machine upgrades and modifications are best left to the pros. If you're a new beginner, we recommend not doing a bunch of hardware upgrades. Instead, take some time to get to know the machine. Often, people do too many upgrades when first starting, but they don't understand why they are doing them or if they are even necessary at all.

You need to know the machine, its strengths, and its weaknesses. You should not necessarily upgrade when unsure what the problem is, as it is easy to misdiagnose issues this way.

Best 3D Printer Upgrades

There are many upgrades and improvements for the 3D printer that you can print out yourself. However, for most of them, it will be necessary to buy them. In this section, we have listed the essential components, software, and firmware that will improve both your 3D printer and the quality of the prints.


Octolapse with Octoprint is like a match made in heaven. These two go very well with each other and help you create awesome time lapse videos. And even though installing Octolapse is easy with Octoprint, setting it up and configuring it to deliver high-quality timelapse videos is slightly tricky.

In this article, we'll look at the detailed procedure for setting up Octolapse for your Octoprint instance with Cura and PrusaSlicer settings. We'll also share some tricks and tips to fine-tune your image settings to get the best quality footage for your 3D printing timelapse video.

Let's start with understanding the Octolapse plugin.

Creality released its first-ever Ender 3 model in March of 2018. It was an instant success and became widely popular due to its budget pricing and decent build quality. Ever since the company's released improved models, which retain the original Ender 3's form factor but come with a slew of impressive features at a relatively low cost.

But, cumulatively, there are now 10 Ender 3 models in three different series. Some of the printers have similar features to the previous generations, while others are entirely upgraded with a slight price bump. This becomes confusing for many buyers, and you might buy an Ender 3 that's not ideal for your 3D printing needs.

In this article, we'll clear out this confusion and understand the similarities and differences between all ten printers. It will help you to make an informed decision and get an Ender 3 that is better suited for you.

Let's get started and end the Ender confusion once and for all.

Introduction

Klipper is quickly becoming the de-facto choice for fast 3D printing. 3D printer manufacturers such as Voron and Prusa3D have contributed to its popularity by using firmware in their machines. And as Klipper's completely open-source and free-to-use, you can install it virtually on any 3D printer, old or new.

In this article, we'll go over the installation process of setting up the Klipper firmware using the Klipper Installation And Update Helper (KIAUH). It's an effortless and interesting way to install Klipper on your 3D printer.

Let's start Klipping!

We're sure you've often thought about accessing OctoPrint over the internet and that too from anywhere in the world from any device. Controlling your 3D printer over a local network is simple, whereas establishing a remote connection is more difficult. If you're curious about how it's done easily, you've come to the right place

This article addresses this question and provides a how-to guide for accessing OctoPrint while away from home.

What is OctoPrint?

OctoPrint is one of the best free and open-source 3D printer remote monitoring and control software applications. It allows you to better manage your 3D printer activities and run it more efficiently. The software with its wide range of plugins enhances your 3D printing output.

If you are new to OctoPrint, you can get started by reading our guide on how to set up OctoPrint.

How does it work?

OctoPrint is typically run on a Raspberry Pi that is linked to your 3D printer. It connects to your 3D printer via USB cable and essentially takes control of it. It can send commands to control and operate the 3D printer. These can range from simple tasks like moving the printhead in the three axes or starting/stopping prints to more complex tasks like converting linear g-codes to arc codes, accessing your 3D printer from remote locations, even outside your local network, and more.

In short, OctoPrint simplifies and gives you more control over your 3D printer operations, allowing you to print more efficiently.

To run OctoPrint, OctoPi, an OctoPrint image preconfigured for the Raspberry Pi with pre-installed OctoPrint, mjpg-streamer as a webcam server, and a couple of scripts is commonly used to allow for simple initial setup.

Why is a remote access solution for OctoPrint needed?

This question has been addressed in several articles about the need for an OctoPrint remote access solution. To understand this, consider a situation in which you start a print and monitor it to ensure that it does not fail, but you suddenly need to go out for work. But as you leave the house, one question lingers in your mind: what's going on with my print?

We've all been there, and this is just one example of when a remote access solution comes in handy.

But did you know that OctoPrint is only available on your local network?

While what we said is correct, it is also true that there are multiple ways to access OctoPrint over the internet to give you access from anywhere, which we will discuss in this article.

Before we proceed, if you are the inquisitive type and want to understand why you can't use OctoPrint anywhere but on your local network? Then read our article on Accessing OctoPrint Remotely, which will explain the issue.

Introduction

3D printers are a mere assembly of various stepper motors, controllers, and structural components. It is the 3D printer's firmware that ties everything together and brings your digital gcode file into the physical world.

Marlin was the first 3D printer firmware developed way back in 2011 for FDM 3D printers. Erik Van Der Zalm designed it for Ultimaker 3D printers which used 8-bit microcontrollers. Since 2011, Marlin has come a long way, and several 3D printers worldwide use some variant of the Marlin for their functioning.

But, in 2016, Kevin O'Connor released the Klipper firmware as an alternative to Marlin. Klipper promises high-speed 3D printing, better print quality, and several other features superior to Marlin. And it has grown tremendously since the first release and is quickly becoming the go-to firmware choice for many 3D printing hobbyists and manufacturers alike.

In this article, we'll compare Marlin and Klipper's firmware based on various criteria and understand the differences between these two. It should help you make an informed decision and choose the one that best matches your needs.

Let's get started.

Introduction

Klipper firmware has become the go-to choice for high-speed 3D printing on a budget. It integrates the computing power of a Raspberry Pi with your 3D printer's controller to give you a clean, smooth, and fast 3D printing experience.

As Klipper is merely a firmware, you need an interface to interact with your 3D printer. Mainsail OS, Octoprint, and Fluidd are the three popular types of Klipper interfaces that are easy to use and help you to take full benefits of Klipper's features. We already have a guide that details the procedure of installing Klipper on an Ender 3 with Mainsail OS.

In this article, we'll go over the step-by-step procedure to install Klipper on an Ender 3, but with the Fluidd web interface. Read along to find the benefits of Fluidd and Klipper on your 3D printer.

What are Mainsail, Fluidd, and OctoPrint?

Mainsail, Fluidd, and OctoPrint are web interfaces for 3D printers that let you monitor and control your printer remotely. These software provide an easy way to interact with your printers and give you access to various features that enhance the remote user experience of 3D printing.

Fluidd and Mainsail OS are explicitly developed to run with Klipper firmware on your 3D printers. These software act as a communication bridge between you and your 3D printer and give you a way to monitor, control, and interact with your 3D printer wirelessly.

In contrast, Octoprint is developed as a generic 3D printer control software that gives you wireless access to your 3D printers. It can run on various firmware, including Klipper, and is developed specifically for remote 3D printing. Like Mainsail and Fluidd, Octoprint, too, runs in a web browser interface and has several plugins that extend the software’s usability.

All three of these software are free to download and completely open-source, contributing to their fast development and suite of excellent features. This article will explain all three software in detail and learn their differences and similarities.

Let’s get started.