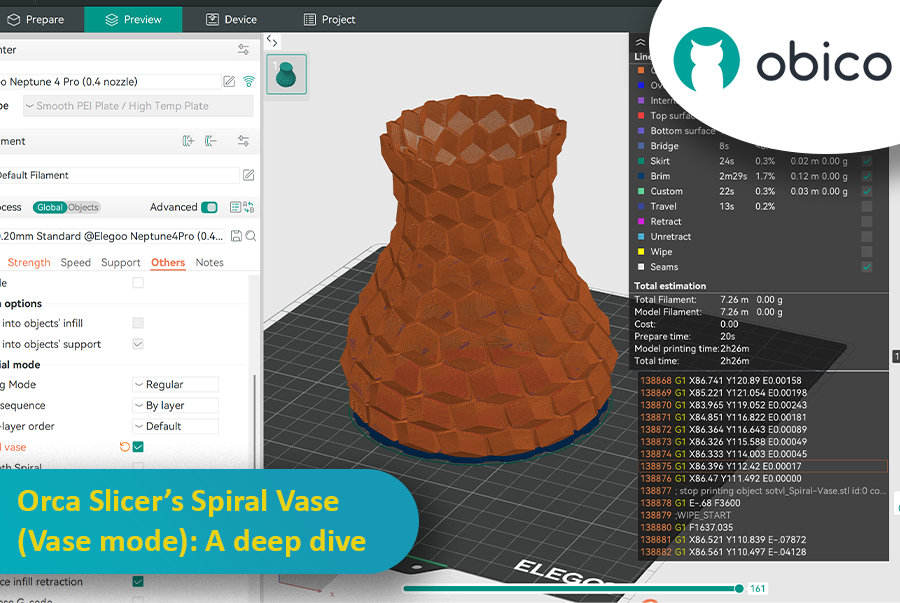
Introduction
If you’ve ever wondered how people create those gorgeously smooth, hollow prints that look like ceramic vases straight from an artisan’s studio, you’re about to discover their secret. It’s called Spiral Vase Mode, and it can turn your 3D printer into a wizard of single-wall printing. Picture your extruder gliding in one continuous loop around a shape, steadily building a spiral from the bottom up. Gone are the days of multiple perimeters, infill grids, and cluttered top layers. In their place, you’ll find a single, graceful helix of filament that forms a delicate but surprisingly impressive object.

For many 3D printing enthusiasts, vase-mode prints represent a sweet spot between practicality and artistry. They can be quick to produce, visually striking, and mesmerizingly smooth on the surface. In short, they’re different from your average print. And thanks to Orca Slicer—a slicer admired for its user-friendly design and flexible feature set—accessing Spiral Vase Mode has never been simpler.
This guide will walk you through everything you need to know about Spiral Vase Mode in Orca Slicer. We’ll talk about what it is, why it’s so popular, and how to set it up. We’ll also cover vital details about nozzles, layer heights, water-tightness, tricky designs, and the all-important calibration steps. By the end, you’ll be ready to bring your own vase-mode dreams to life. Whether that’s a lamp, a prototype shell, a decorative piece, or an actual vase you can put flowers in, is entirely up to you.
