Next-Gen AI Failure Detection Is Here: General Release
· 5 min read

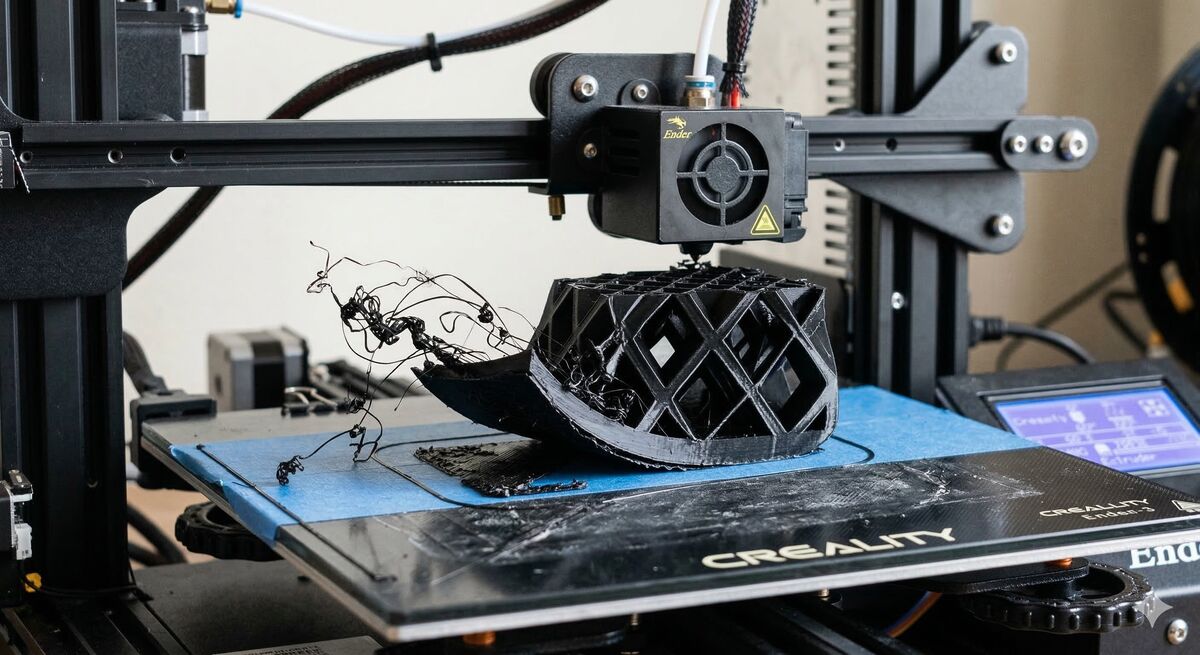
Back in 2020, we launched The Spaghetti Detective — the first AI-powered failure detection for 3D printing. Since then, our AI has watched over 80 million hours of printing and caught more than 800,000 real failures across the Obico community.
A few months ago, we invited beta testers to try a completely rebuilt detection engine. Hundreds of you signed up, ran prints, and gave us invaluable feedback. The verdict was clear: the new model is a significant leap forward.
Starting May 1, 2026, the next-gen AI model is available to all AI Premium subscribers — yes, we're also renaming the Pro plan to AI Premium.
 Source: