OctoPrint Webcams: Best Cameras For OctoPrint
Can't find a Raspberry Pi? Check out Orange Pi for OctoPrint. Boards and complete kits are available now!
In this article, we will discuss the benefits of using a camera with OctoPrint and some of the options you can choose from.
OctoPrint is one of the best free and open-source software options for remotely monitoring and controlling a 3D printer. Thousands of users use OctoPrint daily to take advantage of its features and create higher-quality products on their 3D printers. The software is easy to learn and simple to use, so beginners using the most basic 3D printers can also benefit from using OctoPrint.
It will not be an overstatement to say that users, both new and old, recommend using the software because of the numerous benefits it provides to the overall printing experience.
More About OctoPrint
OctoPrint, despite being marketed as remote monitoring software, does much more than that. It can simultaneously monitor and control multiple printers or print farms, capture pictures and videos, create viral OctoLapse videos, schedule jobs, set print parameters, control bed, and extruder movement; adjust temperatures; control extrusion, edit G-codes, update firmware, and even change display themes to create a personalized environment.
OctoPrint is relatively simple to set up. If you haven’t already set up OctoPrint you can check out our OctoPrint setup guide.
Why Use A Camera With OctoPrint?
Remote Monitoring
OctoPrint can effectively monitor 3D printers using its wide range of impressive plugins. However, having a camera adds a whole new dimension to the printing experience. The camera is mounted in and around the printer enclosure such that the printhead and print bed is sufficiently captured. The camera is connected to the OctoPrint software and so the feed from the camera is visible to the user who can then operate the printer as he wants. Adding a camera makes it much easier to monitor and control the printer altogether.
Accessing OctoPrint Remotely and AI-Enabled Monitoring
While OctoPrint allows you to monitor print activity while on the same local network as your printer, it does not allow you access outside of your home. Obico for OctoPrint allows you to access OctoPrint anywhere from a desktop computer or a mobile phone using a mobile app. Of course, even with the ability to access and watch your printer from anywhere in the world, it still can be taxing. For all practical purposes, no one wants to sit and view the feed continuously. This is where Obico's AI failure detection can assist you. Obico for OctoPrint lets you 3D print with peace of mind no matter where you are or what you’re doing.
You can view live streaming of the printing operation, monitor and control the print remotely after connecting the webcam to the 3D printer and OctoPrint software. While small prints can be easily monitored or physically watched, larger prints that can take hours to complete can be time-consuming and no one wants to be down a feed all the time or guessing whether the print is going okay. Artificial Intelligence (AI) is the perfect solution. Obico employs AI to monitor the print for you and intervenes as needed to avoid fire hazards or other printing issues. This allows users to rest or focus on other productive tasks. This can only be achieved by using a good quality 3D printer camera that can capture the printing process in detail and that’s why we have compiled a list of the best OctoPrint webcams for you to consider.
Octolapse
Apart from remote monitoring, OctoPrint has other plugins that take advantage of the aesthetic aspect of 3D printing. The Octolapse plugin, for example, creates stabilized timelapse videos of your 3D prints by repositioning your printer's extruder away from the camera before each snapshot. To put it another way, you won't see your printhead move during the timelapse; instead, your print will appear to grow from the printer bed. The higher the quality of the camera, the better the Octolapse video.
3D Printer Cameras Types for OctoPrint
There are two types of cameras most commonly used with OctoPrint - USB Webcams and Raspberry Pi cameras. We will discuss them in detail and provide some of our top picks below:
USB Webcams
Benefits of using a USB Webcam
- Adding a USB webcam is quick and easy. It is as simple as plugging the USB in and mounting the camera with a 3D printed mount or tripod.
Cons
- Compared to other options, USB webcams provide a lower quality video output, and not all USB cameras are compatible with OctoPrint.
Webcam Options
Olidik 2K
-
Resolution: 1944p at 30 fps
-
Autofocus: No
-
Sensor: 5 MP
-
Interface: USB 2.0
-
Price: $13 (approx.)
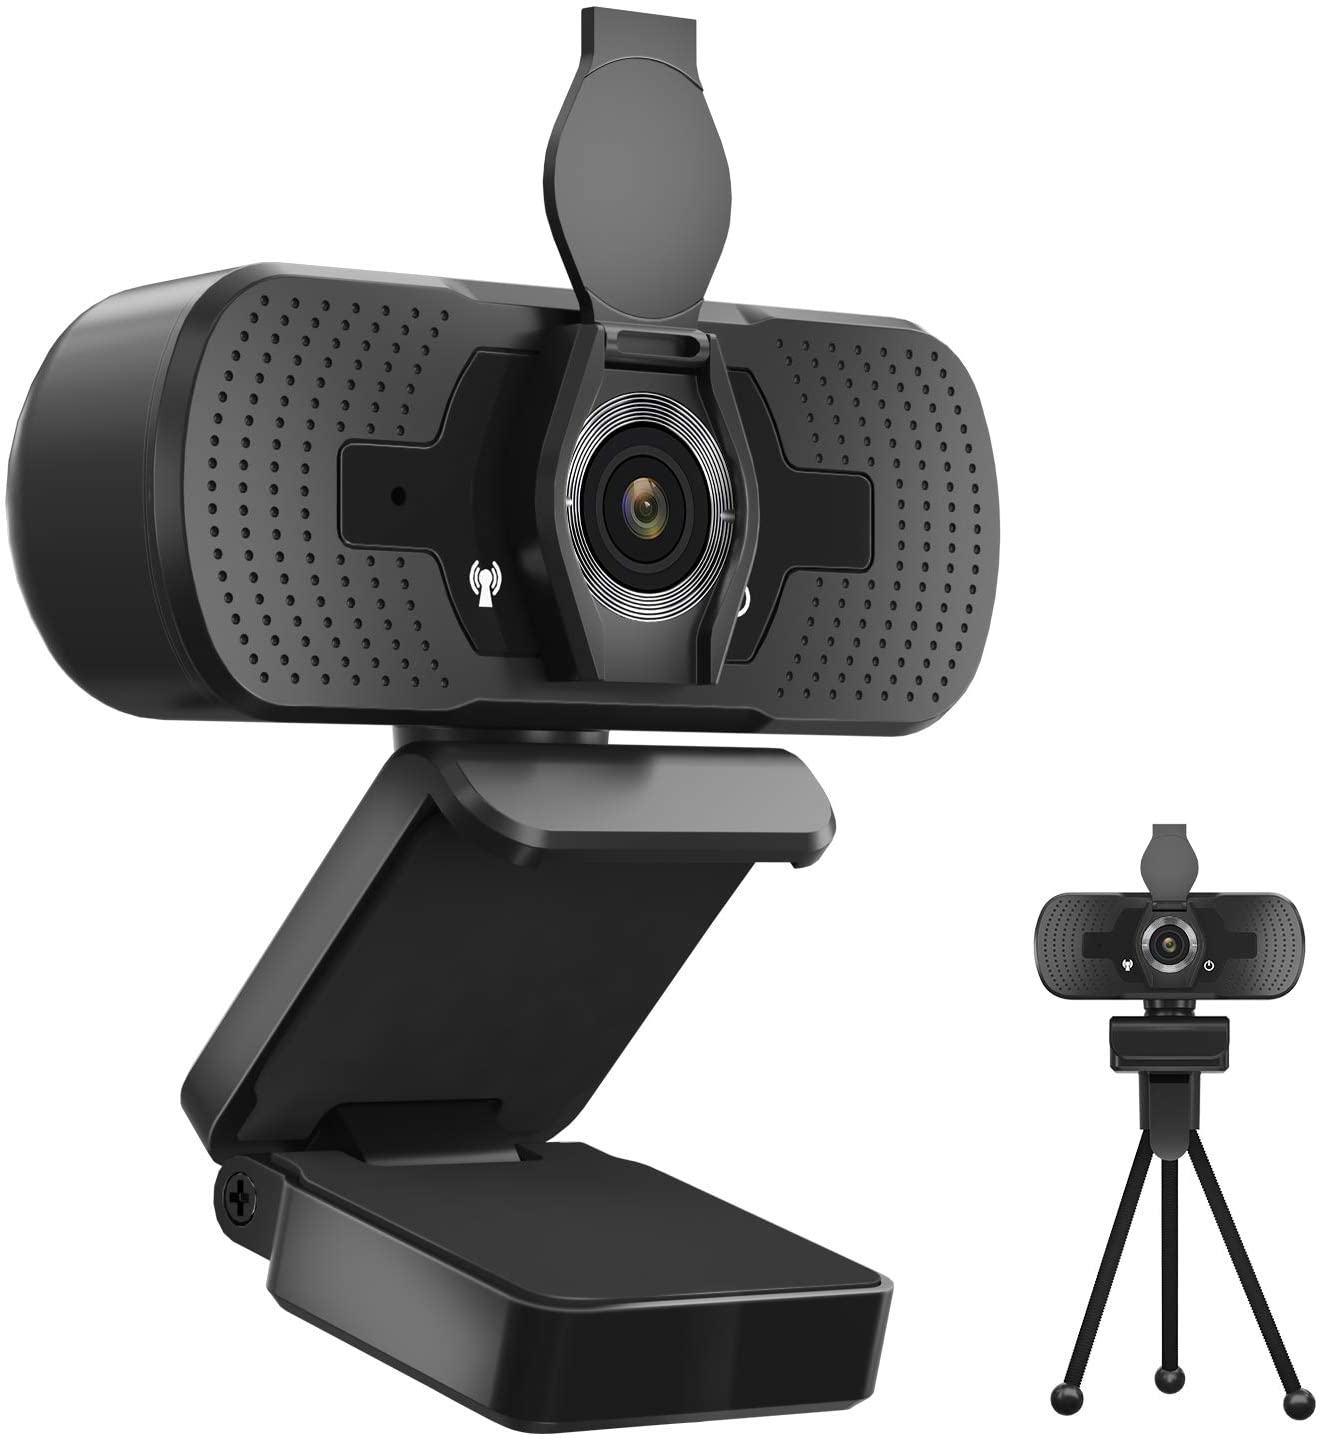
Let's start with the most affordable yet dependable OctoPrint webcam options. The Olidik 2K is a fantastic little 3D printer camera with a plethora of features that provide a good value for money experience. This is a 2K webcam with a 5MP sensor that can shoot at 1944p at 30 frames per second.
The Olidik 2K comes with a tripod and, most importantly, a privacy cover. The cover can be shut when not in use. This USB plug-and-play webcam is worth a shot, especially for first-time users on a tight budget.
Microsoft Lifecam HD-3000 Source: Amazon
-
Resolution: 720p at 30 fps
-
Autofocus: No
-
Sensor: 4MP
-
Interface: USB 2.0
-
Price: $30 (approx.)
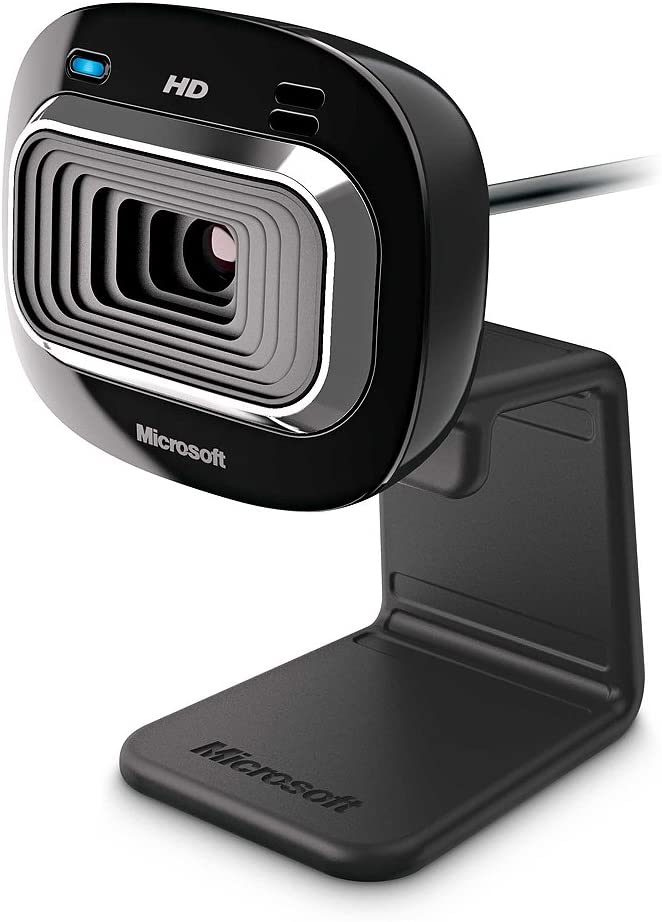
The Microsoft Lifecam HD-3000 is a low-cost 3D printer camera that works with OctoPrint. It takes high-quality photos and produces smooth videos. Even though it only has a 720p resolution, the camera is fairly reliable. Even for larger 3D printers, the wide-angle setting can capture all corners of the build platform. The 4x zoom also improves the video quality, resulting in a more dramatic video recording.
TrueColor technology from Microsoft allows for vibrant image quality in a variety of lighting conditions.
The most interesting feature of this OctoPrint camera is its built-in social media sharing feature. As a result, users can shoot OctoLapse videos and instantly share them with a single click. Quite interesting, isn’t it?
Logitech C270
-
Resolution: 720p at 30 fps
-
Auto Focus: No
-
Interface: USB 2.0
-
Price: $35 (approx.)
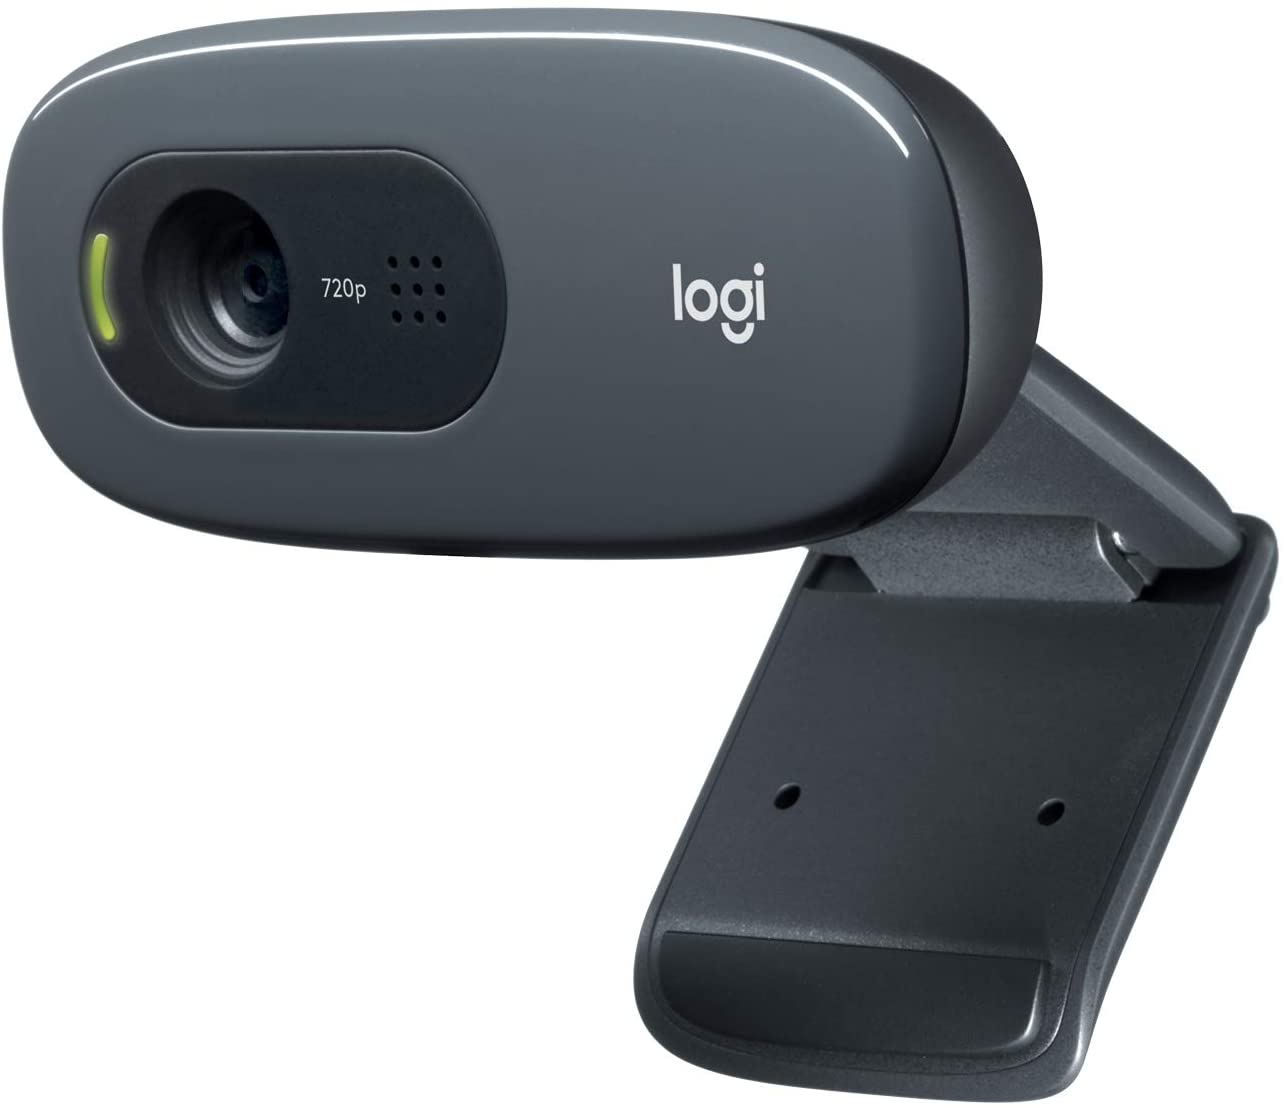
The Logitech C270 is an affordable and reliable camera from Logitech. Because of its balance between pricing and offered features, this is one of the best 3D printer cameras in the competition. The C270 provides a sharp and smooth video feed (720p/30fps) in a widescreen format. Its automatic light correction feature allows for realistic, natural-looking colors.
Because it is inexpensive, the Logitech C270 can be used by a large number of people. Though not as high-end as Logitech C920, it still provides good quality, dependability, and performs admirably.
Logitech C920 Pro
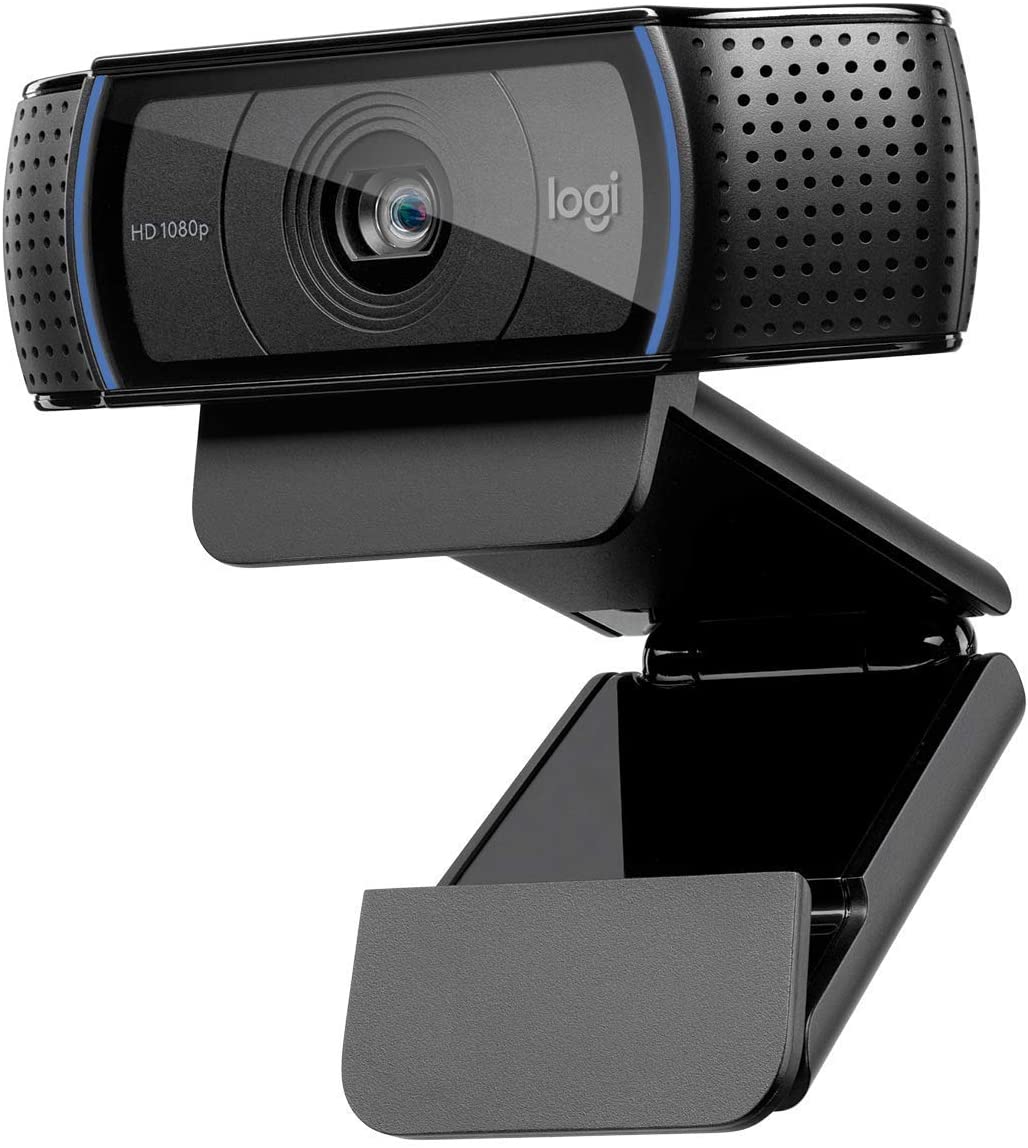
-
Resolution: 1080p at 30 fps
-
Sensor: 15 MP
-
Auto Focus: Yes
-
Interface: USB 2.0
-
Price: $75 (approx.)
The Logitech C920 Pro is one of the best and most widely used premium OctoPrint cameras on the market. Logitech has a long history of producing high-quality cameras, and the C920 Pro is no exception. The camera provides excellent feed quality and dependability.
The video output is 1080p at 30 frames per second or 720p at 60 frames per second, and it has a 15-MP sensor for clearer images. It also has RightLight™ 2 technology, which adjusts to lighting conditions to produce bright, contrasted images even in low-light conditions. It also has dual microphones for clear stereo sound, which means that even if the camera is used for other purposes such as meetings or phone calls, the video, and sound quality will be professional. All of these characteristics indicate that the OctoLapse videos will be of high quality and smoothness.
With so many advantages, the Logitech C920 Pro may justify its high price if you are looking for a reliable go-to camera.
Raspberry Pi Cameras
Benefits of using Raspberry Pi Cameras
-
One of the most significant advantages of using a Raspberry Pi camera is the cost savings over professional cameras. Raspberry Pi cameras also tend to outperform many of the USB cameras.
-
Because the Raspberry Pi has a large active community, any issues with configuring these cameras can be resolved by the community of users who have faced similar issues.
Cons
-
Compared to a USB webcam, there is a little more involved in setting up a Raspberry Pi camera.
-
The flex cables required to use Raspberry Pi Cameras can be finicky.
Raspberry Pi Camera Options
Raspberry Pi Camera Modules V2*
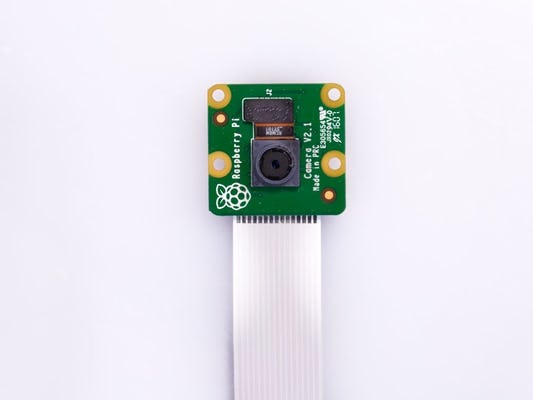
-
Resolution: 1080p at 30 fps
-
Sensor: 8MP
-
Auto Focus: No
-
Price: $30 (approx.)
The Raspberry Pi camera module V2 is the most commonly used and recommended camera by the community. It is extremely small (25 x 24 x 9mm), lightweight (3 grams), and the setup process is straightforward and well-documented.
This 3D printer camera captures high-quality HD images up to 1080p at 30 frames per second. Setting up the camera is as simple as connecting a ribbon cable to the motherboard. The fixed-focus camera aids in the capture of clear images. This camera doesn’t come with a mount, but there are a plethora of 3D printed mounts available. Currently, the most popular one on Thingiverse is this one.
Arducam Camera for Raspberry Pi, Module V1
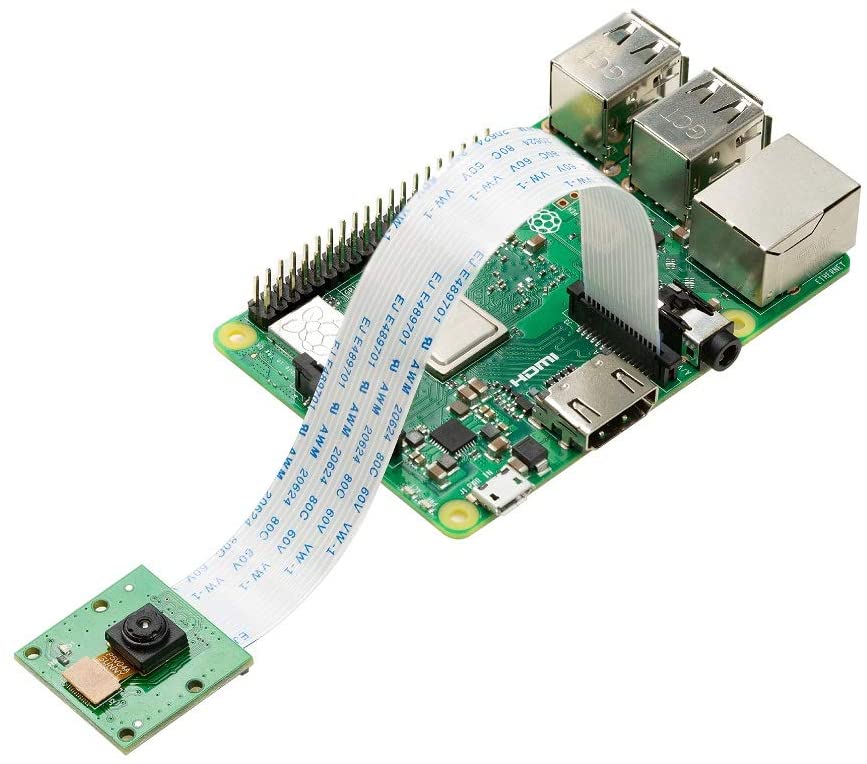
-
Resolution: 1080P at 30 fps
-
Sensor: 5MP
-
Autofocus: No - Focus is adjustable
-
Price: $9.99 (approximate)
Raspberry Pi High-Quality (HQ) Camera
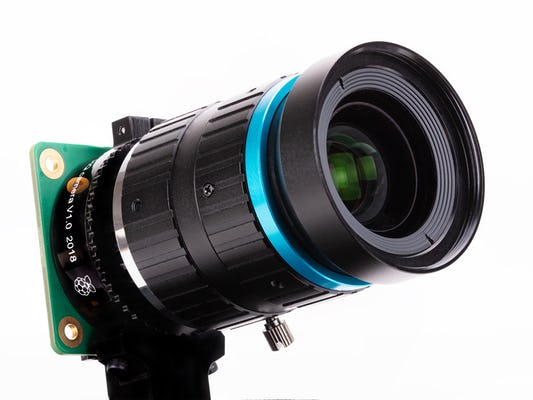
-
Resolution: 1080P at 30 fps
-
Sensor: 12.3 MP
-
Autofocus: No - Focus is adjustable
-
Price: $50 + (additional C-S mount lens is also required)
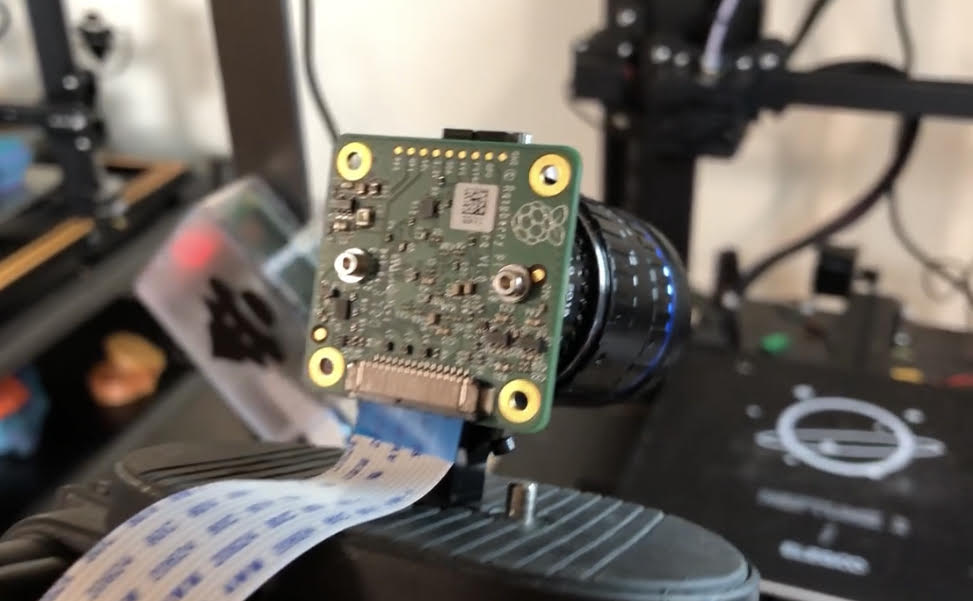
If you want to get the highest quality time-lapse videos with your OctoPrint setup, the Raspberry Pi HQ camera is the best choice. You will need a lens, in addition to the camera. Based on our experience, the Raspberry Pi HQ camera can produce time lapse videos with a quality close to that of a professional DSLR camera. If you consider the quality, the cost can easily be justified for many, but if you are just looking for a monitoring solution, one of the above Raspberry Pi cameras will do just fine for a lot cheaper.
3. Night Vision Cameras
Cameras with night vision can be handy, and we have heard of some success with these cameras. That being said, we have also heard of issues with overpowering of the Raspberry Pi due to the included light, so be sure to do your own research and make the best decision for your particular setup.
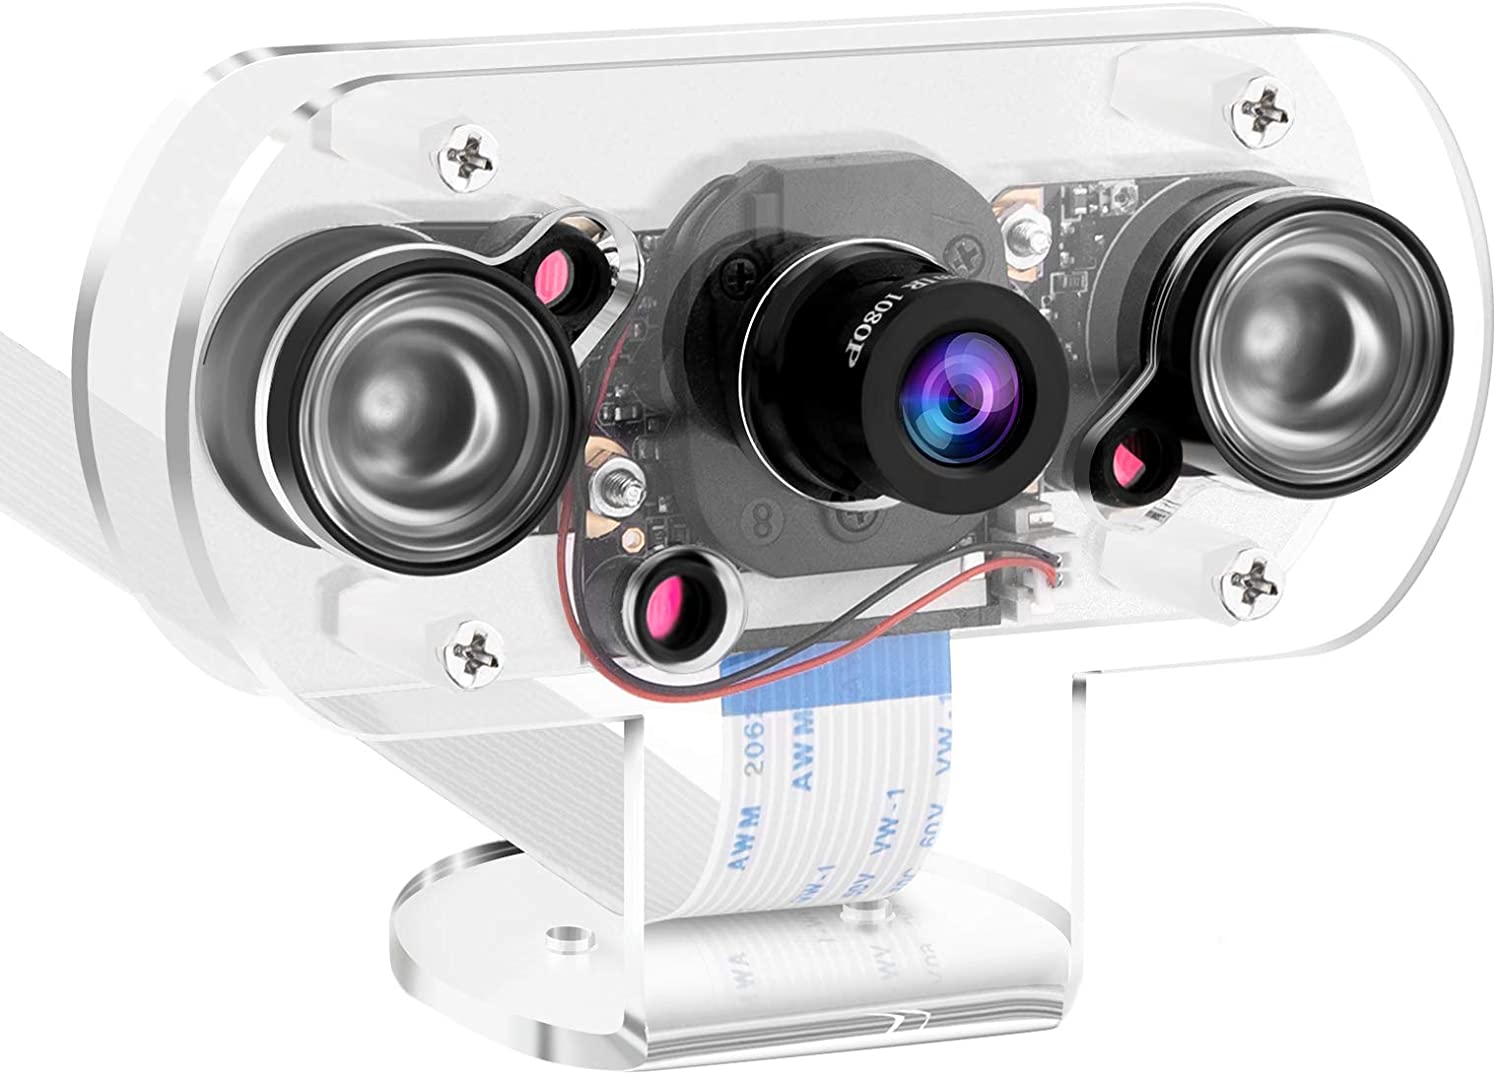
MakerFocus Pi 4B Camera with Holder
-
Resolution: 1080p at 30fps
-
Sensor: 8MP
-
Auto Focus: No
-
Price: $25 (approx.)
The MakerFocus Pi camera is a fantastic device that comes with a clear acrylic case. It is compatible with all Raspberry Pi models (even Pi Zero and Pi Zero W). This OctoPrint camera has a good resolution of 1080p and an 8MP sensor that produces good, consistent image quality.
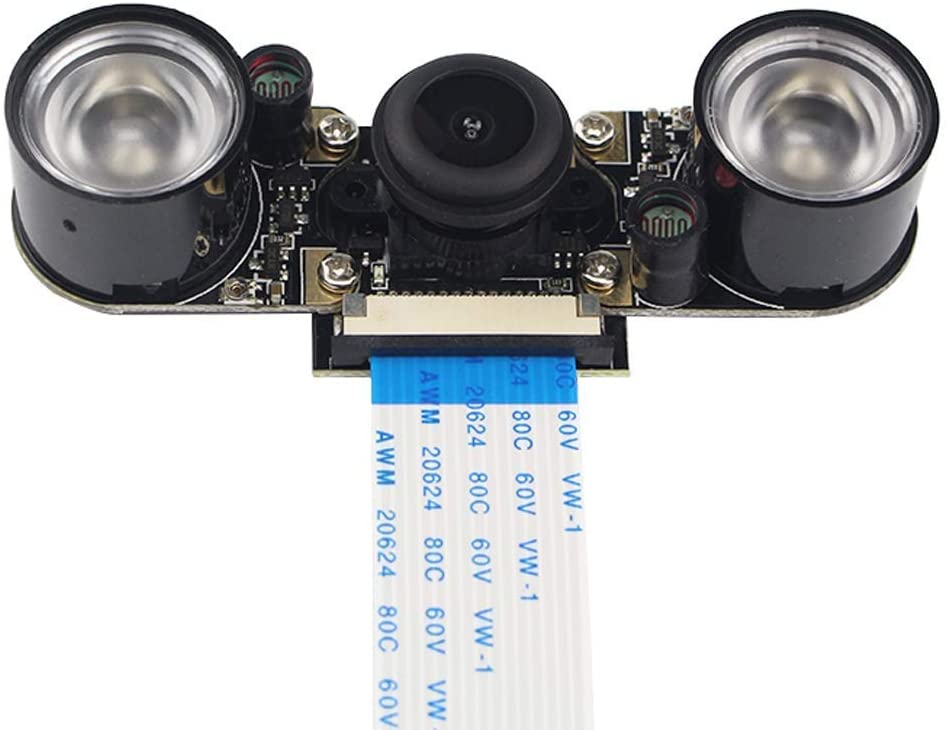
Oliver Night Vision Fisheye Module
-
Resolution: 1080p at 30fps
-
Sensor: 5MP
-
Auto Focus: No
-
Price: $17 (approx.)
The Oliver Night Vision Module is a must-have for users whose printers run at all hours of the day and night. The night vision module helps capture good-quality videos and pictures at night. This 3D printer camera is also compatible with all Raspberry Pi models and has a 5MP sensor capable of recording 1080p at 30fps.
Which camera is best for OctoPrint?
As we mentioned earlier, it really depends on what you want your camera to do. If you are looking for a simple and easy way to monitor and control your printer remotely using OctoPrint, or Obico for OctoPrint when accessing OctoPrint remotely, then a USB webcam is probably the best bet. If you are interested in high quality time lapse videos of your prints, or even basic snapshots, then a raspberry pi camera is the better option.
Next Steps
(/img/blogs/obico-software-guide/monitor-3d-printer-from-anywhere.png)
Once you get your camera setup, install the Obico for OctoPrint plugin so you can safely and securely monitor and control your 3D printer from anywhere on any device whether you are at home or away. Obico's mobile app is available for iOS and Android. Obico is free for one printer with limited Ai failure detection hours and Pro Plans start at just $4 per month. Obico also works with [Klipper], fluidd, and Mainsail
