3D Printing ABS - All You Need To Know
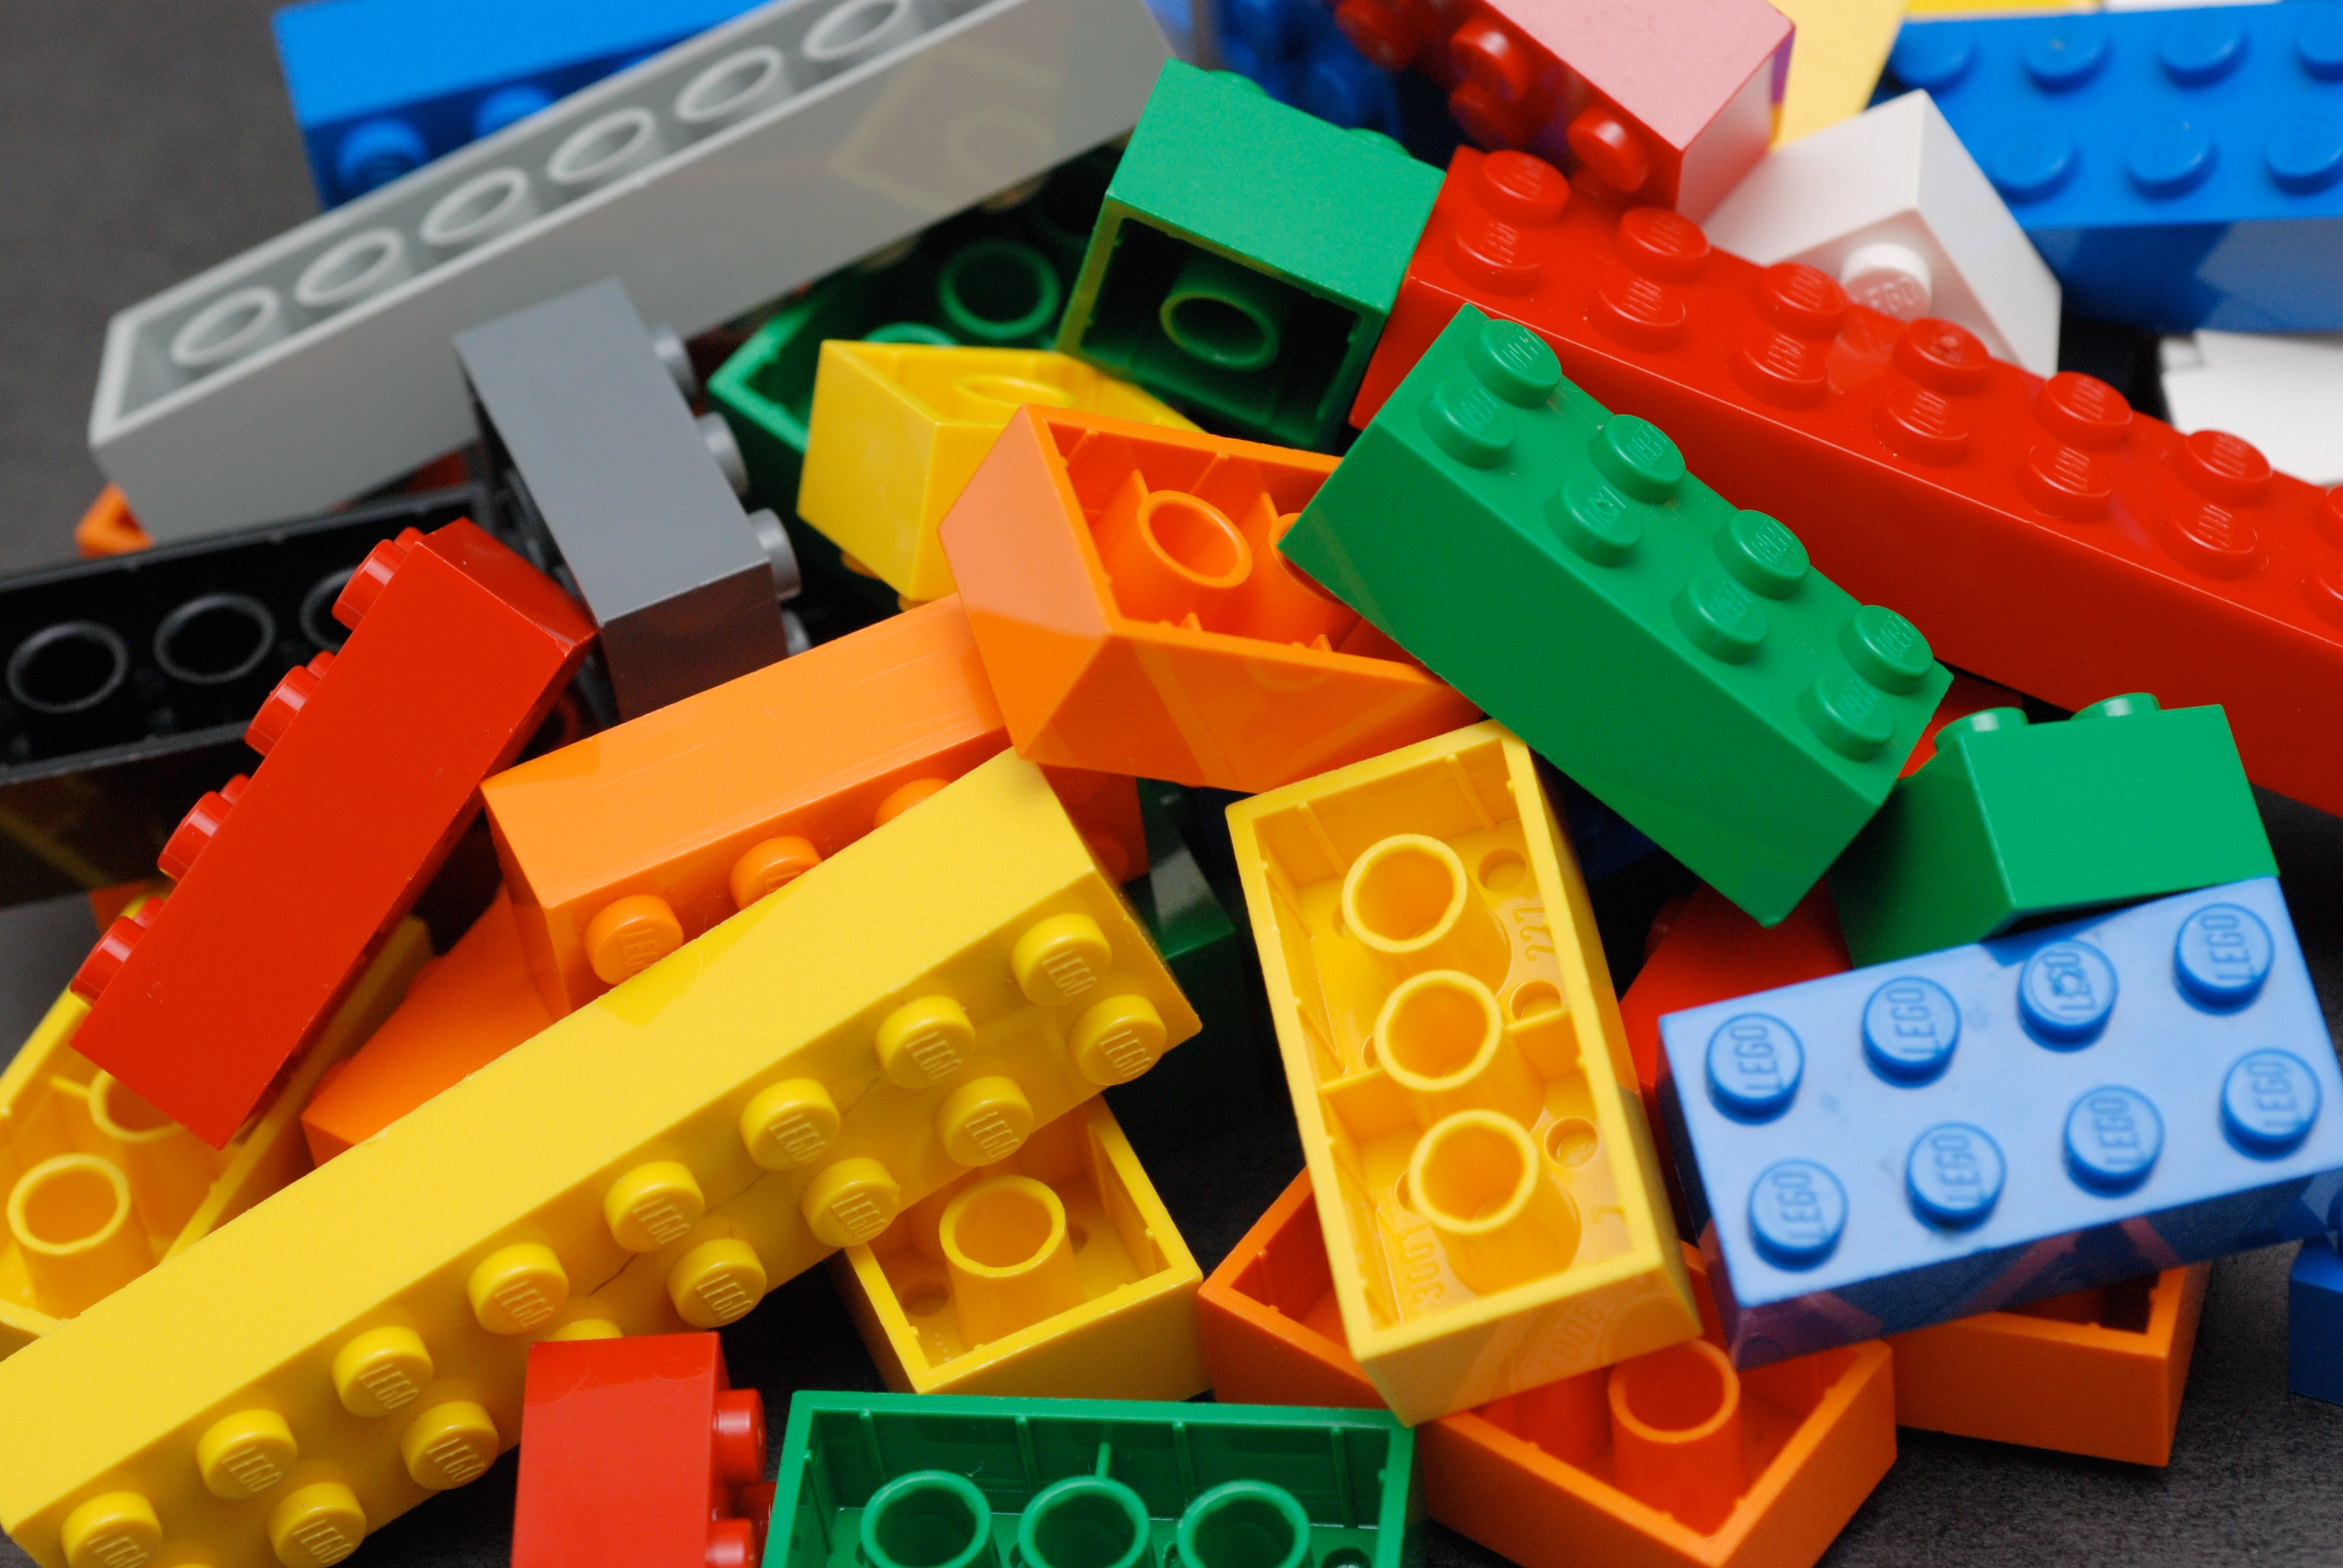
Image Courtesy : Alan Chia via Wikimedia Commons
You've probably seen more ABS parts than any other kind of plastic. ABS, or acrylonitrile butadiene styrene, is the plastic used in manufacturing. It has been used for a long time to make toys, helmets, kitchen tools, and other things.
Its durability and ease of post-processing make it a popular 3D printing material for both pros and amateurs.
In this article, we’ll take a deep dive into the world of ABS 3D printing. We’ll learn everything there’s to know about the material - the benefits, challenges, and applications. We've also included some tips and tricks to help you confidently print ABS.
So keep reading and help get your 3D printer some ABS.
What is ABS filament?
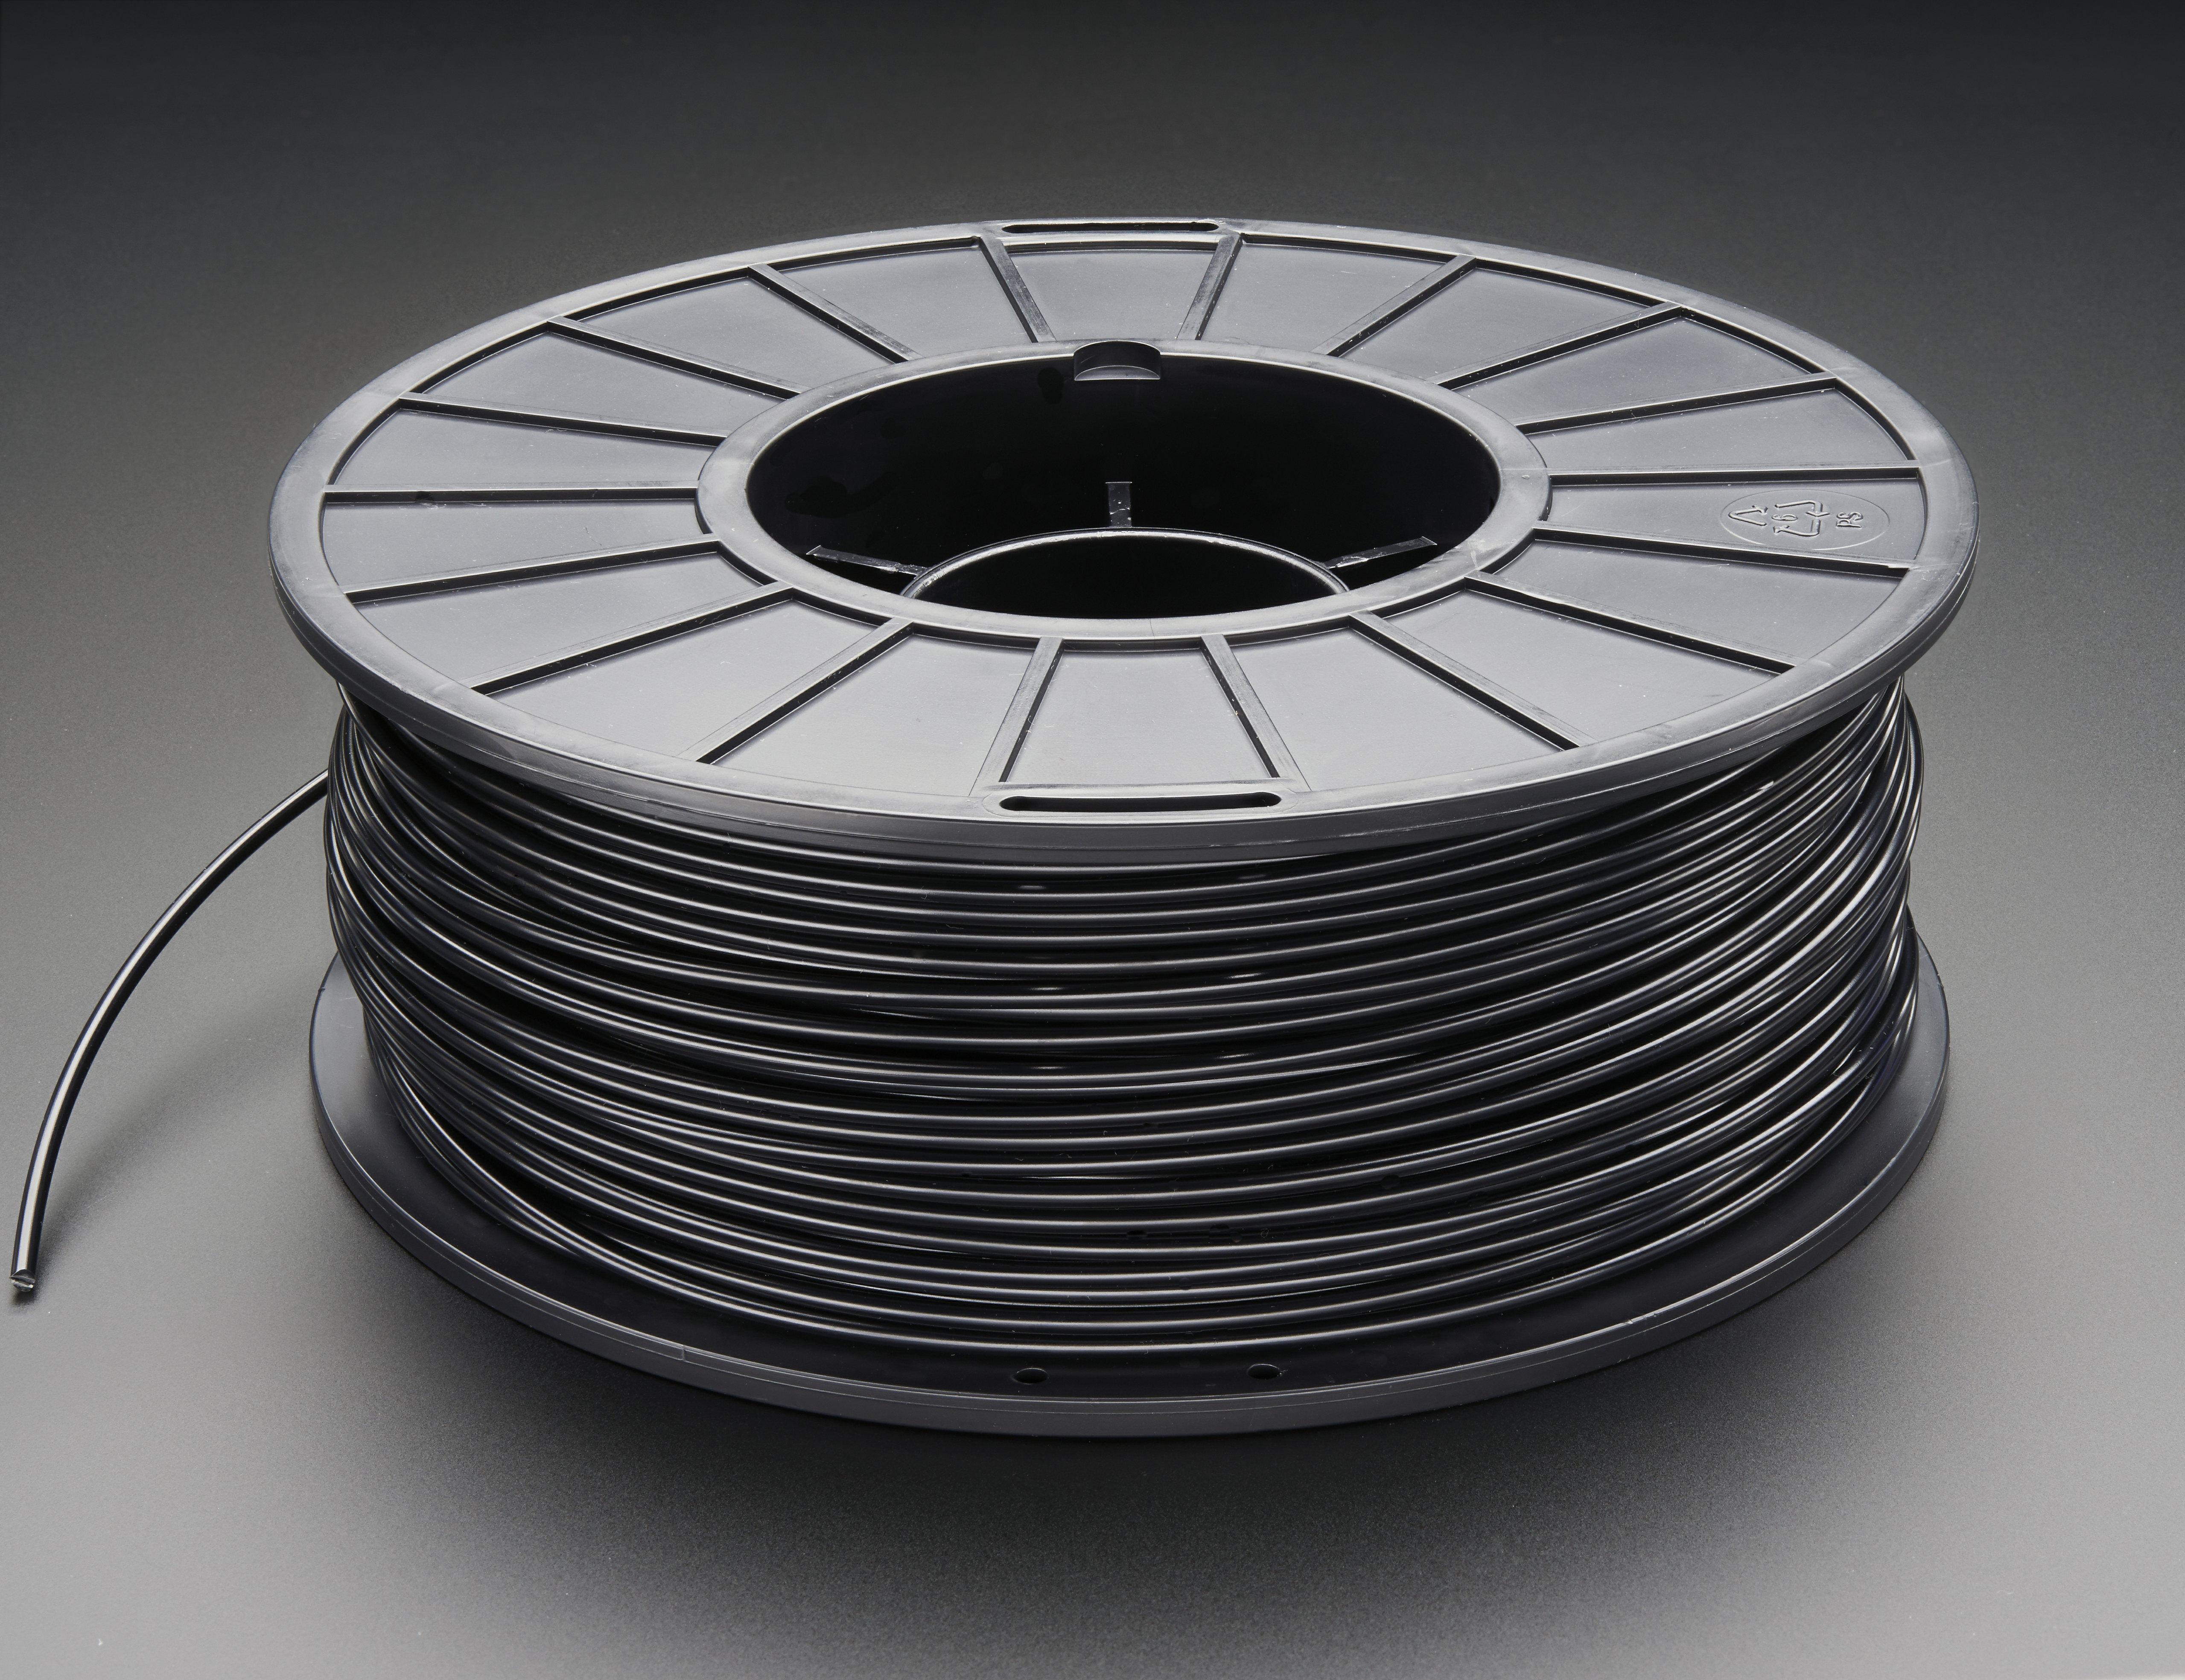
Image Courtesy : Adafruit Industries via Flickr
ABS stands for Acrylonitrile Butadiene Styrene. It is a thermoplastic polymer that is popular because it is tough, has a high melting point, and is cheap. This material is commonly used in the 3D printing industry for producing practical parts, showpieces, and toys.
ABS has been used in industries for a long time to make all kinds of things. Legos, musical instruments, car components like handles, seat backs, seat belt parts, and product cases are all made from ABS plastic.
ABS was one of the first plastics used in 3D printing back in the early 1990s because of its high strength and versatility. It was the first plastic to be used in FDM printers for 3D printing, and it is still widely used in many projects.
It's a little bit of a pain to 3D print, but the post-processing simplicity and durability of the part more than make up for it. Using vapor smoothing, the surface of ABS components may be made shiny and smooth. While the strength of the component is comparable to PETG and higher than that of PLA.
The following sections will walk you through the nitty gritty of 3D printing with ABS material. The aim is to let you know everything there’s to know about ABS and help you print better-quality parts with it.
Why 3D Print with ABS?
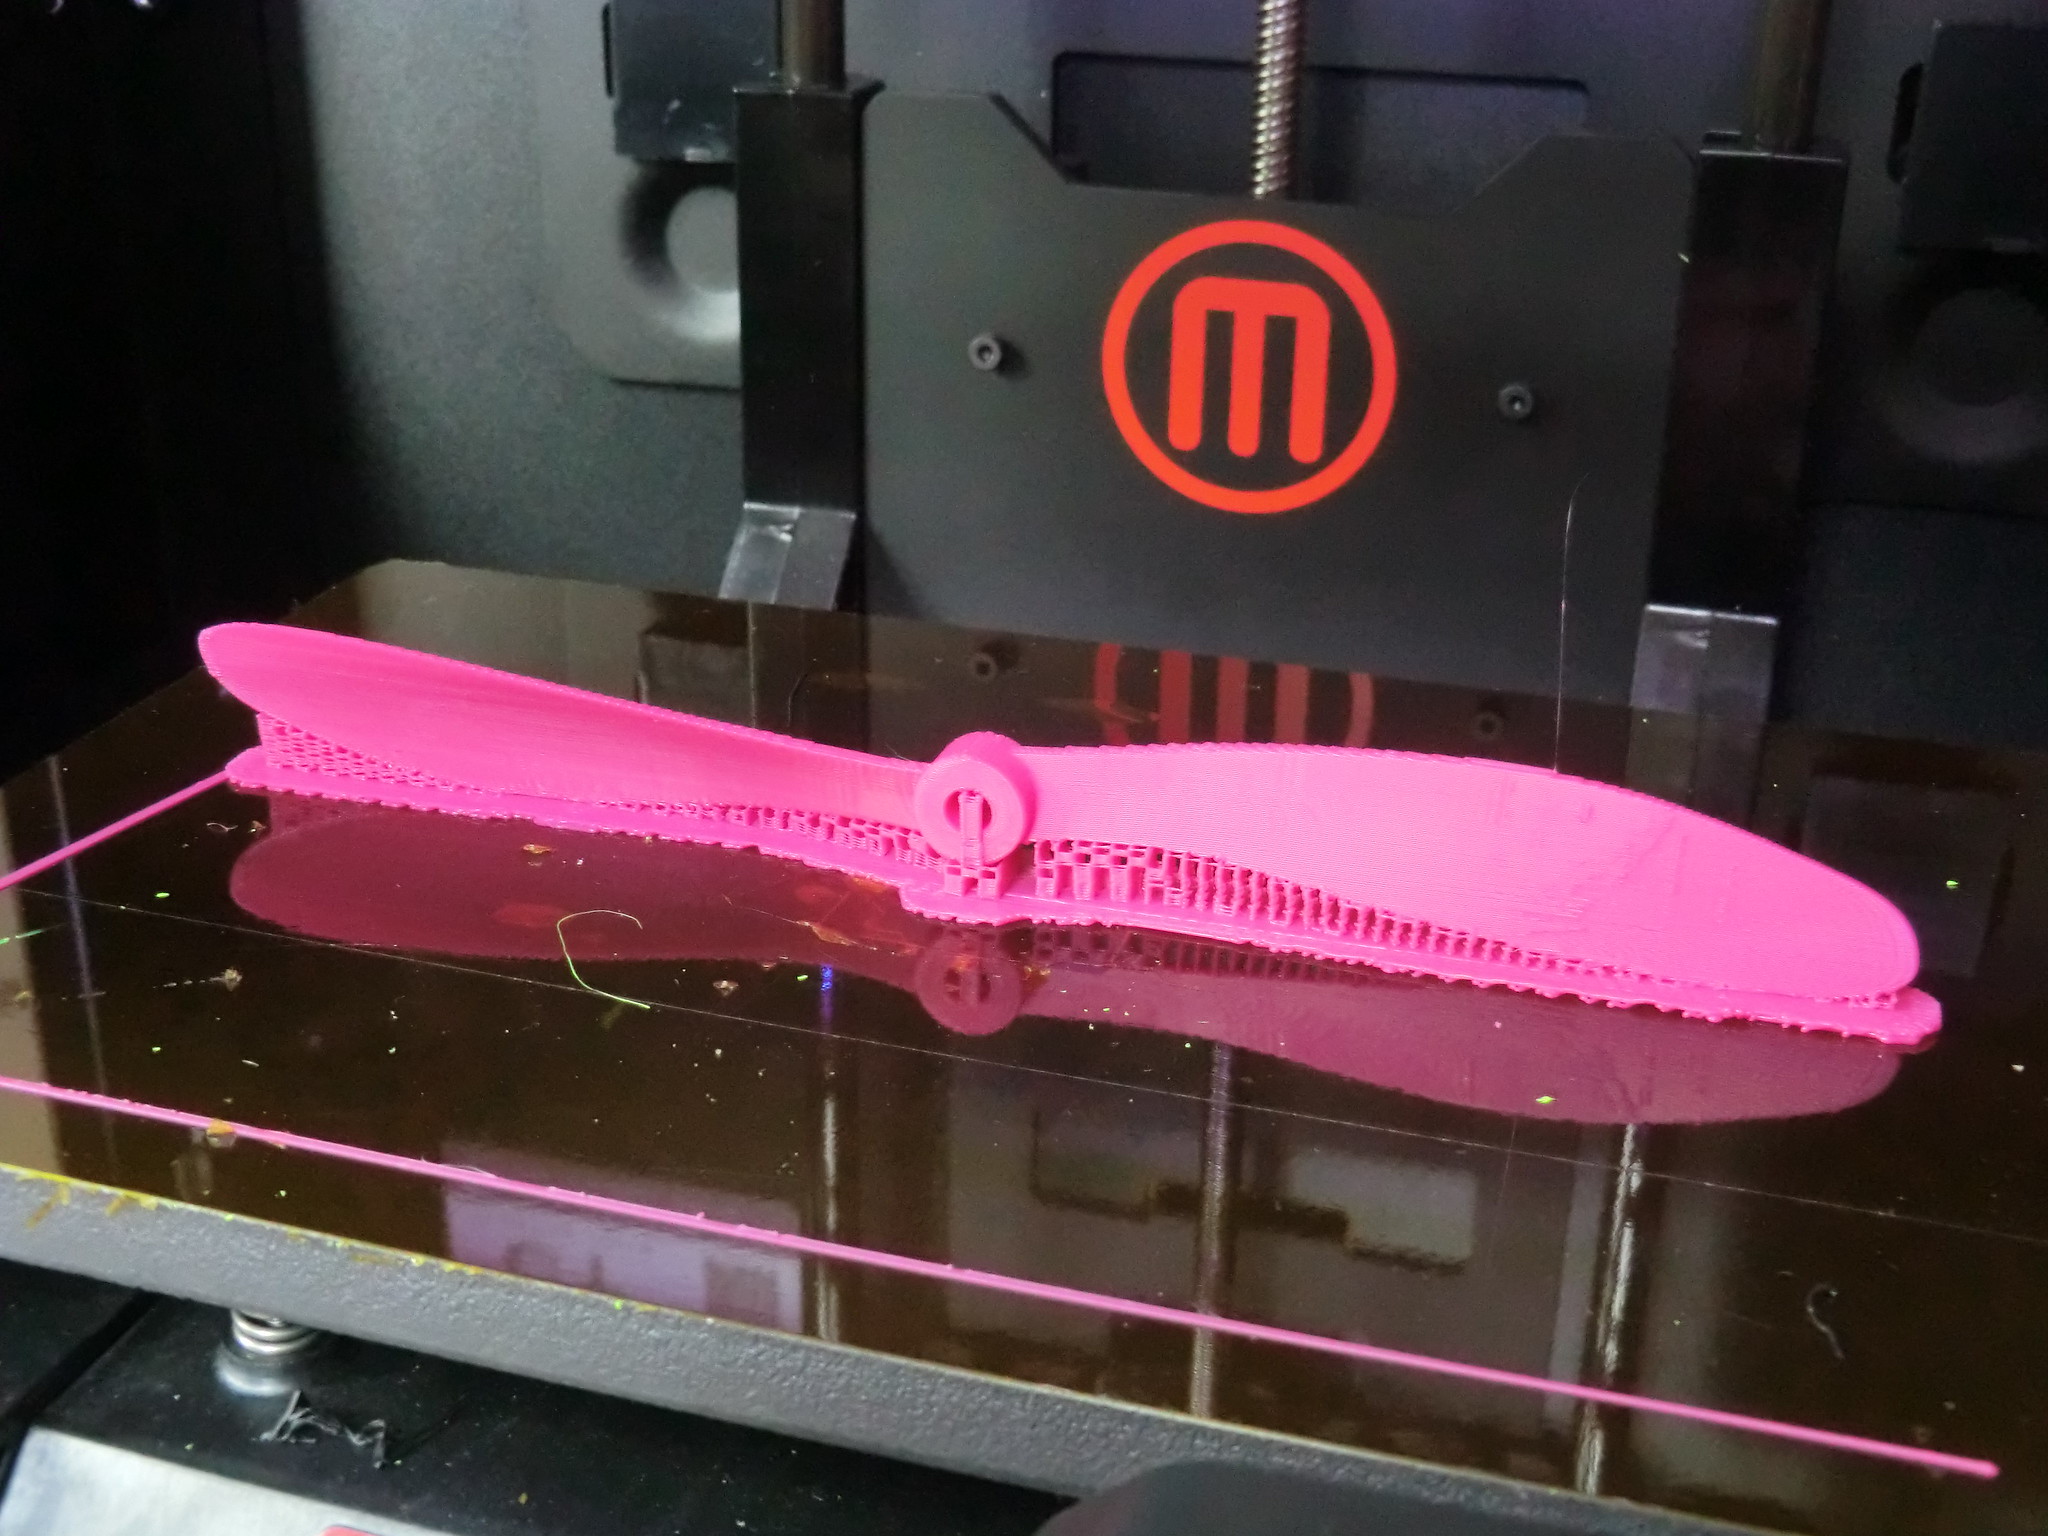
Image Courtesy : Creative Tools via Flickr
We know a few basic things about ABS material. Great! But why would you want to use it for 3D printing? How can it help your 3D printing projects, and what are its benefits? In this section, we'll talk about some of the pros.
Excellent Mechanical Properties
ABS is one of the most durable materials for 3D printing. It offers excellent impact resistance and toughness for your 3D-printed parts. Instead of shattering into tiny pieces, they will progressively lengthen until they finally crack.
ABS is also known for being hard to scratch and having a shiny surface. The parts won't get scuffed easily and will keep looking good for a long time.
Because of these qualities, ABS is a good material for printing functional parts. Gears, load-bearing models, and parts under constant stress benefit from the material’s toughness and strength characteristics.
High Heat Tolerance
As compared to PLA and PETG materials, ABS has a higher glass transition temperature. It begins to deform at 105 °C, which is far greater than PLA's 60 °C and PETG's 85 °C.
The strong heat resistance helps you to print items that can keep their form at greater temperatures than PLA and PETG. It is useful for prints that will be subjected to continual friction (gears) and exposed to being outdoors.
Easy Post-Processing
The finish on the outside of 3D-printed parts is one of their flaws. Yet, ABS allows for a smooth surface that is comparable to injection molded components.
ABS reacts quickly with acetone. It dissolves in the presence of this chemical. Using acetone smoothing, you can quickly get rid of the layer lines on your 3D-printed parts and give them a smooth finish. The acetone smoothing makes it a popular material choice for printing showpieces and figurines.
ABS is also easy to sand and polish because it doesn't melt easily. It's easy to sand down the layer lines and give your parts a smooth surface. It's more pliable than PLA in this aspect and reacts nicely to post-processing.
Affordable
ABS is one of the least expensive 3D printing materials you can buy right now. Since ABS plastic has been used in industry for a long time, it is very easy to get.
You shouldn't have to pay more than USD 20 for 1 kg (2.2 lbs) of ABS filament. This rate means that each gram of material costs a meager $0.02.
The low price point makes it easy for beginners to understand the printing process. It makes sense for businesses that offer 3D printing services as well. As a result of the low cost of raw materials, businesses may enhance their profit margin while still providing customers with high-quality 3D-printed components.
Why not 3D Print with ABS?
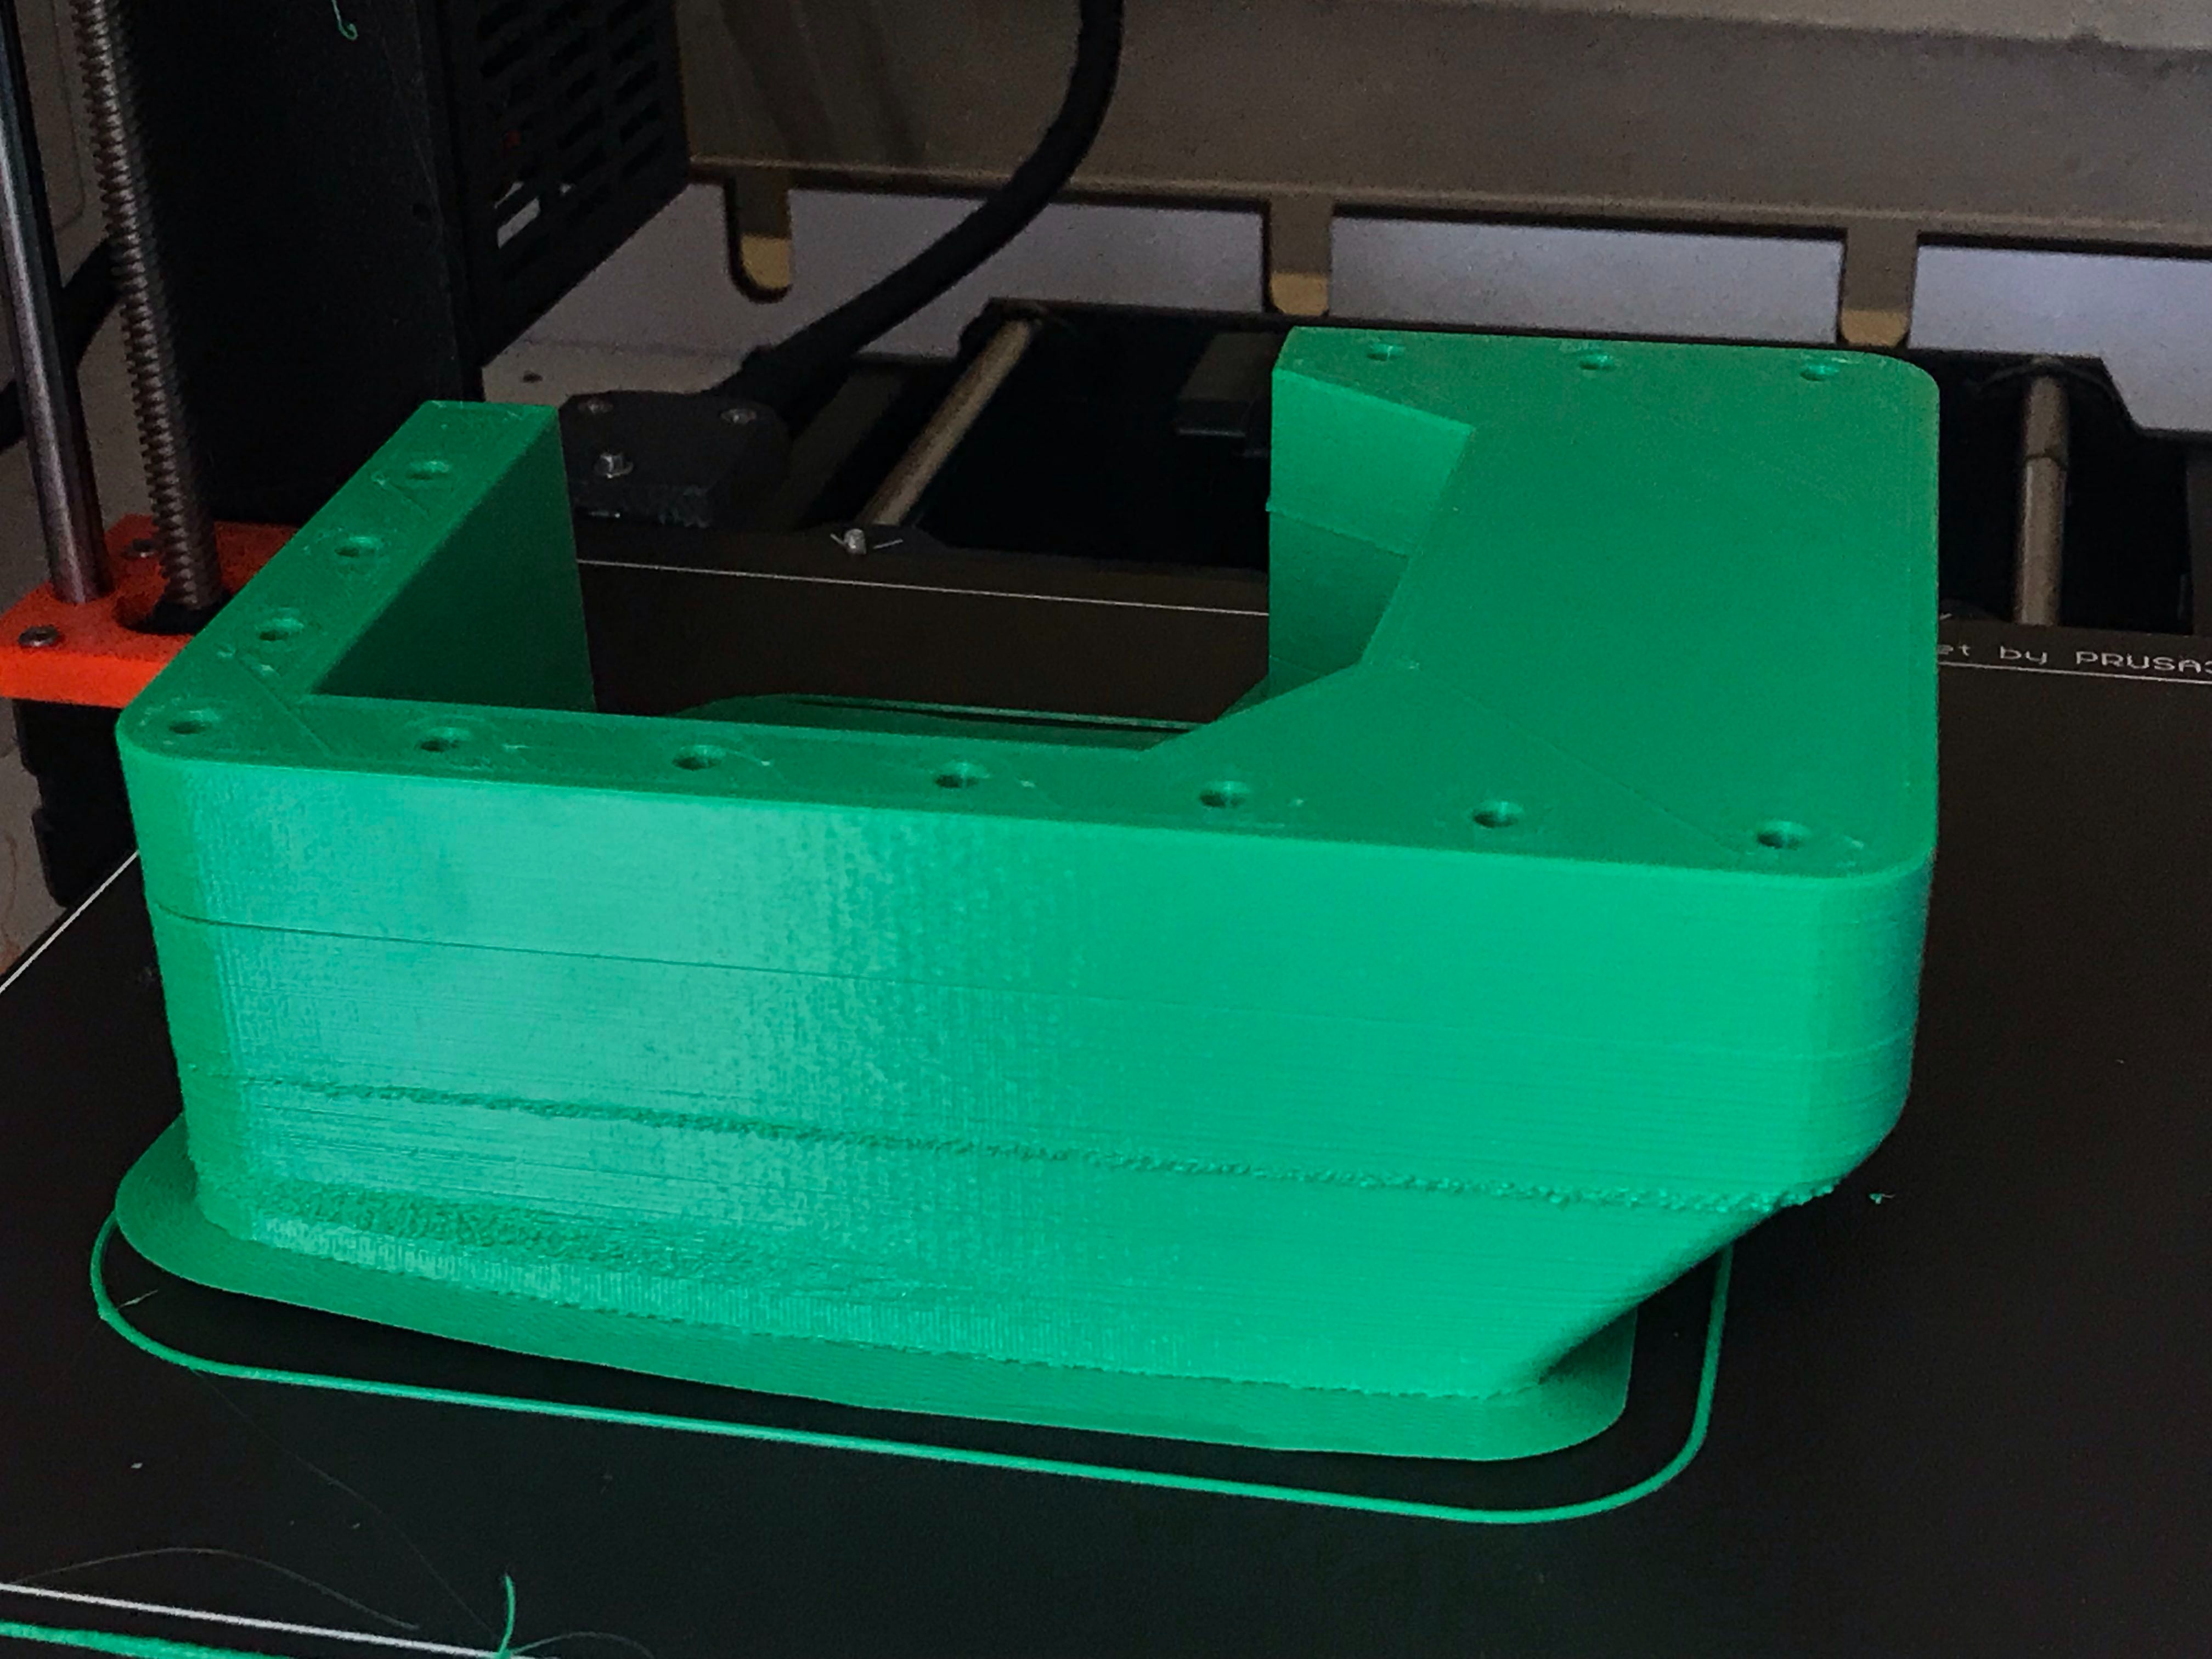
Image Courtesy: tlalexander via Reddit
Warps and Cracks Easily
ABS is a highly temperature-sensitive material. It responds quickly to changes in the temperature of the printing area.
If your printing area has big differences in temperature, your parts will probably start to bend from the bottom. This is because the print bed is usually hot, while the upper portion of the print is cool. If this difference in temperature is too big, the ABS plastic will shrink at the cooler end. The results are warped corners and prints peeling away from the print bed.
Similarly, if the layers are too thick or the part has different cross sections, there are high chances of layer splitting in ABS 3D prints. While the parts are being printed, cracks form in them, which often causes the print to fail.
Hygroscopic Material
ABS is a hygroscopic (moisture-absorbing) material, like PLA and PETG. It's easy for it to soak up moisture from the air, which can cause problems when printing.
Wet filament causes oozing and retraction problems in 3D printing. On top of that, the material gets weak and brittle during the printing process, making it easy to break.
Because of its hygroscopic nature, it is necessary to invest in specialized storage solutions such as dry boxes and filament dehydrators. It adds to the initial setup cost and requires you to make provisions for extra space in your printing area.
Emits Toxic Fumes
When you melt the ABS filament, it gives off fumes that are bad for your health. These fumes contain toxic Volatile Organic Compounds (VOCs) and UltraFine Particles (UFPs). These VOCs and UFPs are toxic to humans and have detrimental effects on your health.
A study done in 2016 showed that VOCs are released when 3D printing ABS and other materials. It claims that ABS produces high amounts of styrene, which is a probable human carcinogen.
Those who are exposed to these vapors over an extended period of time may experience nausea, headaches, and exhaustion. This makes ABS an unsuitable material for 3D printing in homes without adequate ventilation.
How to 3D Print ABS material?
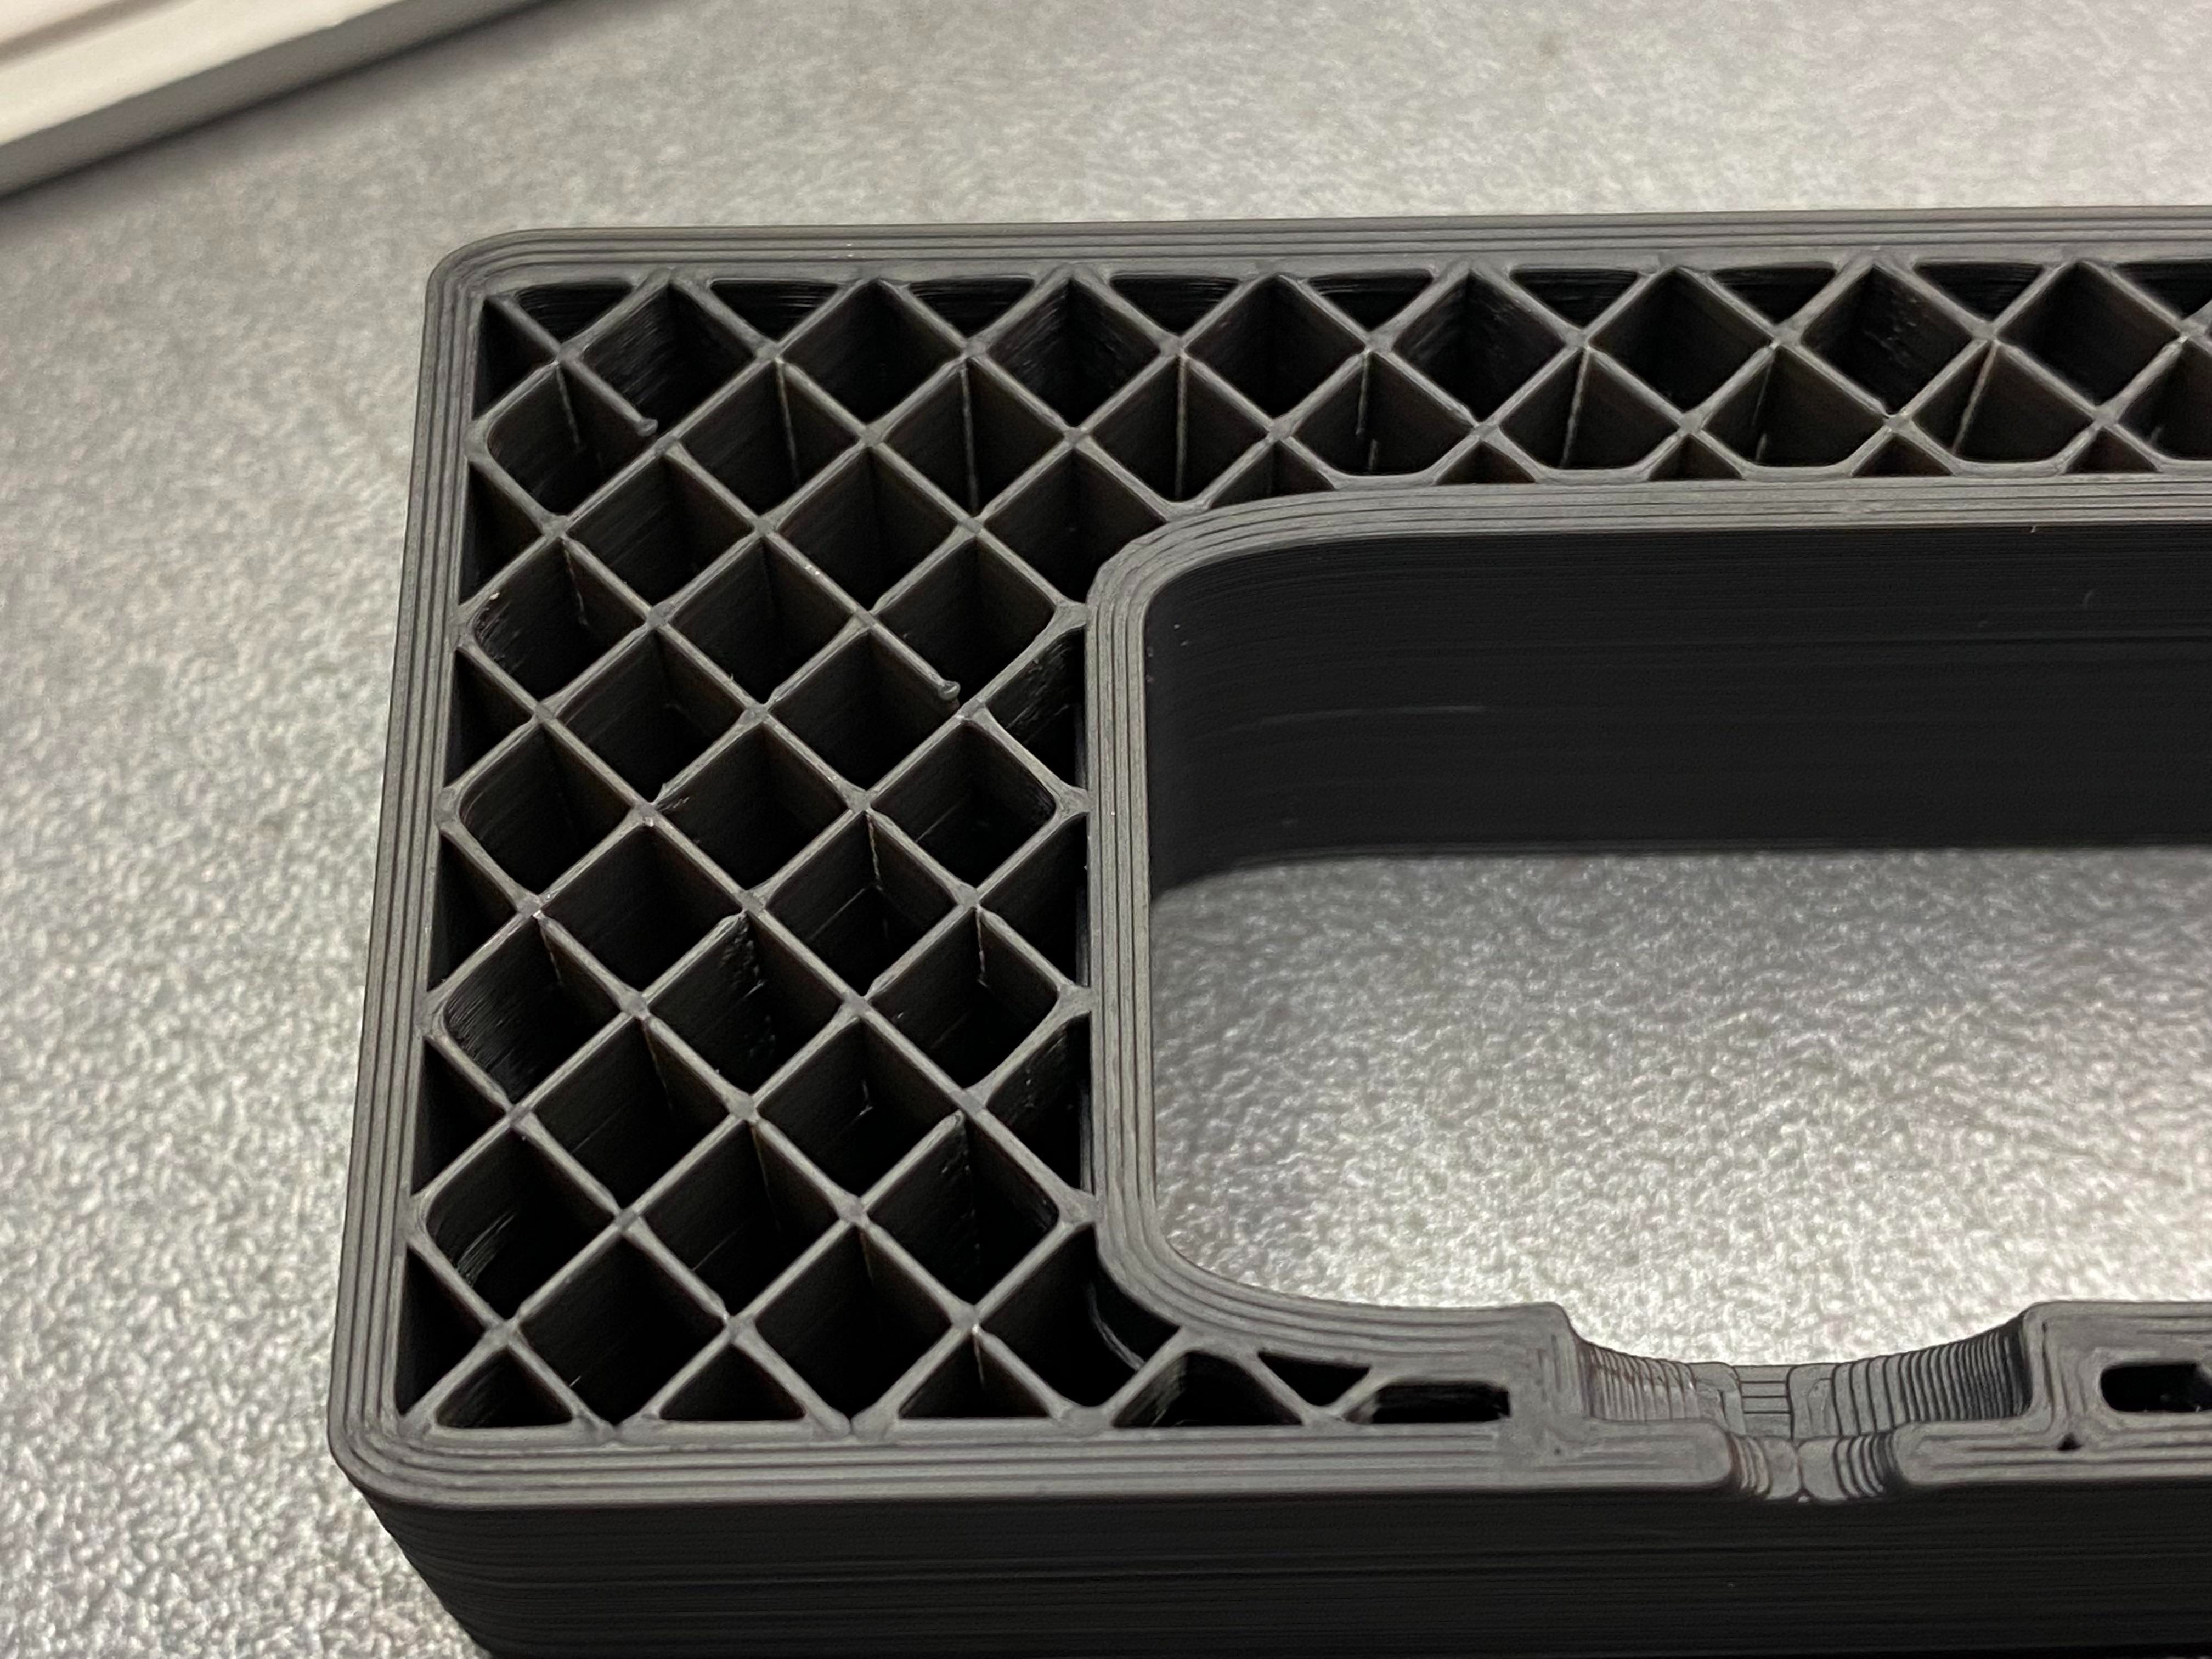
Image Courtesy : Dikkon via Reddit
ABS is quite a tricky material to 3D print. Given its sensitivity to temperature changes and a slightly higher melting point, there are a few things you need to keep in mind while 3D printing ABS.
This section will highlight the essential slicer settings and other provisions to help you get the best print quality out of your ABS filament.
Print Temperature
The recommended temperature range for printing ABS is 220–250 °C. It melts at greater temperatures than PLA and can benefit from an all-metal hot end.
Typically, you’ll get better layer adhesion and part strength at higher print temperatures. However, if the print temperature is too high, you risk filament oozing, blobs, and stringing in your parts.
The best way to find out what temperature your ABS filament should be at is to use a temperature tower. It will help you find the right print temperature for the best print quality.
Bed Temperature
If you want to 3D print with ABS filament, you must have a heated bed. It keeps the printing area heated and allows the item to cool gradually. This makes it less likely that the layers will separate or warp.
Most ABS filaments should be fine at a bed temperature of 95–110 °C. If the bed is too hot, your first layers of prints can get an elephant's foot. If it's not perfect, you might have trouble with warping.
It's hard to get the bed temperature just right. But almost all manufacturers of ABS filaments write the temperature of the bed on the filaments. Use the lower temperature as the starting point and work upwards until you find an ideal point.
Enclosure
The enclosure is another thing you need to be able to print with ABS. Without an enclosure, it’s nearly impossible to 3D print ABS, even if you have a heated bed.
The enclosure keeps the printing temperature high enough that ABS-printed parts can cool down slowly. It also prevents any sudden drafts of cold air from your print's surroundings from cooling down the prints rapidly. If your main goal is to 3D print ABS with your 3D printer, try to get a machine with an enclosure.
Bed Adhesion
ABS slurry is a common bed adhesive that is used to print ABS. It’s a solution of ABS plastic dissolved in Acetone solvent. It offers an excellent adhesive surface for the ABS pieces, allowing them to adhere to the print surface nicely.
ABS can also stick to the print bed with the help of glue sticks made with PVA. Elmer's glue and Magigoo are well-known glues that are used in 3D printing. These are easier to use, and they work well.
Using Brims and Rafts is also good for parts with a large surface area. Brims help keep corners from warping and make it less likely that the first layer will lift off the print surface.
A raft, on the other hand, can aid in print adhesion and reduce corner lifting. Rafts use too much material and time, but they can be useful if your prints have long, straight edges and a large surface area.
Print Speed
ABS parts must be 3D printed at slow speeds. It gives the bottom layer time to cool down before the next one is added. This makes it less likely that your parts' layers will split and crack.
For ABS printing, a speed of 30–50 mm/s is a good range. This pace allows enough time for each layer to gradually cool down. Keep the print speeds for the first layer below 30 mm/s to help the print stick well.
Part Cooling Fan
ABS does not like part cooling fans. Printing at low rates defeats the purpose if a fan is used to cool off individual parts. It cools the layers down too fast. This makes the top and bottom layers have different temperatures, which makes it easy for them to separate.
While 3D printing with ABS filament, always switch off the part cooling fan. It will stop any forced air drafts in the print area and make it more likely that your print will turn out well.
Post-Processing PLA Parts
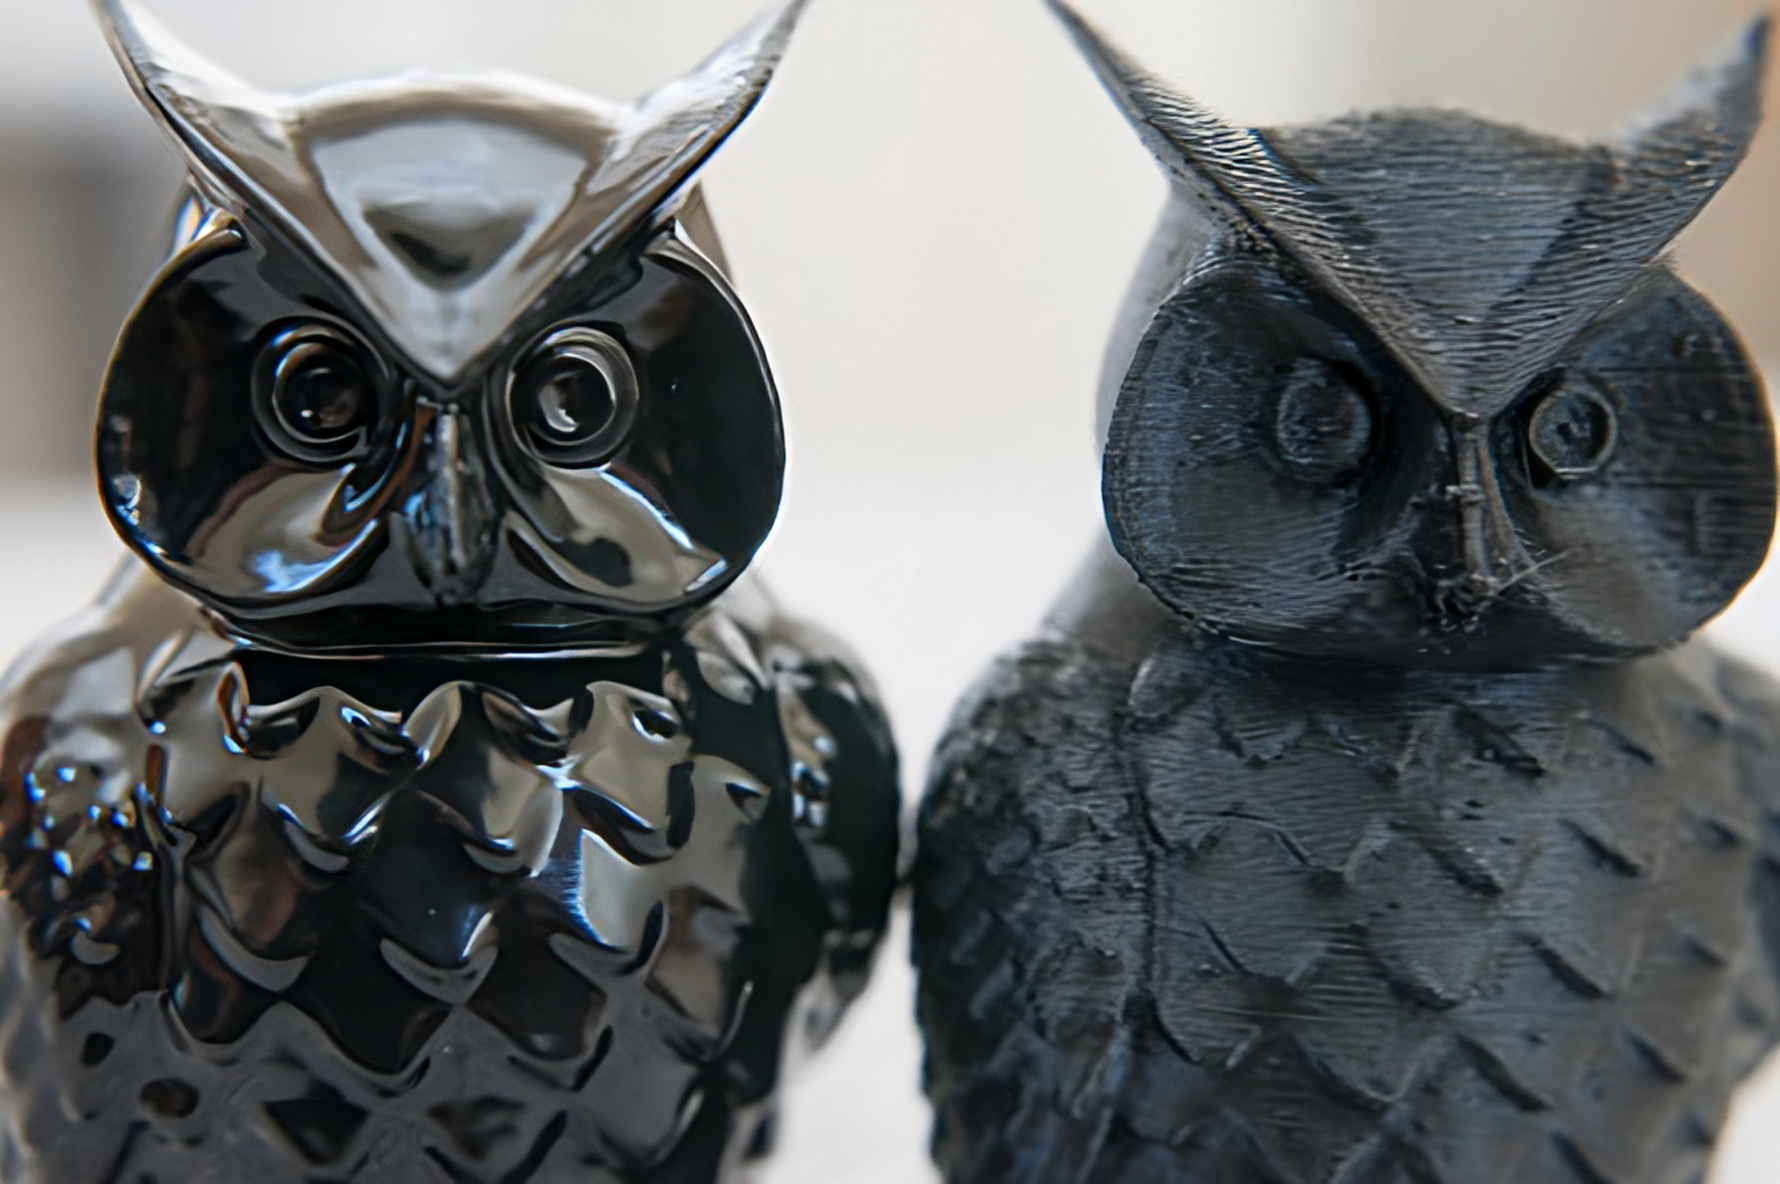 Image Courtesy : John Lewis via Wikimedia Commons
ABS is one of the easier materials to post-process in 3D printing. Sanding and smoothing with acetone are common ways to finish ABS parts. In this section, you'll get an overview of these methods.
Sanding and Polishing
Unlike PLA, ABS filament's strong heat tolerance assists in the sanding process of your pieces. The prints don’t deform easily, and it’s easier to sand down the visible layer lines in your ABS prints.
For rough sanding, 100-200 grit sandpaper is a good place to start. Then, for a smoother finish, move up to 600-1000 grit paper. Use a light touch, and try not to sand your parts too much.
You can use Brasso metal polish to make the surface of the print look smooth and shiny. It will cover up any surface scratches and make your ABS parts look good.
Acetone Smoothing
Acetone Smoothing is by far the most popular and easiest approach for post-processing 3D printed parts. It works great with ABS material and gives your 3D-printed parts a professional look.
The easiest way is to use a paintbrush to spread an even, thin coat of acetone over the surface. It will melt away any obvious layer lines, giving your prints a smooth finish. But, it needs extreme precision and control, and applying acetone using a brush can be tricky in prints with intricate geometries.
A second way is to use an acetone bath. You put your ABS parts in a container with tissues that have been soaked in acetone. The acetone in the tissues will give off vapors that will melt the top layer of your prints and make them smooth and shiny. The smoothing effect is uniform over your body, and it's much simpler to manipulate.
Tips and Tricks for 3D Printing PLA
Image Courtesy: John Biehler via Flickr
Dry your Filament
Hygroscopic materials like ABS readily absorb moisture from their surroundings. If the filament absorbs too much moisture, it can ooze, string, and blobs on your print’s surface.
If you plan to print with ABS for a long time, buy a good filament dehydrator or make a DIY filament dry box. If you don't have these tools, you can dry your ABS filament roll before printing in an oven or a food dehydrator.
Keep the oven at about 80°C and leave the filament spool for about four to five hours. This will get rid of all the moisture in the material and make it easier to print.
Dial in the print settings
ABS is a challenging material to 3D print. Pay attention to the nozzle and bed temperature. These two will have a big effect on how well the print comes out. When optimizing the print settings, you should also think about the retractions and bed adhesion settings (brim).
Use temperature towers, retraction tests, and calibration cubes to fine-tune your print settings for consistent results and good printing quality.
Enclose the Print Area
Use an enclosure to keep the printing area warm. The enclosure keeps the print bed's heat inside the print area. This keeps your 3D printer from having big temperature differences and lets it cool down slowly.
You can buy an enclosure like the Creality enclosure, or you can build it yourself. There are also plenty of DIY enclosures you can build on a budget.
Ventilate Print Area
As stated earlier, ABS emits toxic fumes and vapors during printing. Extended exposure to these fumes might be harmful to your health. An enclosure helps lessen the effects of these fumes, but it's not a foolproof fix.
You have to print ABS in a room with good airflow. Keep your printer near a window, or use HEPA filters inside the enclosure. When you print with ABS, try not to be in the same room as your printer. These steps make sure that 3D printing ABS doesn't put your health and safety at risk.
Use Bed Adhesion and Heated Bed
A heated bed keeps the printing area warm and helps the print stick to the surface. When you print with ABS, you must always use a heated bed. It will help keep your prints from lifting off the print bed and reduce the chances of a layer cracking.
Also, brims and rafts are a great way to make sure that your prints stick to the surface you're printing on. Use this in conjunction with ABS juice and adhesives to get a nice initial layer and improve the odds of your print's success.
Final Thoughts
ABS might seem too hard to 3D print at first. There are problems with warping, toxic fumes, the enclosure, the heated print bed, and everything else. But once you start printing and figure out how to set your printing parameters, it is not hard to see the magic of ABS filament.
Several users still prefer ABS owing to its excellent mechanical properties, easy post-processing, and low cost. It is still a popular material for 3D printing parts that are both useful and nice to look at.
Don’t fret about it too much, and try this material. Use this guide as a manual to learn how to print with ABS and get great results. Feel free to leave a comment and let us know if you think the article is missing something.
Have fun printing ABS, and good luck!
