Klipper Remote Access - Safe and Secure
The Klipper firmware allows you to wirelessly connect and access your 3D printer from your home network. You can control your Klipper printer using a smartphone, a laptop, or a tablet, as long as the printer and the device are connected to the same home network.
But what happens when you want to go outside and monitor your prints, or the home network's out, and you want to use the mobile network? The stock Klipper firmware is limited to giving you wireless control, not complete remote control.
This is where Obico steps in.
In this article, we’ll discuss how to remotely access your Klipper 3D printer using Obico. We'll also walk you through the installation and configuration process and examine how the Klipper remote access will benefit your 3D printing workflow.
Read on to discover the exciting possibilities of remote Klipper Access!
Remote 3D Printing with Obico on Klipper
Klipper is all about making it easy to use your 3D printer. Couple it up with remote printer access, and you open up several new possibilities.
You can be at your office and start your prints. You can start a multiple-day print at work on your other tasks. Or you may simply need an easy way to keep an eye on the printer when you're not nearby. Remote 3D printing makes all this possible and more.
You can remotely connect to your 3D printer in several ways: port forwarding, tunneling, Discord and Telegram bots, and a VPN service. And then you have Obico.
Obico gives you an easy and accessible way to access your printer from outside your home network. While the other methods are good alternatives, they can be challenging to configure and set up in some cases. Plus, they don't offer the failure detection capabilities that Obico does.
Obico is completely open-source, and you can even set up your own local server. This option gives you end-to-end control over the Obico software and is for the more tech-savvy users. Otherwise, the Obico cloud works just fine and has plenty of user-friendly features as well.
Security and Privacy Risks with Obico
The Obico software is fully open-source. This means anyone can review the code and see exactly how and what data Obico collects and how secure the methods are.
As Linus' Law states, given enough eyeballs, all bugs are shallow. Obico's transparent nature increases the number of eyeballs on its code.
In case of any security vulnerabilities, many people have seen and reviewed the code, which considerably reduces the chances of any security exploits that might be present in the Obico code.
Rest assured- your printer's data and personal data are safe with data and personal data are safe with Obico. You can also review Obico's Privacy policy, which states how it uses the data it collects from you. This should help put your mind at ease regarding any concerns.
Setting up Klipper Remote Access
Now that we've brushed over the benefits of remote 3D printing and squashed some security concerns, time to set everything up. Obico makes it easy to set up and configure remote access to your Klipper machine. Let's go over all the steps.
Create an Obico account
The first step is to set up an Obico account. This will be the control center through which you can remotely access Klipper.
- Go to Obico.io and click on the Get Started option.

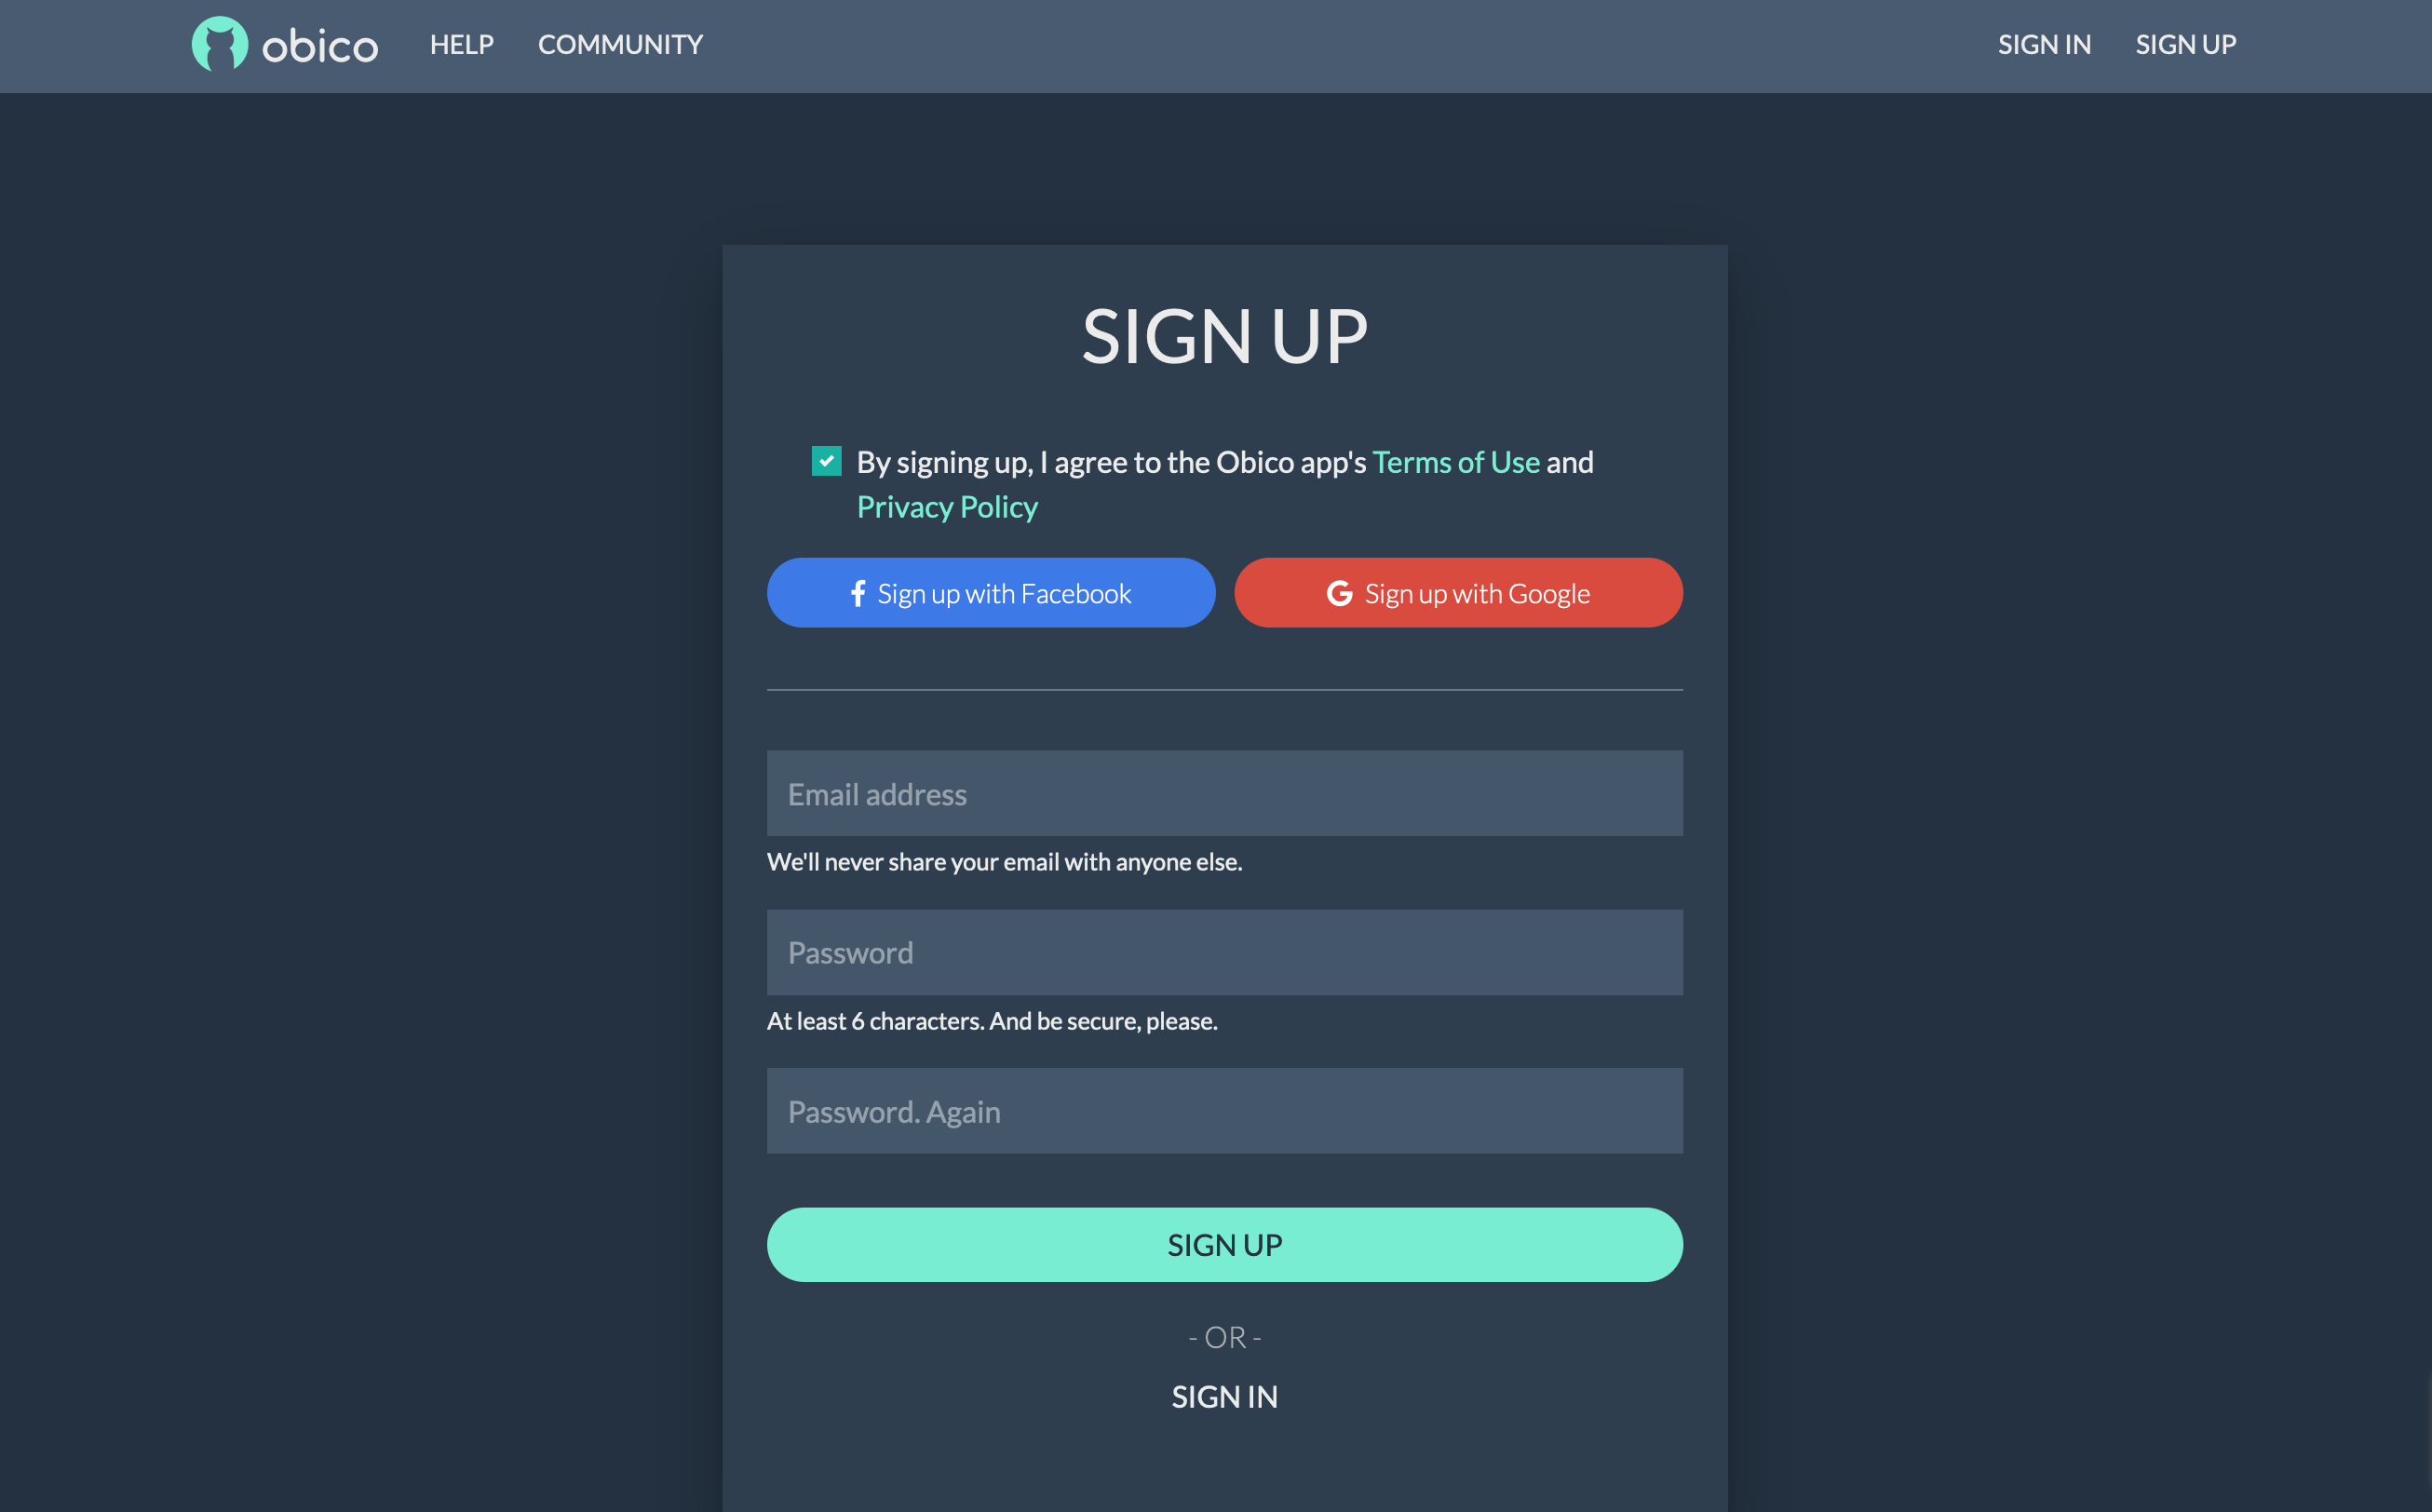
- Sign-up using your credentials to create an account.
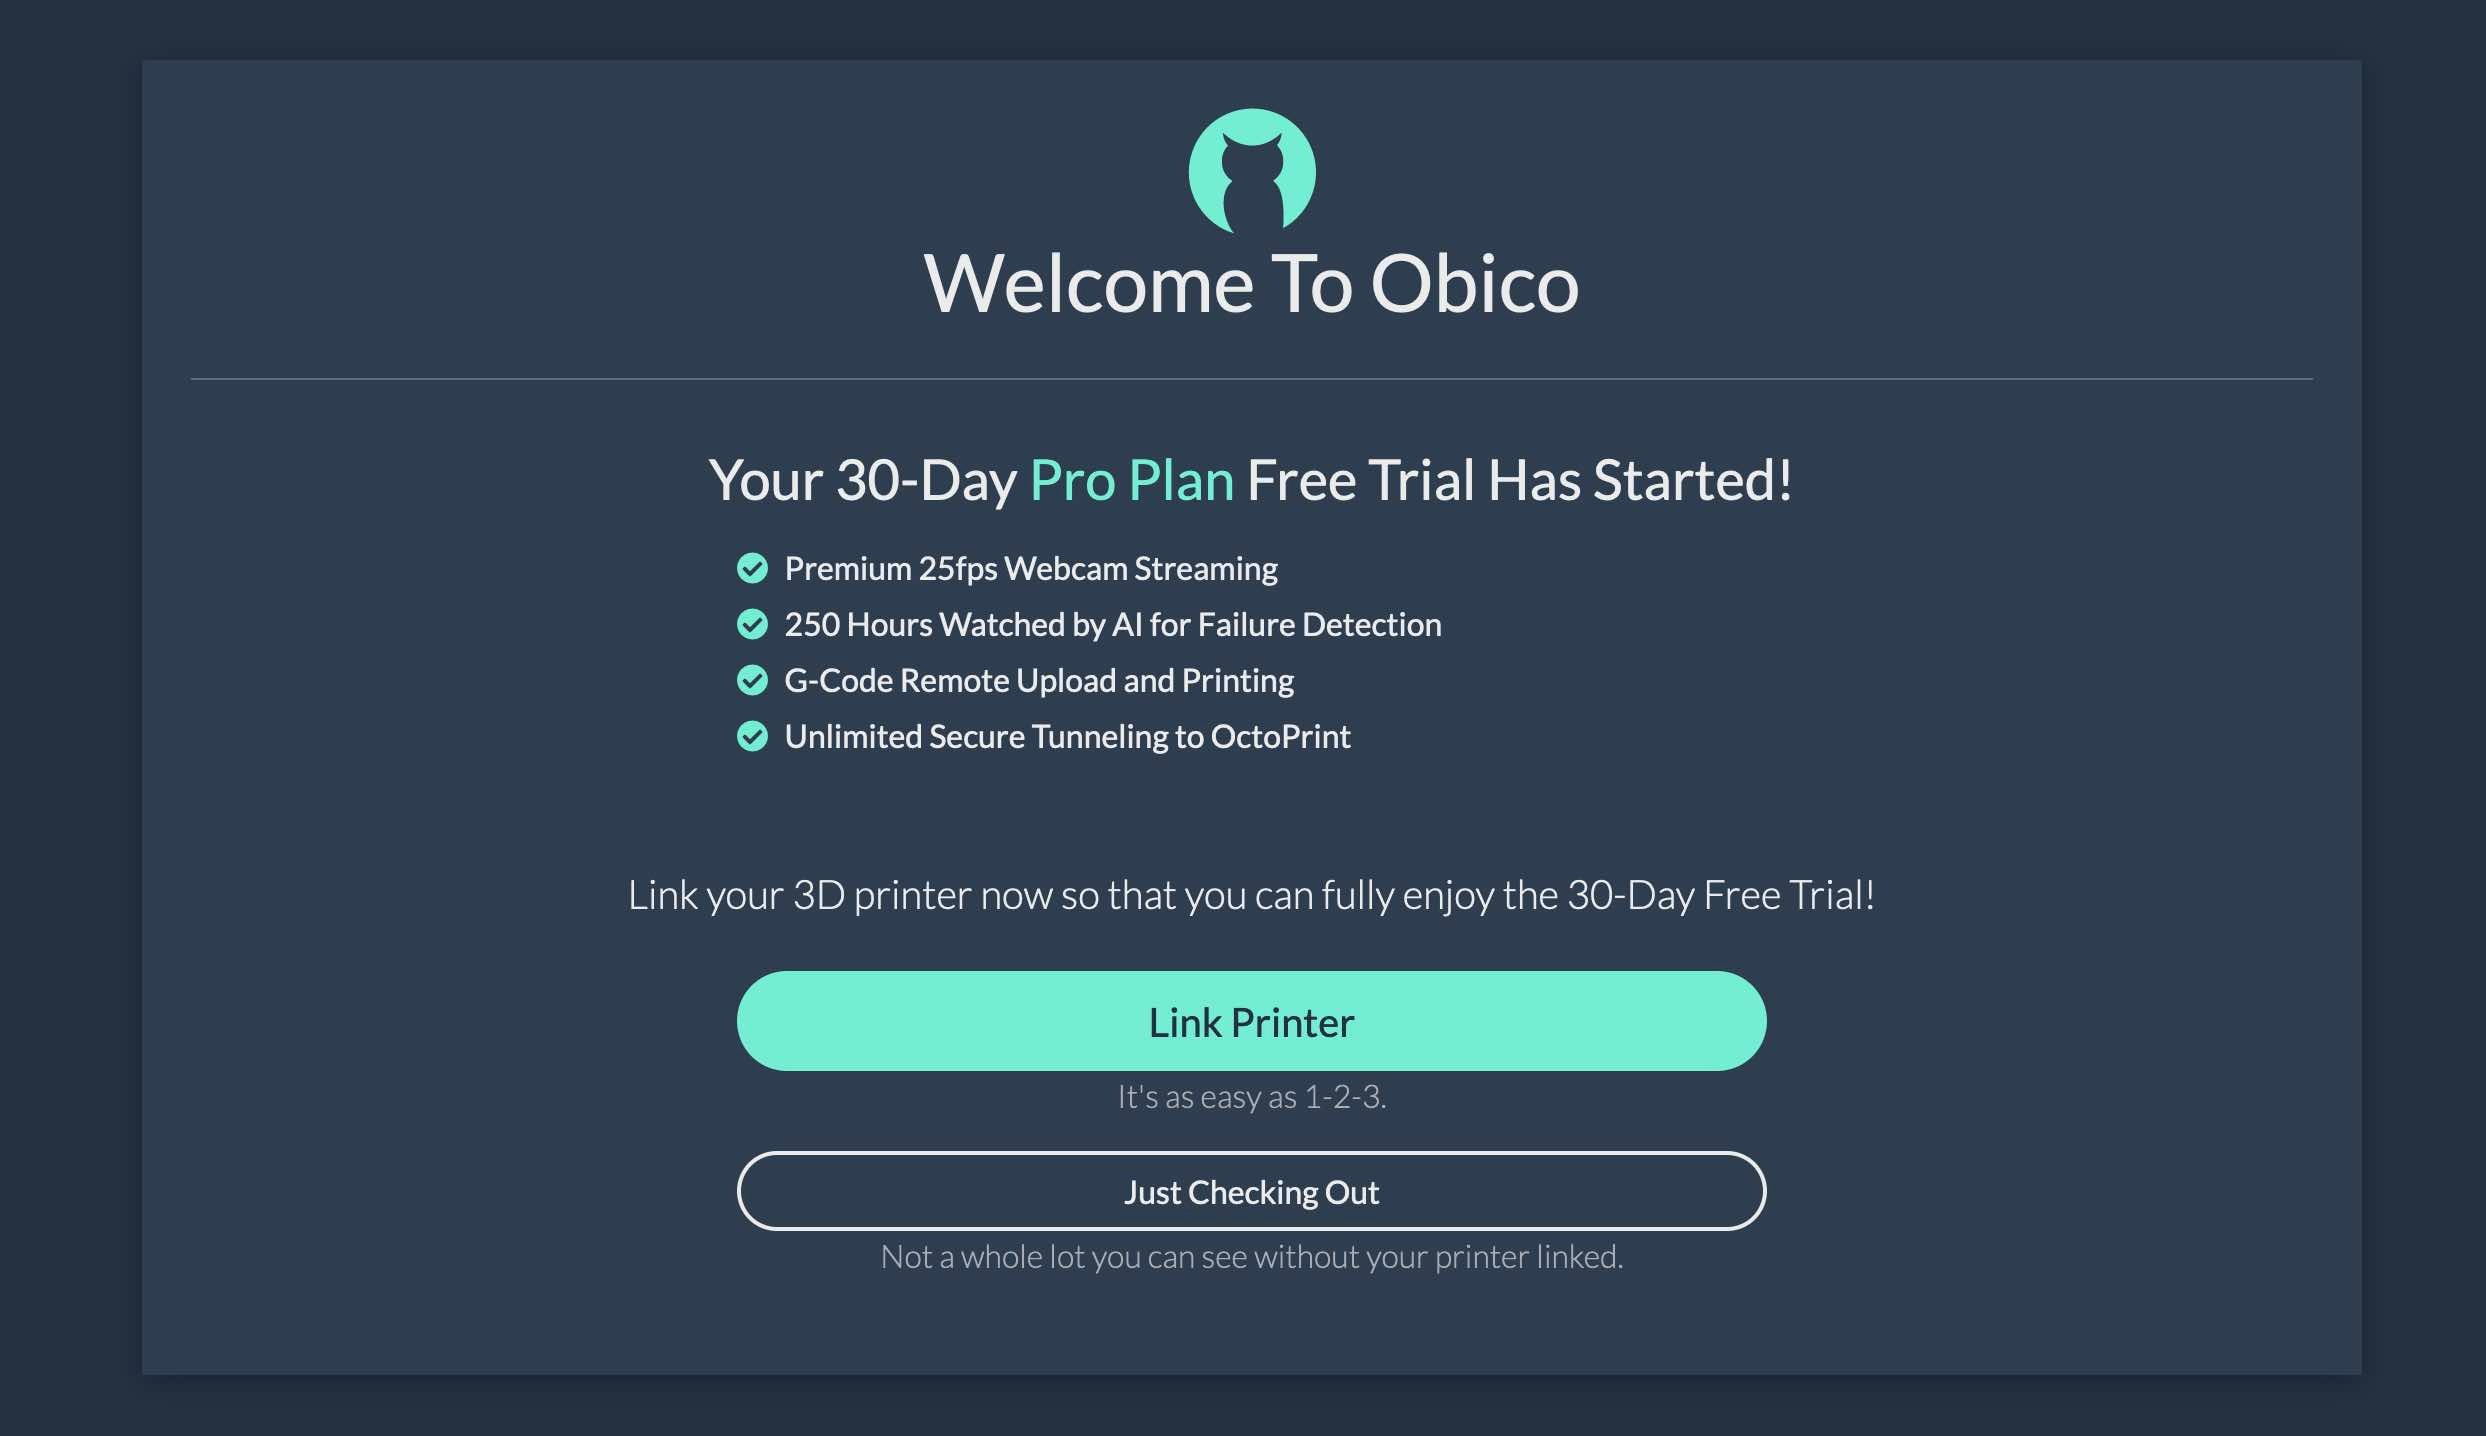
- Click the "Link Printer" button on the Welcome page.
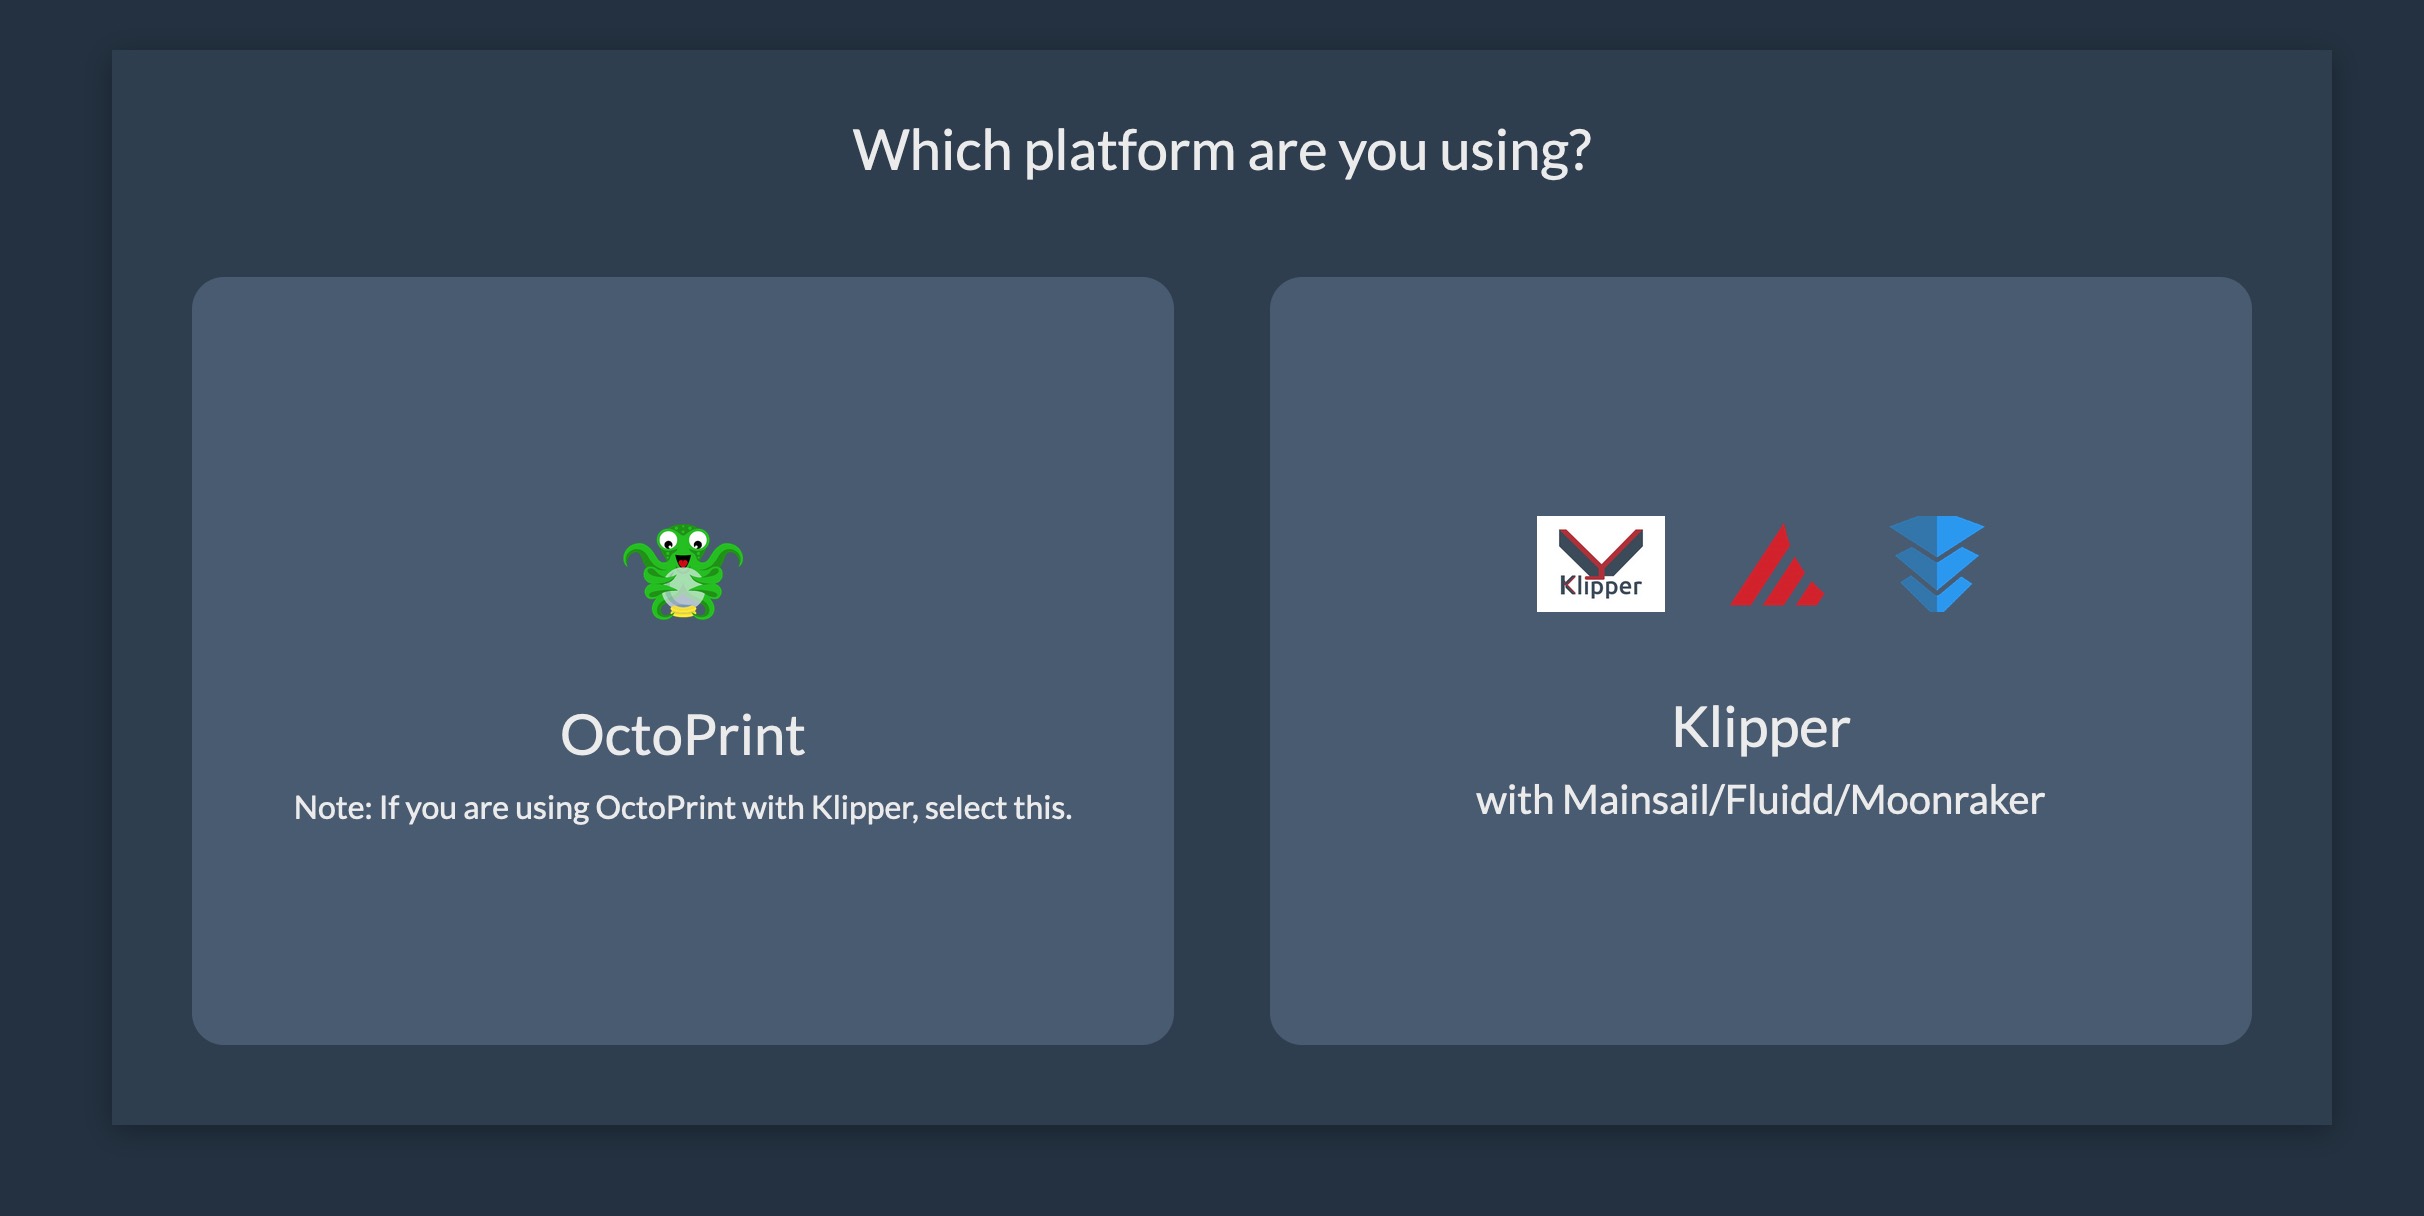
- Click "Klipper" on the page that asks you to select a platform.
- Click the Next button and keep this window open.
Install Obico on Klipper
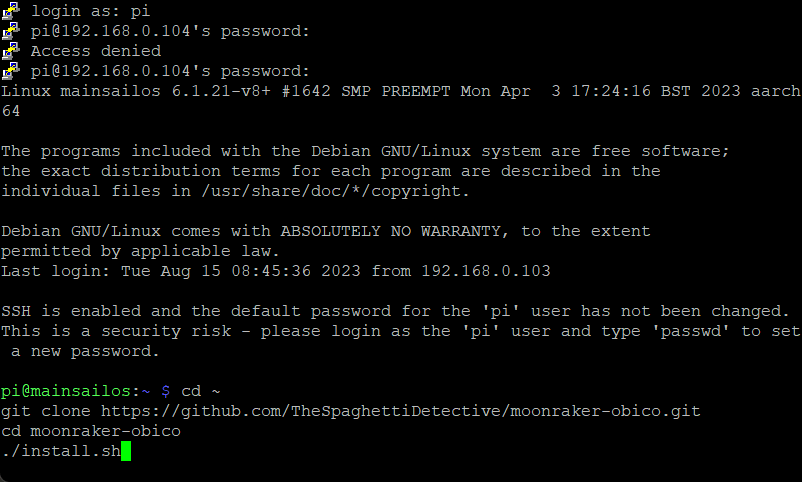
- Open PuTTY and SSH to your Klipper printer.
- Input the following commands in PuTTY
cd ~
git clone https://github.com/TheSpaghettiDetective/moonraker-obico.git
cd moonraker-obico
./install.sh
- Enter the password for your Raspberry Pi.
- You'll be asked to confirm the location of your moonraker.conf, Moonraker's port and address, and the log directory. Press Enter and continue the installation.
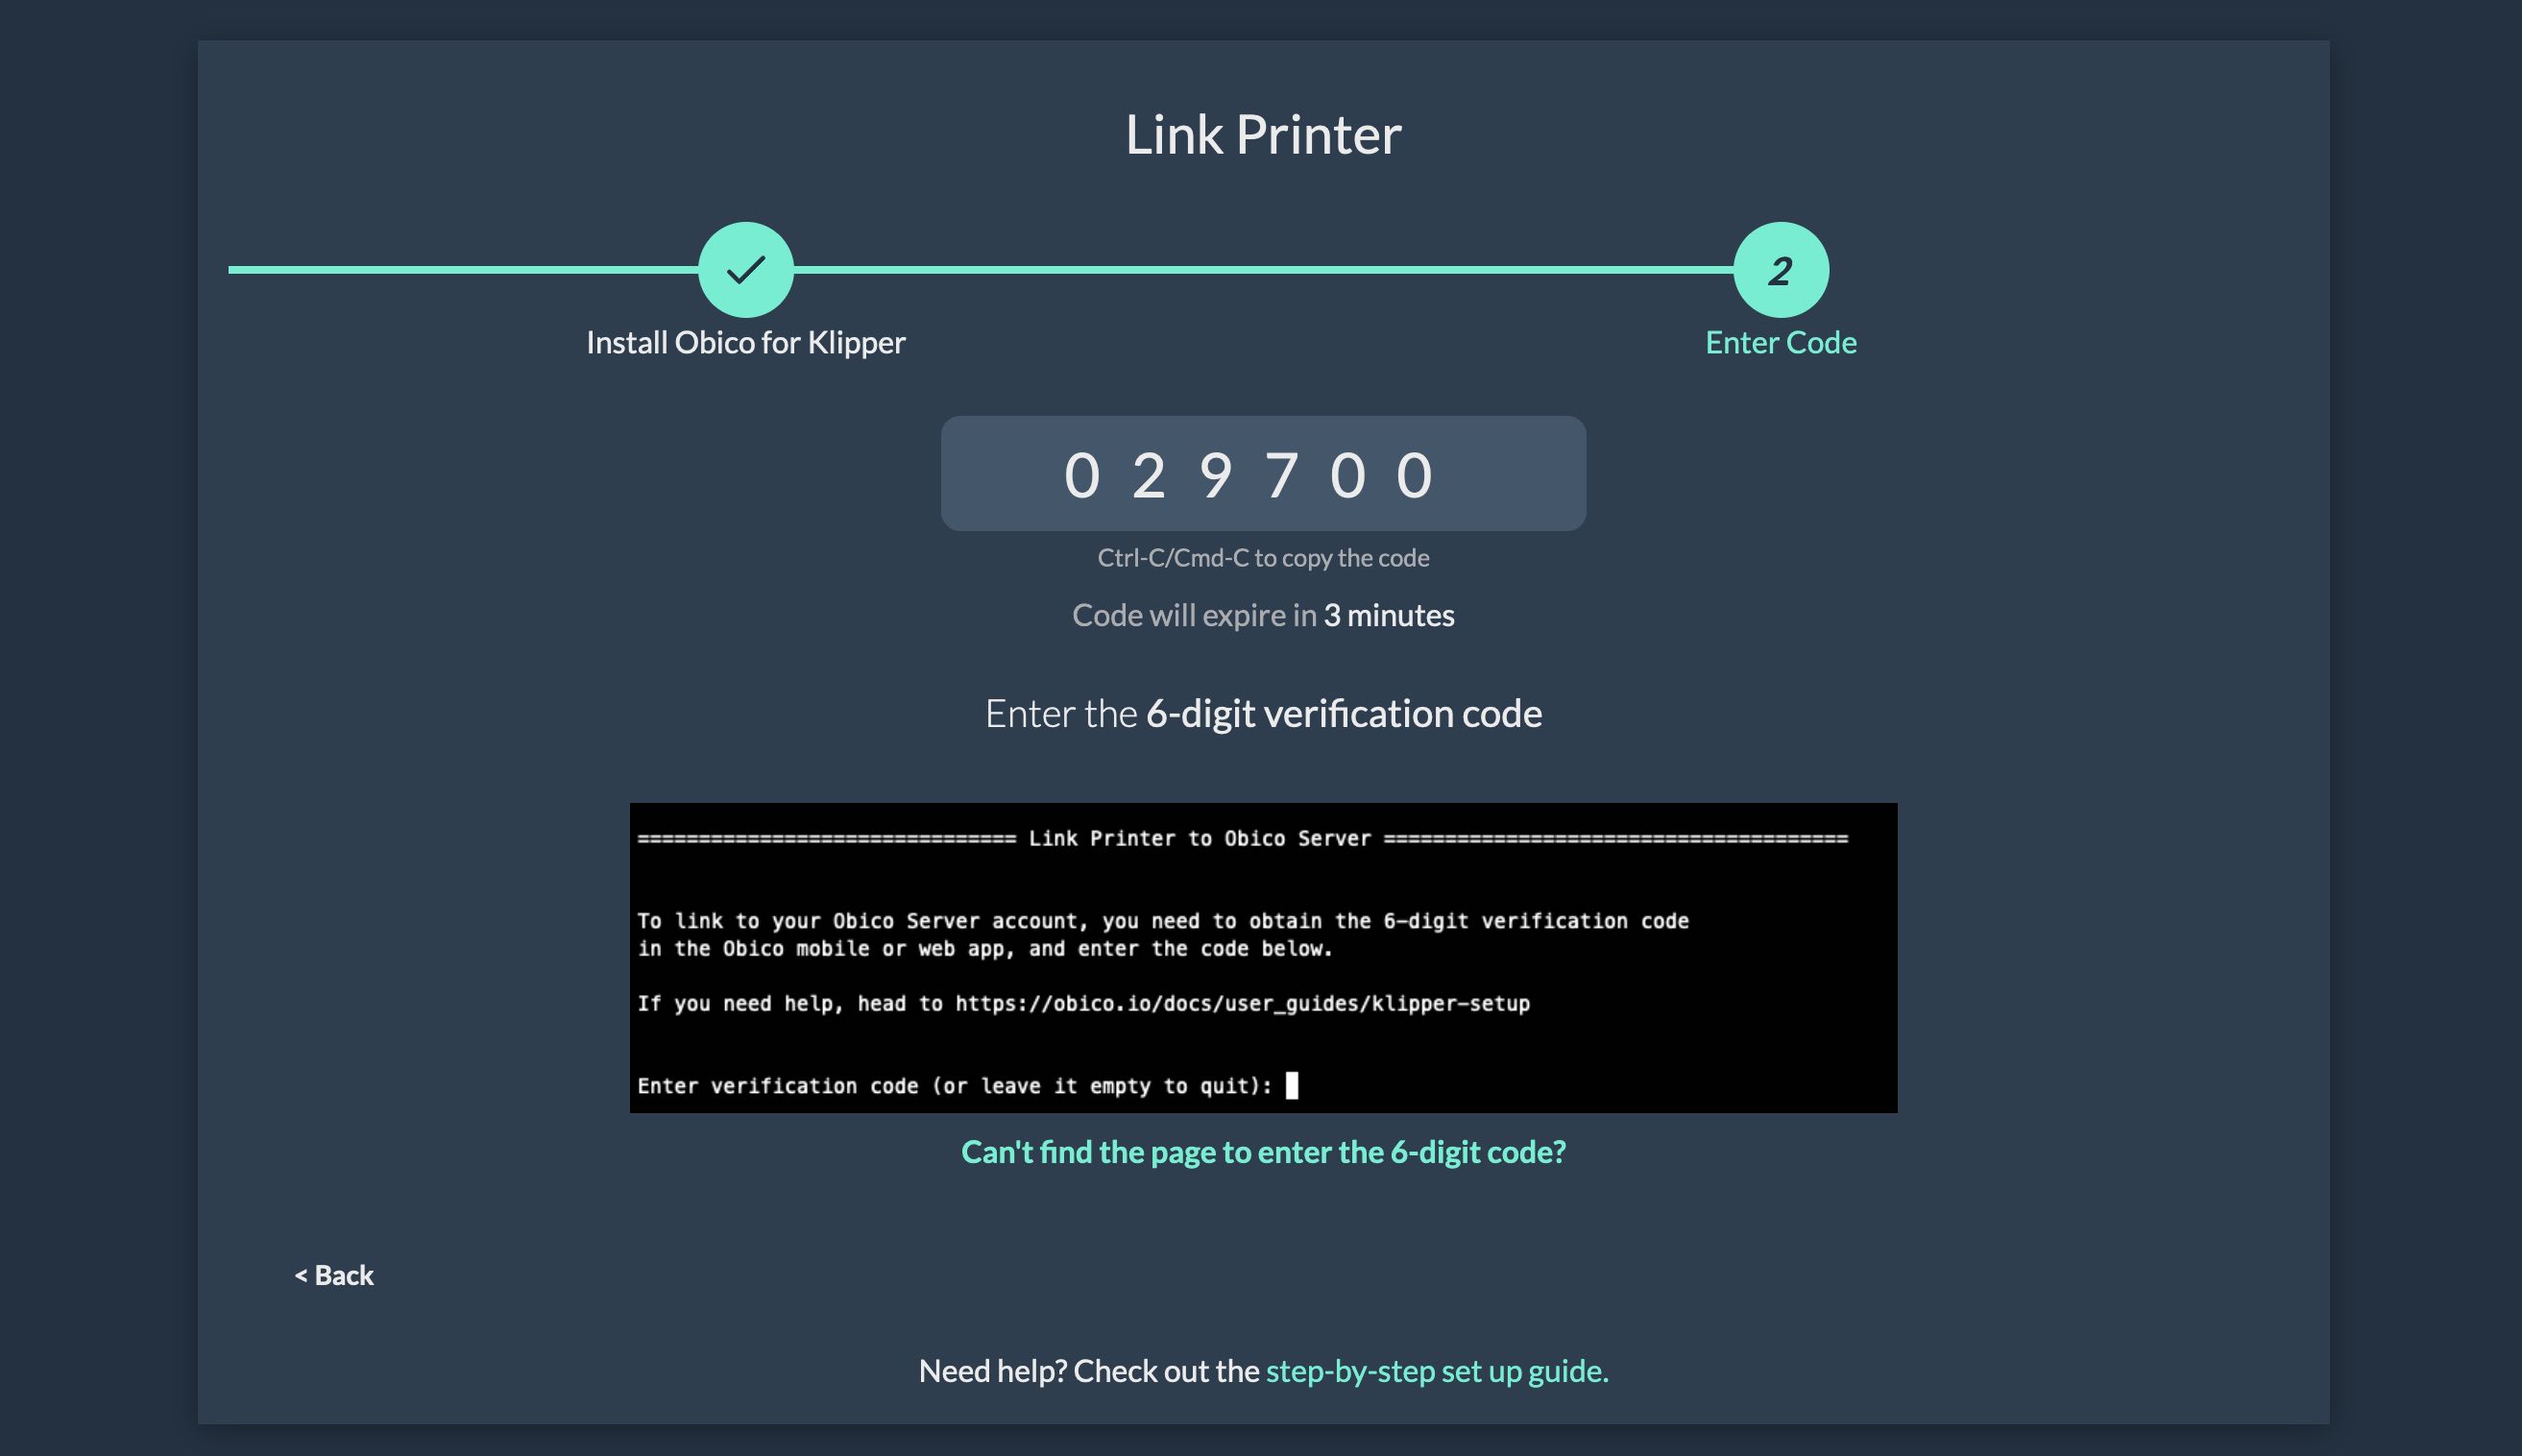
- At the end of the installation, PuTTY will ask for a 6-digit verification code.
- Enter the verification code from your Obico account window.
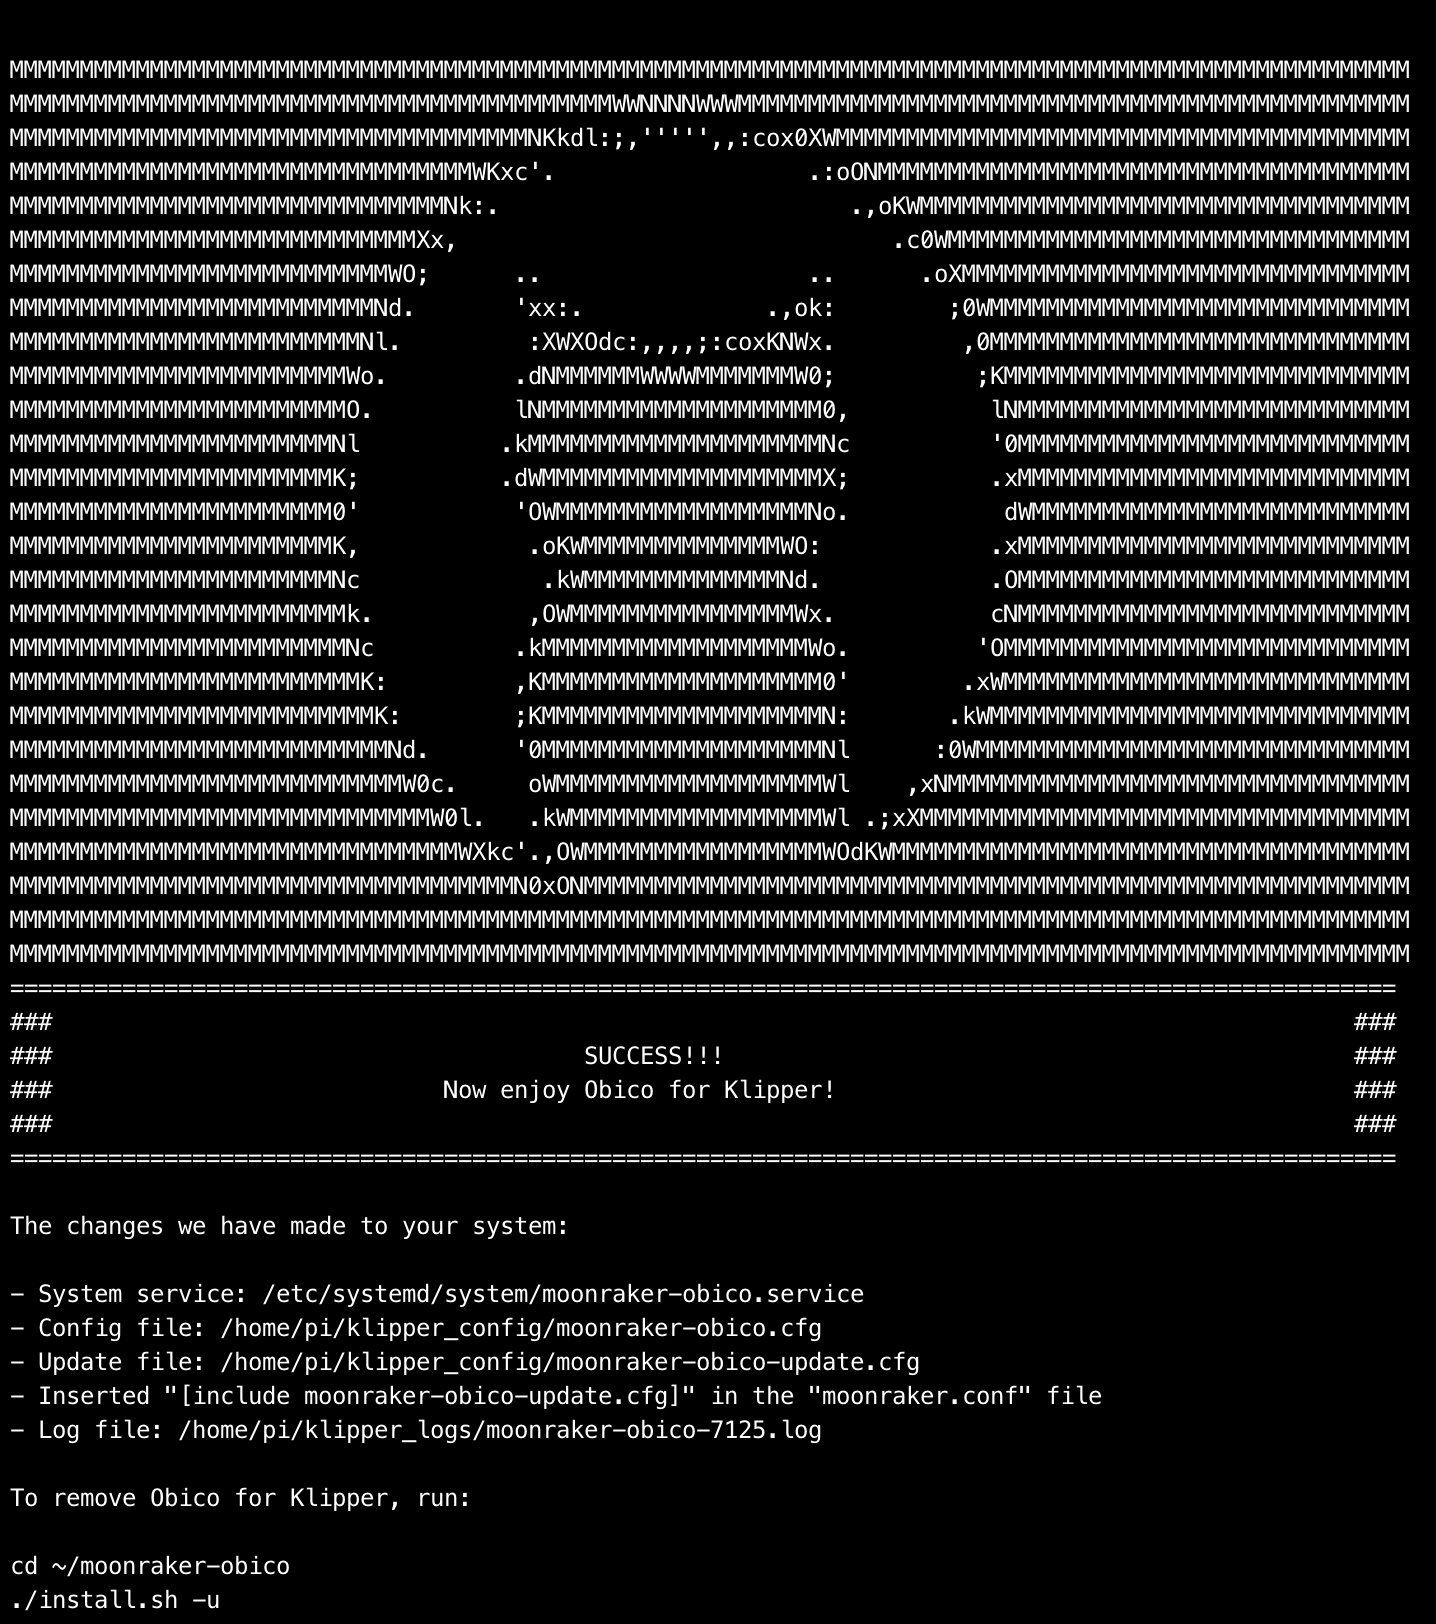
- You'll get a message indicating Obico is successfully linked to your Klipper 3D printer. That's it. You can now access your printer using Obico. You can now close the terminal
Features of Obico for Remote 3D Printer Access
Now that you have set up Obico on Klipper, it's time to know what it can help you with.
Live Printer Camera Feed
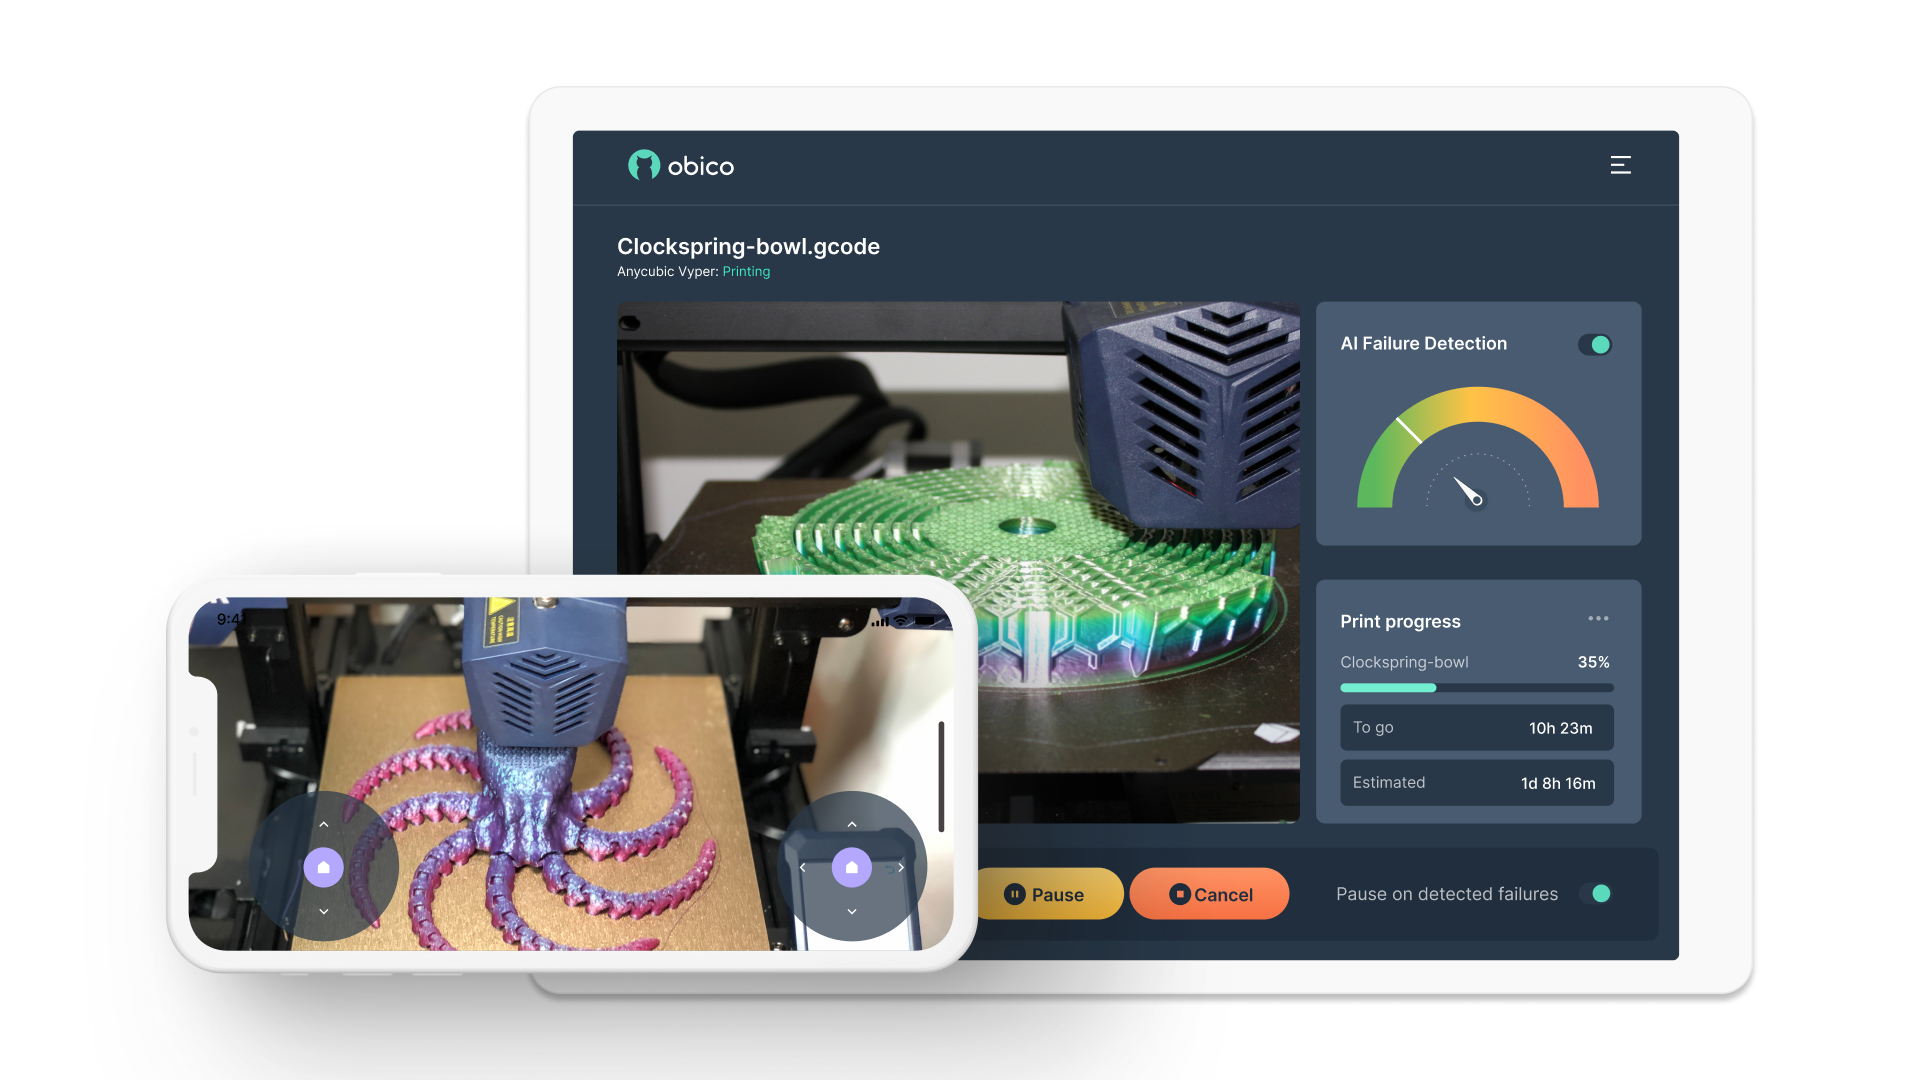
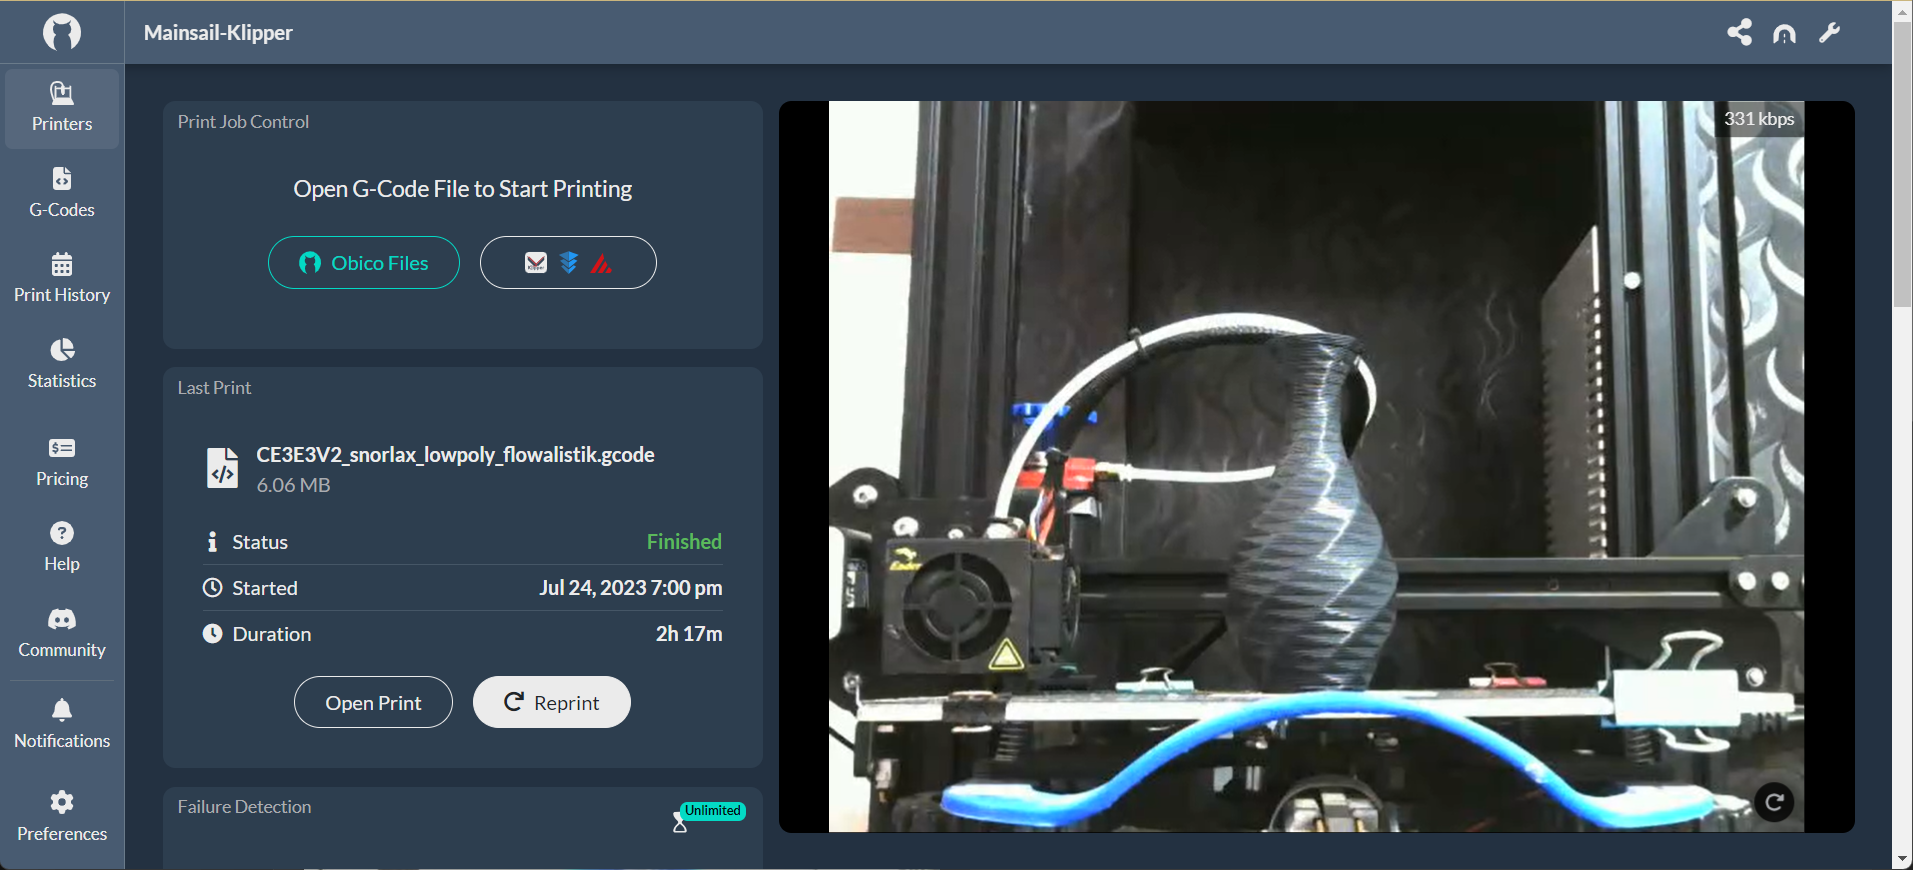 Obico lets you see what your 3D printer is doing in real-time on your phone or computer. As long as you have an internet connection, you can check on the present print job and see how it's going from anywhere in the world.
Obico now also supports the use of the RTSP system for camera-streaming. It lets you watch a high-resolution, high-FPS video stream of your printer while using less data. This is helpful when you're on the go, and your internet speed is slow.
Obico lets you take time-lapse movies, too. If the print fails at any point, you can use these videos to figure out where and why it failed. If not, you can show off your cool movie and your 3D print.
3D Printer Controls
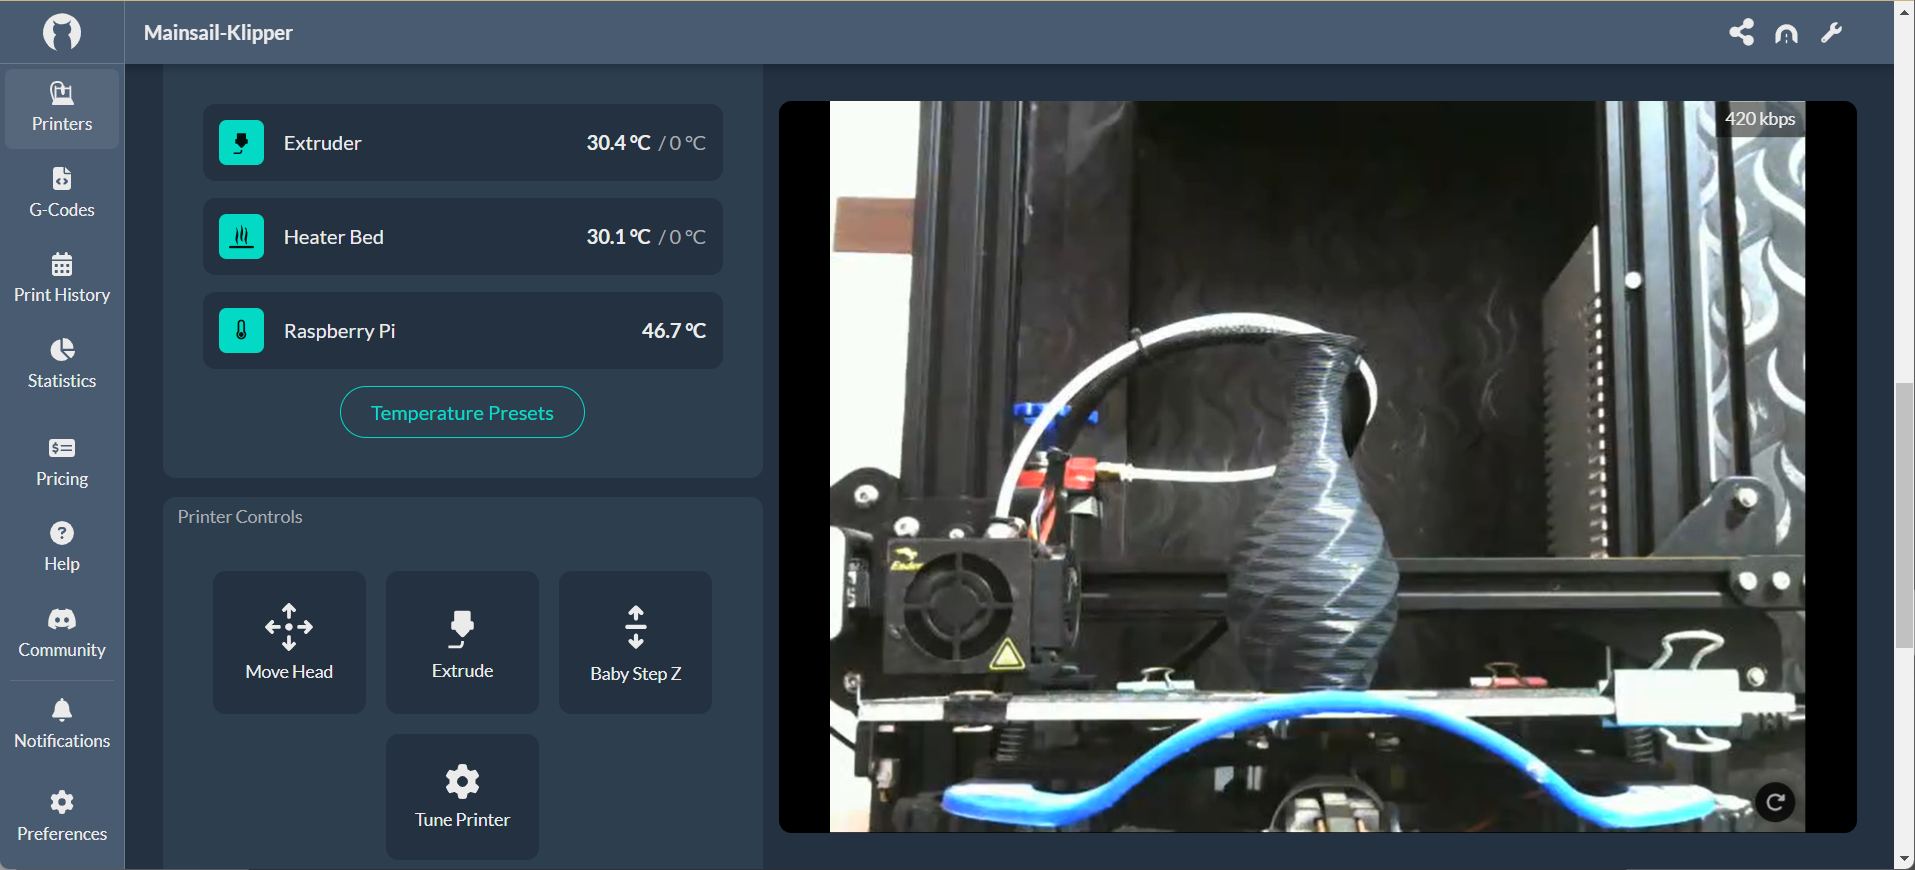 With remote printer access, you can direct the actions of your printer even when you're not physically close to it. Obico allows you to do everything from jogging the printer in any direction to turning off the stepper motors and extruding/retracting filament.
There are also settings that make it easy to fine-tune your 3D printer's print speed and flow rate. Then there's the Gcode console, which lets you send custom Gcode commands to your printer. The temperature presets, too, come in quite handy to quickly set the print temperature before you begin printing.
All these 3D printer controls allow you to start and stop your 3D prints remotely. If your 3D printer is well-calibrated, you can start printing while you're at work. This lets you improve the printer's efficiency without having to be in front of it all the time.
Gcode File uploads
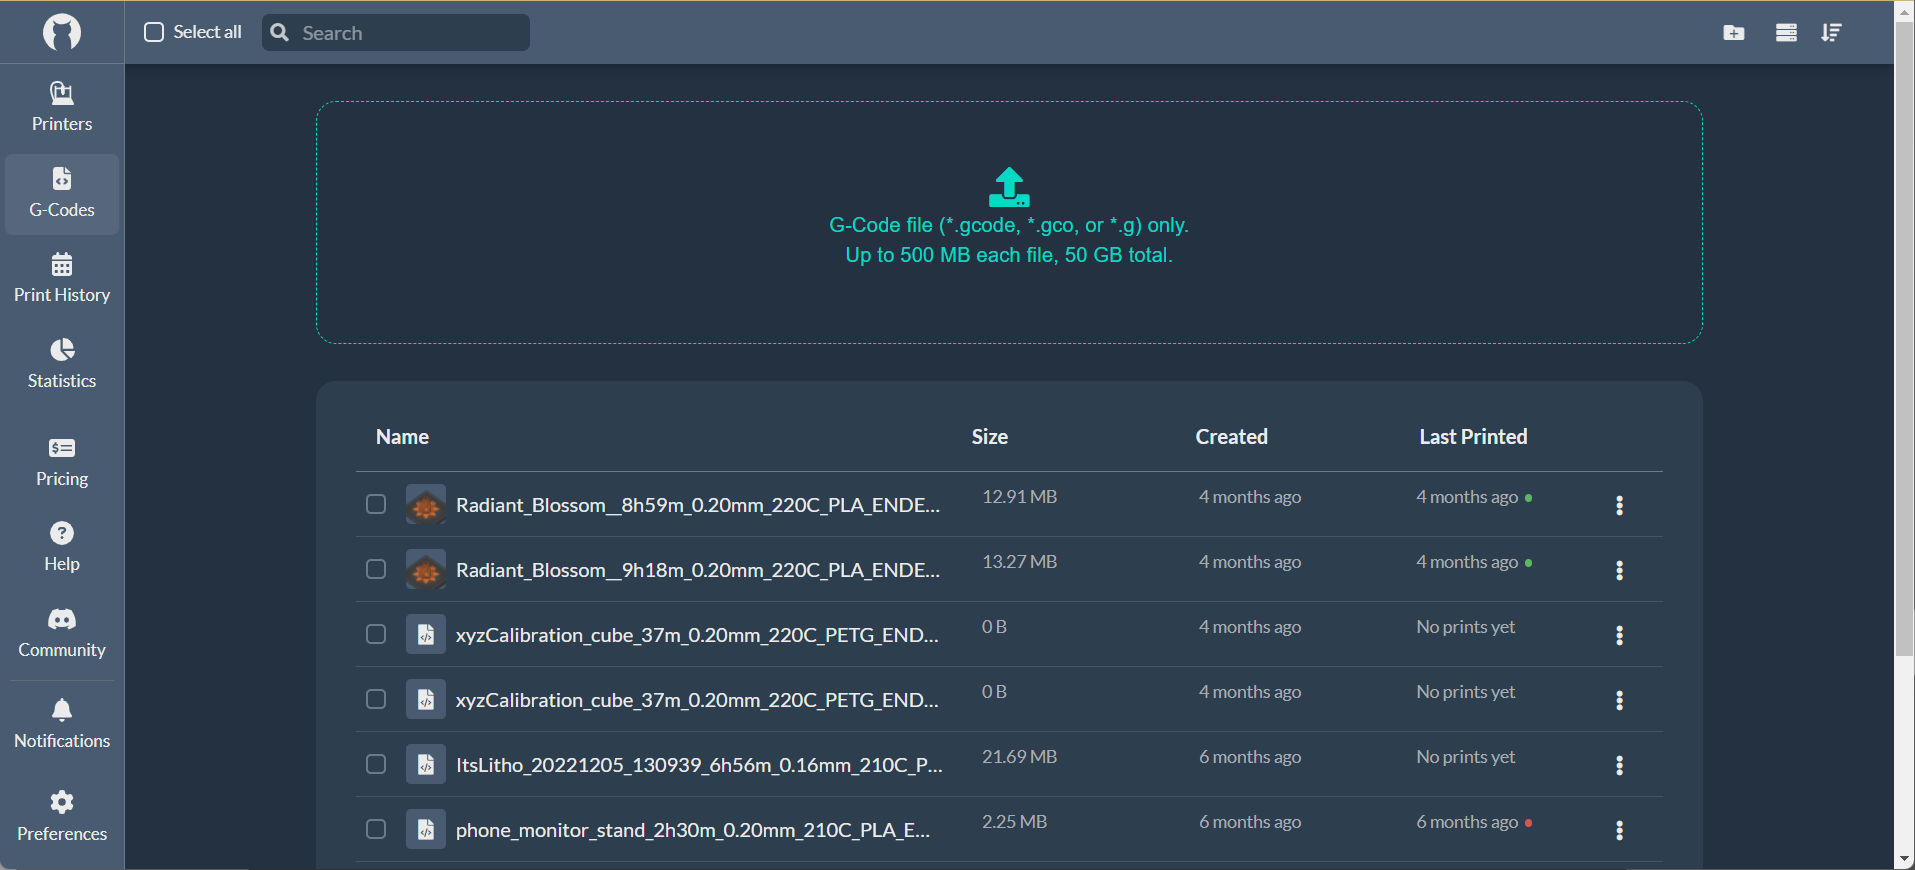 Starting your prints remotely means you need to have the Gcode files ready to go. The Obico server can store up to 50 GB of Gcode files, with each file having a maximum size of 500MB. This way, you can save the Gcode files on your Obico account beforehand and be ready to print on the go.
It can be useful if you need to 3D print more than one part of a job. Just slice the parts, and save all the Gcode files in Obico. You can print one part from afar, then ask someone to clean the print bed and start another.
AI Failure Detection
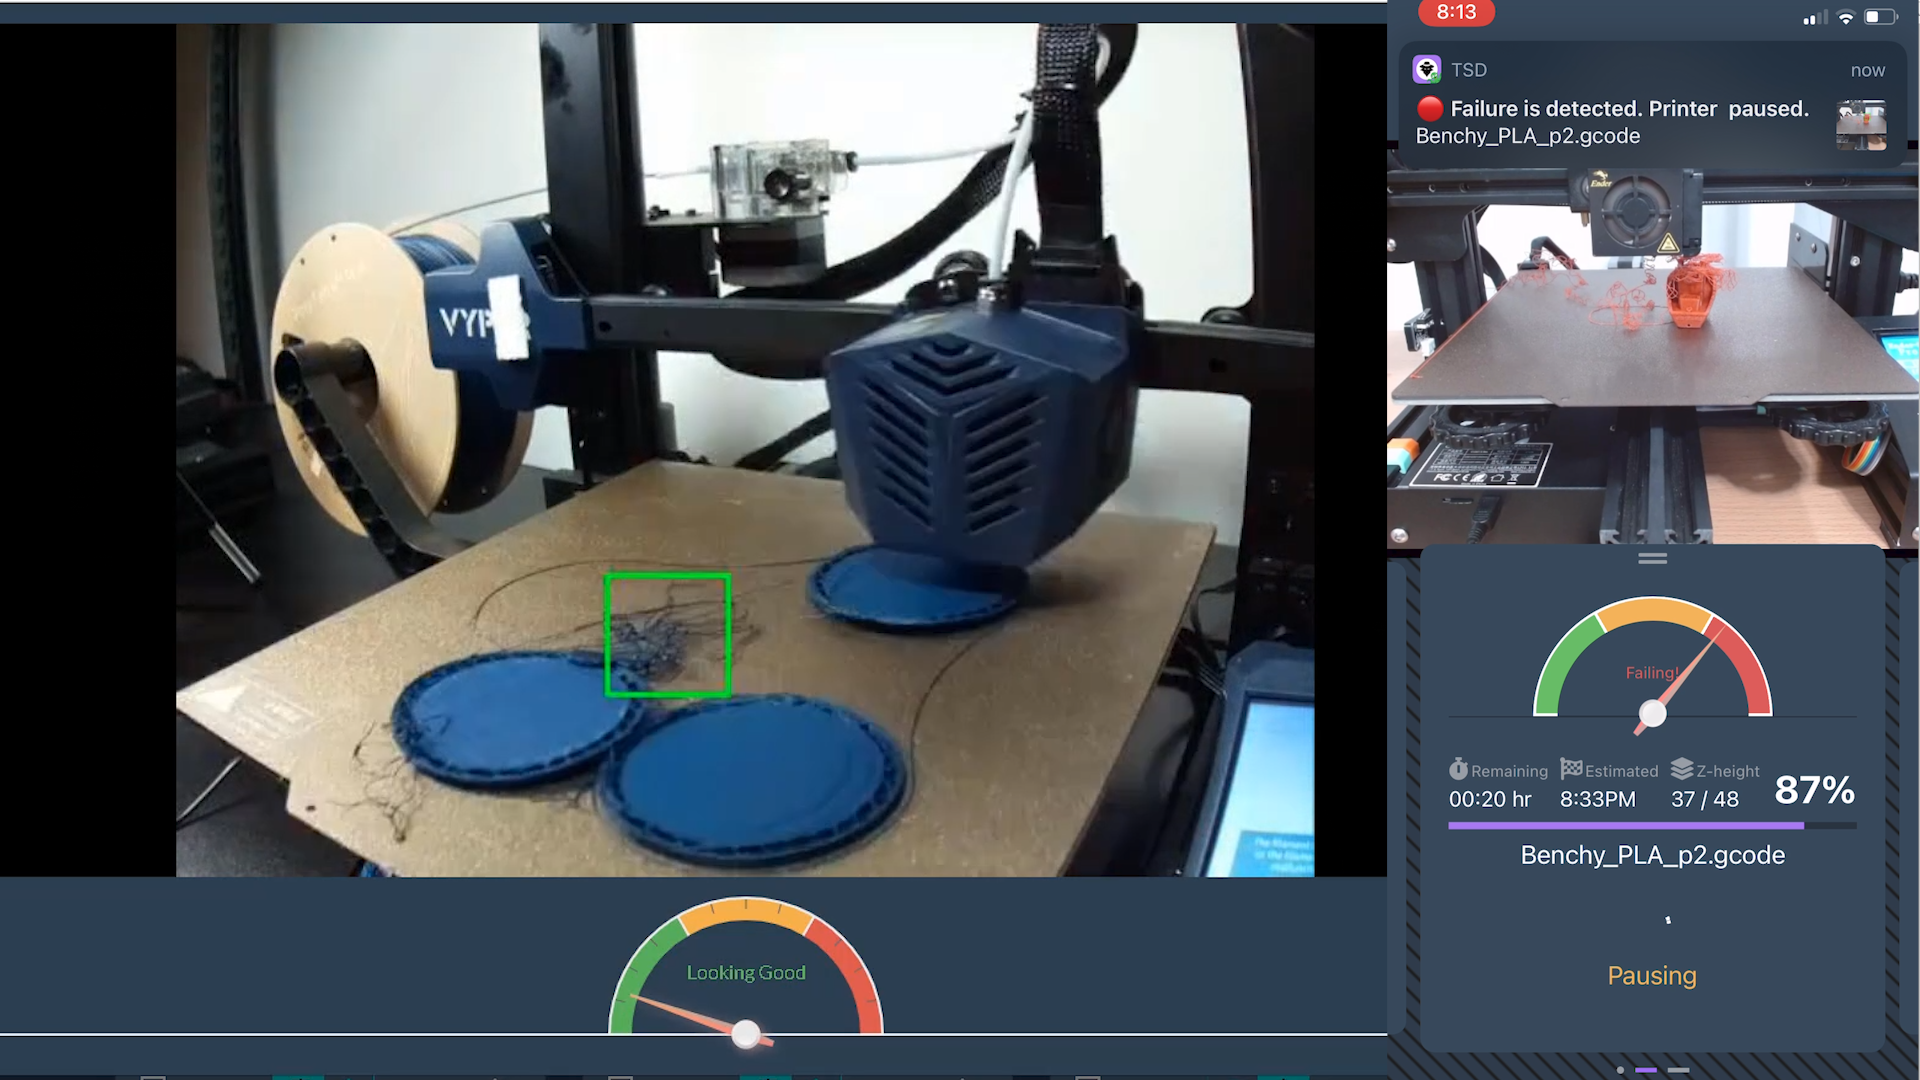 In 3D printing, failed prints are common, and no matter how well-tuned your 3D printer is, they're going to happen at some time.
Obico was originally called The Spaghetti Detective. So, failure recognition is still one of the most important parts of Obico software. Obico's easy detection of print defects is thanks in large part to its use of AI and sophisticated machine learning techniques.
It's not always possible to keep an eye on a 24-hour 3D print the whole time. In cases like this, Obico's AI failure recognition comes in very handy.
It keeps an eye on the model you're currently printing and looks for any signs that the print might fail. With millions of hours of 3D printing video, Obico has gotten pretty good at figuring out when a print is failing.
If it sees at any time that the print isn't working, it can stop the print right away. You'll also get a notification about the print failure.
This failure detection technology can help you save lots of wasted material and print time. It can also keep problems like hot-end blobs from happening, which can ruin the whole hot-end assembly.
Klipper Tunneling
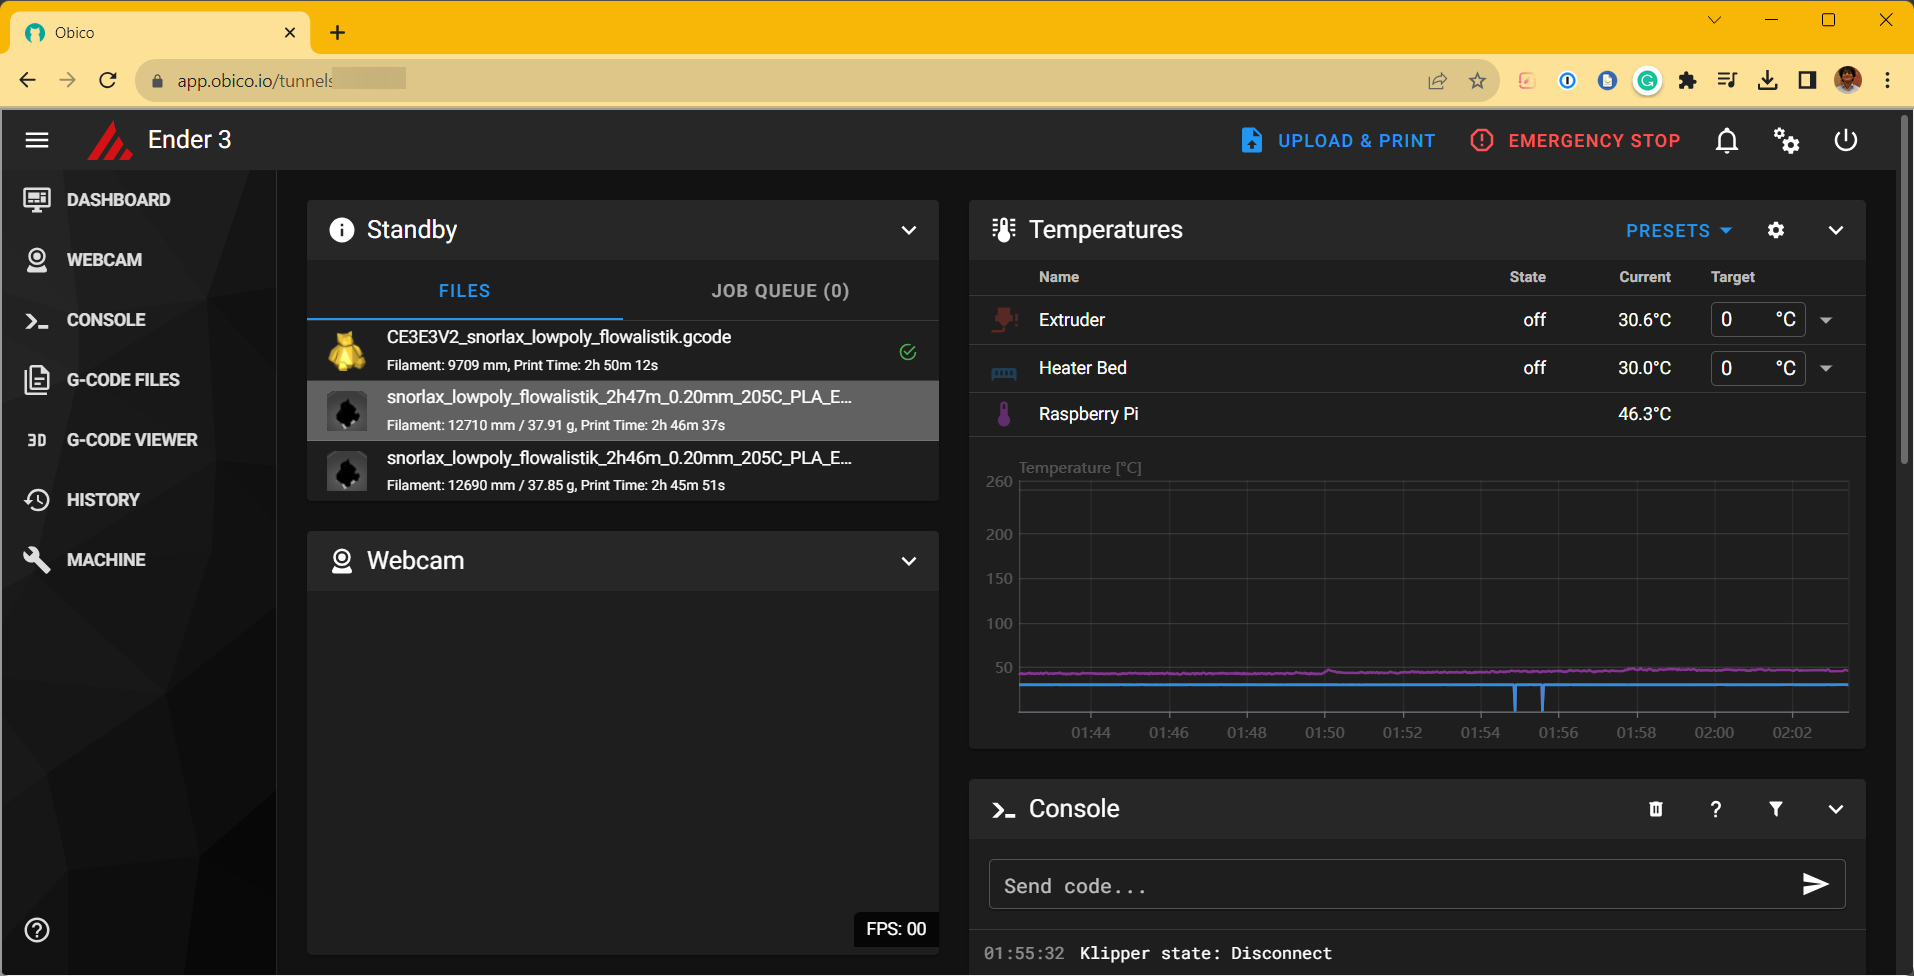 The Klipper Tunneling function is one of the best ways to reach your Klipper 3D printer from afar. This "tunneling" lets you access the Klipper interface on your phone or tablet in a safe way.
As we've already said, there are several ways to access your 3D printer from afar. But most of them are hard to set up and raise concerns about safety.
With Klipper tunneling, all the data and access to your 3D printer go through a secure "tunnel." This prevents anyone from gaining unauthorized access to your printer and all of your sensitive information.
Plus, you get all of the Klipper features on your mobile device. You can look at the Gcode files, change the configurations, update the software, and do almost everything else you could do on your home network with Klipper.
Multiple Notification Options
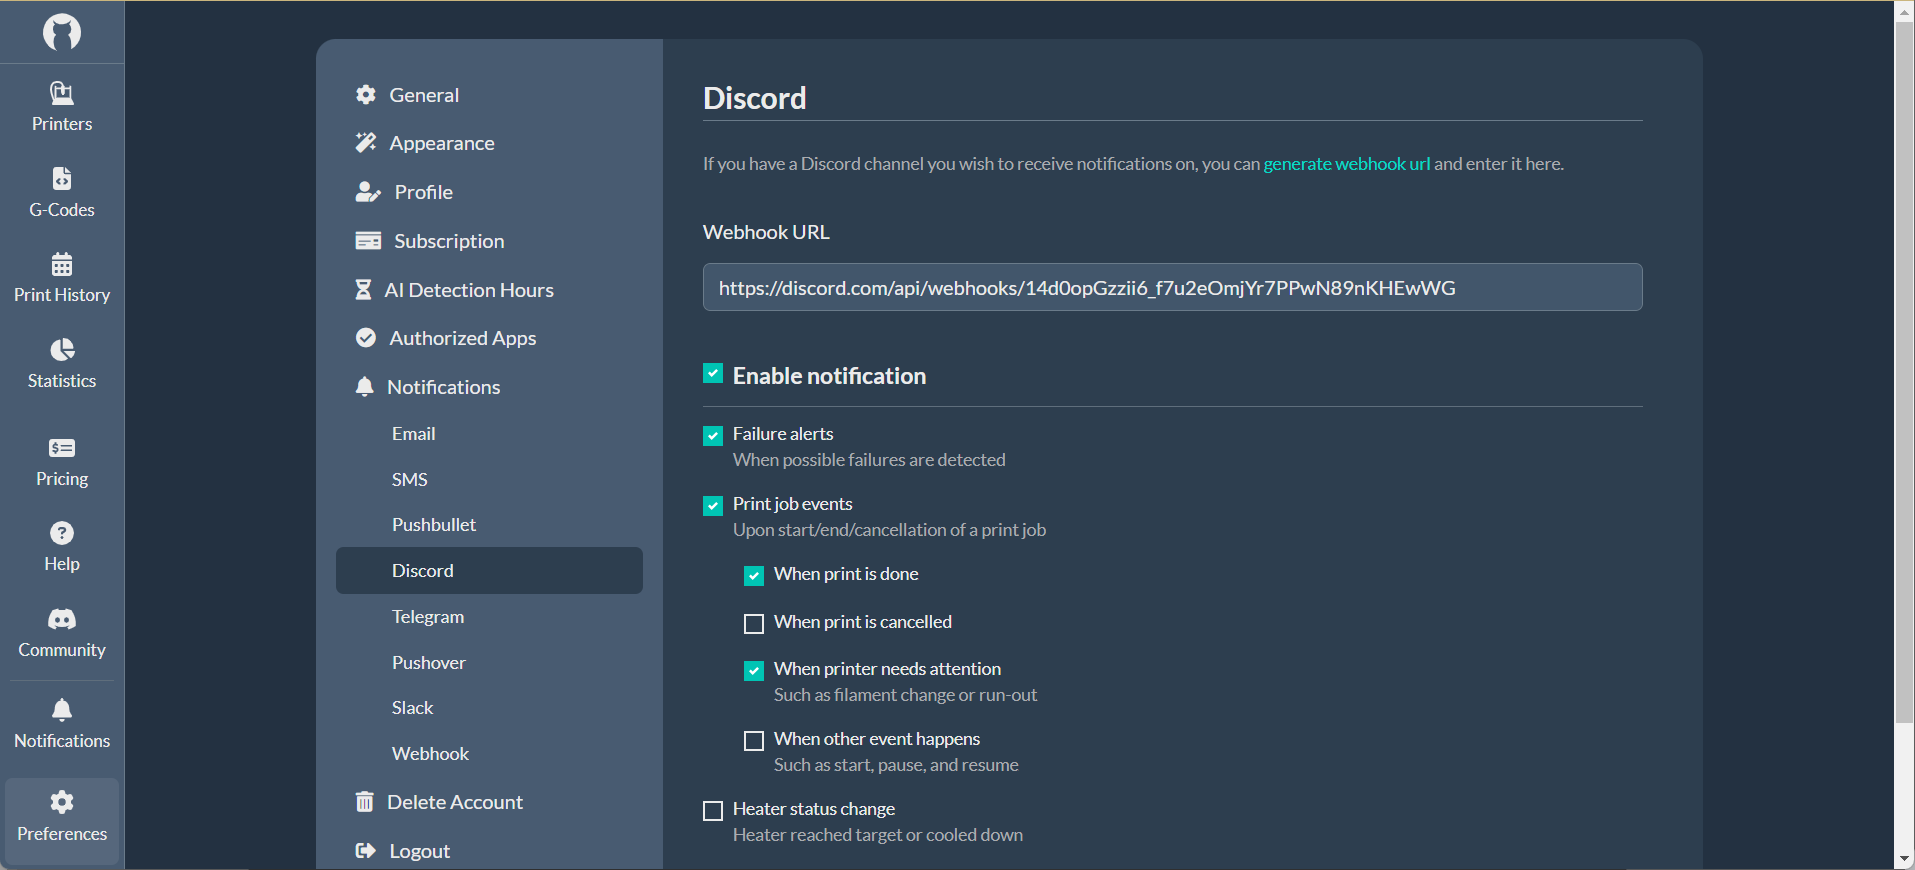 While monitoring your 3D printer from afar, it's important to get timely notifications about its various activities.
Obico can help you get printer notifications on multiple applications, including Discord, Slack, Email, Telegram, and four others.
This way, you will receive all updates from your printer, which is quite handy if you don't want to constantly monitor your prints.
Get Started!
That's it- everything you need to know about accessing your 3D printer remotely with Obico. If you've used it before, let us know if we forgot anything. And if you're new to Obico, please let us know how remote 3D printing goes for you.
Till then, Happy 3D Printing!
