14 posts tagged with "Klipper"

View All Tags

Sovol SV06 ACE - Klipper Remote Access and AI

· 10 min read

If you’ve been using 3D printers for a while, you’ll know there’s a way to remotely control prints, check on progress, and perhaps even optimize your printer’s movement for smoother running.

But how exactly can you do that? 

It’s impossible without getting slightly technical, but it’s all worth the faster print times and advanced motion control. The quickest answer is–Klipper firmware. 

Klipper is an open-source firmware based on Python developed to handle the advanced changes in 3D printing hardware. Normally, 3D printers come with a standard firmware hardcoded onto the on-board memory and any configuration change requires firmware installation, like solving a labyrinth. Instead, Klipper firmware can be edited, and modified and a simple device restart applies the changes.

It’s compatible with many 3D printers and you can check the complete list here. Klipper pairs with these common printers: 

  • Creality 

  • Sovol

  • Pursa

  • Anycubic

    You have set up Klipper and the Moonraker API correctly, and it is connected to your printer. An interface such as Mainsail/Fluidd is highly recommended.
Sovol SV06 Ace - Klipper remote control and AI

What Is Remote Access Using Klipper?

Remote access or remote controlling your 3D printer allows you to monitor (in real-time), control, manage print files, and receive updates about your print from a distance. Remote access using Klipper works through a web-based interface requiring your phone or computer and a 3D printer connected to the internet. 

That’s slightly unsecure, but there are other ways like port forwarding and bots and then there’s Obico

Obico offers everything that comes with remote access plus, smart monitoring, AI error detection, print optimization, file management, and cloud-based storage. It’s entirely open-source and you can even set up your own local server and have hybrid access or a fall-back option.

SOVOL SV06 ACE Klipper Integration

Previous Sovol printers like the SV06 are based on a Marlin control board which runs entirely on the printer’s micro-controller. Marlin is the old architecture for 3D printers and faces performance issues because Marlin firmware does not meet the advanced hardware capabilities of printers. 

There are ways to upgrade to a Klipper firmware which involves using a Raspberry Pi controller, or a tablet. However, now you can also use Klipper touchscreens such as the one provided by Sovol which simplifies the upgrade. 

Sovol SV06 ACE comes with pre-installed Klipper integration, so you don’t have to go through the Raspberry Pi guides found on the internet for your Sovol printer. 
Klipper Integration

Input Shaping: What it is and How to Use it

· 5 min read

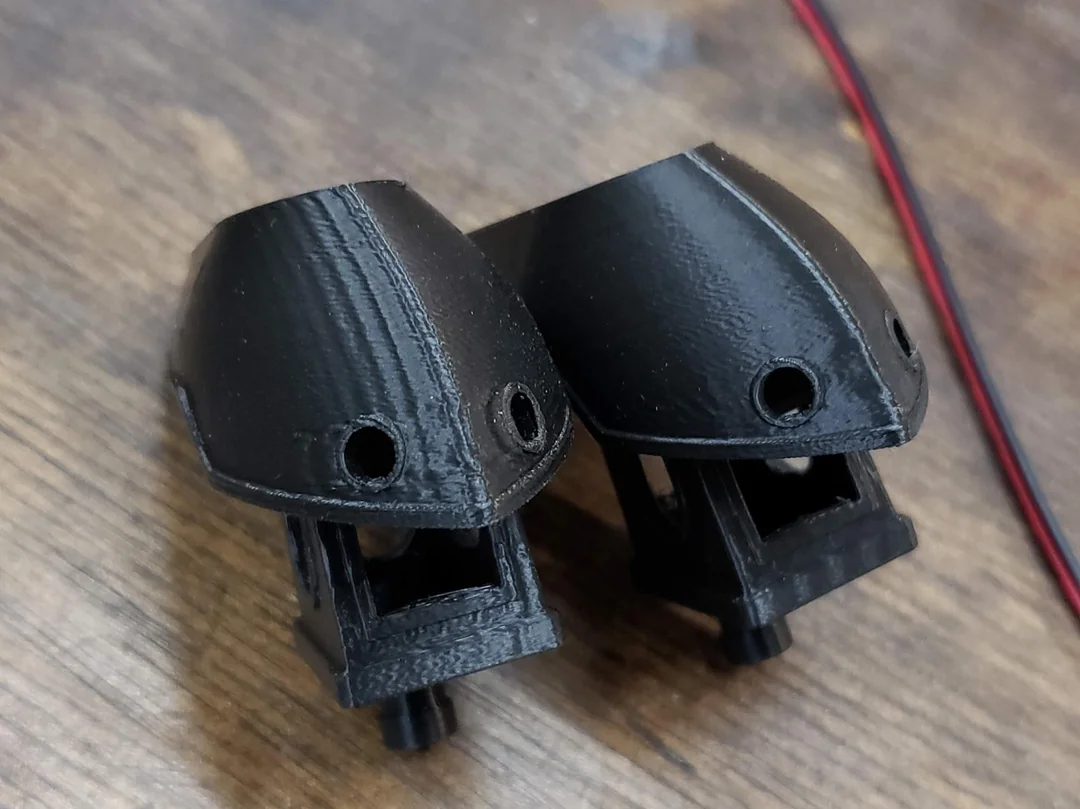
Over the past decade, the hobbyist 3D printing community has seen several technological advances that have increased the quality and speed of hobby-level printing by leaps and bounds. One of these advances has been input shaping. Input shaping has the ability to make your 3D printer faster and more accurate, and the best part of all is that it’s incredibly cheap and easy to implement! In this article we’ll discuss what input shaping is, as well as how to use it.

A photo showing two 3DBenchys

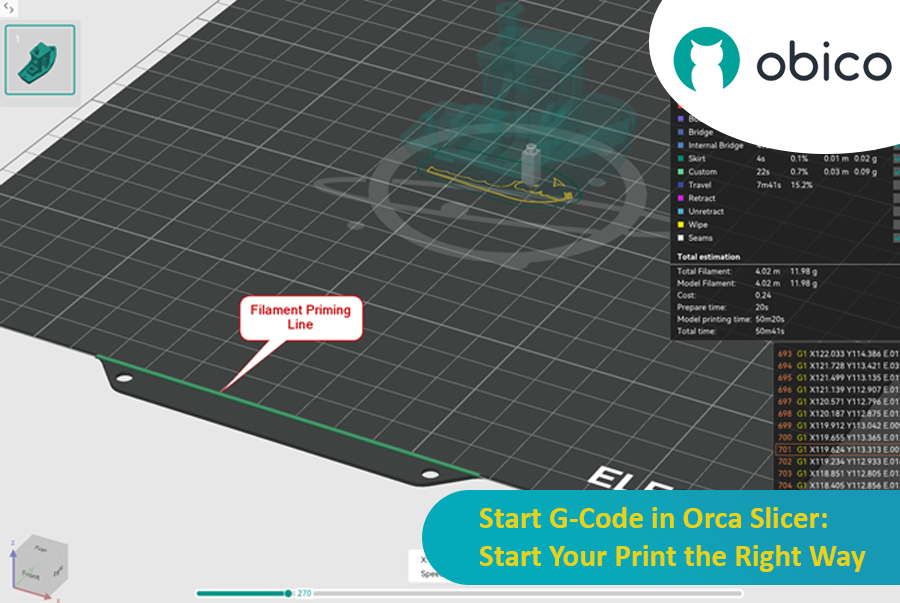
Start G-Code in Orca Slicer: Start Your Print the Right Way

· 18 min read

In the 3D printing world, the initial setup of your print is just as important as the model you’re trying to bring to life. One of the most critical and often overlooked components of this setup is the Start G-code, a set of instructions that prepares your 3D printer for the actual print. Whether you use Orca Slicer, a feature-rich slicing software that is based on Bambu Studio and PrusaSlicer, or another slicer, understanding and customizing the Start G-code can be the key to better prints and a smoother workflow.

Start G-Code in Orca Slicer: Start Your Print the Right Way

In this article, we will go deep into what is Start G-code, why it’s important for perfect prints, how to edit it in Orca Slicer, and how to customize it for any 3D printer. We will also explain the Start G-code in the well-known Elegoo Neptune 4 Pro in Orca Slicer as an example for better understanding.

By the end of this article, you will know how Start G-code works, how to tweak it for best results, and how to use advanced techniques like Klipper macros to make your G-code simpler more readable and easier to update.

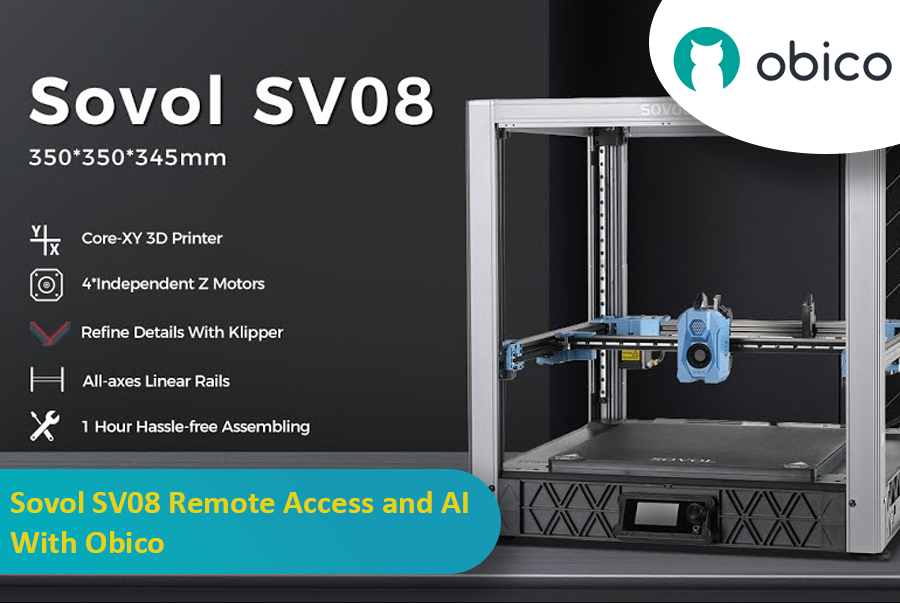
Sovol SV08 Remote Access and AI With Obico

· 23 min read

Introduction

The Sovol SV08 is a standout 3D printer in the current market, offering a mix of advanced features, precision, and versatility that caters to both beginners and experienced makers. By integrating it with the Obico platform, an AI-powered, open-source system, users can significantly enhance their 3D printing experience through remote monitoring, control, and AI failure detection.

Sovol SV08 Remote Access and AI With Obico

This guide will take you through setting up your Sovol SV08 with Obico, including firmware updates, WiFi connections, and integrating the Obico system. We will also look at some advanced features provided by Obico, like Nozzle Ninja AI, which takes first-layer monitoring to another level, as well as the new built-in online slicer.

Installing and Configuring Klipper on BTT Pi 2 with Obico AI Integration

· 18 min read

Introduction

3D printing is a fast-moving field, with new developments constantly pushing the boundaries of what is possible. One such development is the partnership between Obico and BigTreeTech (BTT), which brings Obico's advanced AI capabilities within reach of 3D printer enthusiasts through the BTT Pi 2.

Installing and configuring Klipper on BTT Pi 2 with Obico AI Integration

This guide gives complete step-by-step instructions on how to install Klipper onto your BTT Pi 2 and then integrate Obico AI onto it. It includes detailed instructions for setting up an Ender 3 V2 3D printer as an example. Additionally, we will provide guidance on configuring other printer models to ensure all users can benefit from this setup. Whether you're a novice or an experienced user, this guide aims to simplify the process and enhance your 3D printing experience.

The Best Android Apps for 3D Printing: A Comprehensive Guide

· 31 min read

Introduction

3D printing is a fascinating technology that's changing the way we make things. It allows you to transform digital designs into real objects, and it's becoming more accessible with the help of Android apps designed for 3D printing.

The Best Android Apps for 3D Printing: A Comprehensive Guide

In this comprehensive guide, we'll delve into the world of 3D printing and show you how Android apps can make your 3D printing journey even better. Whether you're a beginner or an expert, this article will help you understand how these apps can take your 3D printing to the next level.

We're going to explore various Android apps that cover different aspects of 3D printing. You'll discover apps for controlling your printer remotely, creating intricate designs, getting amazing STL designs, scanning real objects into digital models, and much more. By the end of this guide, you'll have a clear understanding of how these Android apps can enhance your 3D printing experience and enable you to create incredible things.

So, let's dive into the world of Android 3D printing apps and unlock the full potential of your 3D printer. Your 3D printing journey is about to get a major boost!

OctoPrint vs. Klipper: A Comparative Analysis

· 17 min read

OctoPrint vs. Klipper: A Comparative Analysis

Introduction

The world of 3D printing is a fascinating one, filled with endless possibilities and innovations. As 3D printing technology advances, the role of software and firmware becomes increasingly vital in achieving the best results. In this comparative analysis, we will delve into the heart of 3D printing and explore the two key players in the software and firmware arena: OctoPrint and Klipper.

Unveiling the 3D Printing Universe

Navigating the realm of 3D printing technology In recent years, 3D printing has evolved from a niche hobby to a transformative technology with applications spanning various industries. Whether you're a hobbyist, a DIY enthusiast, or a professional, 3D printing opens doors to creating objects with unprecedented precision and customization.

The pivotal role of software and firmware Behind every successful 3D print lies a carefully orchestrated symphony of software and firmware. These digital components translate your designs into physical objects, making the choice of software and firmware critical to your 3D printing experience. They control the movement of the printer's motors, the heating of the extruder, and the deposition of material layer by layer.

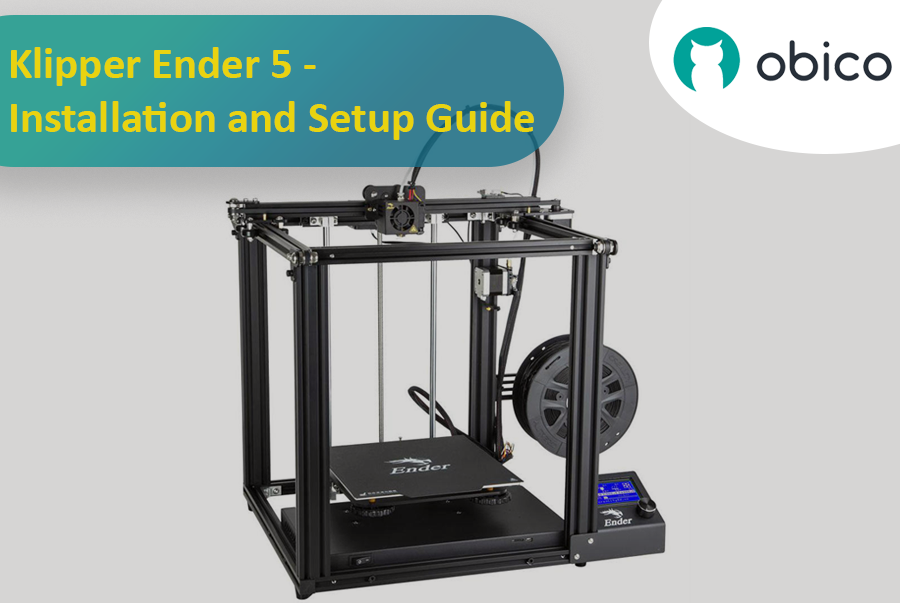
Klipper Ender 5 - Installation and Setup Guide

· 15 min read

Klipper Ender 5 - Installation and Setup Guide

Introduction

The Allure of Enhanced 3D Printing: Exploring Klipper on Ender 5

If you're new to the world of 3D printing, you may have heard about something called "Klipper". It's like giving your 3D printer a superpower boost! Klipper is a special type of software, or 'firmware', that replaces the standard software on your Ender 5 printer. Why would you want to do this? Well, Klipper can make your printer work faster, more precisely, and even more quietly.

Think of Klipper as a skilled conductor of an orchestra, making every part of your printer work in perfect harmony. It does this by using the muscle of a separate mini-computer, like a Raspberry Pi, to handle the complex calculations. This means your printer doesn't have to work as hard to figure things out, which lets it focus on printing smoother and more detailed objects. It's like upgrading your car's engine for better performance.

But here's the catch: installing Klipper isn't just a plug-and-play affair. It requires some tinkering and a bit of technical know-how. Don't worry, though. This guide is here to walk you through each step, ensuring that even if you're a beginner, you'll be able to give your Ender 5 these amazing new capabilities.

Klipper Remote Access and AI for Makerbase

· 12 min read

Klipper Remote Access and AI for Makerbase using Obico

Are you looking to enhance your 3D printing experience by gaining remote access and AI-powered monitoring features for your Makerbase all-in-one motherboard? Look no further. This comprehensive guide will walk you through the process of installing Obico for Klipper, enabling you to enjoy remote access and AI monitoring capabilities on your Makerbase-based 3D printer.

Introduction

The fusion of Makerbase all-in-one motherboards, Klipper firmware, and Obico's remote access and AI-powered capabilities represents a significant leap forward in the world of 3D printing. This guide is intended for users who have 3D printers equipped with Makerbase boards and want to harness the power of Klipper and Obico to streamline their printing experience.

Kingroon 3D Printer - Klipper Remote Access and AI

· 14 min read

Introduction

Kingroon is a big name in 3D printing. They make great printers that many people love to use, both for fun and for work. One cool thing about their printers is that they come with pre-installed Klipper firmware. This makes the printers even better and faster.

Kingroon - Klipper Remote Access and AI

In this article, we'll talk about two Kingroon printers: the KLP1 and the KP3S Pro V2. We'll also show you how to connect them with Obico. This lets you use some neat features, like controlling your printer from far away and having AI help check on your prints.

Biqu Huraken - Klipper Remote Access and AI

· 11 min read

Introduction

The world of 3D printing has evolved, and the Biqu Huraken stands at the forefront of innovation. In this guide, we will explore the Biqu Huraken 3D printer and its cutting-edge capabilities. Notably, we'll delve into the exciting possibilities of enabling remote access and AI monitoring through the integration of Obico.

Biqu Huraken - Klipper Remote Access and AI

Introduction to Biqu Huraken

The Biqu Huraken is not your ordinary 3D printer. It's a state-of-the-art machine that pushes the boundaries of what's possible in the realm of 3D printing. With its exceptional features and advanced technology, it's a must-have for both enthusiasts and professionals.

Sovol SV07 Series - Klipper Remote Access and AI

· 12 min read

Introduction

Welcome to the world of Sovol 3D printing and the exciting Sovol SV07 Series. In this comprehensive guide, we will introduce you to the Sovol SV07 Series, take you on a journey to meet the Sovol SV07, and explore the remarkable Sovol SV07 Plus. But that's not all; we'll also delve into the incredible power of remote access and AI monitoring features using Obico and how to link your printer with it.

Sovol SV07 Series - Klipper remote access and AI

Introducing the Sovol SV07 Series

The Sovol SV07 Series represents the pinnacle of 3D printing technology. These printers are designed to cater to the needs of both beginners and experts in the world of 3D printing. With their advanced features and innovative capabilities, Sovol SV07 Series printers offer an exceptional 3D printing experience.

Remotely Accessing the Creality K1 and K1 MAX 3D Printer - A Comprehensive Guide

· 15 min read

Introduction

In the evolving world of 3D printing, the ability to remotely monitor and manage printers has become an indispensable feature for enthusiasts and professionals alike. As we delve into this guide, our primary intention is to empower users of the Creality K1 3D printer with the capability to access their devices remotely. Beyond mere convenience, this remote access can also harness the power of AI to detect potential print failures, ensuring smoother and more successful print jobs.

Central to our exploration is a tool named Obico. But what exactly is Obico?

Obico is an advanced software platform designed specifically to enhance the 3D printing experience. It's not just about remote access, though that's a significant feature. Obico integrates artificial intelligence mechanisms to monitor ongoing print jobs, detecting anomalies that could result in print failures. By notifying users of such potential disruptions in real-time, it drastically reduces wasted materials and time. Obico also has a fully featured mobile app available for both iOS and Android. Both the web app and mobile app also give you full remote access to the full Mainsail or Fluidd interface from anywhere through Obico’s tunneling feature. This blend of remote access and AI-driven insights underlines Obico's relevance and growing importance in the 3D printing community.

As we proceed through this guide, we will start with the initial steps of setting up Obico on the Creality K1, and then we will walk through some of the nuances of optimizing its features, ensuring you harness the full power of Obico.

Klipper Webcam Setup using Mainsail

· 18 min read

Introduction

Alt text

Klipper and Mainsail are one of the best software pairings for 3D printers you can find today. Both of these programs keep getting better over time so that users can have a better printing experience.

Today, we're going to look at the camera streaming part of Mainsail-Klipper. Mainsail's Crowsnest streaming service recently added the camera-streamer project. This makes it easy to get high-quality video from your webcam without using a lot of data.

Everything you need to know about this revision is included in this article. We'll look at how to add a single camera or multiple cameras, as well as how to get a high-quality video stream of your 3D printer to your laptop.

Let's set sail and get the cameras ready!