Installation
This is a general guide to install the Obico Server. For platform-specific guides:
Guides not directly maintained by the Obico Team and Contributors may be outdated, and should be used at user discretion. Always cross-check commands and instructions used with those located on the official doc site.
Hardware Requirements
The Obico Server only requires a computer to run. Even old PCs (within the previous 10 years) will do just fine. A NVidia GPU is optional but can vastly reduce the power consumption and beef up the number of printers the server can handle.
More details about the hardware requirements for the Obico Server.
Don't try to install the Obico Server on a Raspberry Pi. Pi's CPU is too weak to run the Machine Learning failure-detection model.
1. Install required softwares
The following software is required before you start installing the server:
- Docker and Docker-compose. But you don't have to understand how Docker or Docker-compose works.
- Install Docker (Windows, Ubuntu, Fedora, CentOS, Mac). Important: If your server has an old Docker version, please follow the instructions in these links to upgrade to the latest version, otherwise you may run into all kinds of weird problems.
- Install Docker-compose. You need Docker-compose V2.0 or higher.
- git (how to install).
2. Get the code and start the server.
- Get the code:
git clone -b release https://github.com/TheSpaghettiDetective/obico-server.git
- Run it! Do either one of these based on what OS you are using:
- If you are on Linux:
cd obico-server && sudo docker compose up -d - If you are on Mac:
cd obico-server && docker compose up -d - If you are on Windows:
cd obico-server; docker compose up -d
- If you are on Linux:
You need to use docker-compose instead of docker compose on older Docker versions.
docker-compose.yaml use healthchecks. If you want to customize it, please go to Common tasks for operating self-hosted server.
-
Go grab a coffee. Step 2 will take 15-30 minutes.
-
If the Obico Server is running on
localhost, there will be no step 4. If it is running on a different host, such as a VM in the cloud, go ahead to configure the Django site.
3. Test the server
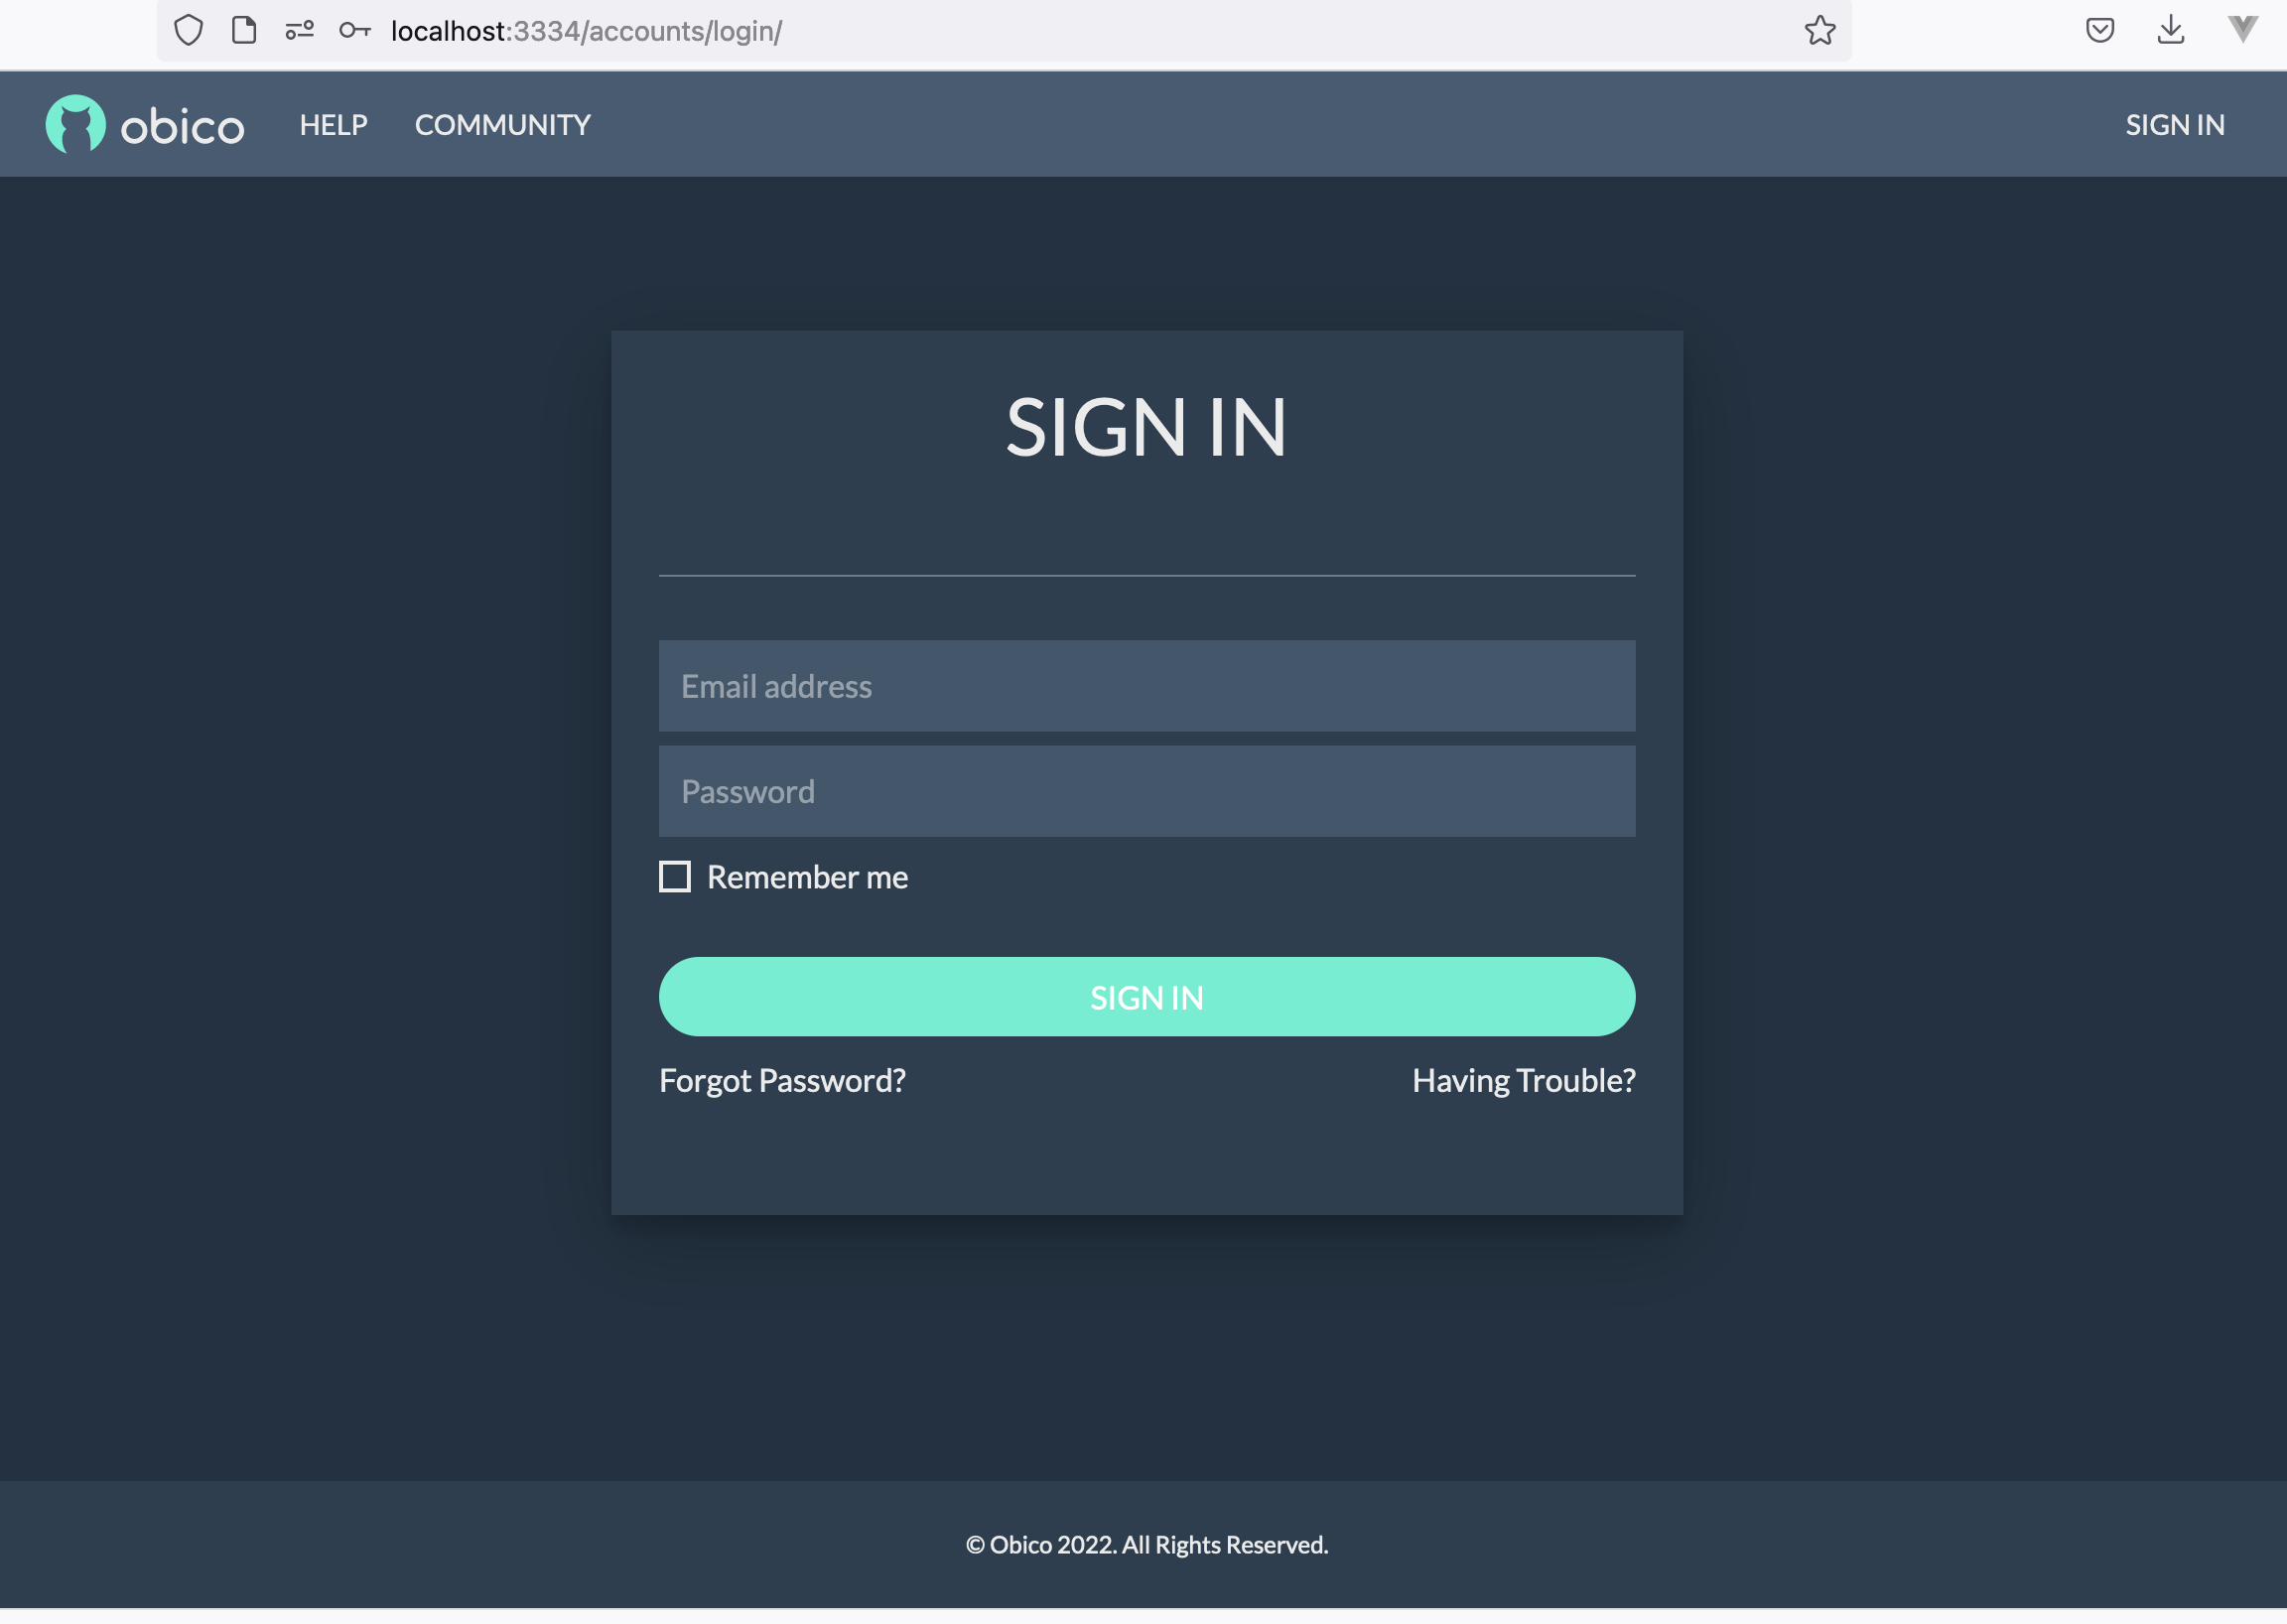
Open http://localhost:3334 on the same computer. If you see this page, then congratulations - your self-hosted Obico Server is now up and running!

4. Configure the server
Your Obico Server will need some basic configurations to work correctly with OctoPrint or Klipper, or to send emails and other notifications.