Manually Link Klipper with a 6-digit code
If you are on Obico for Klipper version than 1.6.0 or newer, switch to Updated Manual Setup Guide to link your printer using a one-time passcode.
Follow this guide in one of these 2 rare cases:
- You are trying to re-link your Klipper printer. There are only a few reasons why you need to re-link printer.
- Your printer can't be identified at the last step in Obico for Klipper setup guide. You don't need a 6-digit code if your printer can be identified and linked automatically.
If you are setting up Obico for the first time, you should follow Obico for Klipper setup guide first. Please DO NOT PROCEED if you haven't done so.
This guide is for the users who use Moonraker with Klipper. If you are using OctoPrint with Klipper, please follow the Obico for OctoPrint guide instead.
This guide assumes you are connecting to the Obico Cloud. If you are connecting to a self-hosted Obico Server, you will need to use the address of your self-hosted server.
Step 1: Download Obico for Klipper and run install.sh
- SSH to the Raspberry Pi (or other SBC) your Klipper runs on.
- Run:
    cd ~
    git clone https://github.com/TheSpaghettiDetective/moonraker-obico.git
    cd moonraker-obico
    ./install.sh
- Follow the installation steps. You may be asked to enter the password in order to run
sudocommands. - You will also be asked to enter the configurations necessary for the installation to complete, such as the location of your
moonraker.conf, Moonraker's port and address, and the log directory. install.shwill now start the process to link your printer to the Obico server. You will be asked to enter:- The Obico Server you want to link it to. The default is the Obico Cloud. You can also change it to using your own self-hosted Obico Server (ex: http://192.168.0.5:3334).
- A 6-digit verification code. You will obtain this 6-digit verification code in the following steps.
- Leave the terminal open. We will come back to enter the 6-digit code once we obtain it from the Obico app.
Step 2: Sign up for an Obico account.
Follow instructions in the "📱 Mobile App" tab if you are using the Obico mobile app, or the "🌐 Web App" tab if you are using the web app.
Your Obico account is the same for the mobile app and the web app. If you sign up for an account using the mobile app, you can sign in to the web app later with the same email and password. And vice versa.
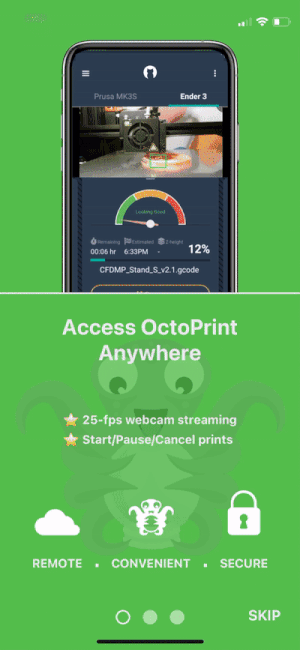
All functions are available equally in the mobile and the web app. However, with the mobile app, you can receive push notifications on your phone to easily track the print progress, and get alerted in case a failure is detected.
- 📱 Mobile App
- 🌐 Web App
- Download the Obico app from the Apple App Store or Google Play Store.
- Open the mobile app. Click through the first time tour and then tap “Let’s Go!”.
- Simply tap "YES!" on the "Hardware Required" screen.
- Tap "Sign Up/Sign In" button to proceed to the sign up/sign in screen.
- Sign up with your email, Google or Facebook account. If you have already registered, click the "Sign In" button and sign in to your account.
If you are connecting to a self-hosted Obico Server, press the wrench icon (🔧) on the top-left corner of the sign-up screen to change the server address.
- Open the Obico Server sign up page in a new browser tab.
- Sign up with your email, Google or Facebook account. If you have already registered, click the "Sign In" button and sign in to your account.
Step 3: Launch the "Link Printer" wizard in the Obico app
- 📱 Mobile App
- 🌐 Web App
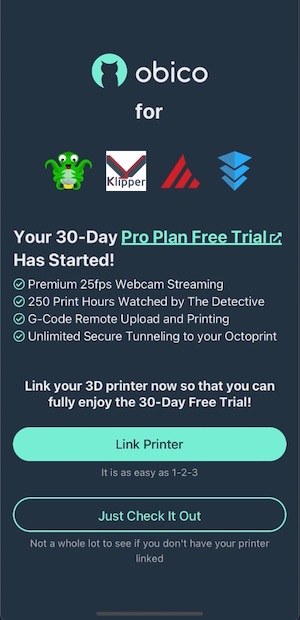
Press "Link Printer" button on the welcome screen. If you don't see that screen, tap the menu icon (☰) on the top-left corner, and select "Link New Printer".
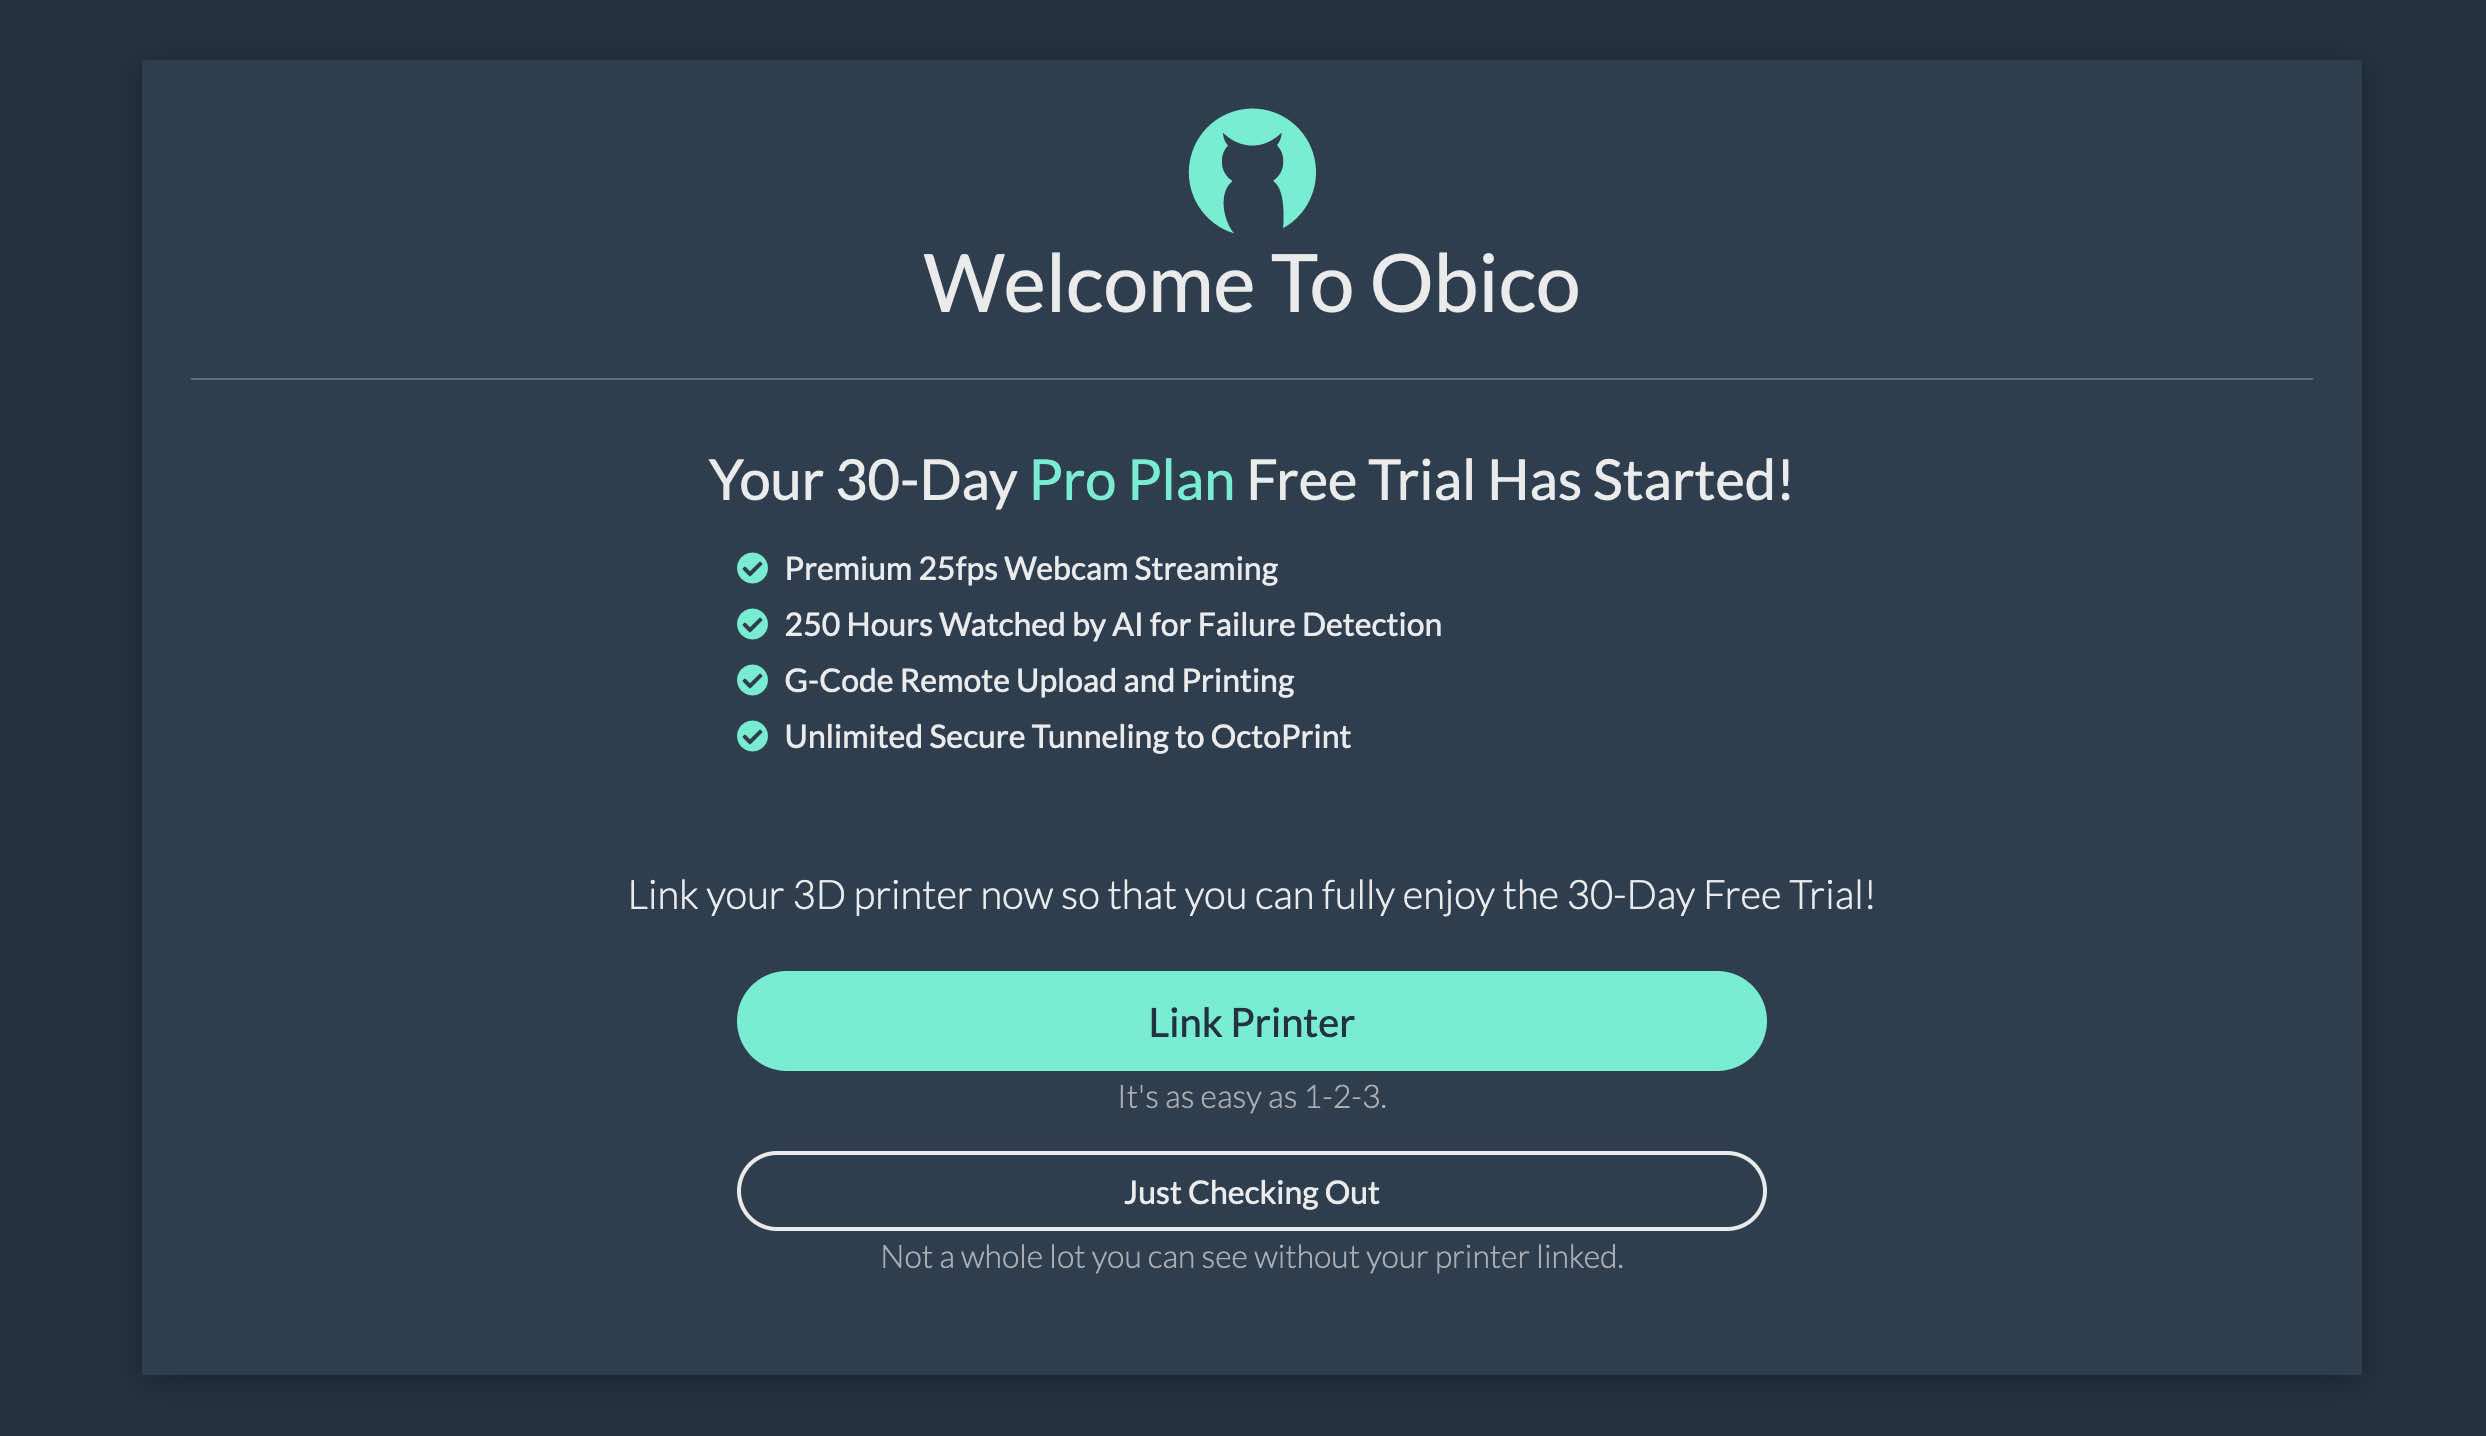
On the welcome page, click the "Link Printer" button.
Step 4: Obtain the 6-digit verification code
- 📱 Mobile App
- 🌐 Web App
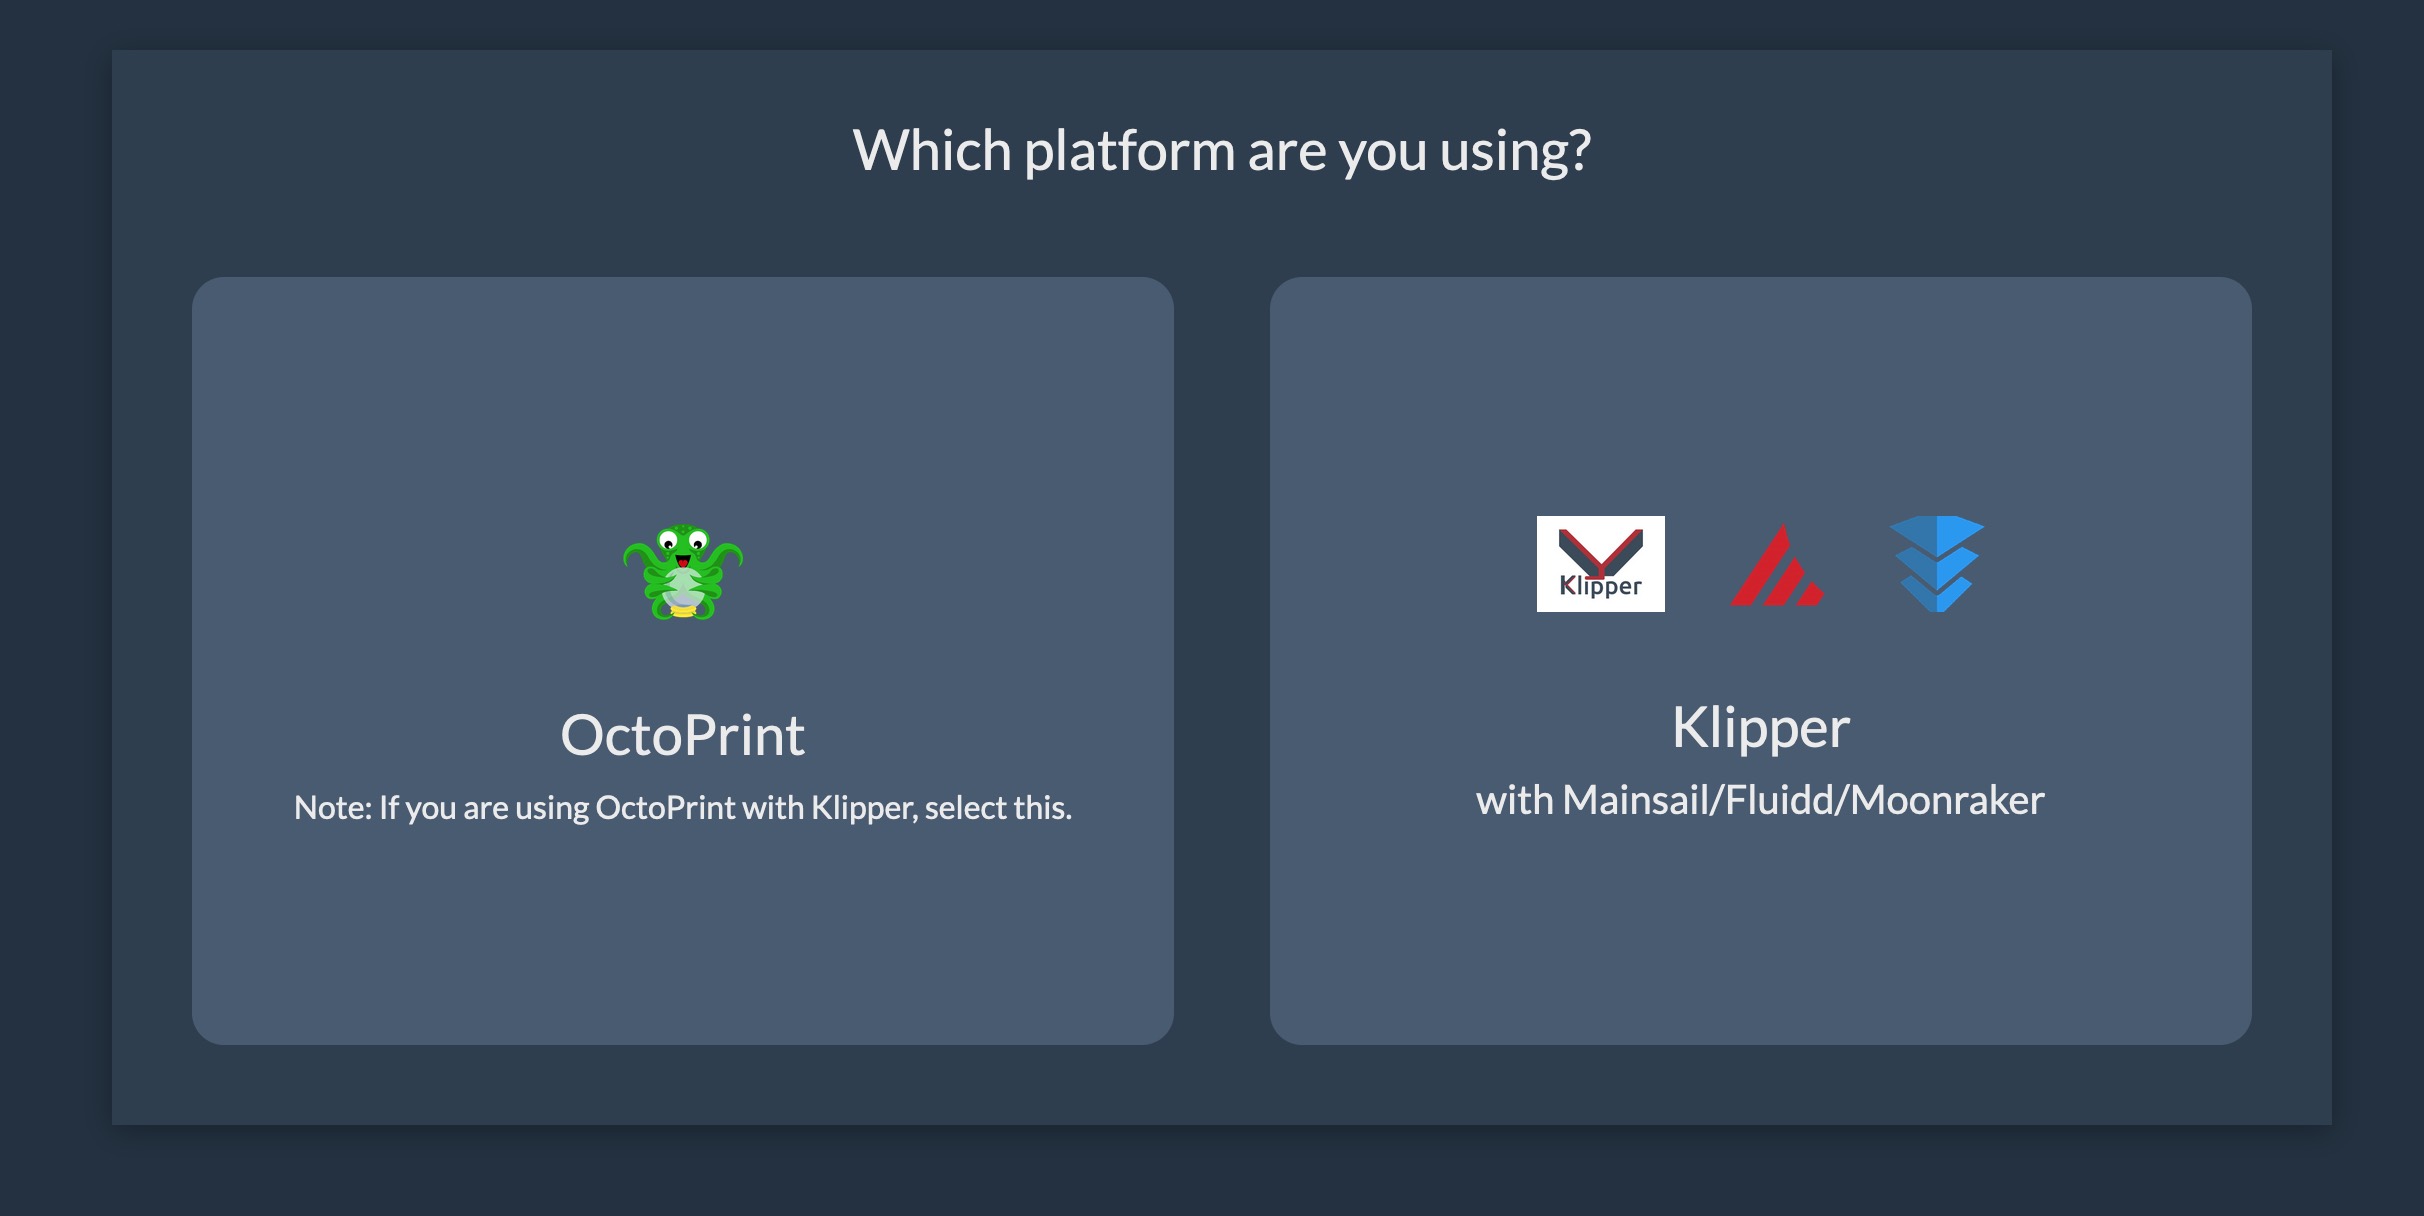
- Choose "Klipper" on the next screen.
- Assuming you have followed the previous steps and run the
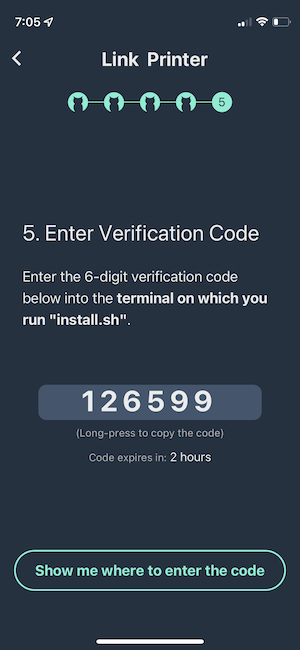
install.shscript, simply press "Yes. Obico for Klipper is installed". - Now you will see a screen with a 6-digit verification code. This is the code you will use to link your printer. You can long-press the number to copy it to the clipboard.
- Click "Klipper" on the page that asks you to select a platform.
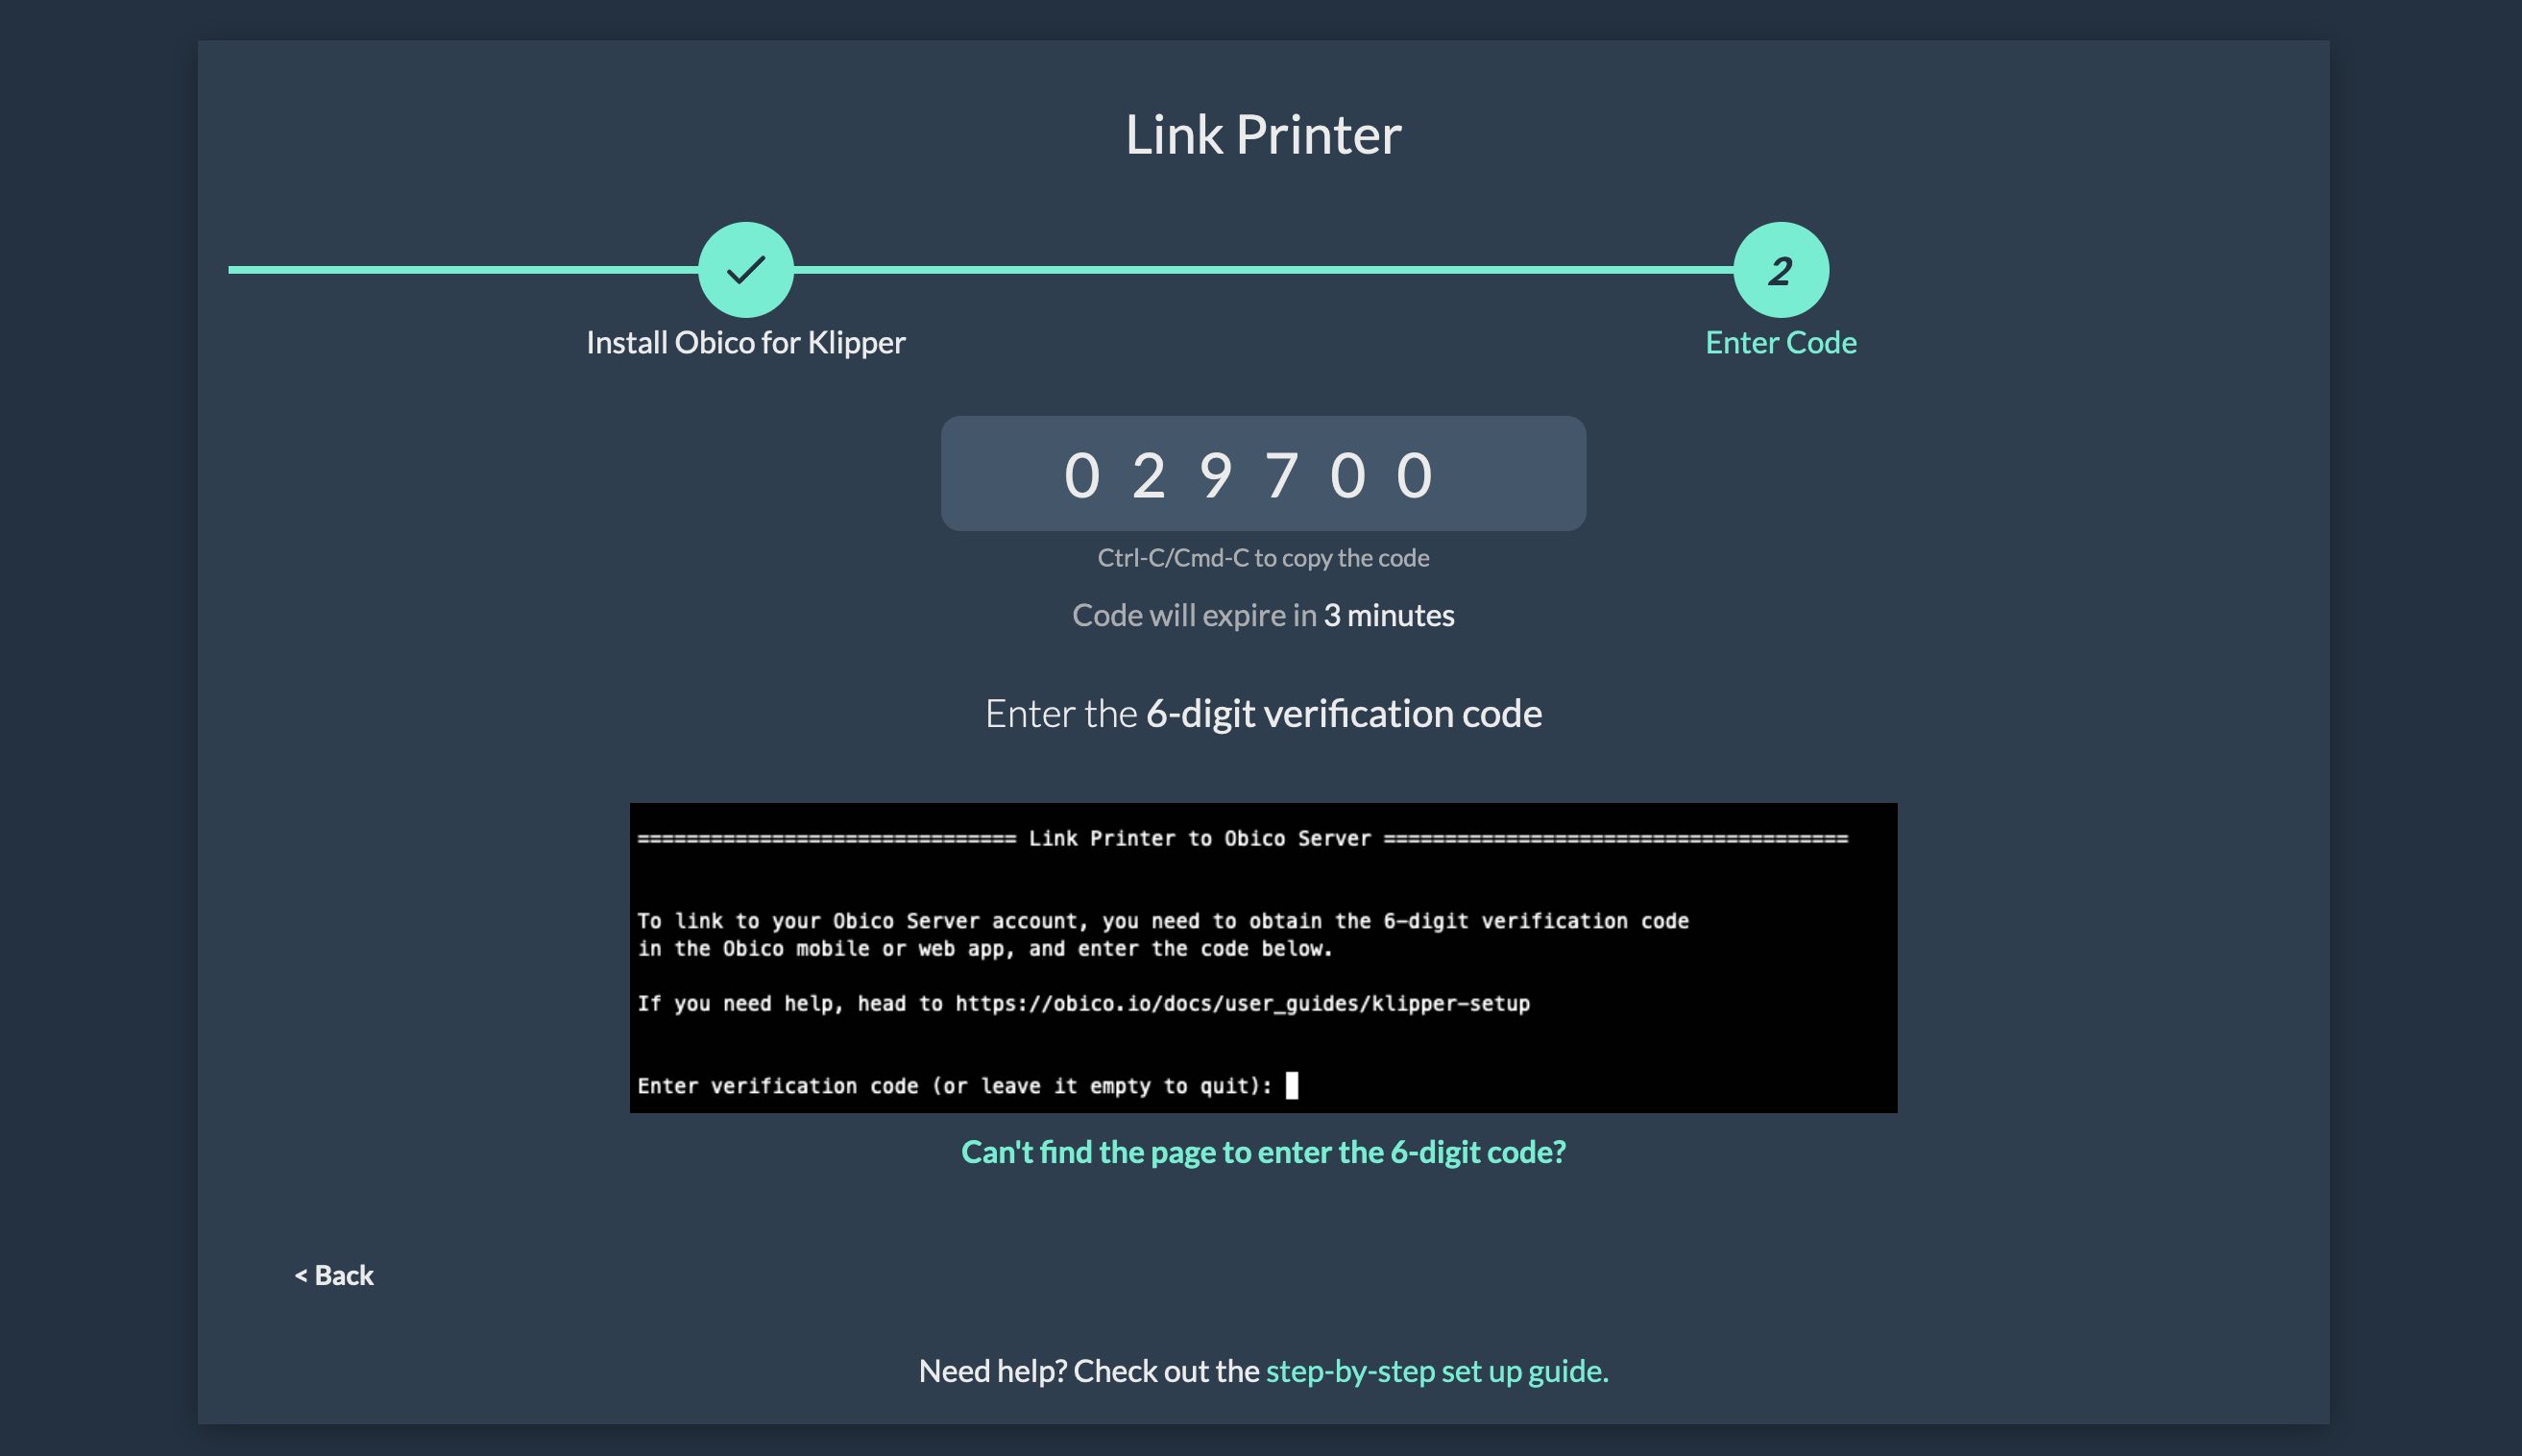
- Assuming you have followed Step 1 and run the
install.shscript, you can simply click the "Next>" button. - Now you will see a screen with a 6-digit verification code. You can press Ctrl-C (Windows) or Cmd-C (Mac) to copy the 6 digit code to the clipboard.
Step 5: Enter the 6-digit code
- Go back to terminal for your SSH session in Step 1.
- Enter the 6-digit code you obtained in the previous step.
- As the final step, you will be asked if you want to opt in bug reporting. We strongly recommend you answer "Y" here. Bug reporting will help us catch and fix bugs earlier and more easily, and hence a better Obico app for you! :)
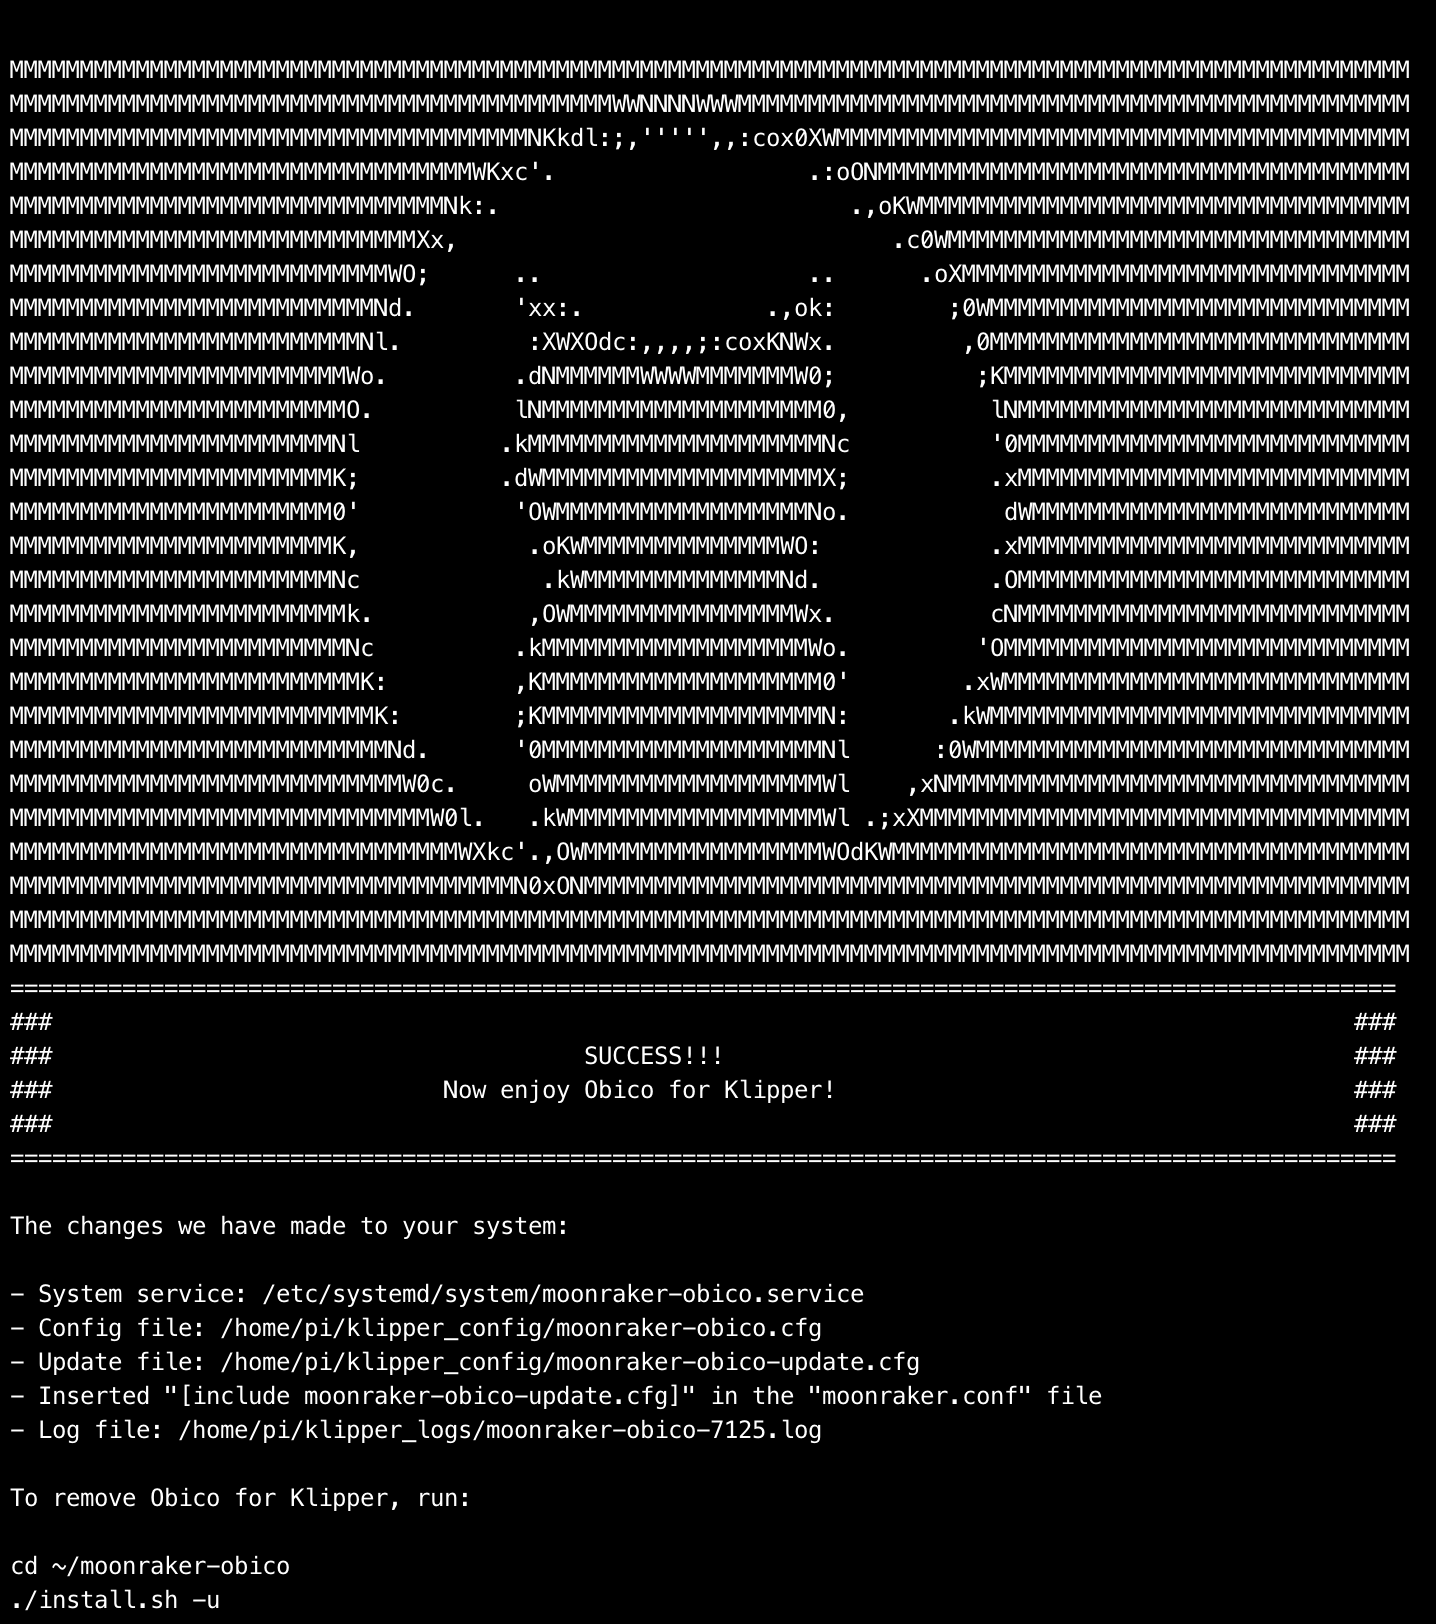
Step 6: Restart the Raspberry Pi.
Once the Raspberry Pi has booted up, you should be able to see your printer and the webcam stream in the Obico app.
Step 7 (optional): Give your printer a shiny name!
Optionally, you can now give your printer a name. If you skip this step, your printer will have the default name "My Awesome Cloud Printer".