How to Enable G-Code Thumbnails in Your Slicer

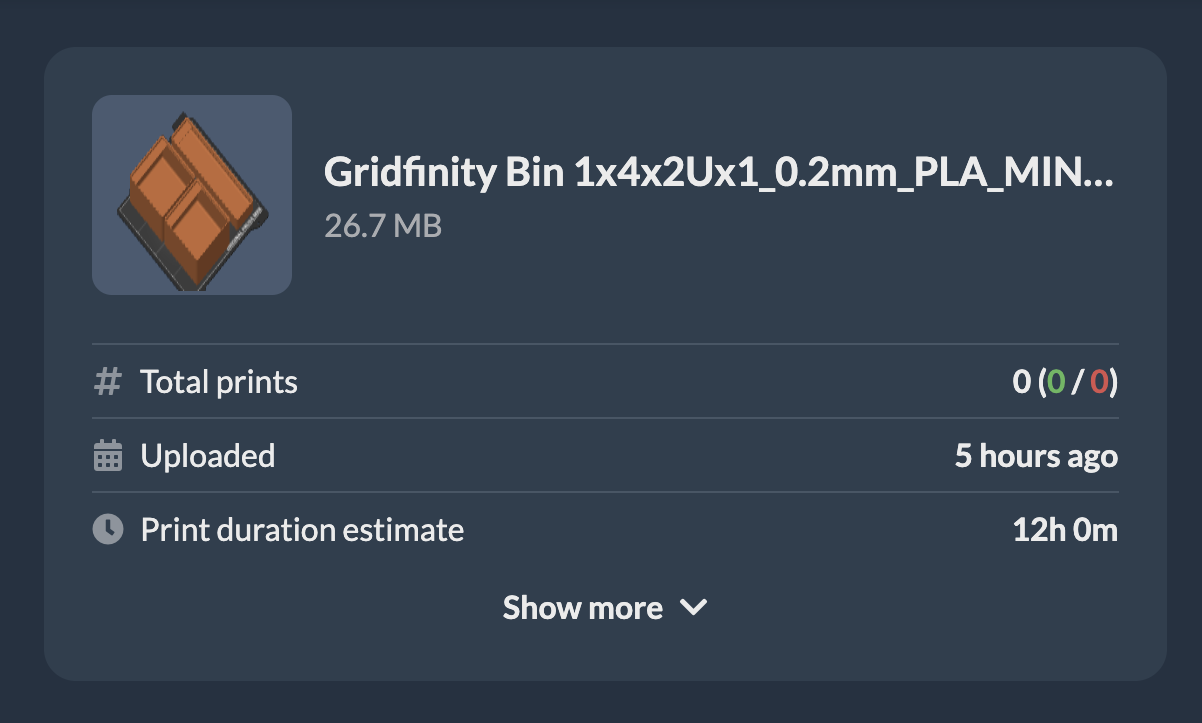
Most 3D printing slicers allow the ability to include preview thumbnails that can be shown in the Obico mobile and web app, as well as Mainsail and KlipperScreen.
Obico shows thumbnails only for G-Codes, uploaded directly to the app. If you explore OctoPrint/Klipper files, you won't see file previews.
Each slicer handles thumbnails differently. Select the slicer you use below to enable thumbnails.
- Prusa Slicer (2.3.0+)
- Cura
- Super Slicer
- ideaMaker

- In Expert Mode, select Printer Settings

- Under the Thumbnails section, enter
32x32for Small and400x300for Big. You can further customize your thumbnail's look in SuperSlicer as well.
In Cura, there are two options for enabling thumbnails.
In Cura 4.9+, you can use a post processing script

- In Cura, navigate to
Extensions > Post-Processing, Modify G-Code - Click Add a script. Click Create Thumbnail.
- Enter
32x32for the value. - Repeat steps two and three to create a thumbnail with size
400x300. - Save the changes.
In Cura 4.7+, you can install Cura2Moonraker
This plugin allows you to enable thumbnails among other things such as the ability to print from your slicer directly to Mainsail.
Follow the instructions in the Cura2Moonraker Github Repository if you prefer this method.
- In Expert Mode, select Printer Settings
- In General under the firmware section, enter
32x32, 400x300for G-Code thumbnails. If an option is available, set the format of G-code thumbnails topng. These values should work for the Obico mobile and web app as well as Mainsail and KlipperScreen.

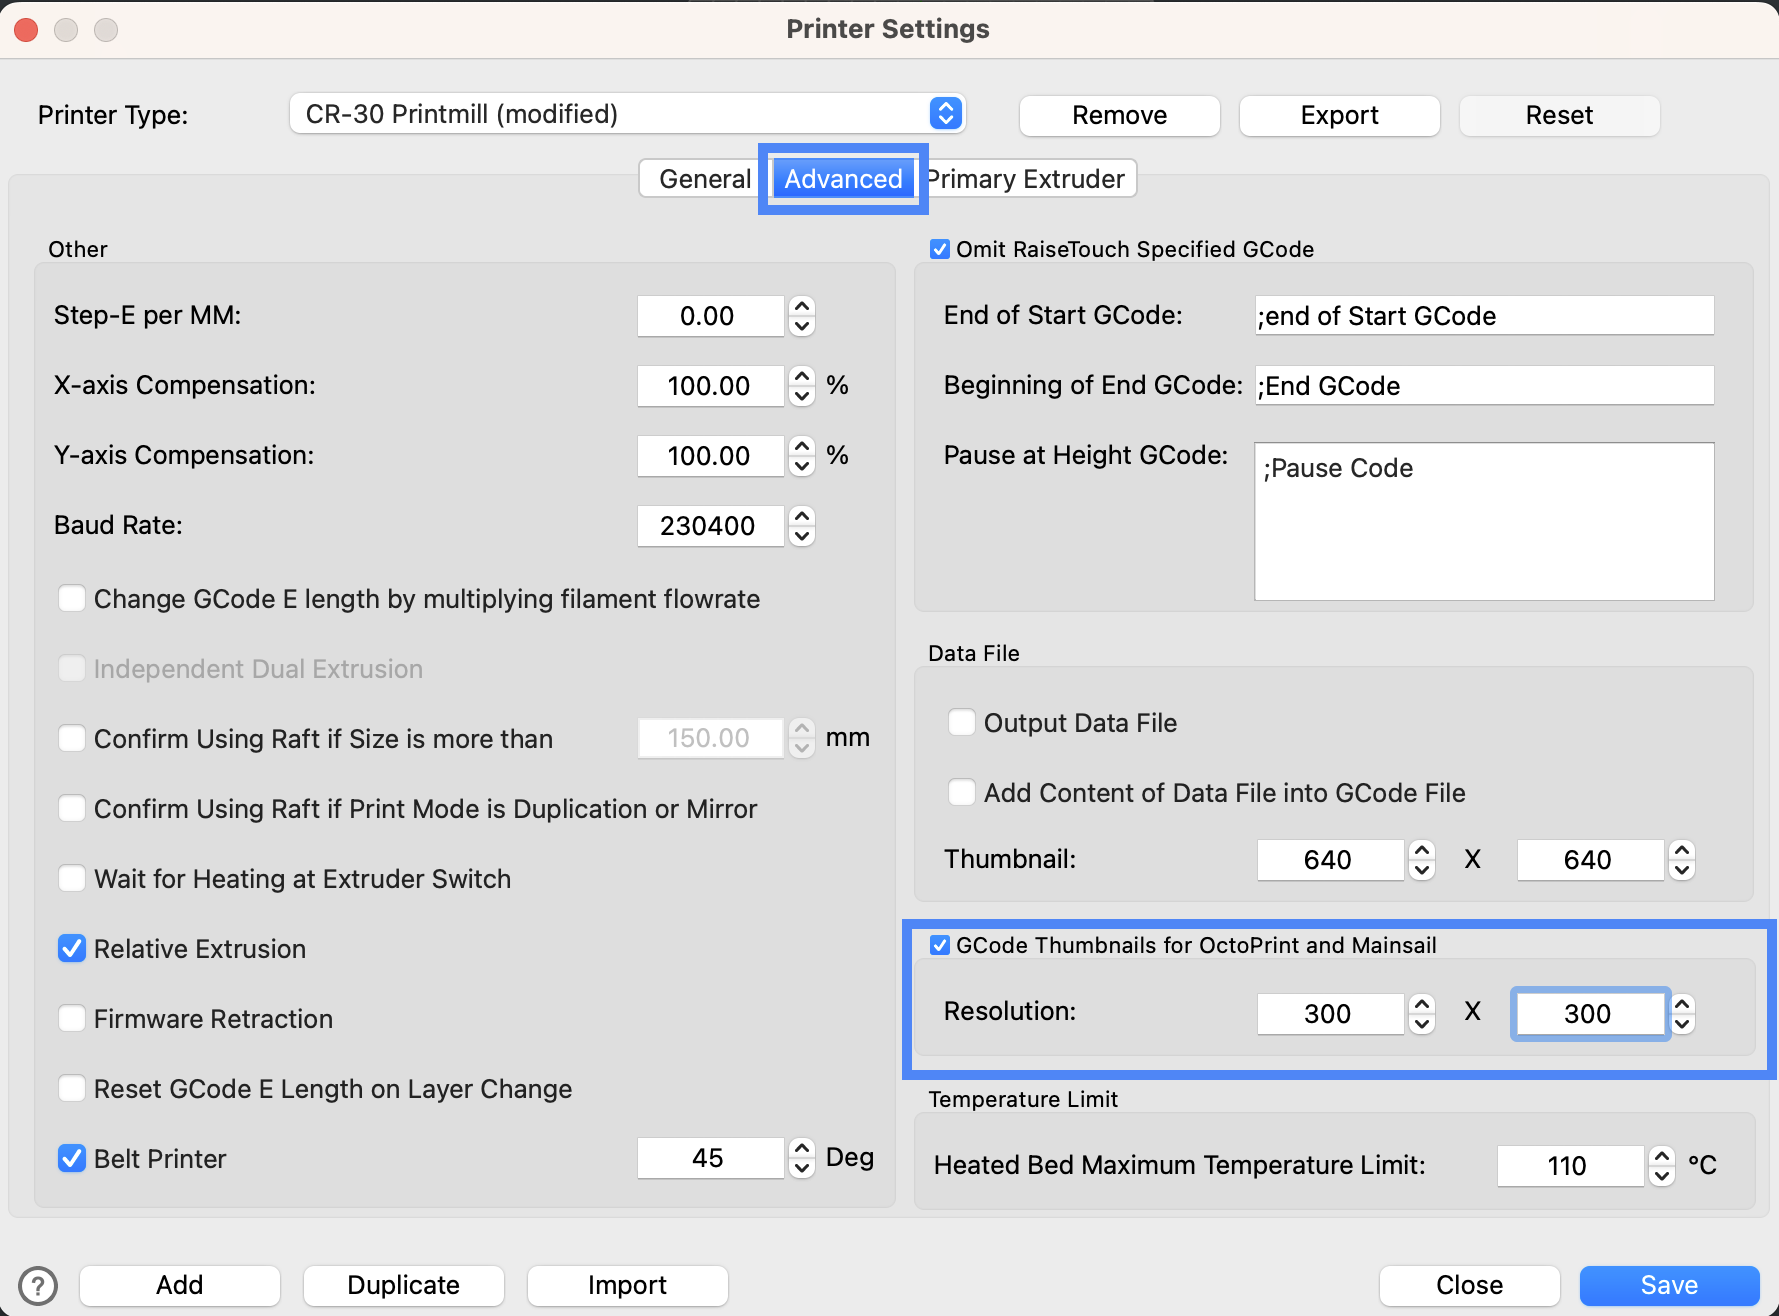
- Click Printer at the top of the screen, and then click Printer Settings.

- Click the advanced tab. Check the box titled Gcode thumbnails for OctoPrint and Mainsail
- Set the values to
300x300or similar. Ensure the values are the same.